Observations: End Of Eternity
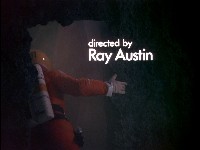
As they enter the outer door (during Ray Austin's credit), the wrist mounting of Koenig's glove is loose.
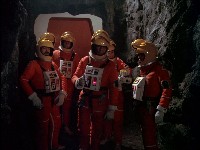
On the asteroid surface, the astronauts move in low gravity. Given the small size of the asteroid it should be very weak. Inside they move as if they are in normal gravity. Arguably Balor's chambers have artificial gravity, like the Eagle. Thanks to John Day.
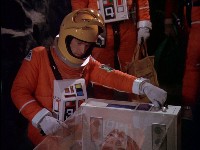
After the inner door of Balor's room explodes, only the outer door to the asteroid surface remains. Opening the outer door would mean decompressing the interior, as there is no longer a functional airlock. So how can the Alphans get the pressurized enclosure into the chambers? Thanks to John Day.
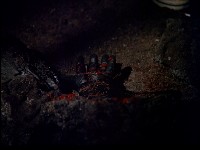
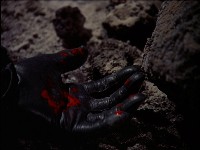
The close up of Balor's hand in the debris is different from the longer shot, with differing blood splatters and nearby rocks.
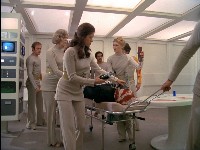
Note the ceiling just above the communications post. A black lead is punched through the ceiling. Also note all the clocks in this episode are always set to 12.
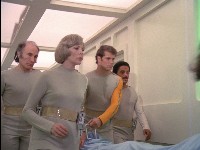
Helena's commlock wobbles as she walks. Unlike the other cast, the clip at the back of her commlock is not tucked into her belt. This shot shows it clearly hanging off the belt. It seems to be hanging off a hook at the top of her belt, allowing it to shake as she moves. Thanks to Simon Rhodes.
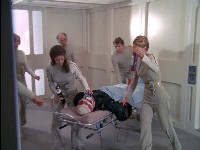
Uniquely in the series, the camera passes through the wall as it tracks them moving from the corridor to the Medical Centre. The reverse shot of Alan, Bergman and Carter with the monitor screen shows the corner and reverse wall.
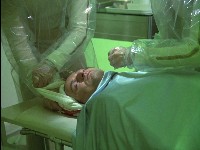
When the bandages are removed from Balor's head, prior to the start of the planned autopsy, there appears to be no blood on the inside of them despite them being heavily blood-stained on the outside. Thanks to Richard Totis.
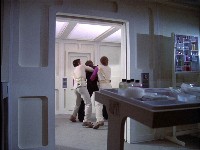
When one guard is lifted up by Balor, his hand knocks the ceiling panel, which bounces up. Not strictly an error, as the ceiling panels would hardly be bolted and immovable. Thanks to Martin Daoust.
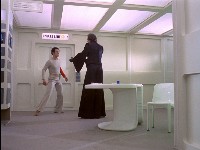
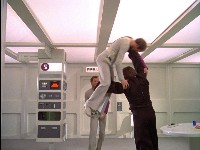
The communications post has a direction sign (to "Solarium") when Balor scares the Alphans. At the base of the communications post, the back (behind the stand) is blocked off. When the fight with the guards begins, the direction sign is gone and the base of the post is clear. The desk has also moved out of the way.

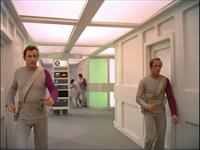
At the base of the communications post in several shots, there is a panel blocking the view behind the stand. When the guards run up, we can see a mat on the left (perhaps covering wires) and the wheel of some sort of trolley hidden behind the post.
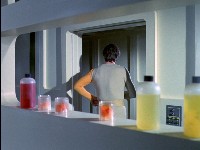
After his exam, Baxter leaves the Medical Centre. This shot was filmed much later- this is not Jim Smilie. The Medical Centre set does not include the room shelves seen here.
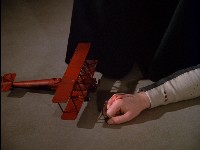
Baxter's models. The two-seater red biplane that Baxter uses to assault Koenig does not seem to be based on a specific aircraft. The wings are braced with additional struts to strengthen the model.
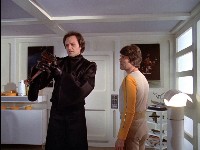
At the top of the shelves is an Airfix 1/48 scale Messerschmitt Bf109E. Introduced in 1941, more Me 109s were produced than any other aircraft in World War II.
Below is an Airfix 1/72 scale Handley Page Halifax B MkIII, a Royal Air Force heavy bomber during World War II (the wing tips are squarer than the more famous Avro Lancaster).
Below is an Airfix 1/72 scale Airfix Douglas Dakota DC3/C47. First flown in 1935, the aircraft was used as a military transport in World War II, and has been widely used as a military and civilian transport throughout the remainder of the 20th century.
Below can be seen two Airfix kit boxes. The top one is the 1/144 scale Apollo Saturn V rocket.
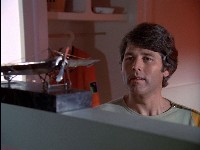
Baxter's models. This is a Fokker Eindecker, developed in 1915 as the first purpose built German fighter aircraft. Early monoplanes like this required the wings to be braced with steel cables for strength.
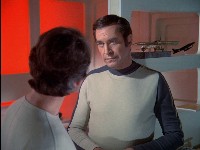
Baxter's models. Alongside the Eindecker is an Airfix Hawker Hunter (1/72 scale, Black Arrows markings). This jet fighter entered service in 1954 and were in use until the early 1990s. The Black Arrows were a Royal Air Force aerobatic demonstration team formed in the 1950s.
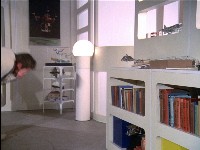
Baxter's models. On the right, we see a Airfix 1/72 scale Hawker Siddeley Harrier. This distinctive vertical take off jet was introduced in 1969 and retained in service until 2006.
Below is an Airfix Grumman F-14 Tomcat variable-sweep wing fighter aircraft. Introduced in 1974, it was in service until 2006.
There is a large box of plastic kit sprue.
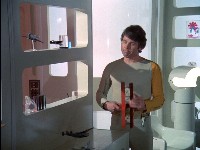
Baxter's models. Top left is an Airfix 1/144 scale Hawker Siddeley Trident 1C in BEA markings. This commercial airline was in service from 1964 to the mid 1980s.
Top right is an Airfix 1/72 scale Yakolev Yak 9D. This fighter aircraft was used by the Soviet Union from 1942 onwards; this is the long range version.
On the shelf below is an Airfix 1/144 scale Boeing 314 Clipper. This flying boat was produced between 1939 and 1941, and was one of the largest aircraft in the world at the time.
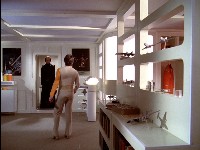
Baxter's models. Between when Koenig first visits Baxter to tell him he is grounded, and Balor arrives, Baxter has reorganised some of his models.
Alongside the Airfix Hawker Siddeley Trident 1C in BEA markings is another Trident, this time in TWA markings.
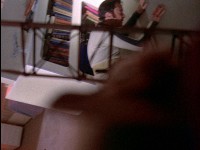
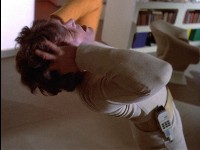
After Koenig is beaten to the ground, he falls in front of the bookcase. His body disappears during the shot of Baxter clutching his head and falling. In fact, a chair seems to have moved where he fell.
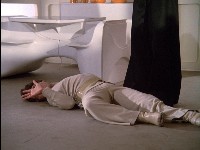
Baxter wears his commlock on his right side, instead of the customary left. In just one scene does he wear the commlock on his left: when Koenig informs him that he is grounded. Thanks to John Day.

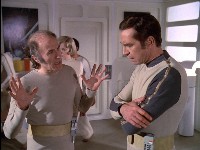
Koenig's uniform is splattered with blood after Baxter attacks him (we see some blood splatters on his sleeve; deleted shots show more blood). Later, not only are Koenig's injuries fixed, his uniform has been laundered. Thanks to Richard Totis.

Not an error as such, but when Mathias removes Baxter's body from his quarters, they do not leave through the door that Koenig and Balor used. Instead they head off left of camera- in this episode we never see that wall. There may be another door, but in other episodes the standard living quarters do not have a door there.
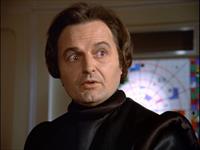
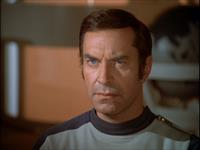
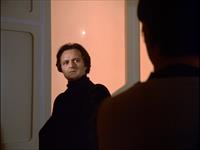
Editing continuity #1. Balor walks in front of the wall screen. We cut to Koenig, looking at him. We then cut back to Balor, who is now back by the communications post. Koenig's reverse shot did not show him moving his head to follow Balor back. All the reverse shots of Koenig show him looking in exactly the same direction.
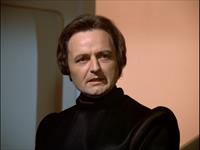
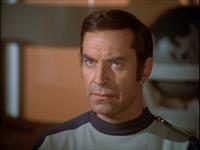
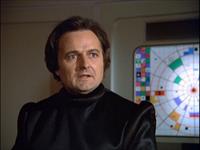
Editing continuity #2. Balor is still by the communication post. We cut to Koenig, looking at him. We then cut back to Balor, who is now in front of the wall screen. Again, Koenig's reverse shot did not show him moving his head to follow Balor.
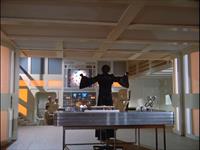
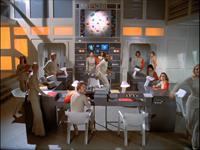
Balor pushes open the doors. There is a closer cut to the Main Mission staff turning and reacting. There are a couple more Alphans in Main Mission after the cut- a woman with a clipboard by Bergman has appeared, as has Binu Balini by Kano and Mary Burleigh.
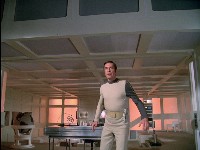
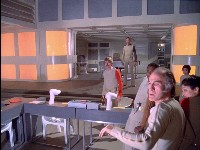
After Balor picks up Kano's desk, all the lights in Koenig's office go out. The communications post and wall screen remain active. They remain out for the rest of the episode.
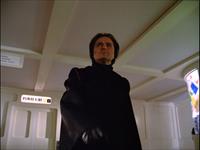
As Balor strides away from Travel Tube 7, we briefly glimpse the wall map (rarely seen in Year 1), and, in the dead end beyond, a piece of camera equipment, perhaps a light.
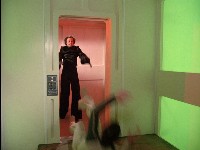
When Koenig is knocked out of the airlock, the floor outside the airlock is a brown mat, apparently quite thick as it reaches the bottom lip of the door and visibly moves as Koenig (stuntman Eddie Stacey) lands on it.
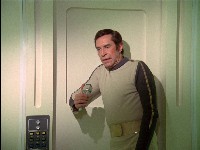
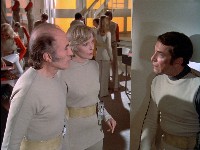
Good continuity: the left side of Koenig's face is red after fighting with Balor in the airlock. In Main Mission later, he still shows the bruise in the same place, although the lighting and camera angle downplay the makeup. Thanks to Emily Bendell.
Copyright Martin Willey. Thanks to Chris Potter and Sigspace for aircraft recognition.