Moonbase Guide
by Martin Willey
This room only appeared in Year 2. It appeared in The Metamorph, The Taybor, The Beta Cloud and The Dorcons.
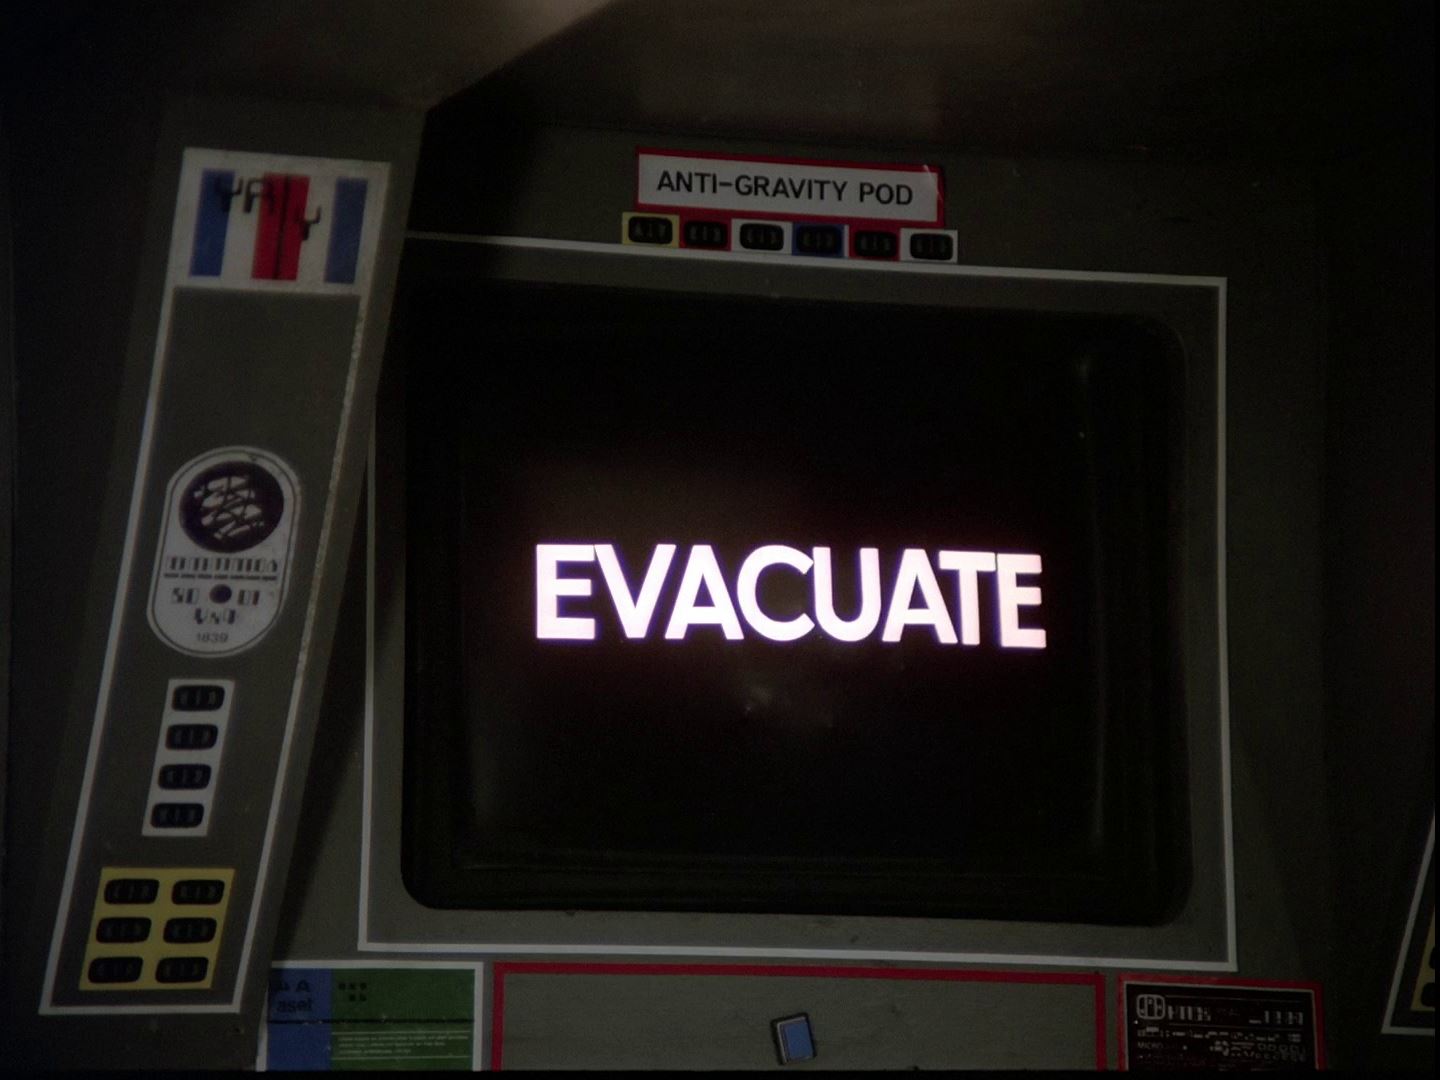
Brian The Brain & The A B Chrysalis feature one shot of a screen flashing "Evacuate").
It also appeared (with a slight revamp) as Life Support Centre in Seed Of Destruction.
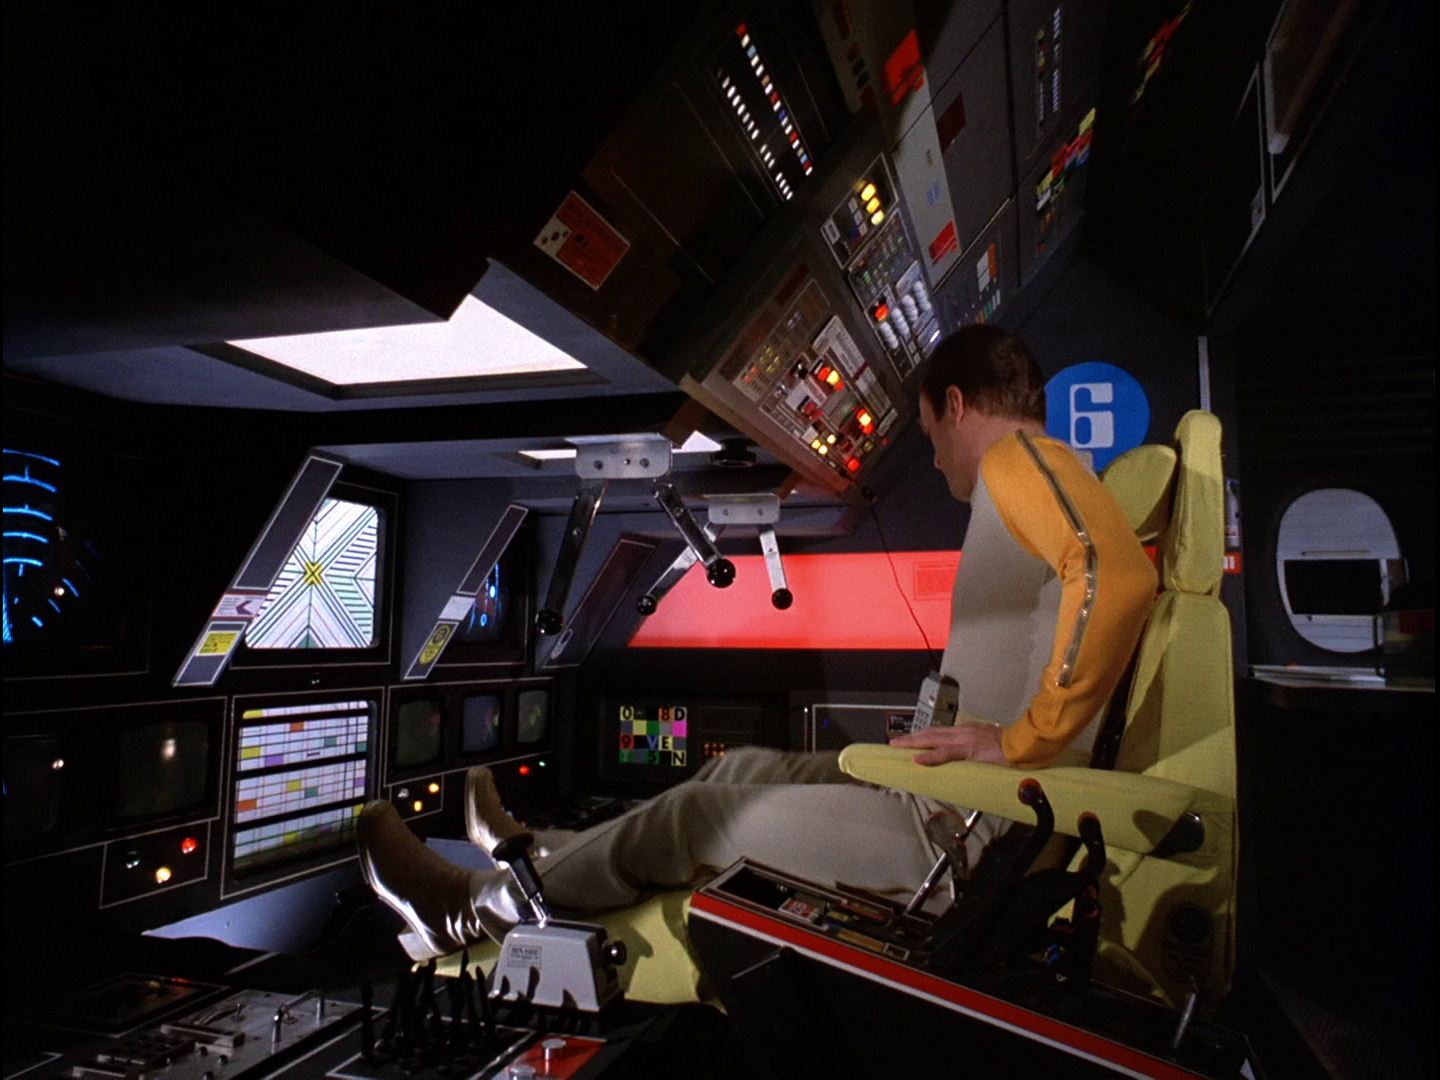

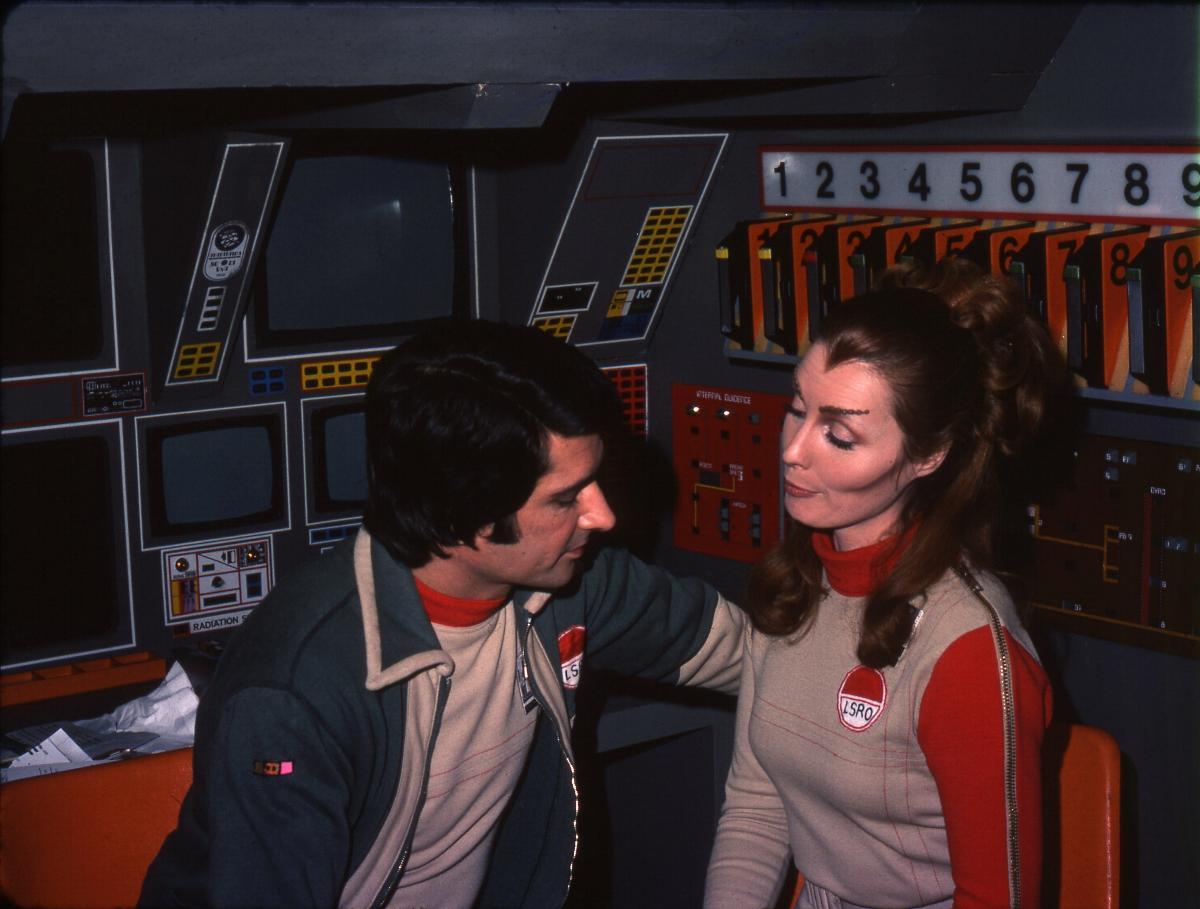
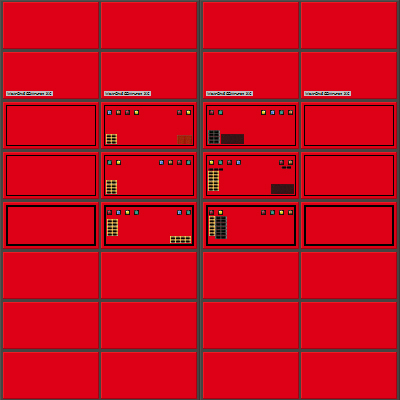
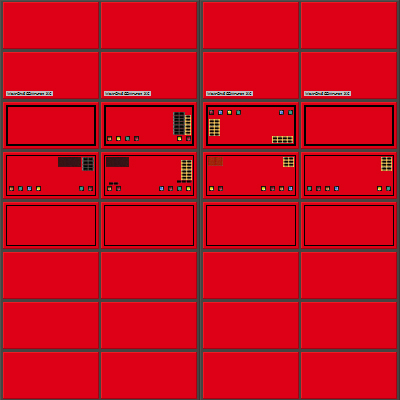
The main pattern of the Weapons Section console is based on the Voyager console from Voyager's Return. The two large central screens are backlit panels showing static patterns, not television screens. On either side is one large screen, with three smaller screens beneath. There are buttresses between each third of the width. The same console was used for the Ultra Probe in Dragon's Domain. The upper sloping section and side wall was used in the Altares command section for Into Infinity, while the numbered sign with cartridges was made for that 1975 special.
It also appears as the pilot section of the Mothership in Brian The Brain (but not the Swift).
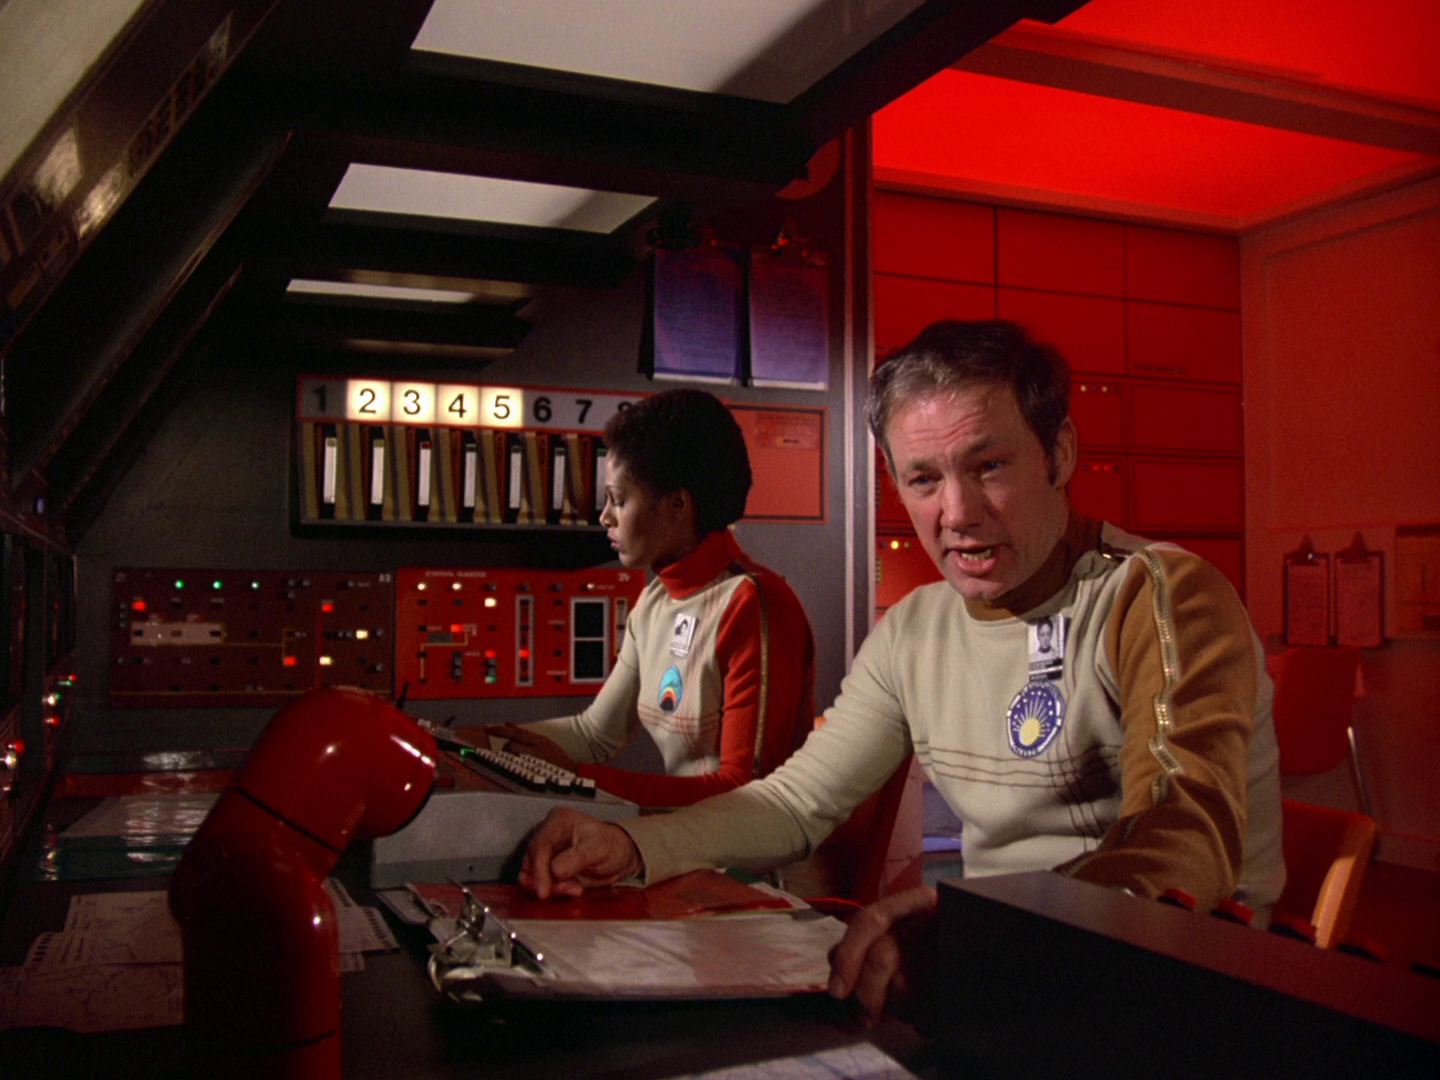
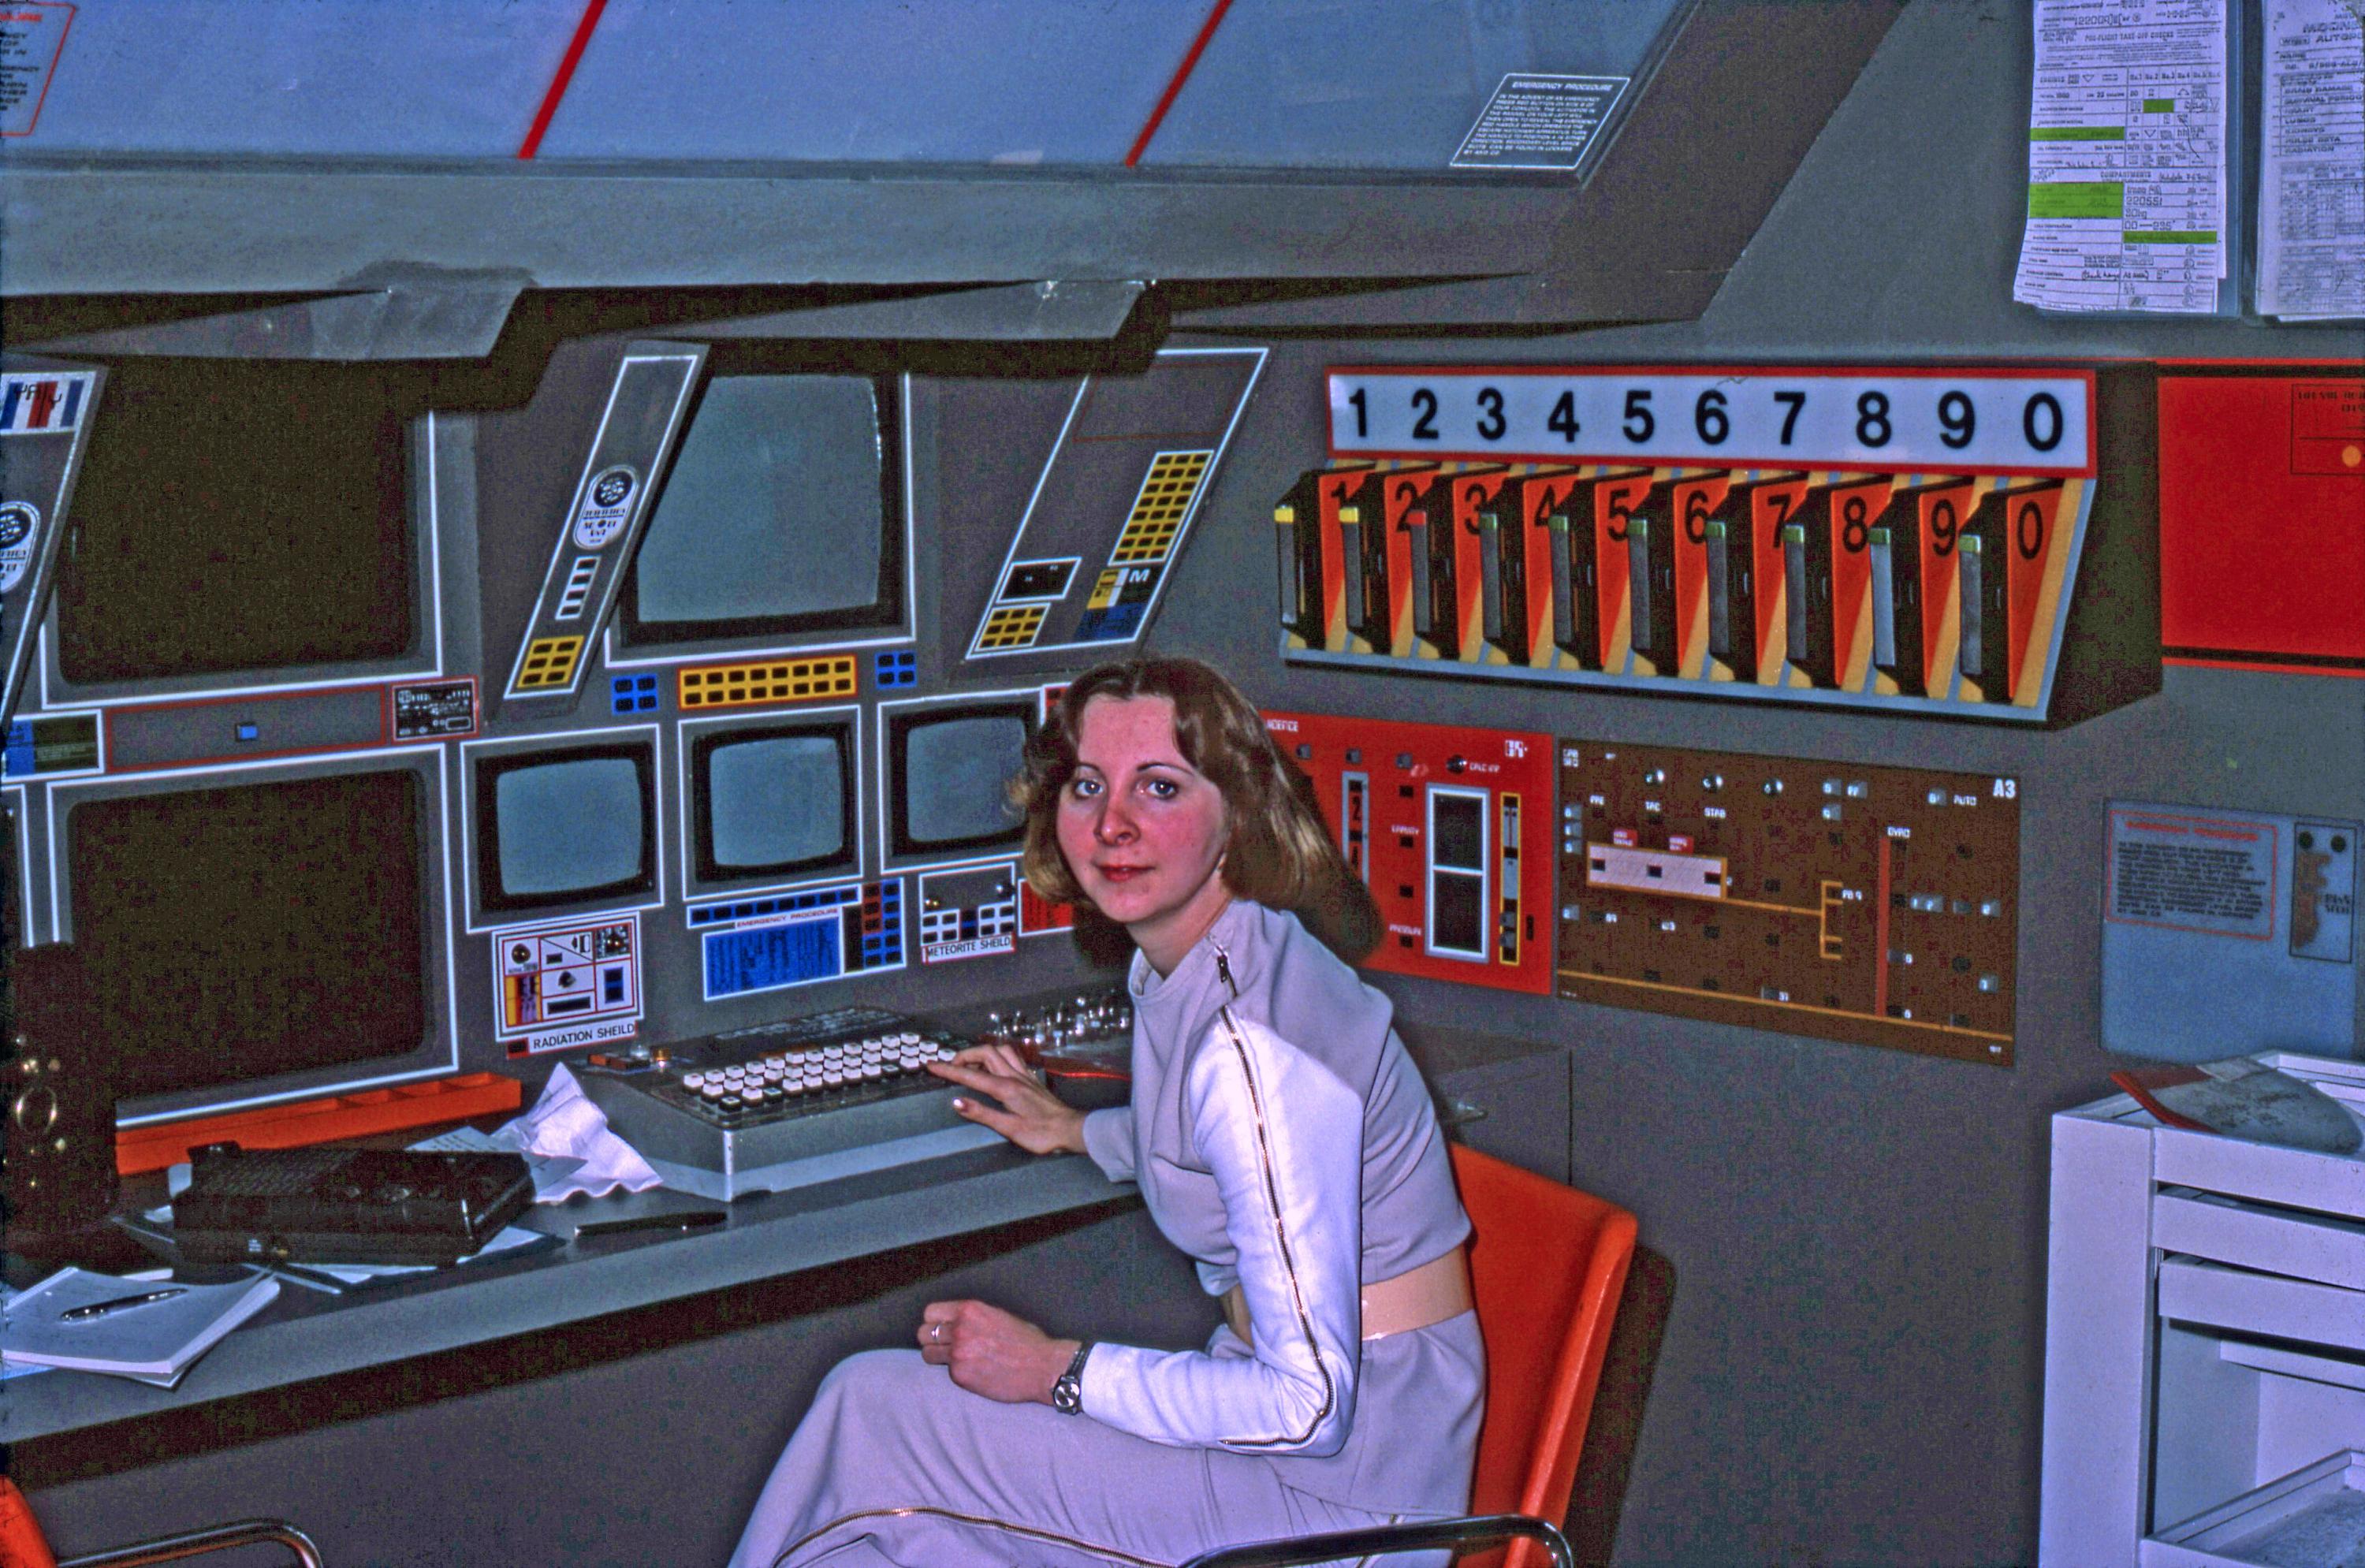
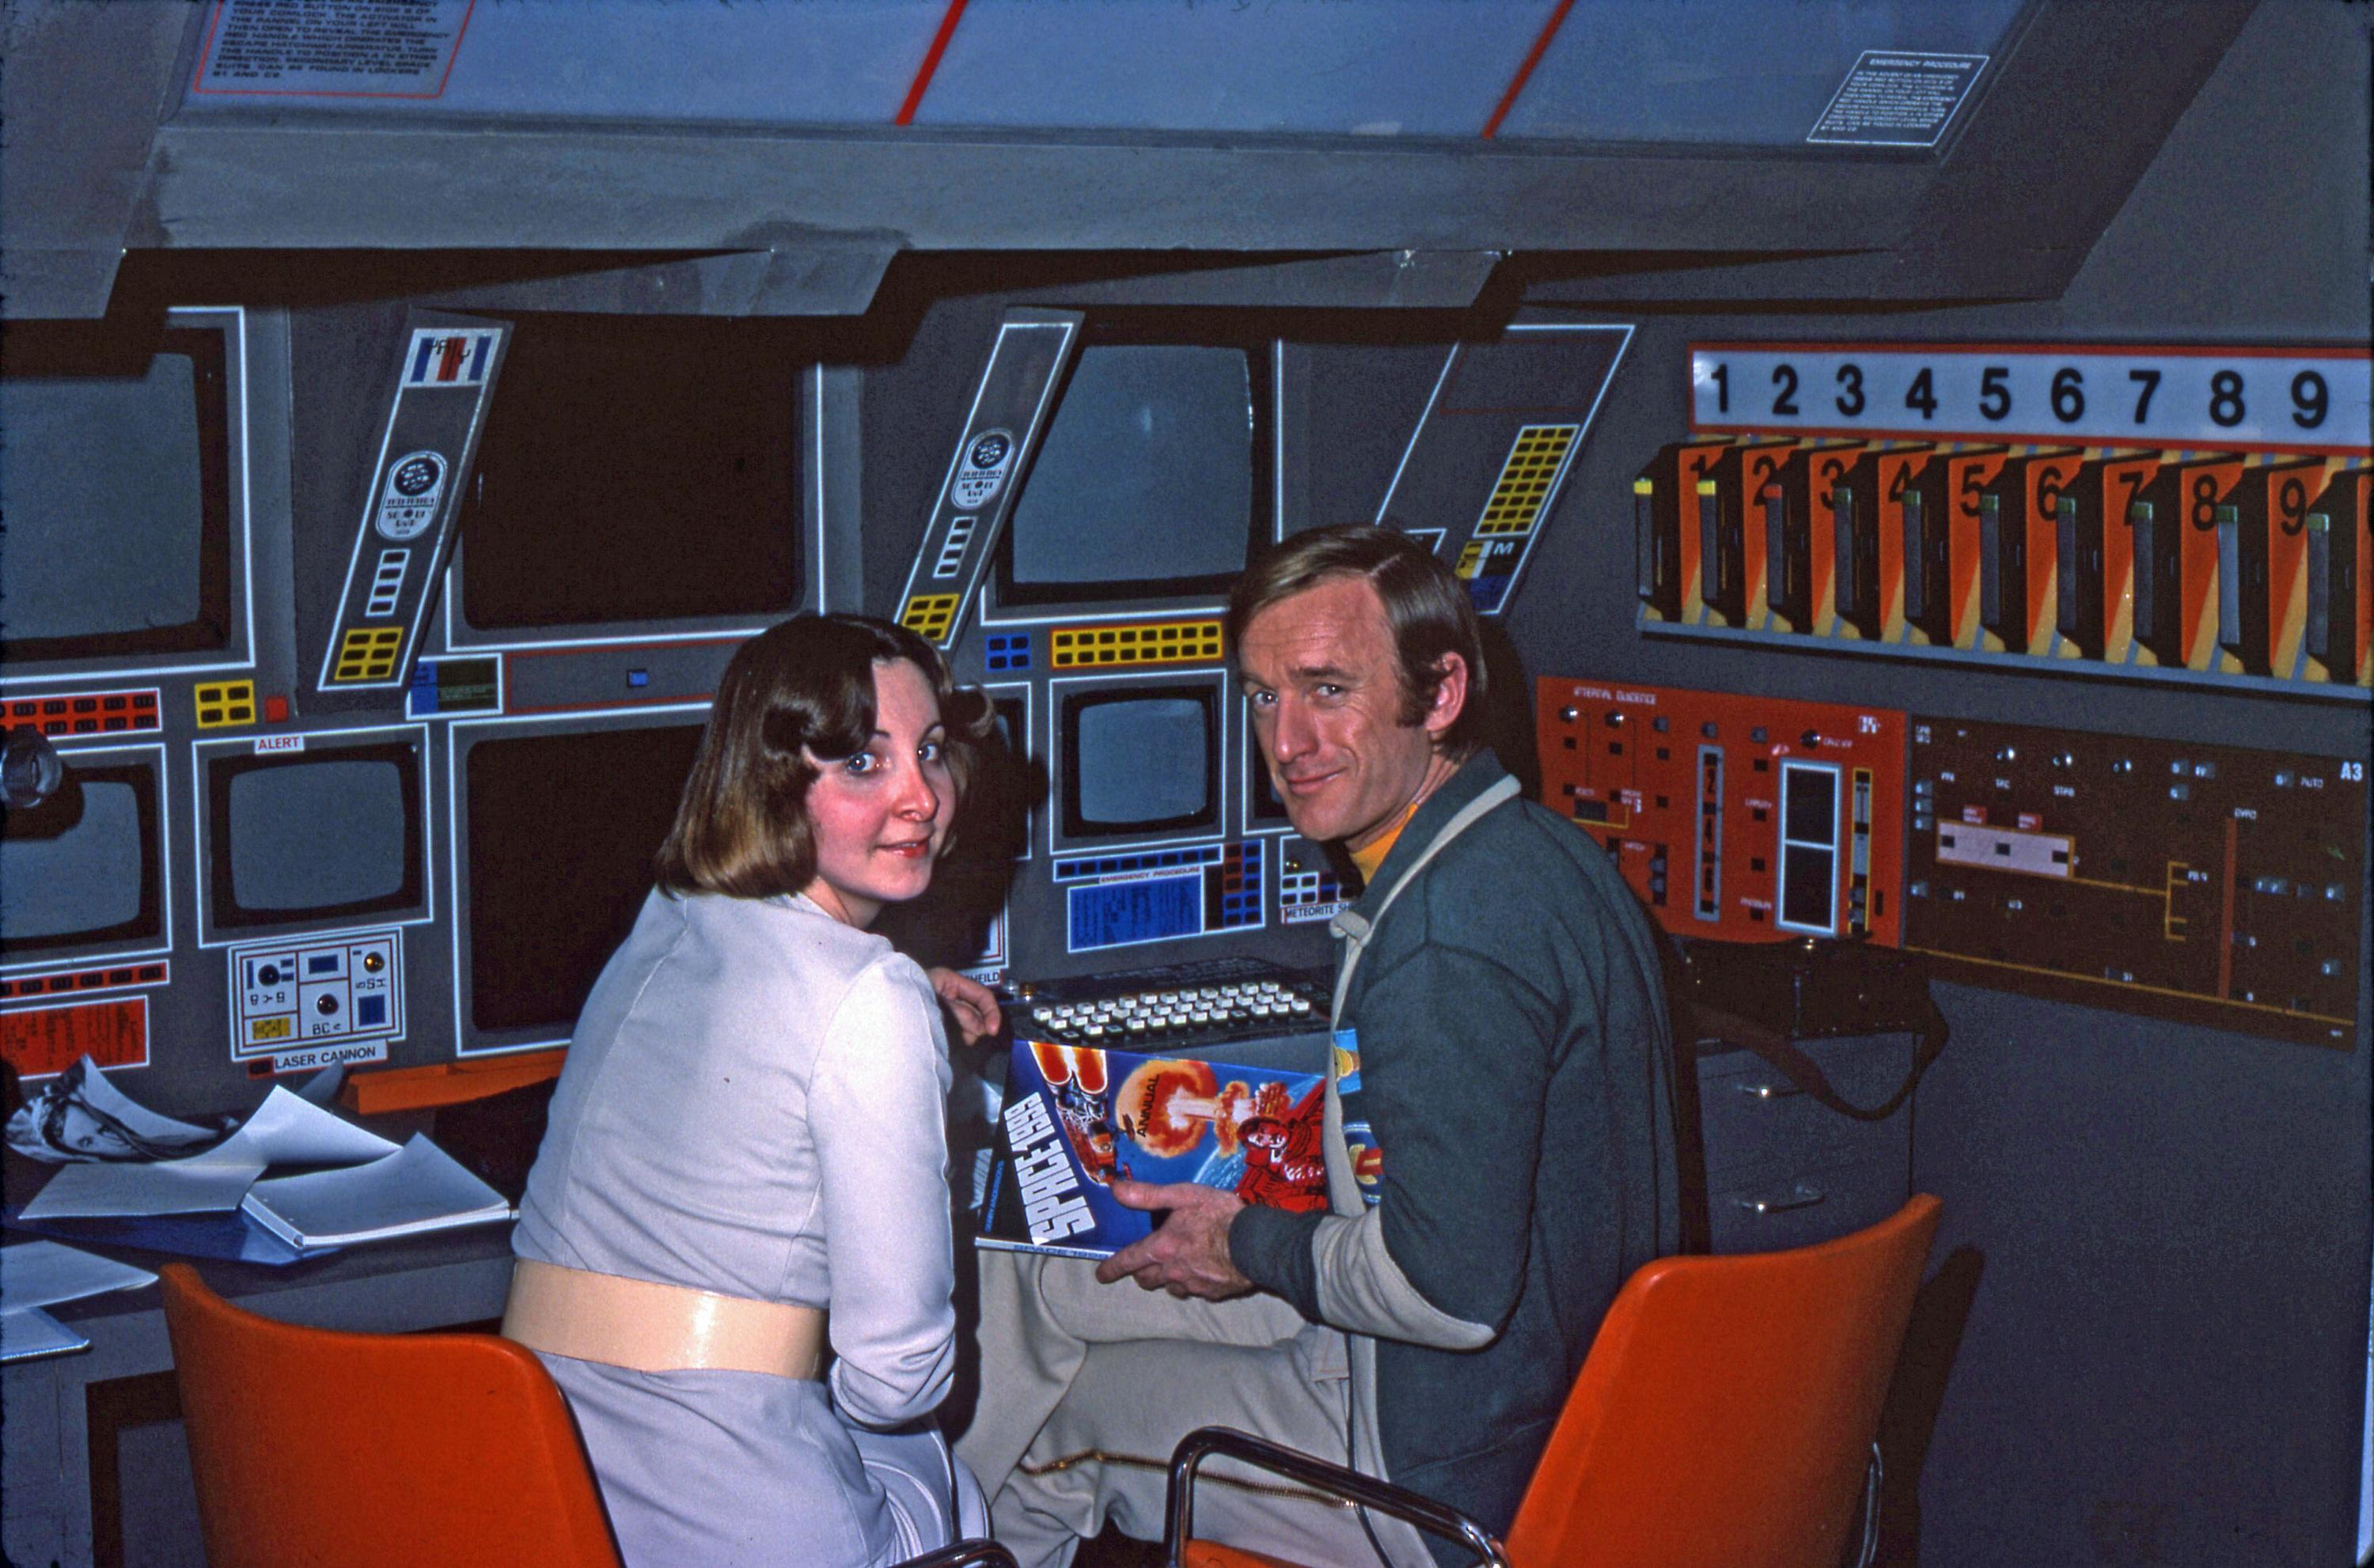
The desk that the technicians use in front of the console is the filing desk, with 5 drawers in cabinets either side. Another version of this desk sits on the other side of the room (with drawers along the central span). These desks were first seen in the Eagle passenger module in The Last Sunset, and also appear in Dragon's Domain and All That Glisters, as well as the Year 2 life support/power room. They also appear in Into Infinity
To the side, against the red computer wall, is a white plastic Orix-type writing table. There are orange chairs at all the desks.
There is also a Boby cart.
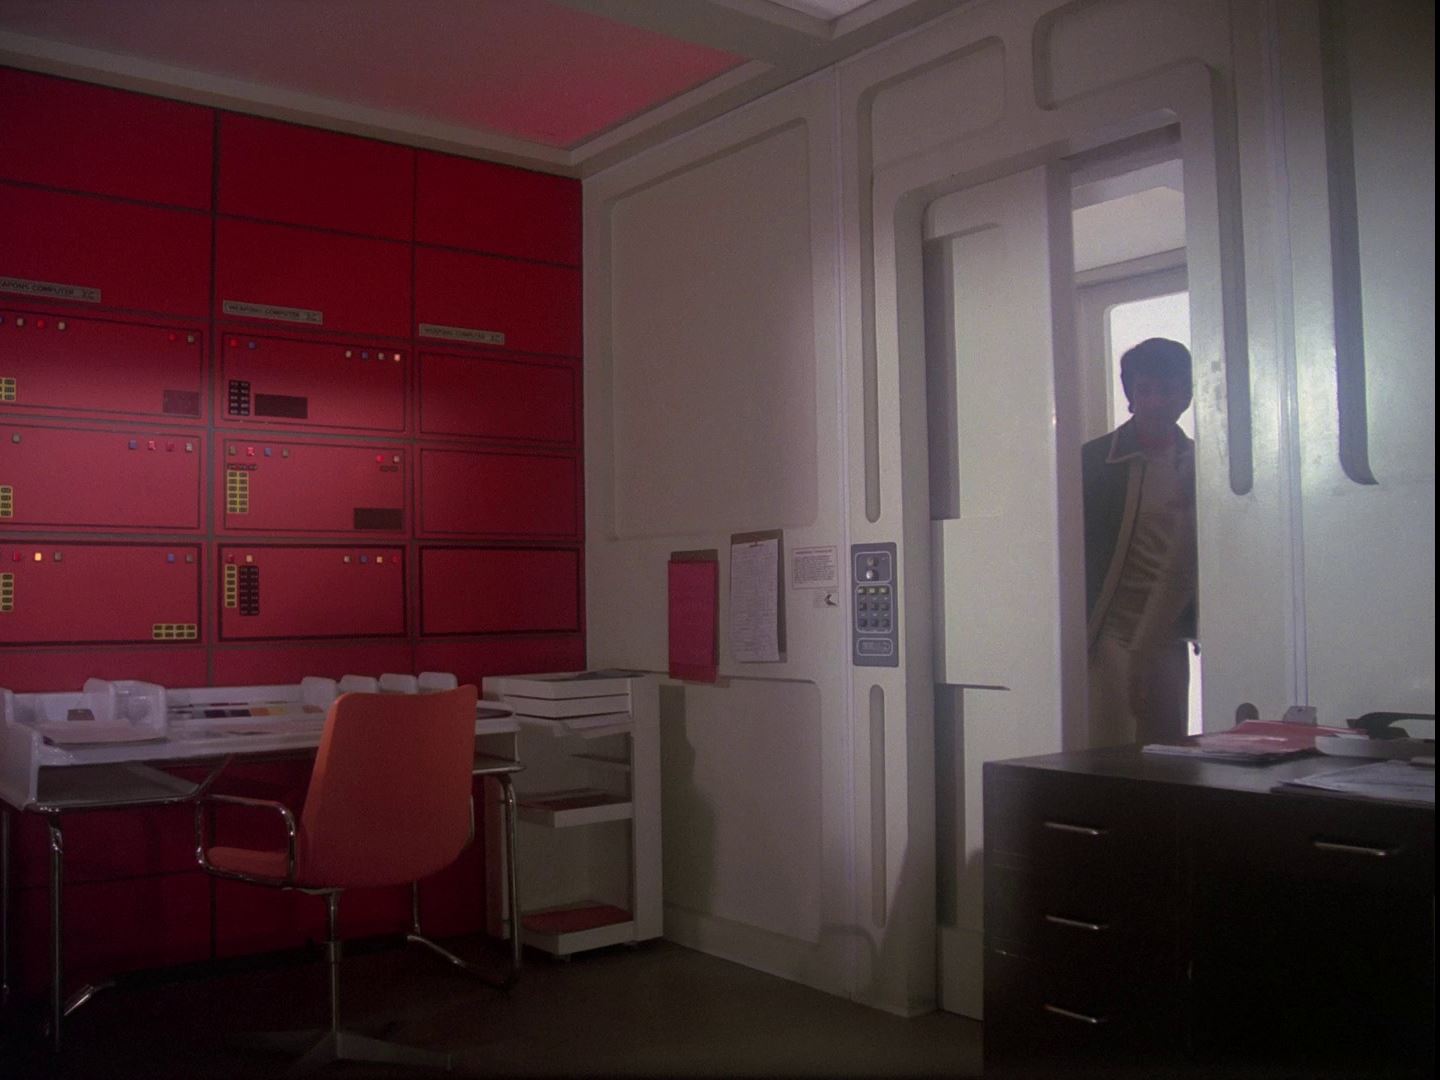
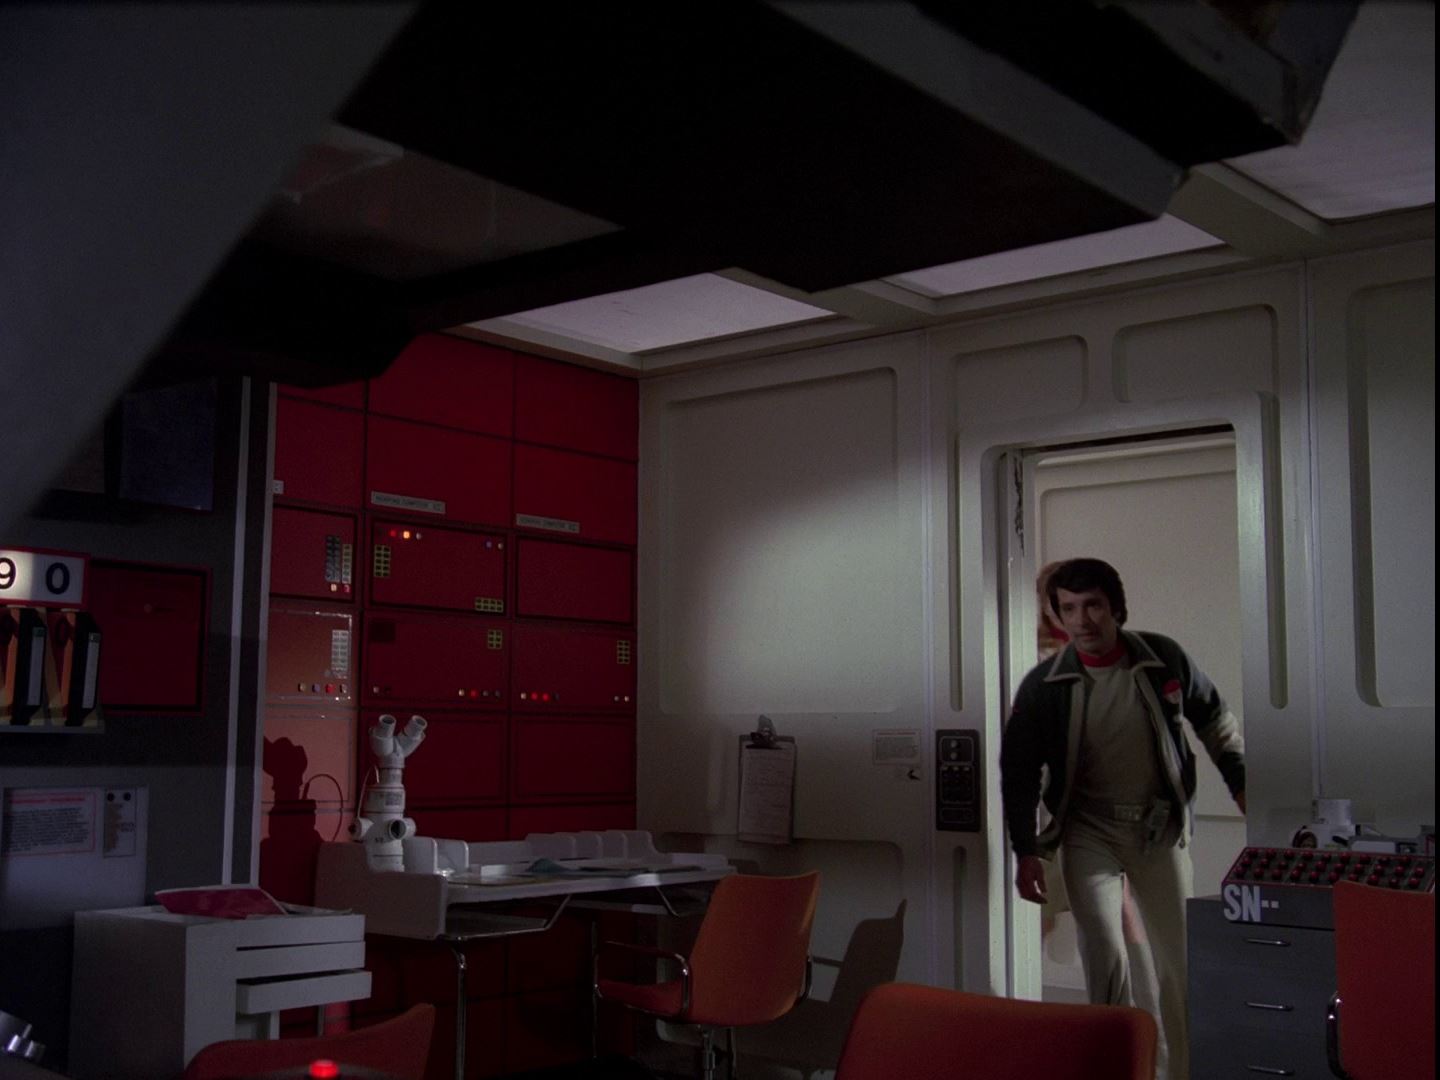
Our first glimpse in The Metamorph. Apparently Eagle pilots use it as a ready-room.
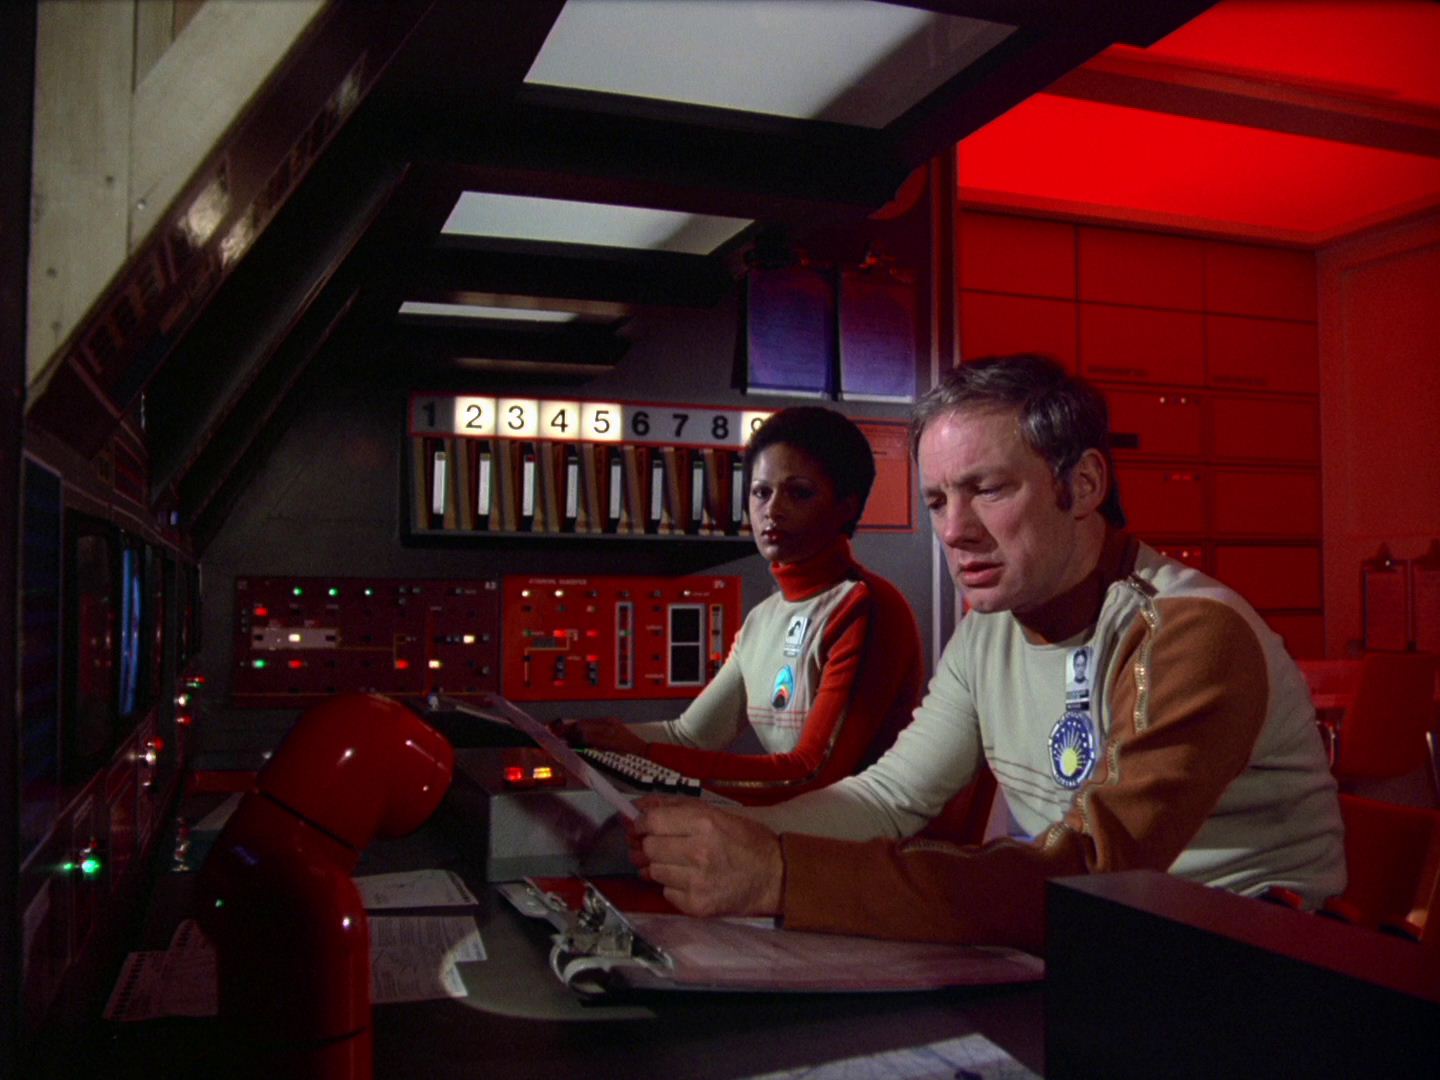
Later we see inside. The wooden frame of the set is visible top left. In foreground right is a red Tatu lamp. The keyboards are from Main Mission. The strong red aesthetic is seen in computer panels and overhead lighting. Later episodes used standard lighting.
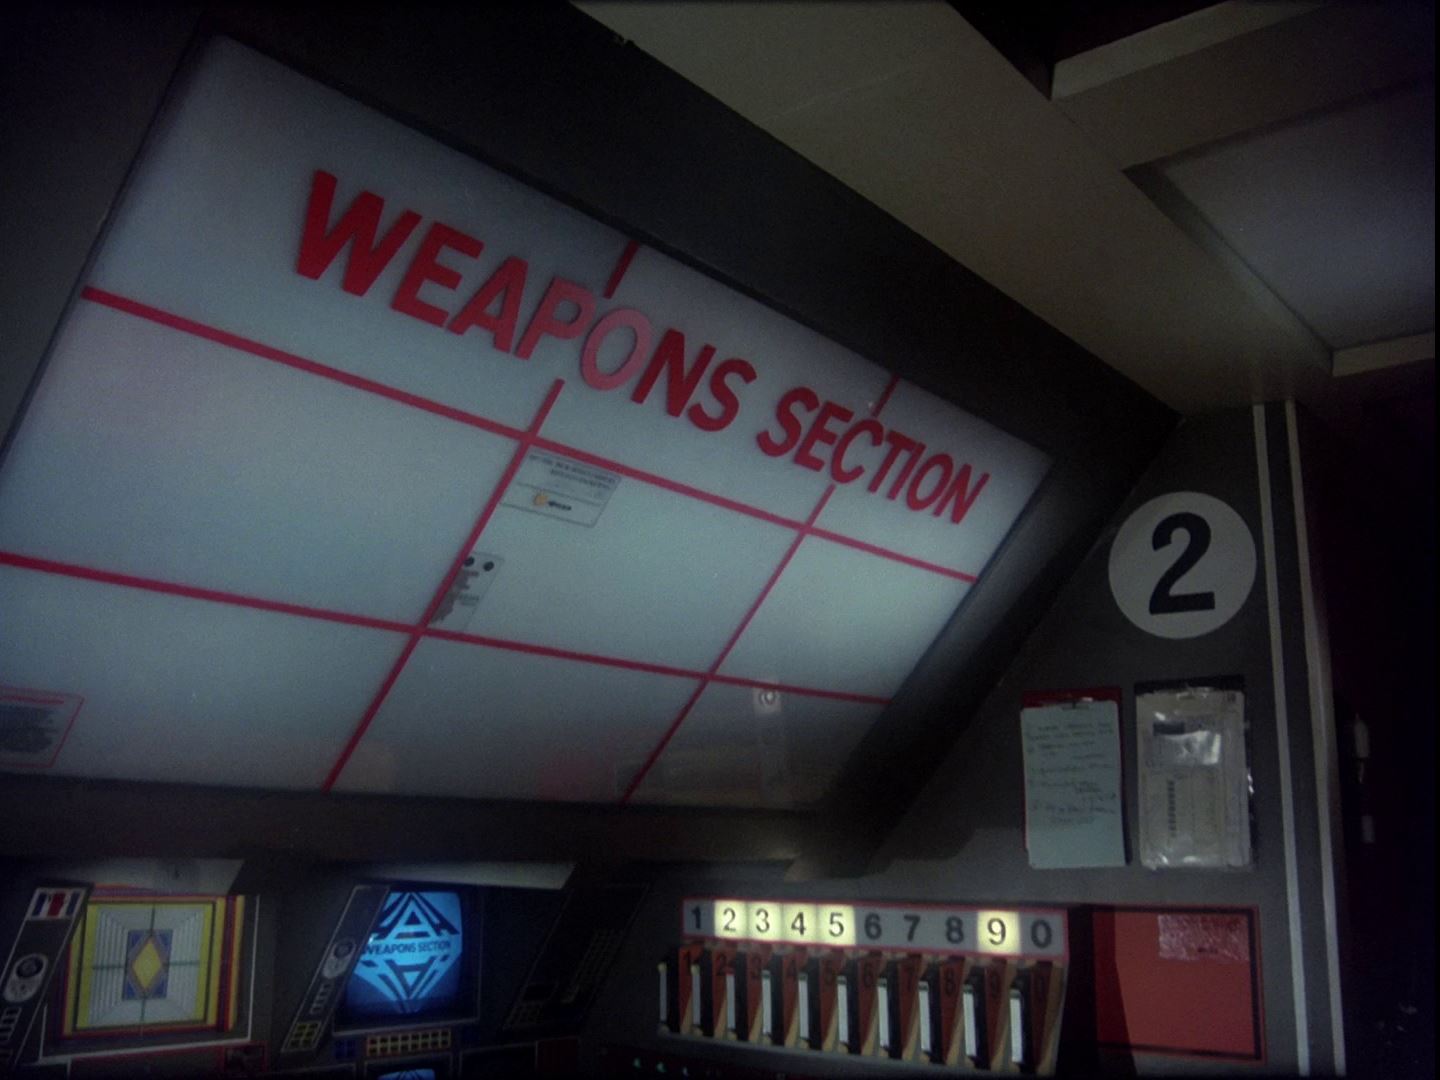
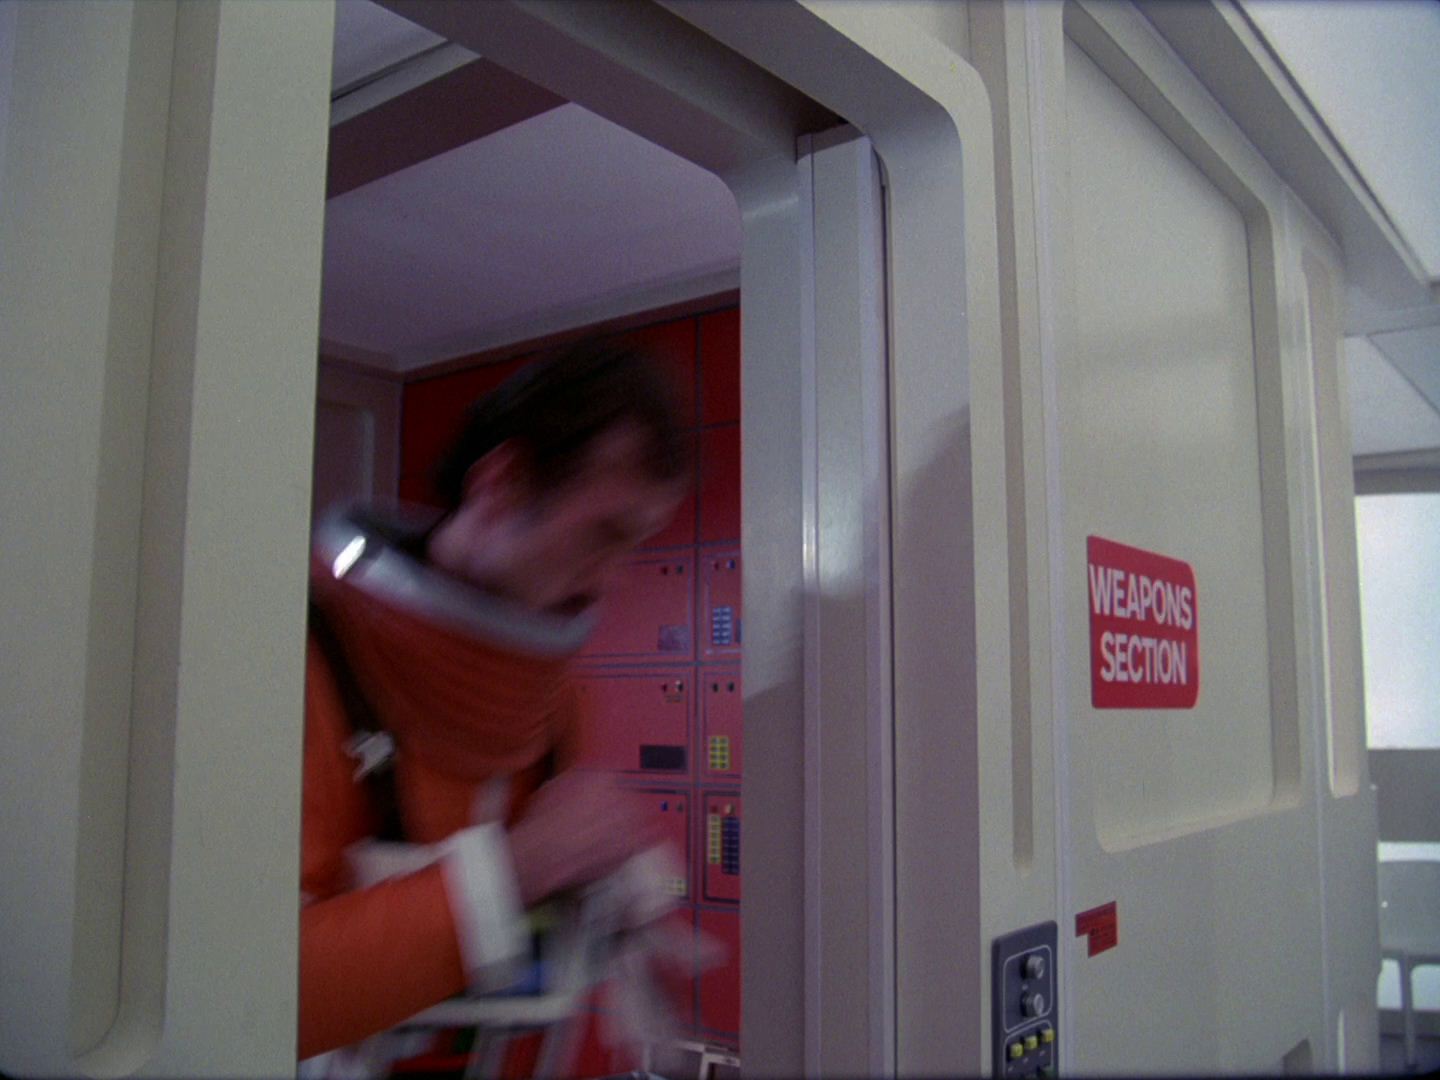
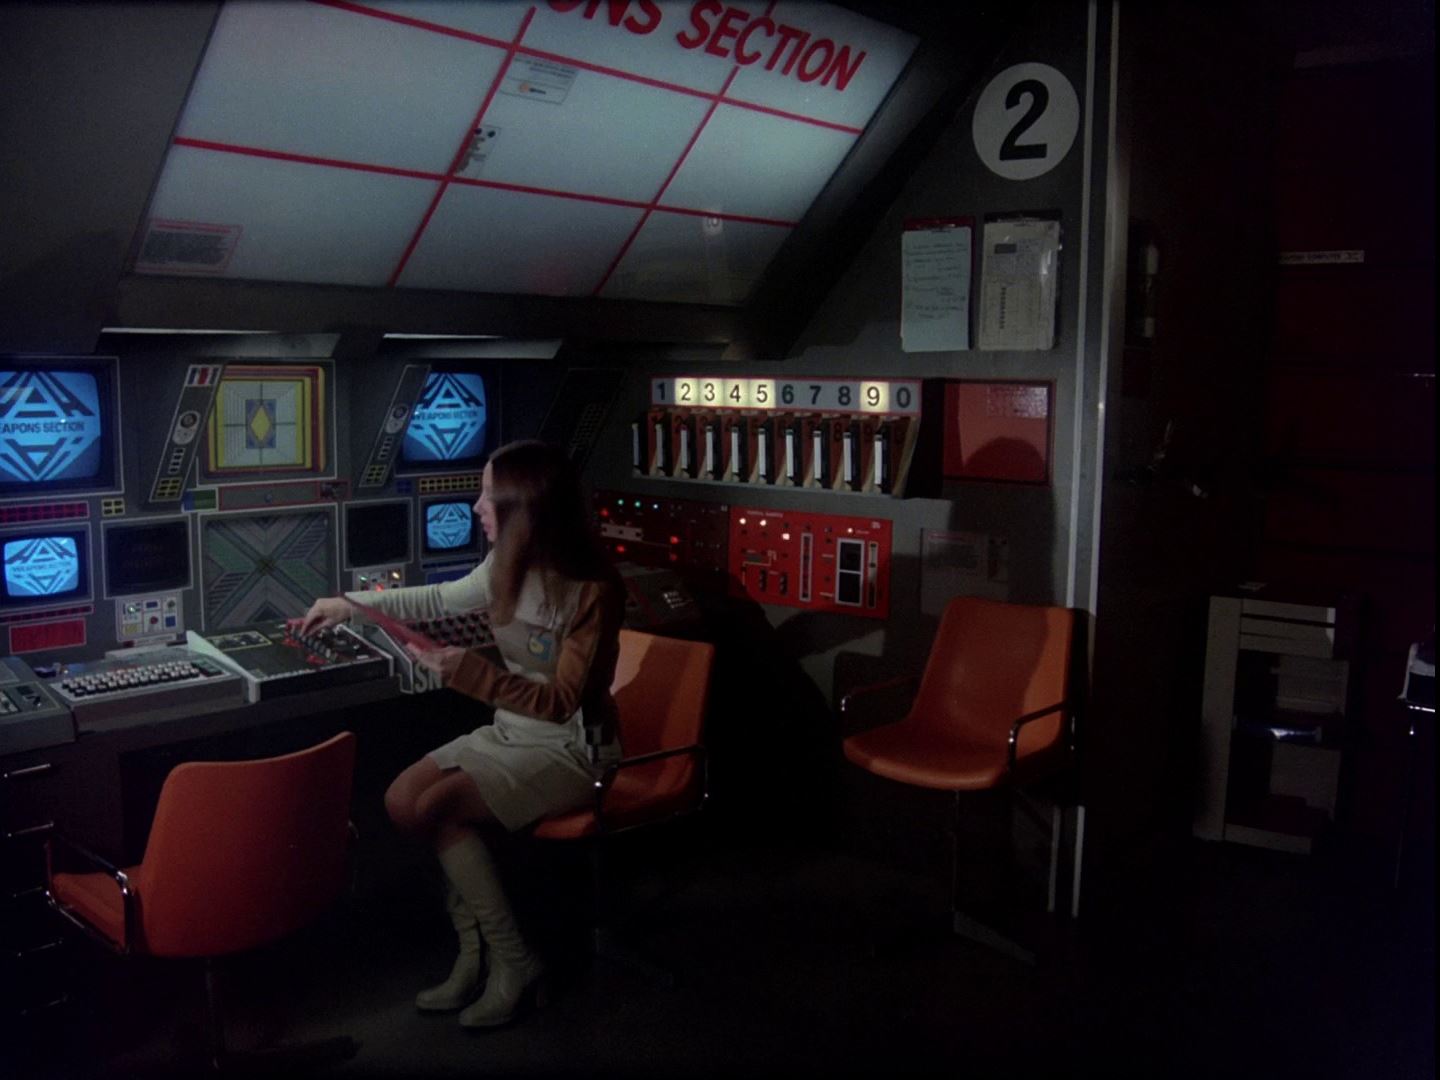
A helpful sign indicates the location.
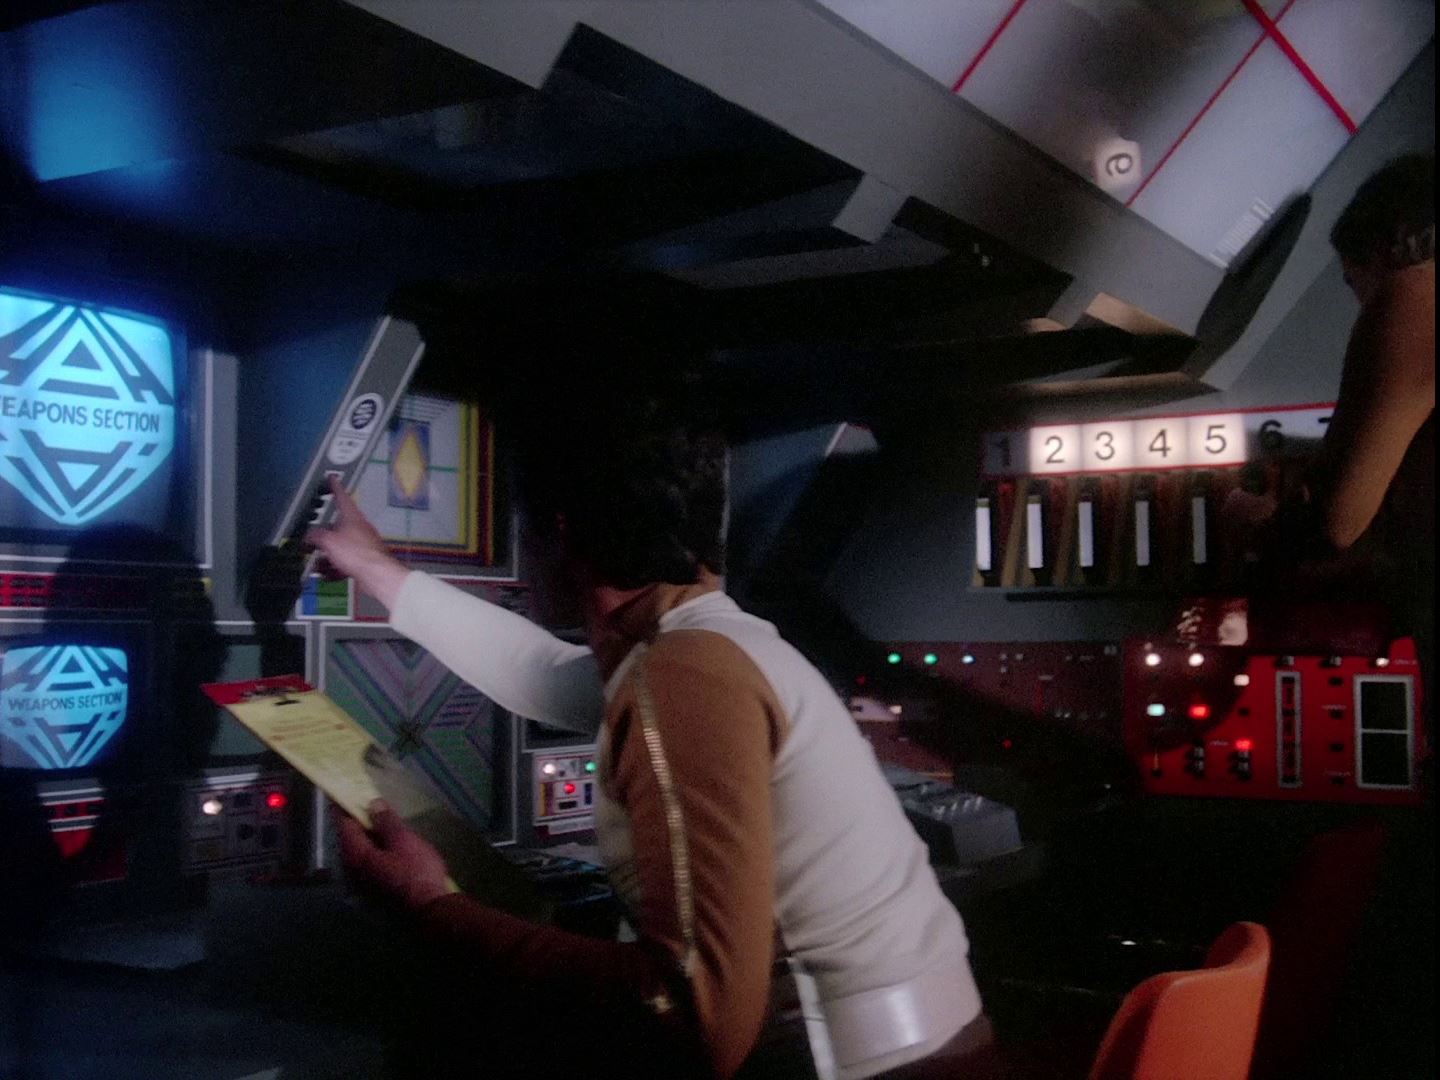
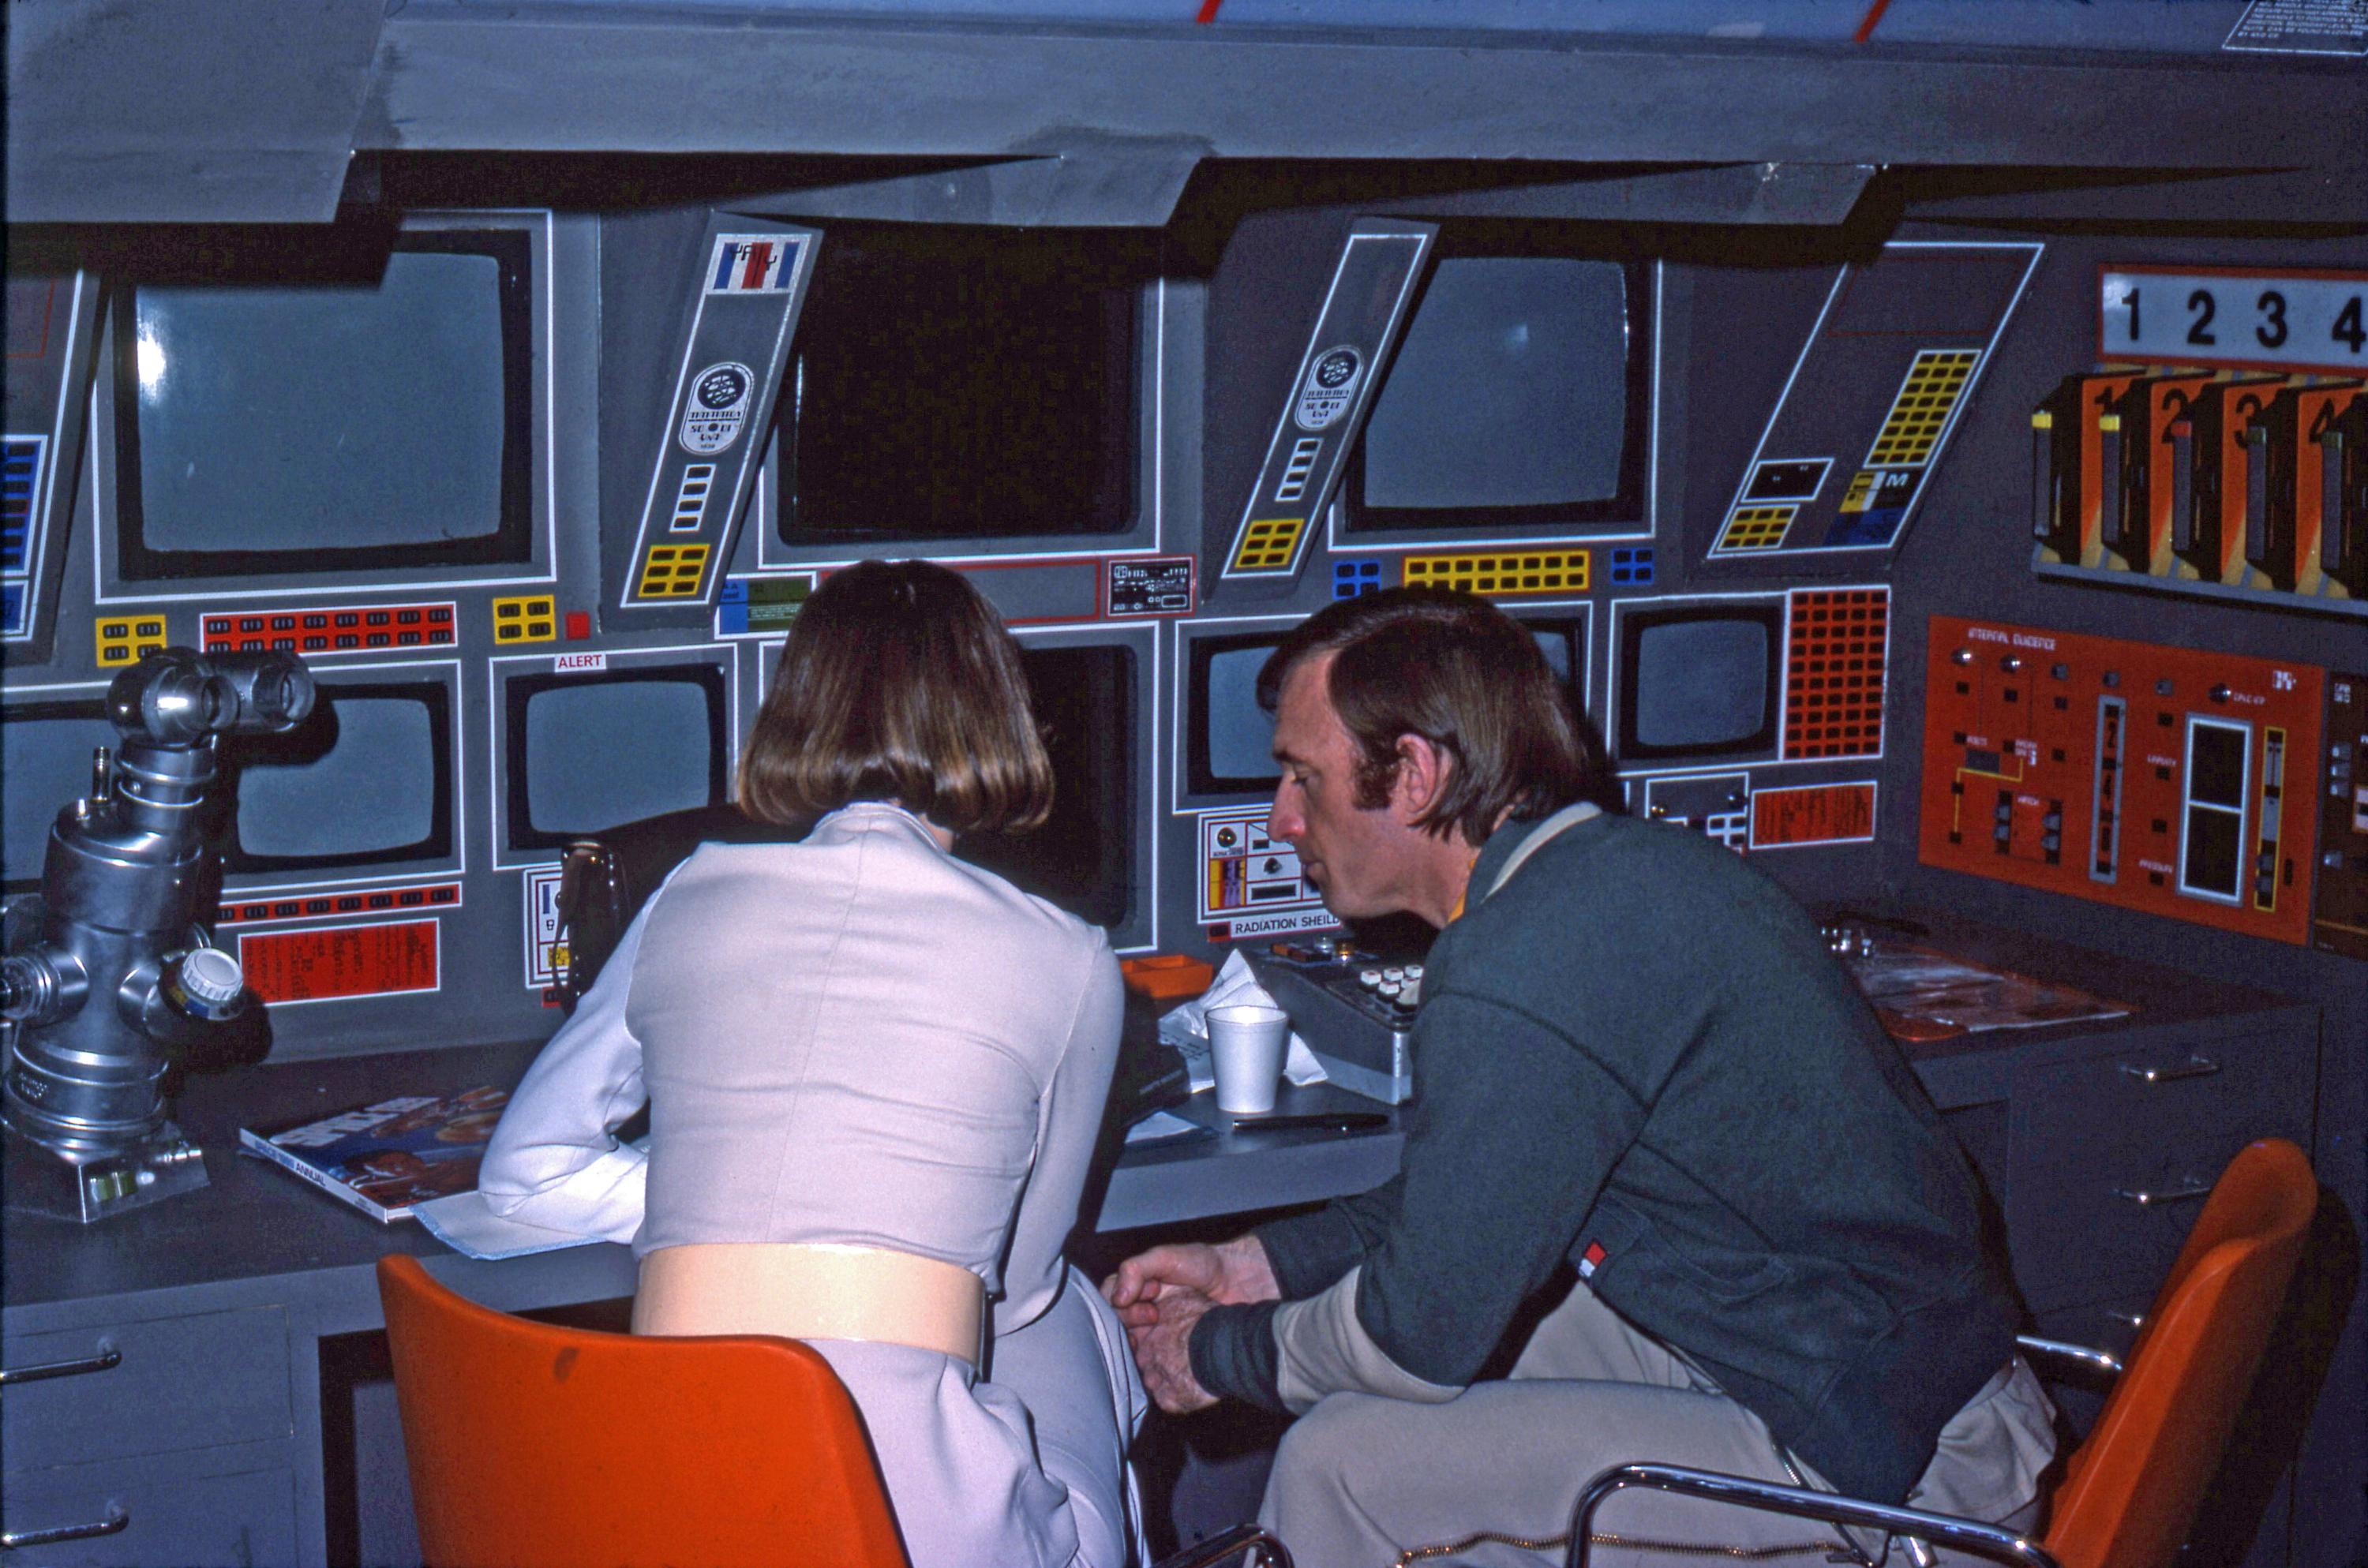
Signage includes "Laser cannon", "Radiation Sheild", "Meteorite Sheild". Both Shields are mis-spelt.
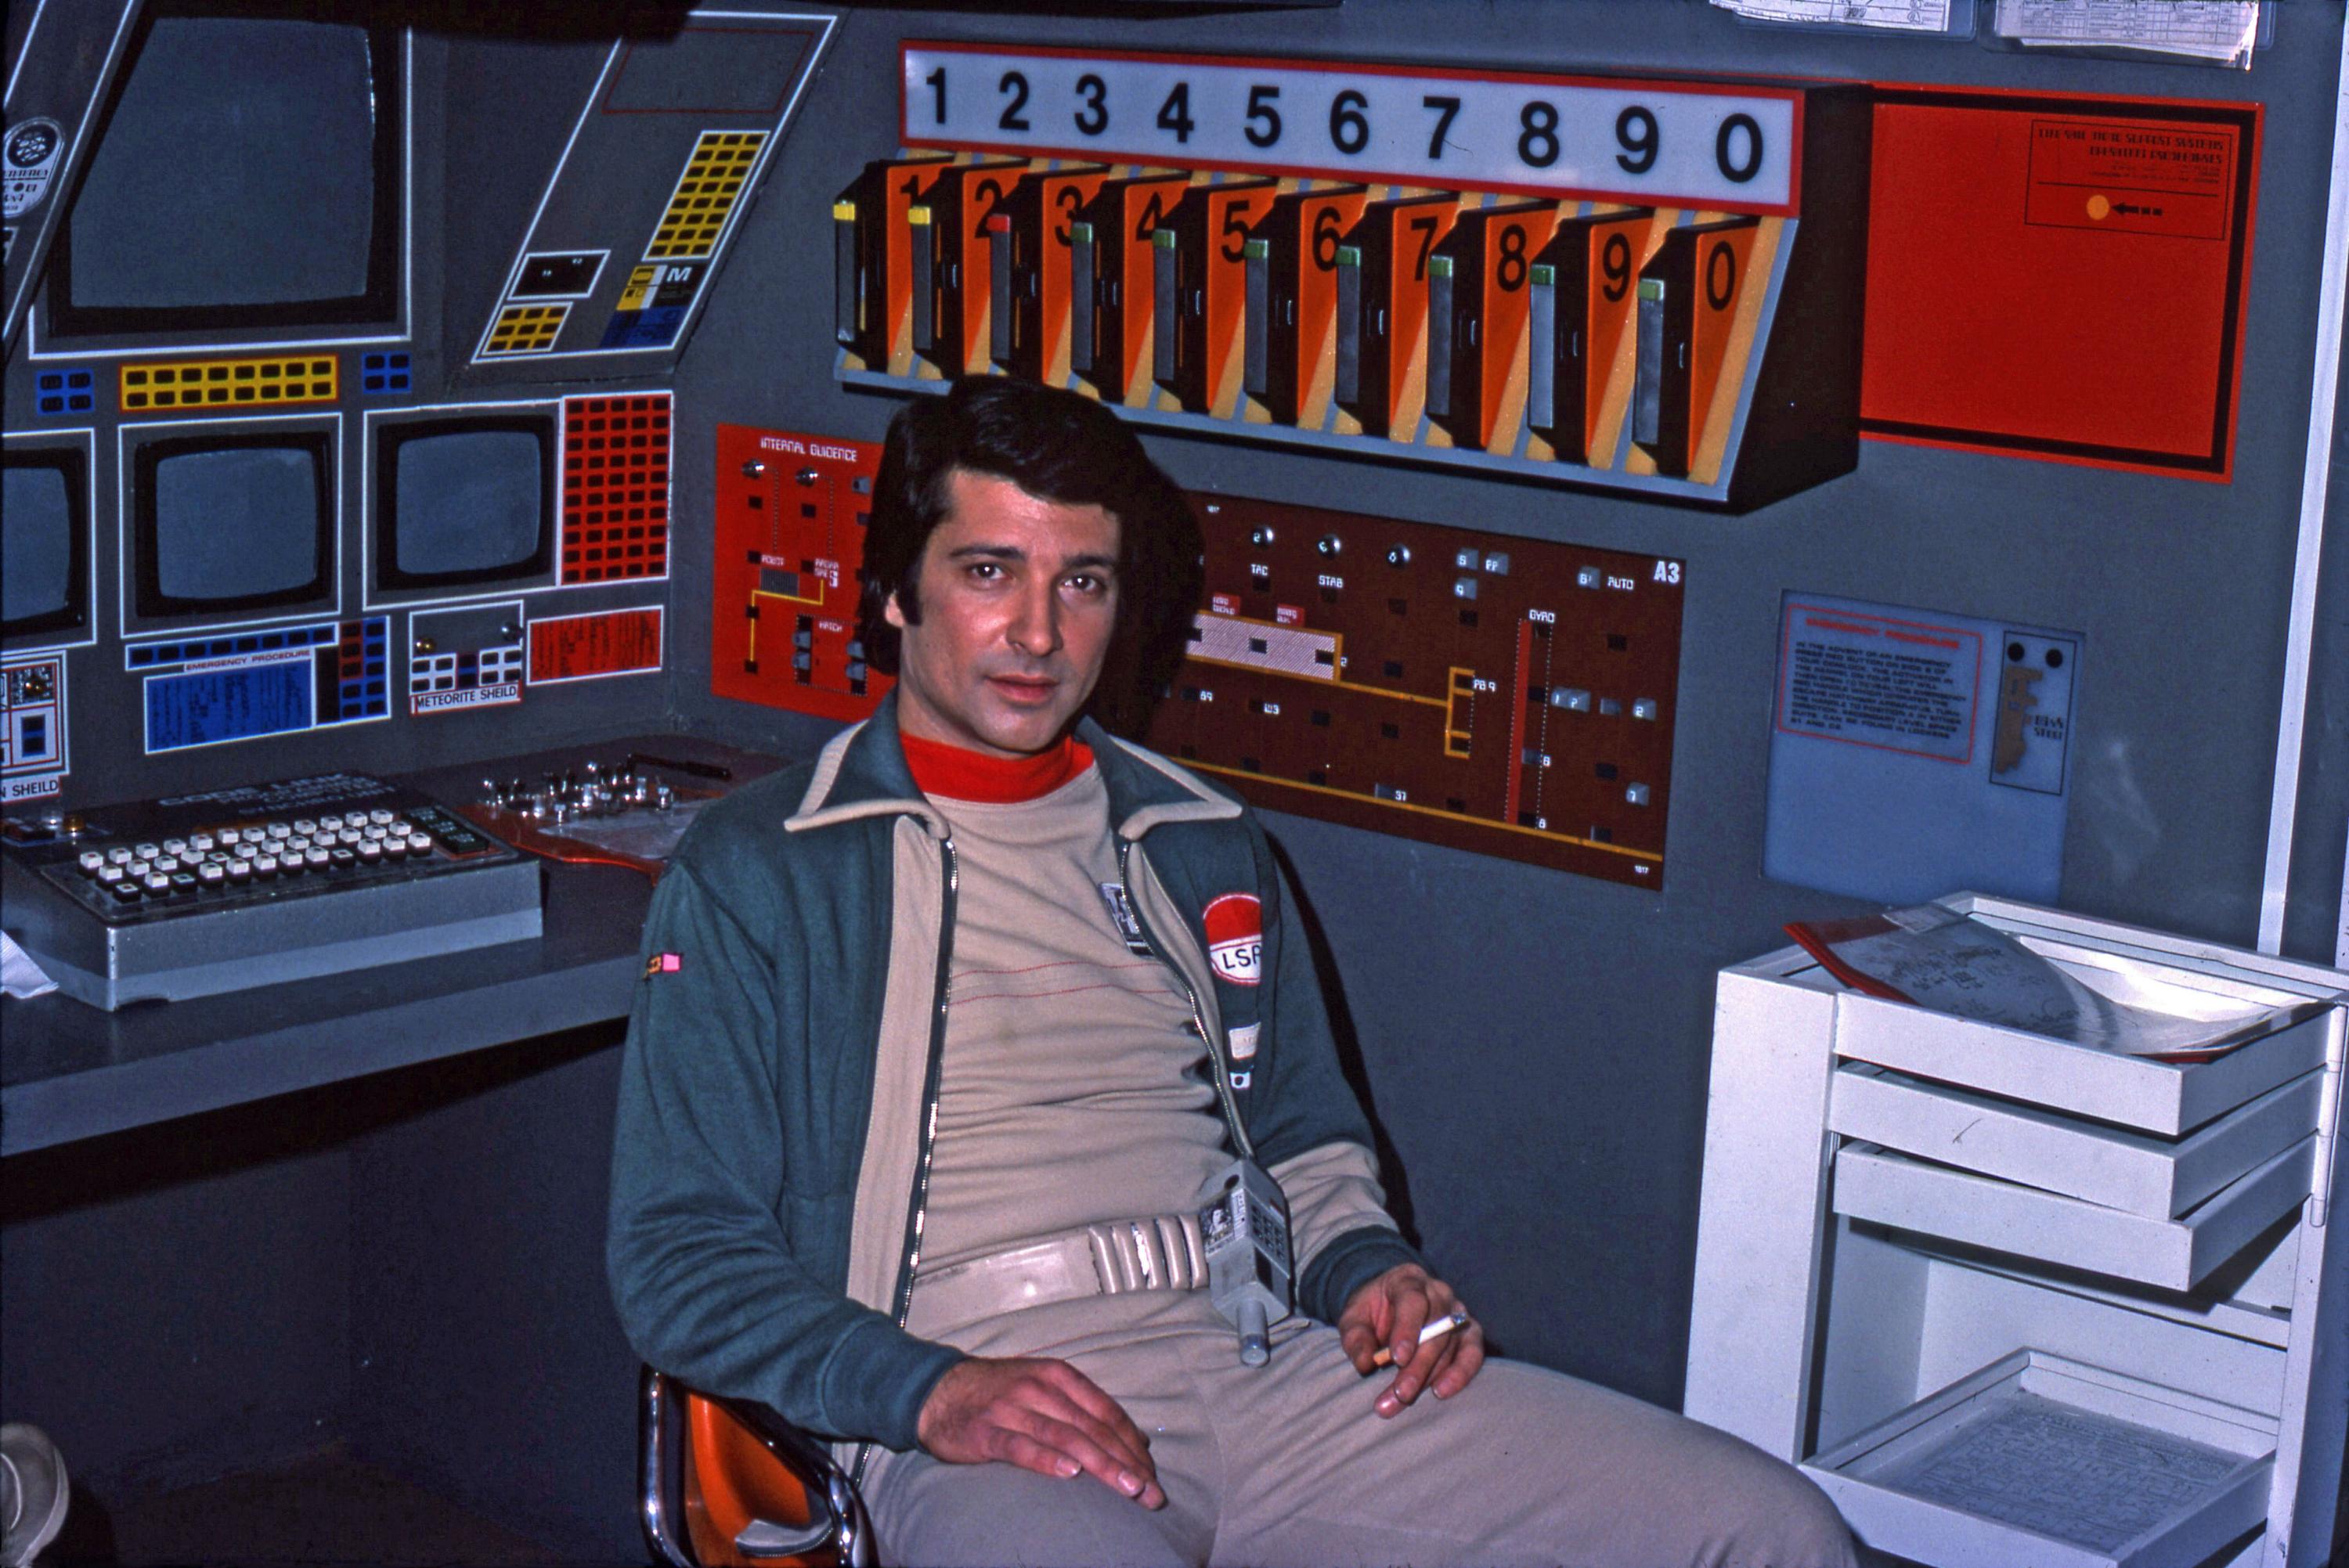
Behind the scenes shot from December 1976. In this episode, The Dorcons, the two computer panels on the side wall have swapped round (red "Internal Guidence" , and burgundy "A3"). Note the Space Warp detector
The left wall is unseen in the series (it is normally the camera position). It is seen just once, in The Mark Of Archanon, showing a blank wall panel with chair.
This behind the scenes shot shows the wall at the end of the desk, a dark grey panel with red "Weapons Computer" panels. The wall is leaning against the end of the set, with a wider gap at the floor.
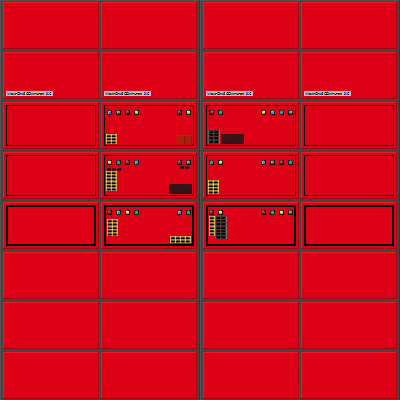
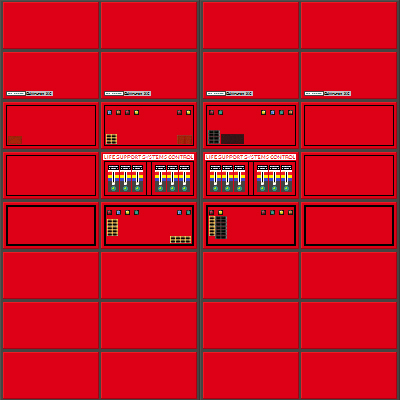
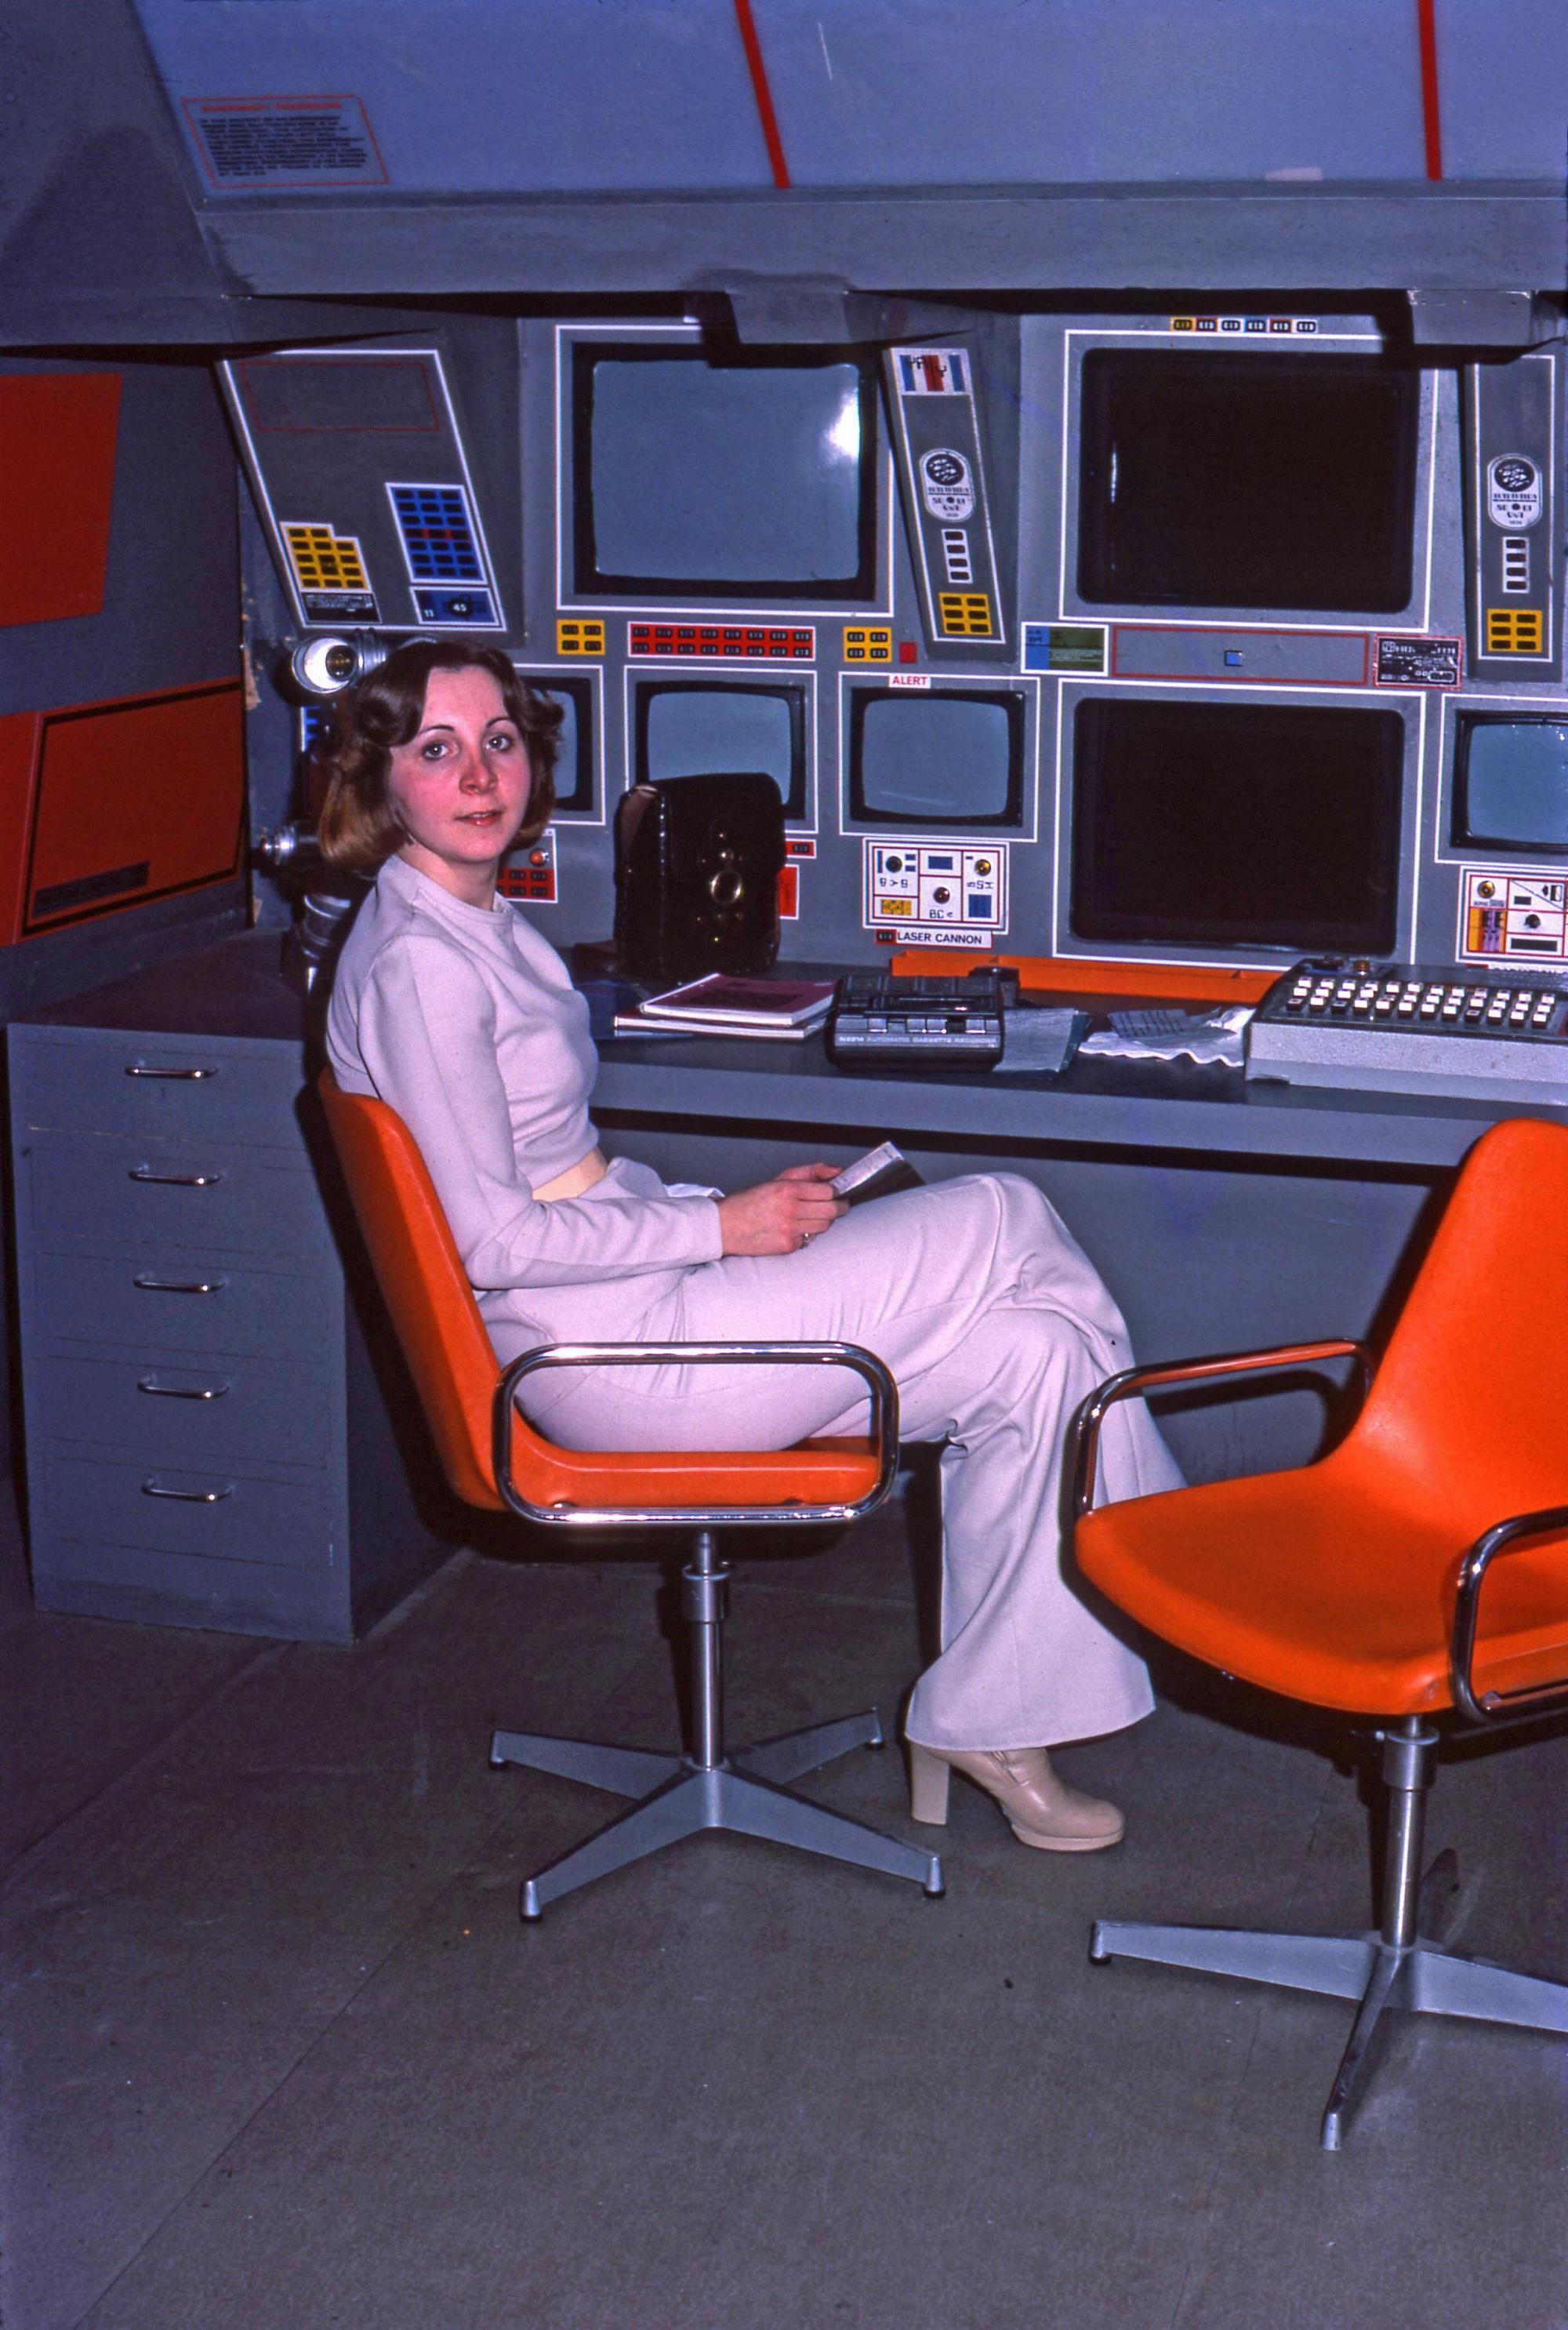
There is a large bank of screens. The central two screens are never used. On each side is a large black and white monitors; there are also three smaller screens under each of these. (This is actually Life Support Centre in Seed Of Destruction, a minimal revamp of Weapons Section)

The larger side screens are used for communications. The Space Warp detector is present in this shot from The Dorcons
The smaller screens are often used for "Red Alert" messages, but can also display television pictures.

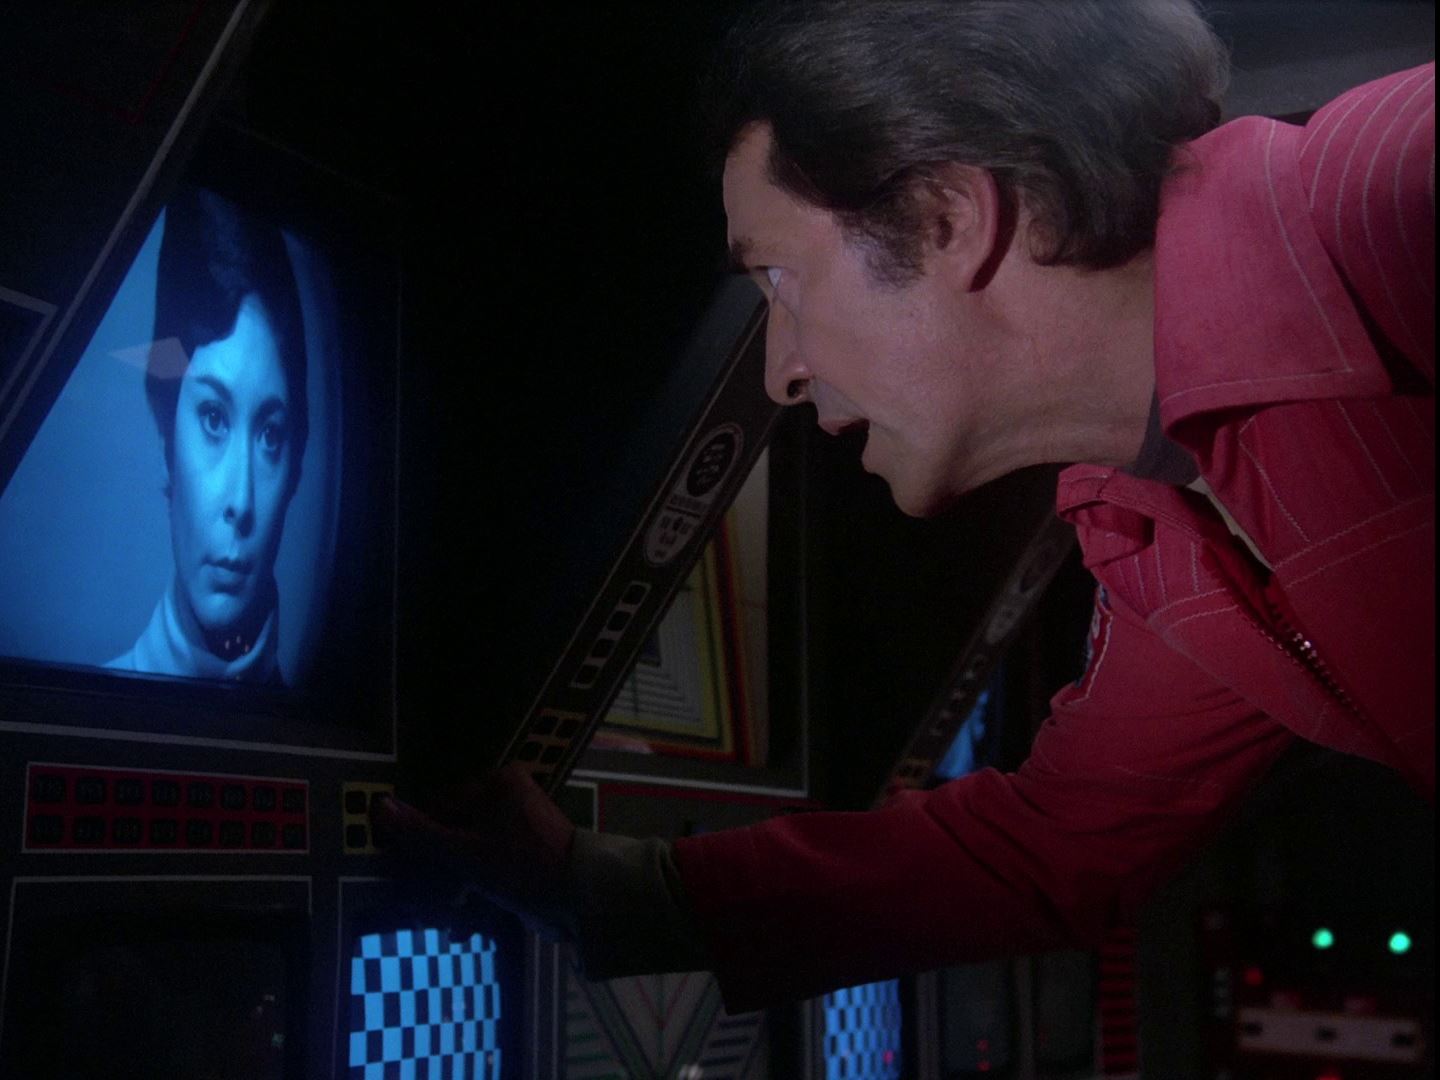
Close up of a screen, here in colour.
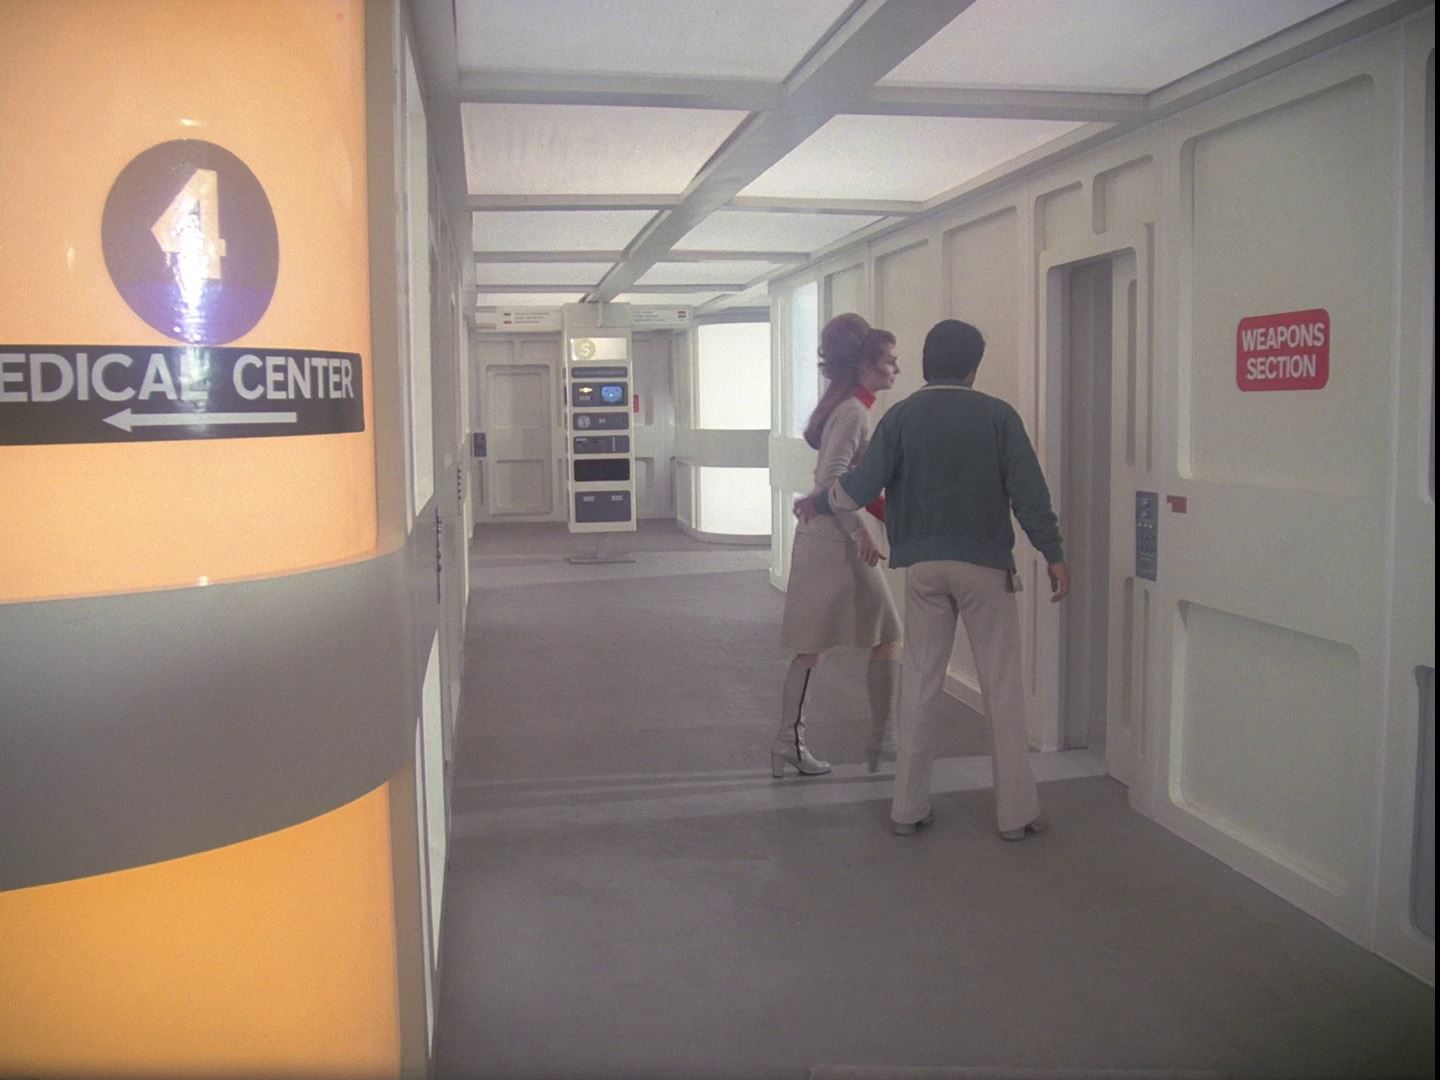
Beta Cloud establishes the location of Weapons- just across the corridor from Medical Center.
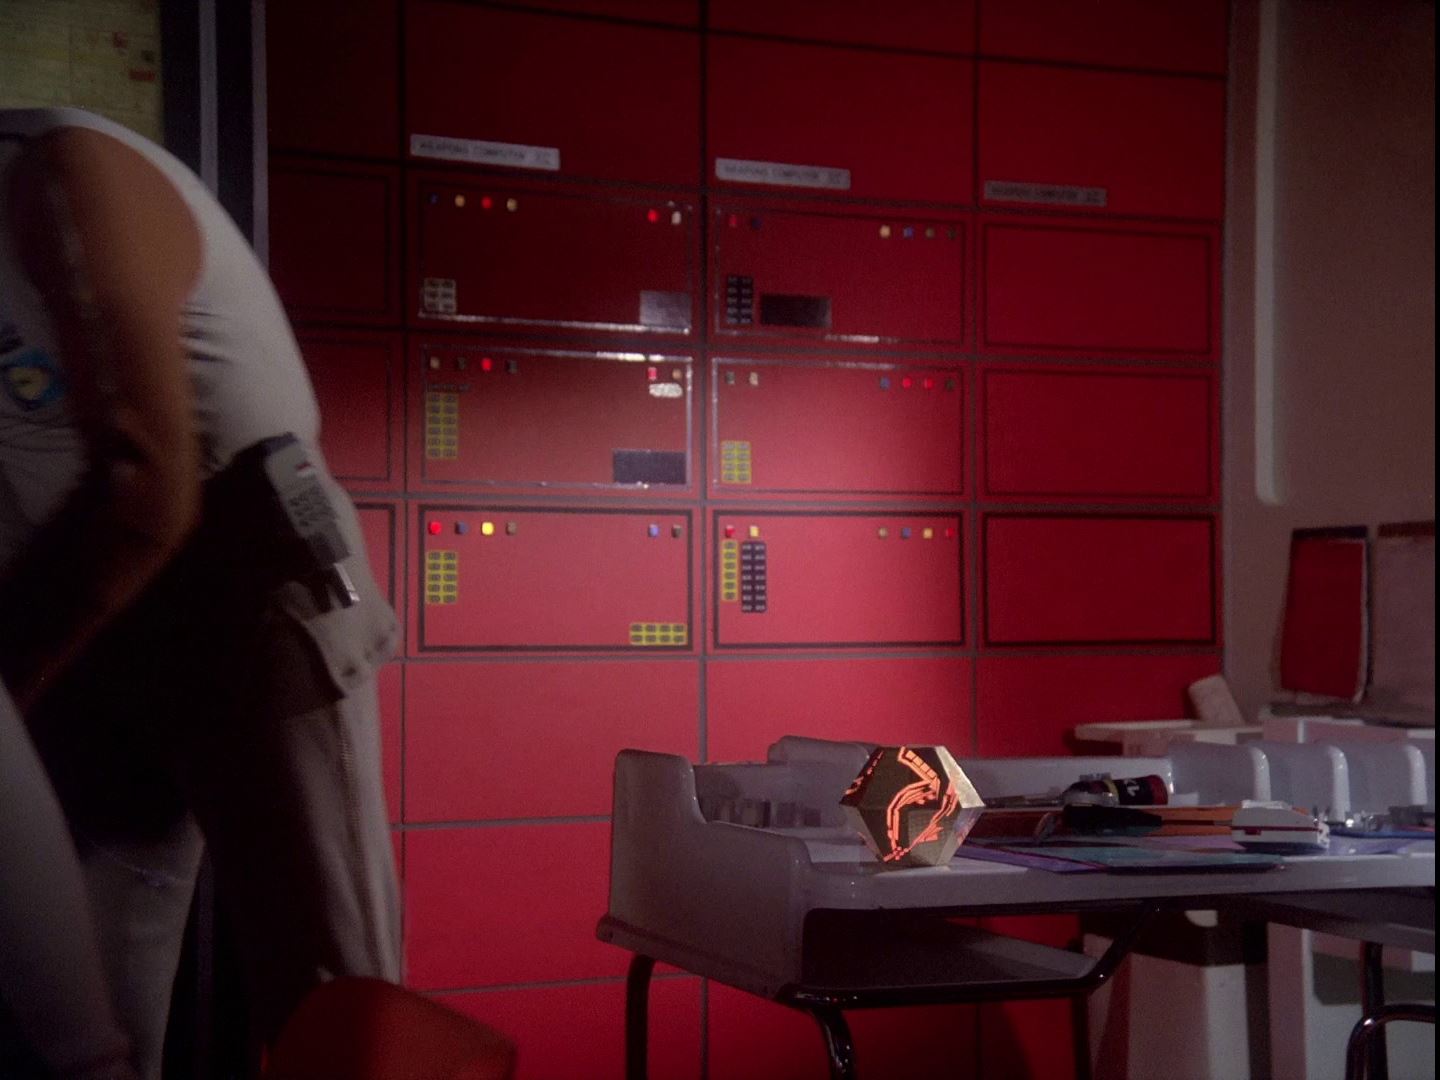
View of the red computer panels on one wall. The red panels reappear in only one set- the Eagle hangar Control Room seen in Space Warp.
The panel graphics here are by Craig Rohloff. The left-most column is mostly unseen.
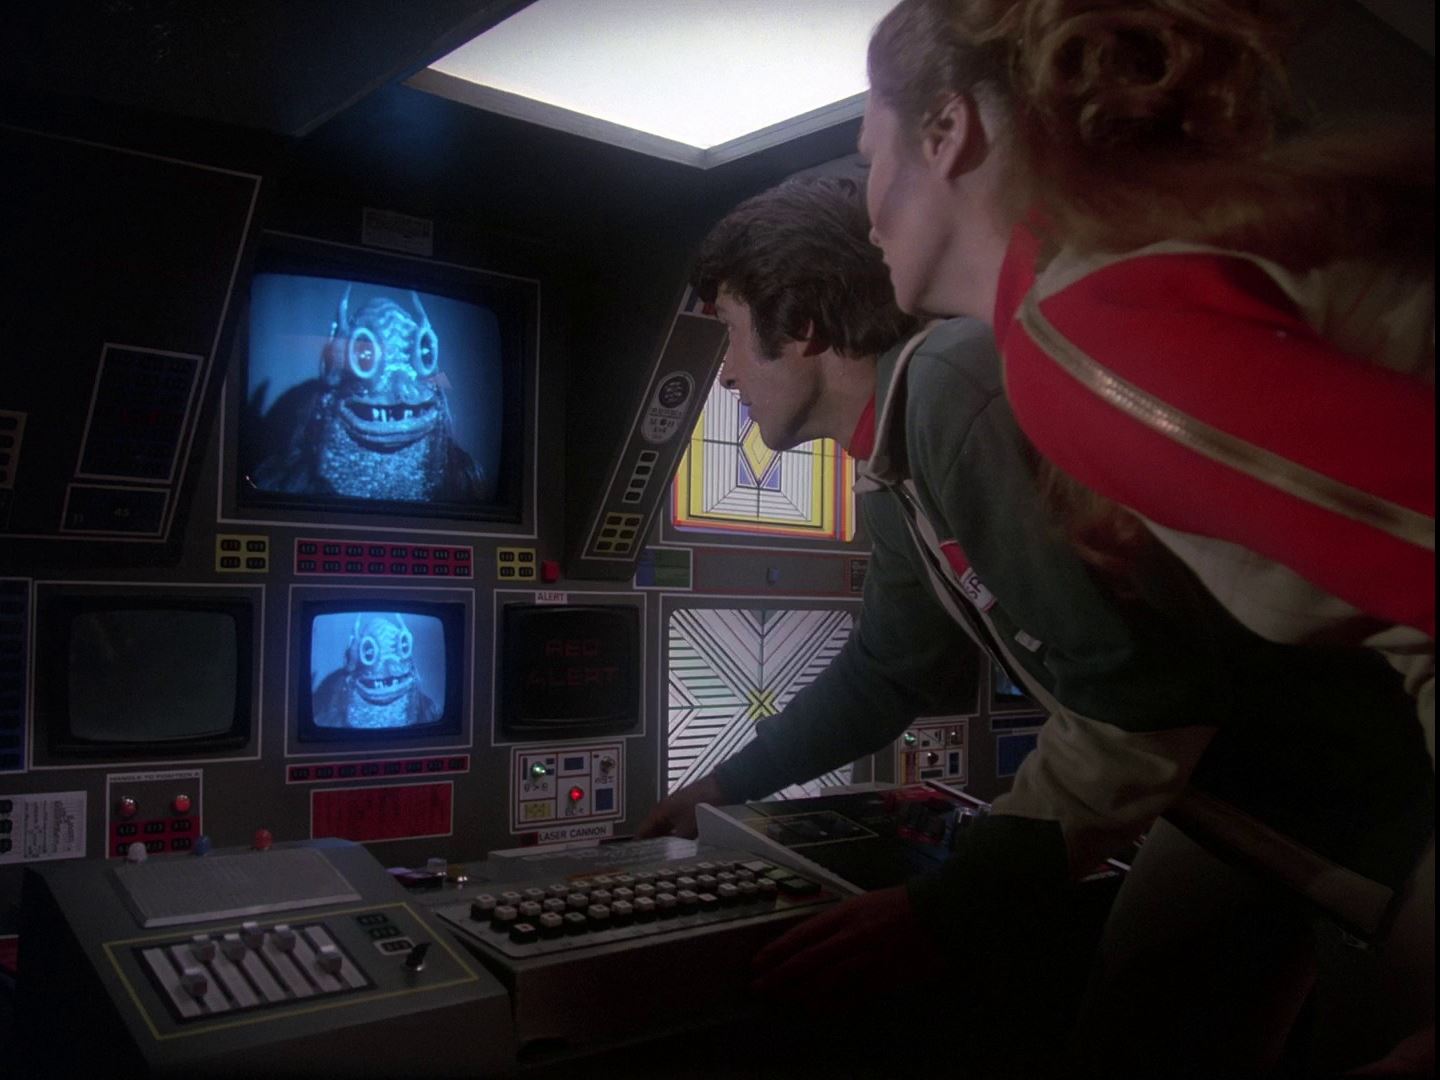
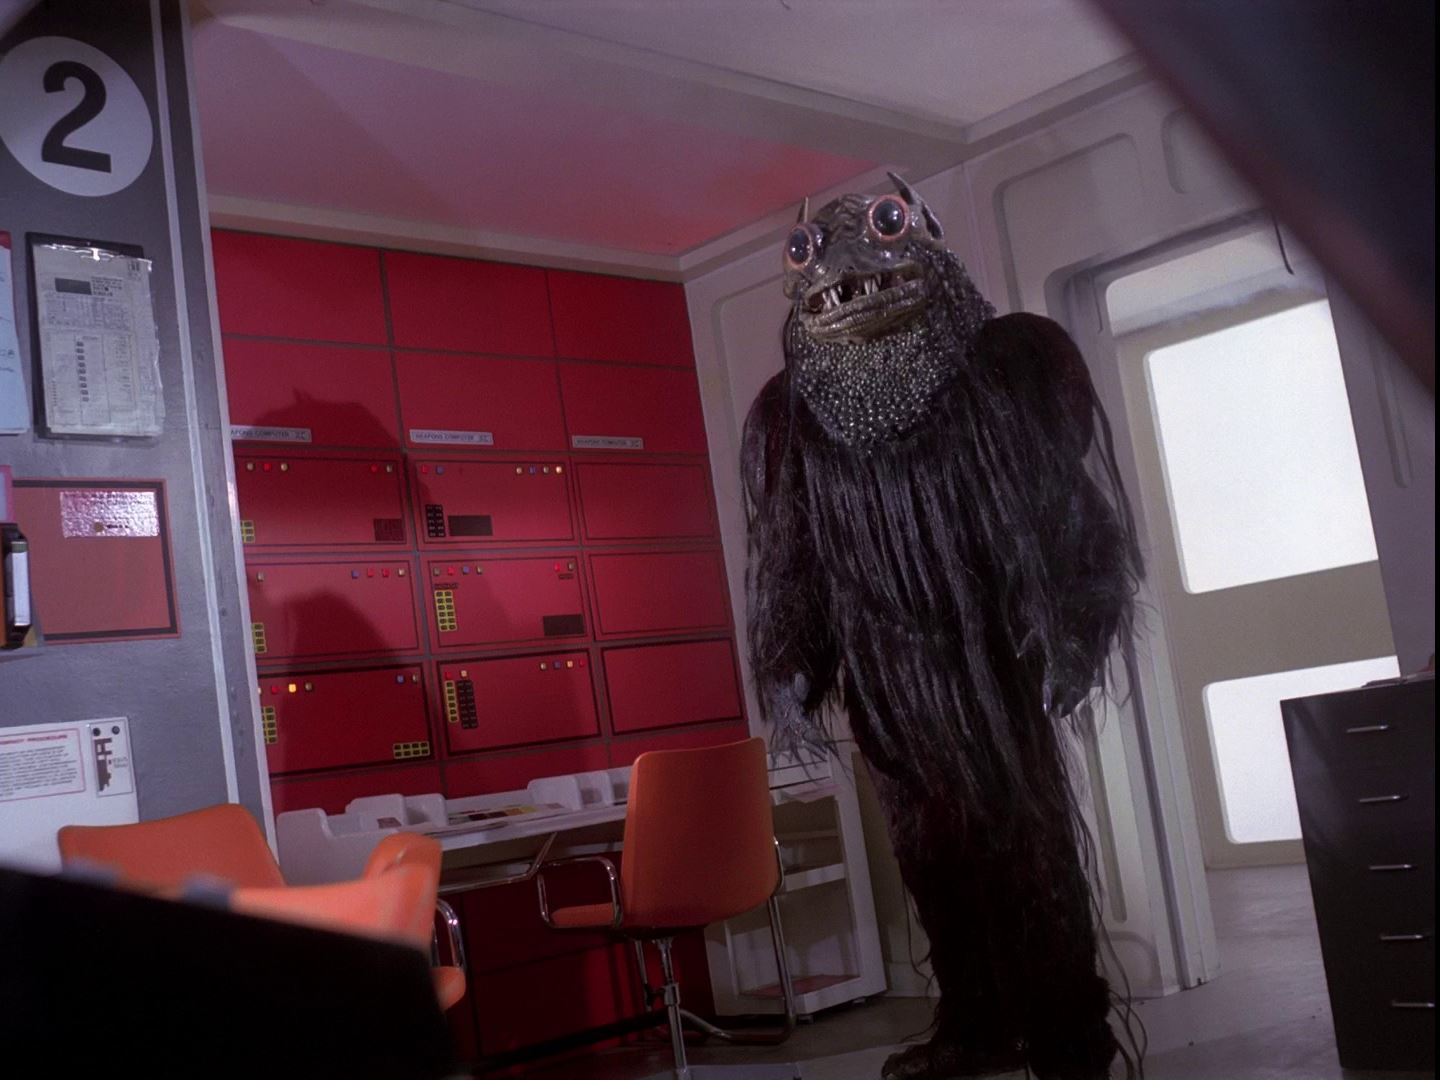
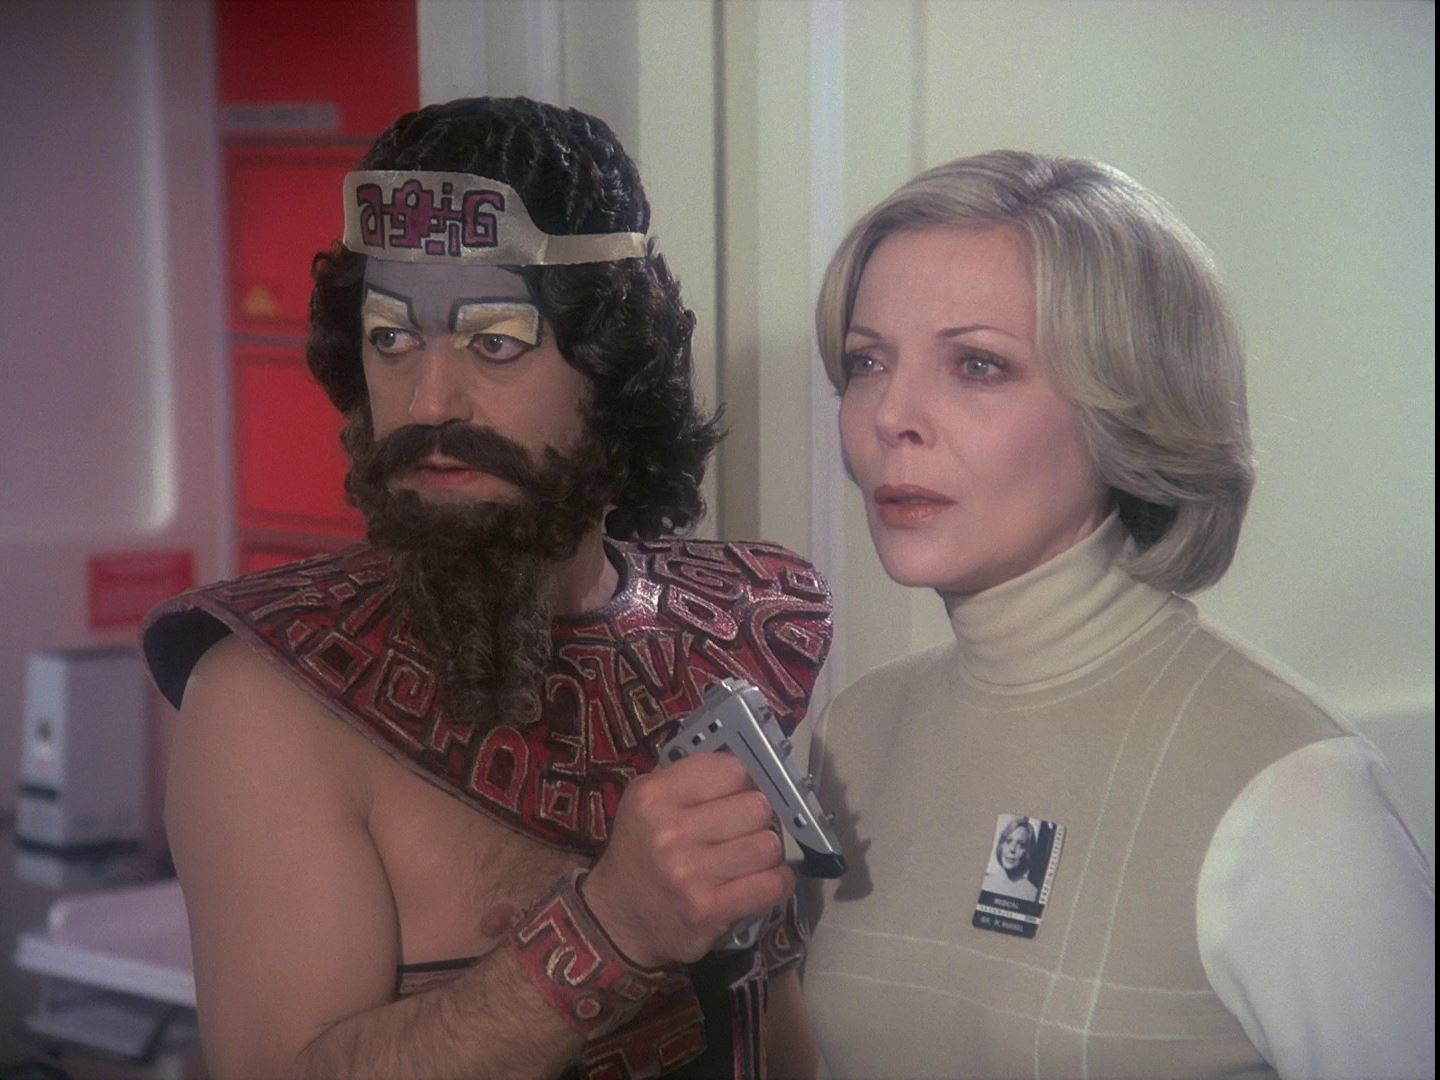
The Beta Cloud (with Creature)
The Beta Cloud (with Tony and Maya)
Note the microscope on the desk; on the right is the All That Glisters radiation instrument.
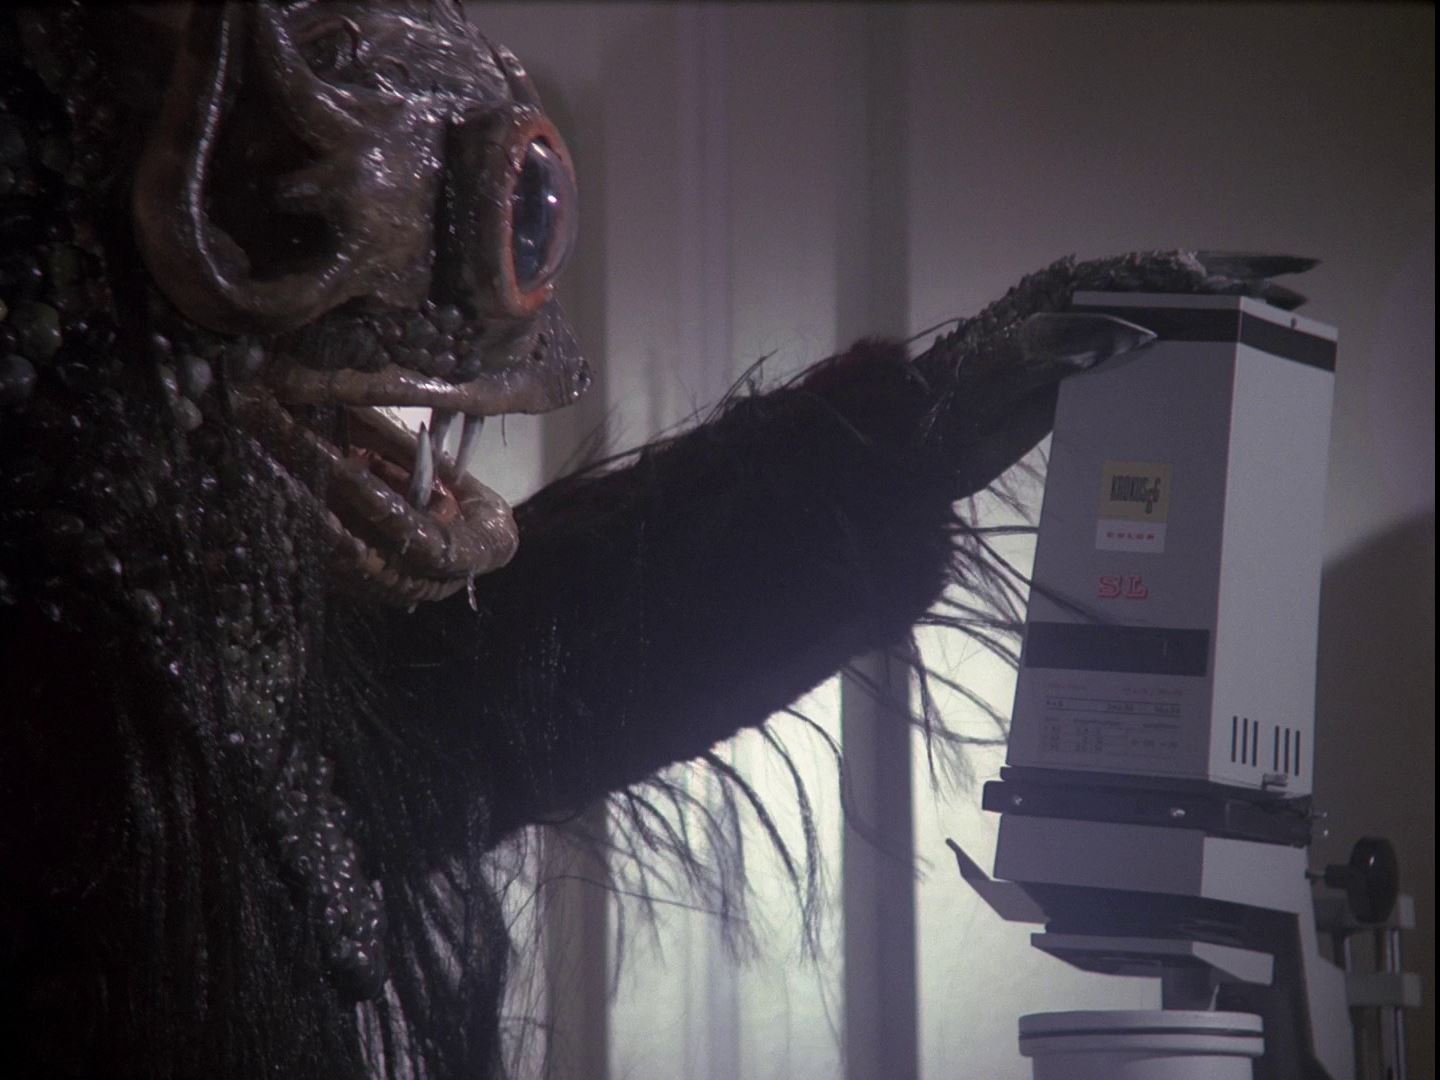
An odd instrument to find in Weapons- the propogatoscope from Matter Of Balance (or a "Krokus color SL" photograph enlarger- the brand is clearly readable).
The same propogatoscope/photo enlarger can be glimpsed in The Mark Of Archanon

A view showing the lights under the sloping console.

The Eagle remote control, the nuclear detonator from Space Brain and the laser control from The Exiles sit on the desk, and are used to control the laser cannon.

This zoom close up is the only appearance of the Weapons Room in The A B Chrysalis and Brian The Brain.
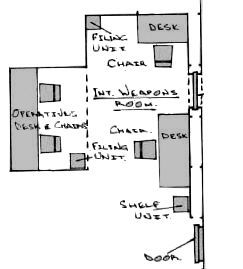
Keith Wilson's set design.
Copyright Martin Willey