This Episode: Breakaway
by Martin Willey
The This Episode sequences in the Year One Titles are an exciting montage of visual highlights. Occasionally alternate takes and cut scenes were included, providing a brief glimpse of what the episodes could have been. Breakaway, like Matter Of Life And Death, has a high proportion of shots different to the finished episode. Most are special effects shots of the breakaway itself.
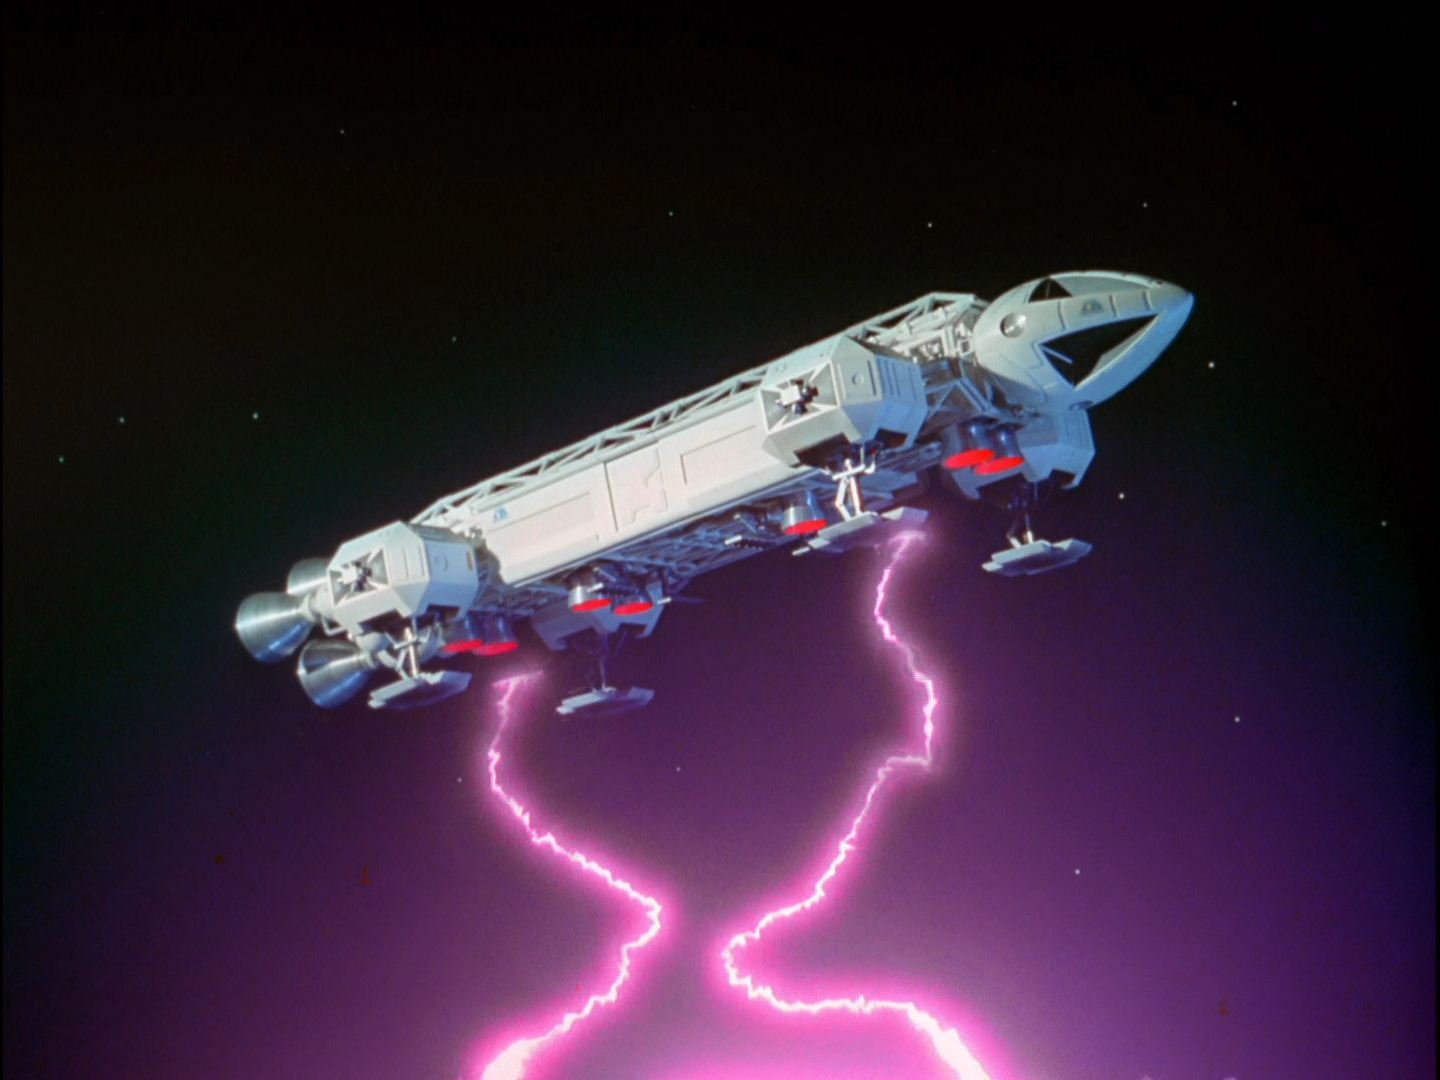 |
One of the iconic images of Space: 1999, this shot of an Eagle being struck by lightning is only in the This Episode sequence, not in the episode itself. |
 |
An Alphan rolls across the floor. Not in the episode. |

|
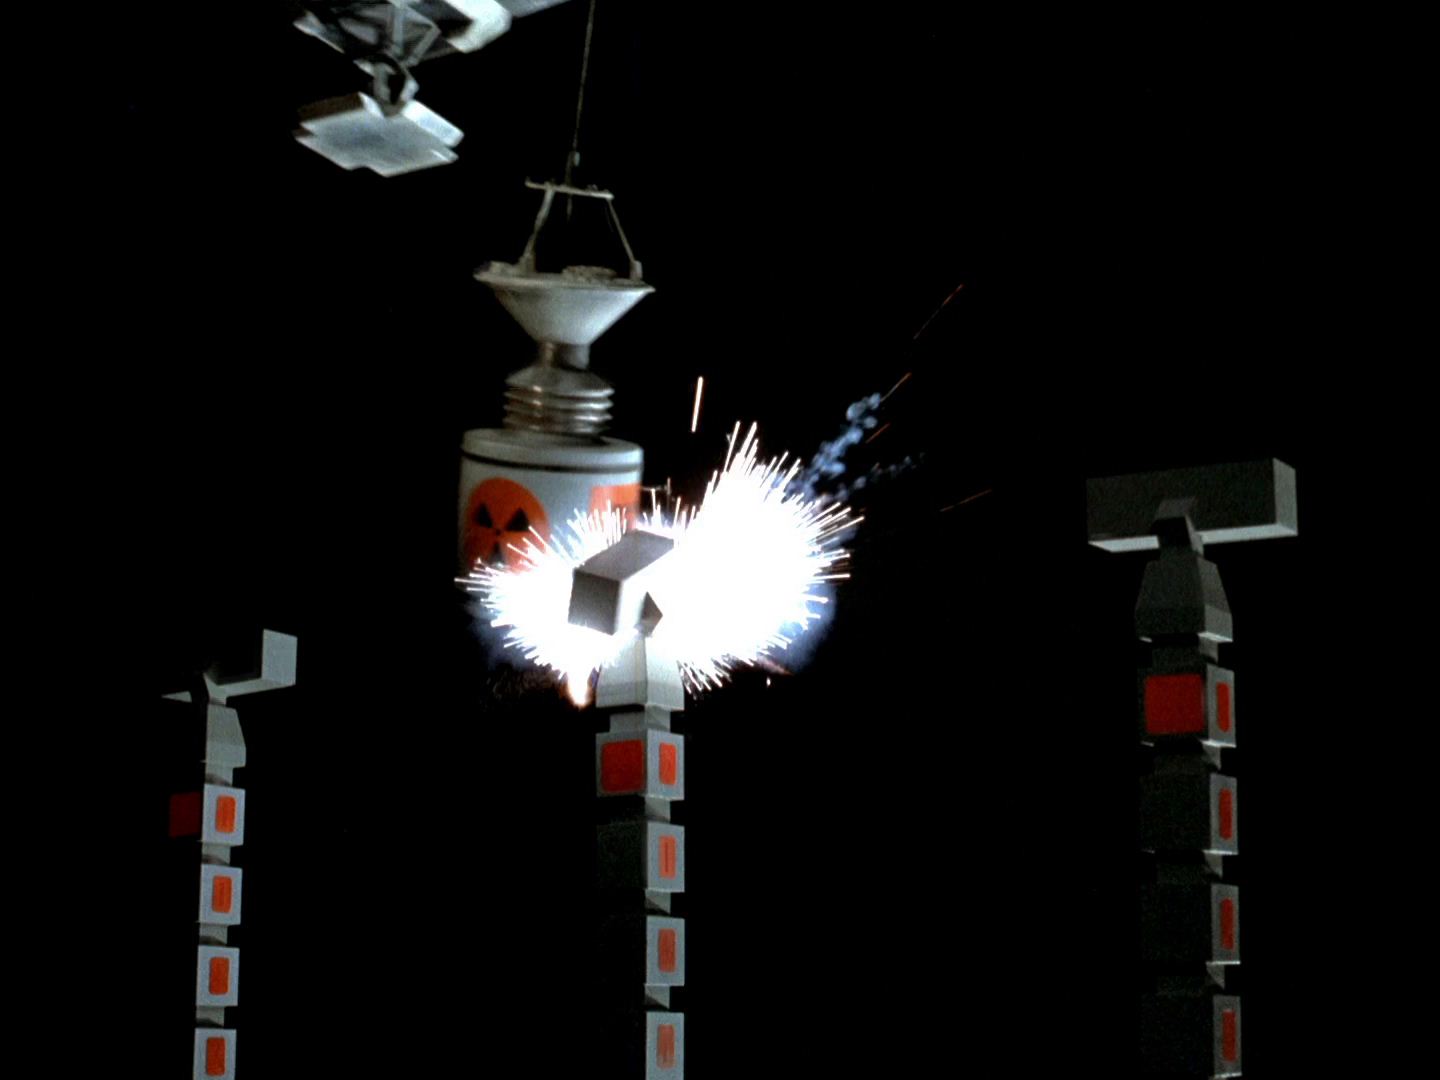
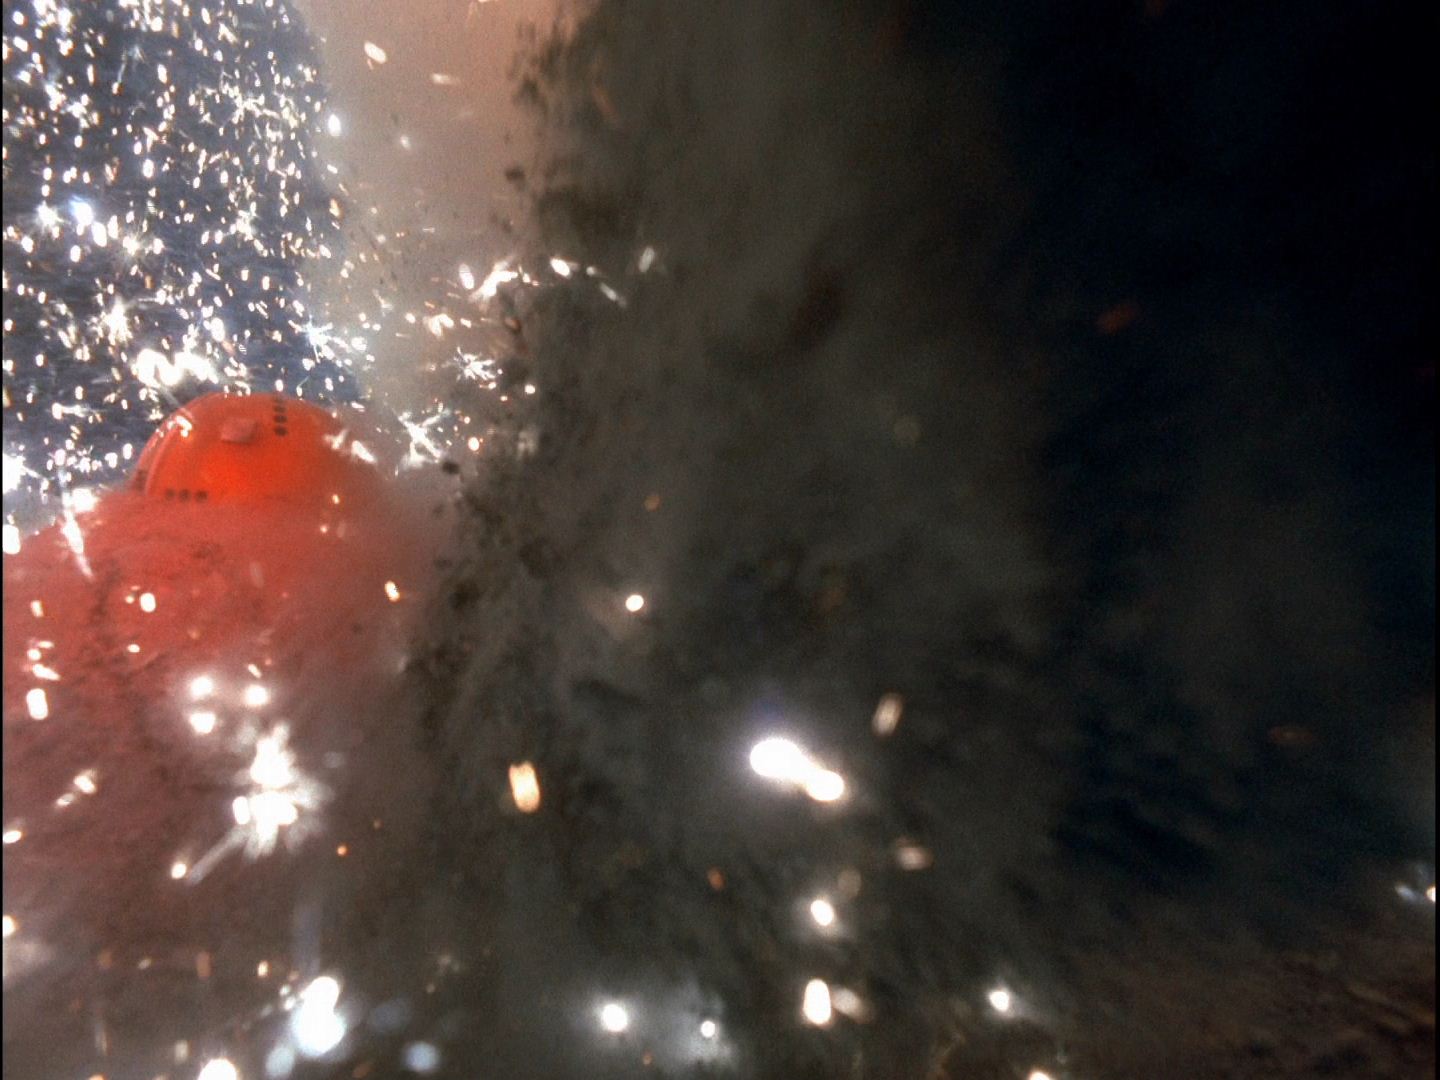
Two different shots of a nuclear waste can colliding with the laser barrier. Not in the episode. |
|
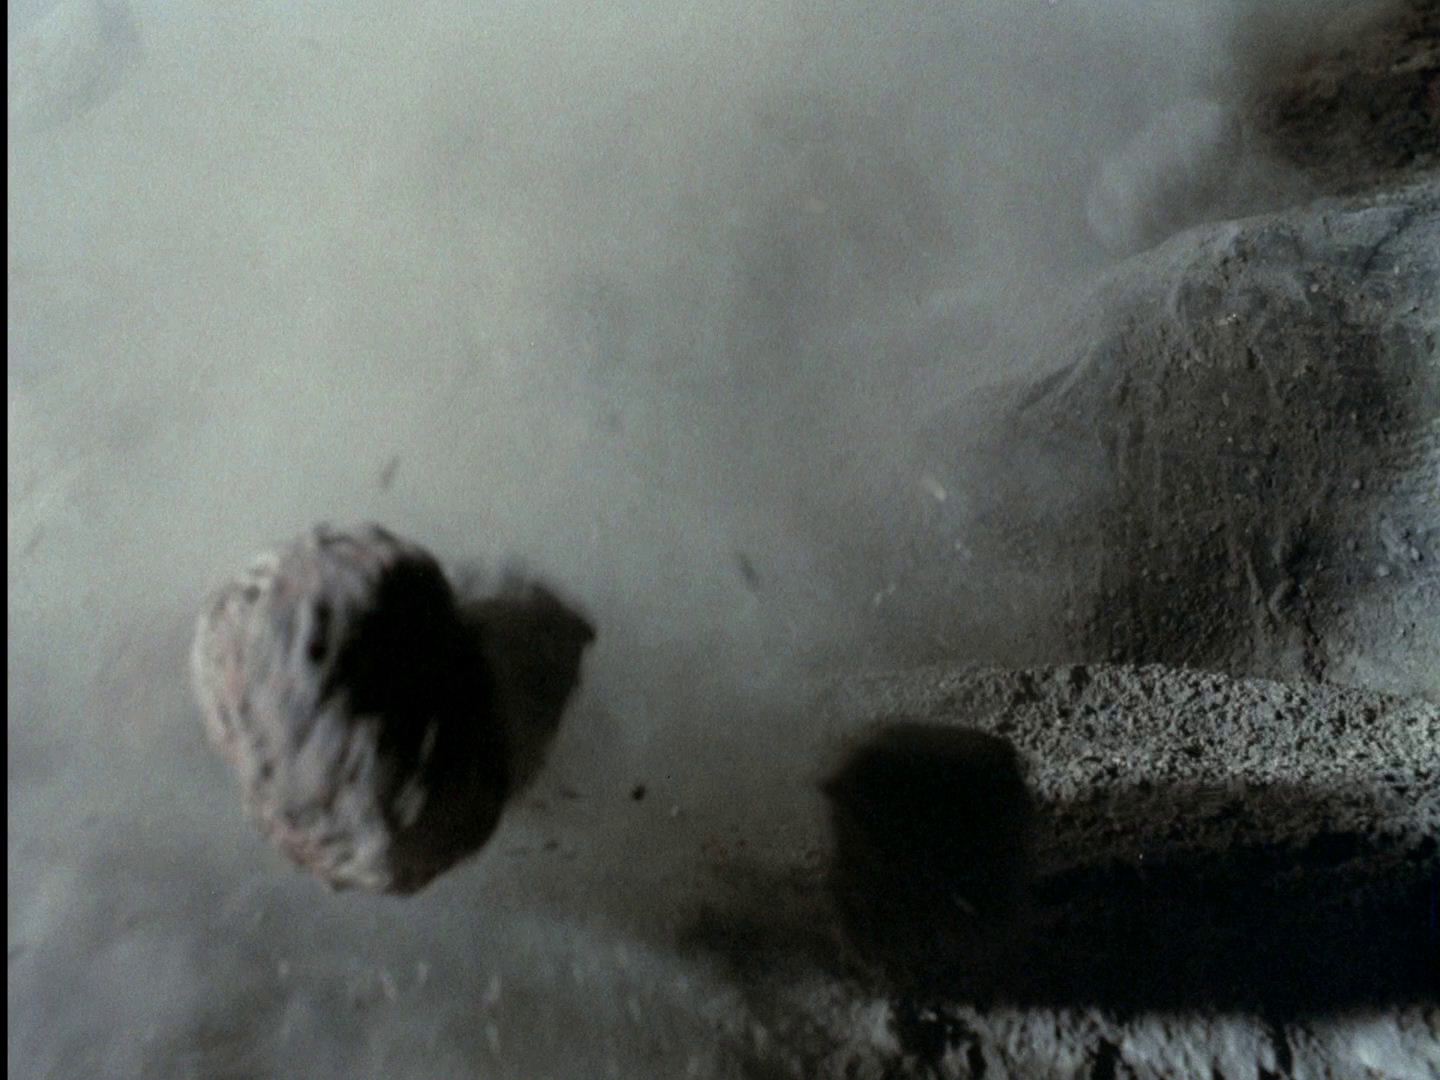
A landslide. Possibly from Matter Of Life And Death. Not in the episode. |
 |
The robot Eagle crashes into Area Two. A different angle to that used in the episode (see below). 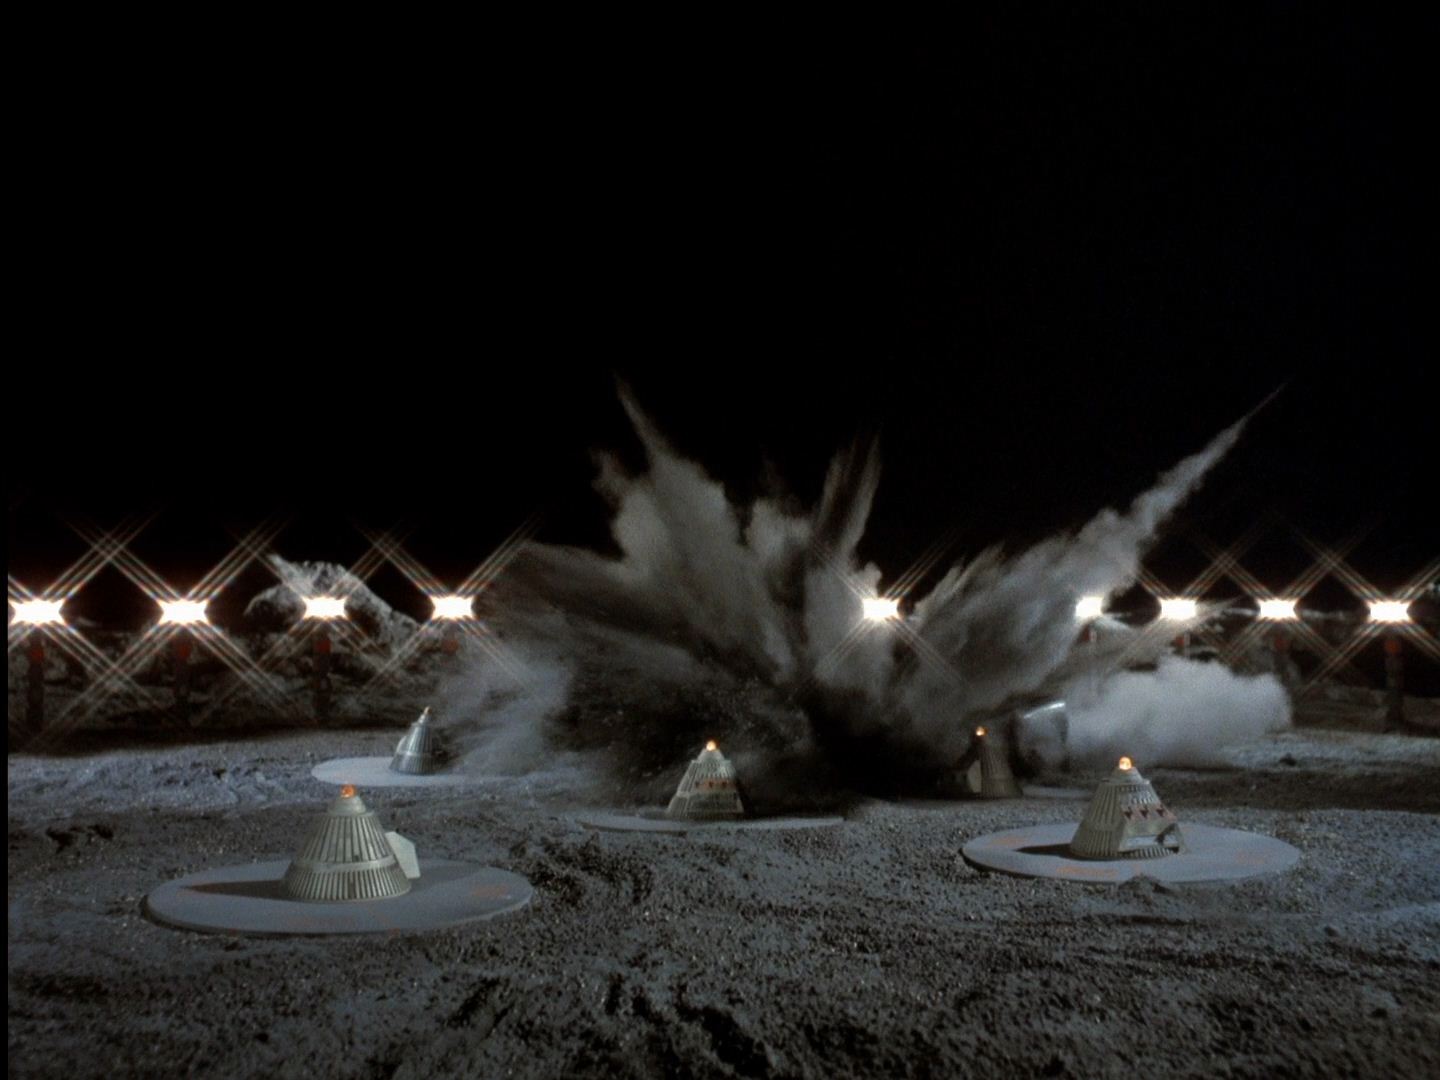
|
 |
A fast pan over part of Nuclear Disposal Area 2, including the crashed robot Eagle. Only six of the laser barrier lights are illuminated (and the pan seems to extend over the edge of the set into blackness). Not in the episode. There is another fast pan without the Eagle in the This Episode sequence (this may be an unused point-of-view shot from the robot Eagle as it swings around). |
 |
A front view of Koenig's Eagle showing the astronauts. The co-pilot has no helmet (and bears an uncanny resemblance to Special Effects director Nick Allder). Possibly a test shot, different to the version in the episode (see below). 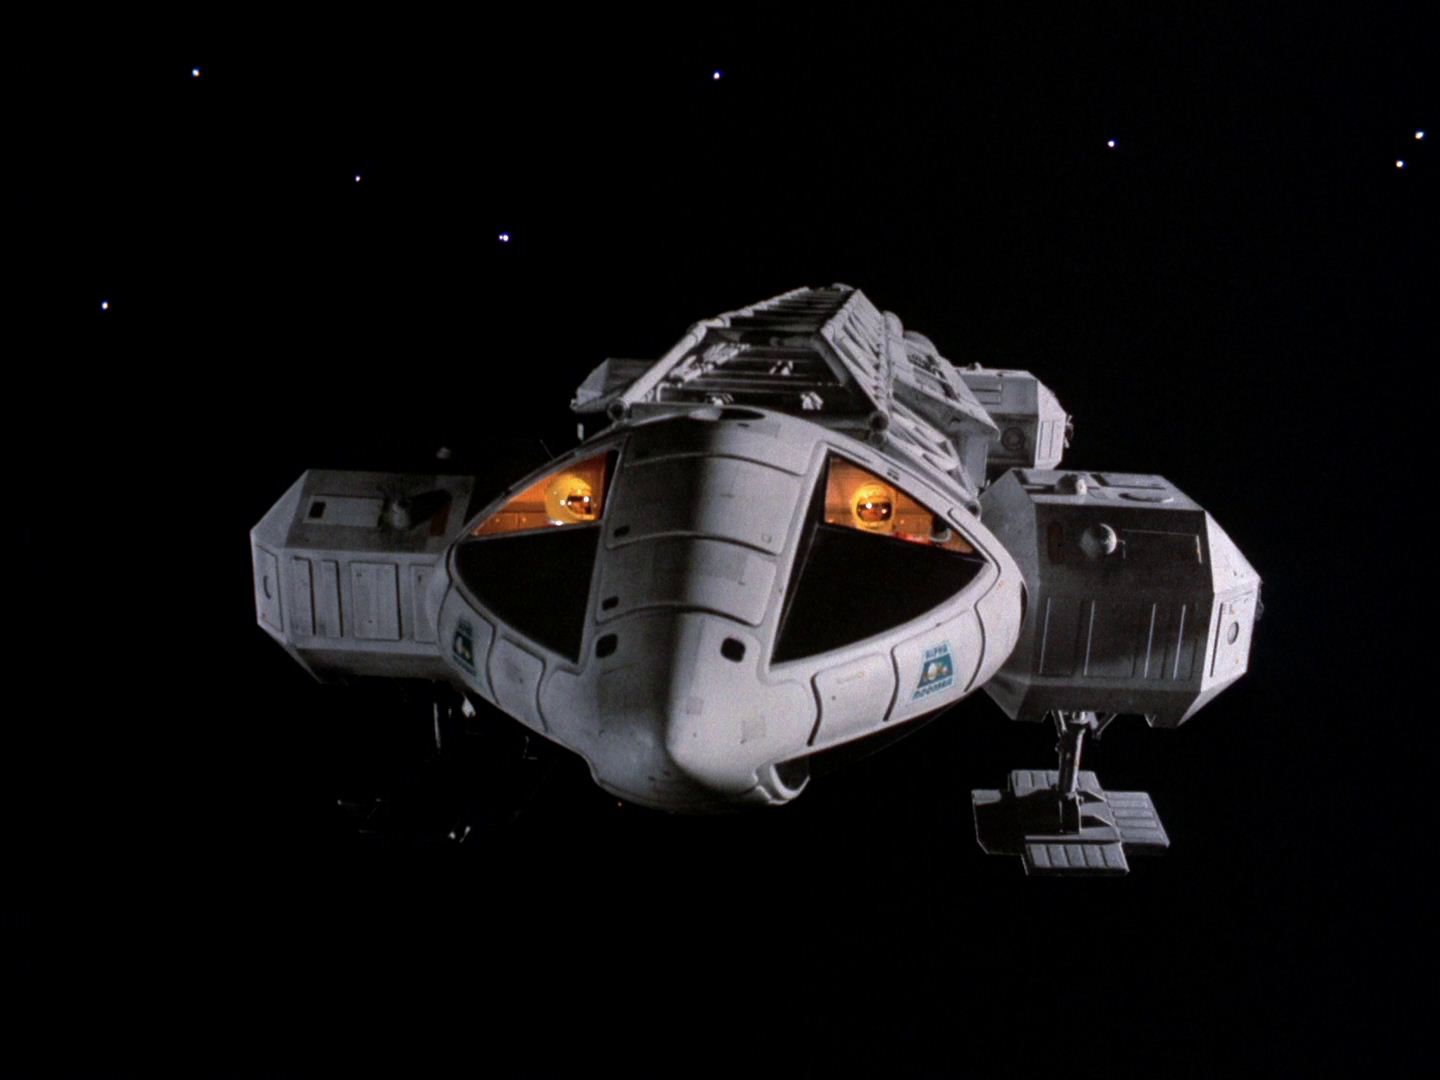
|
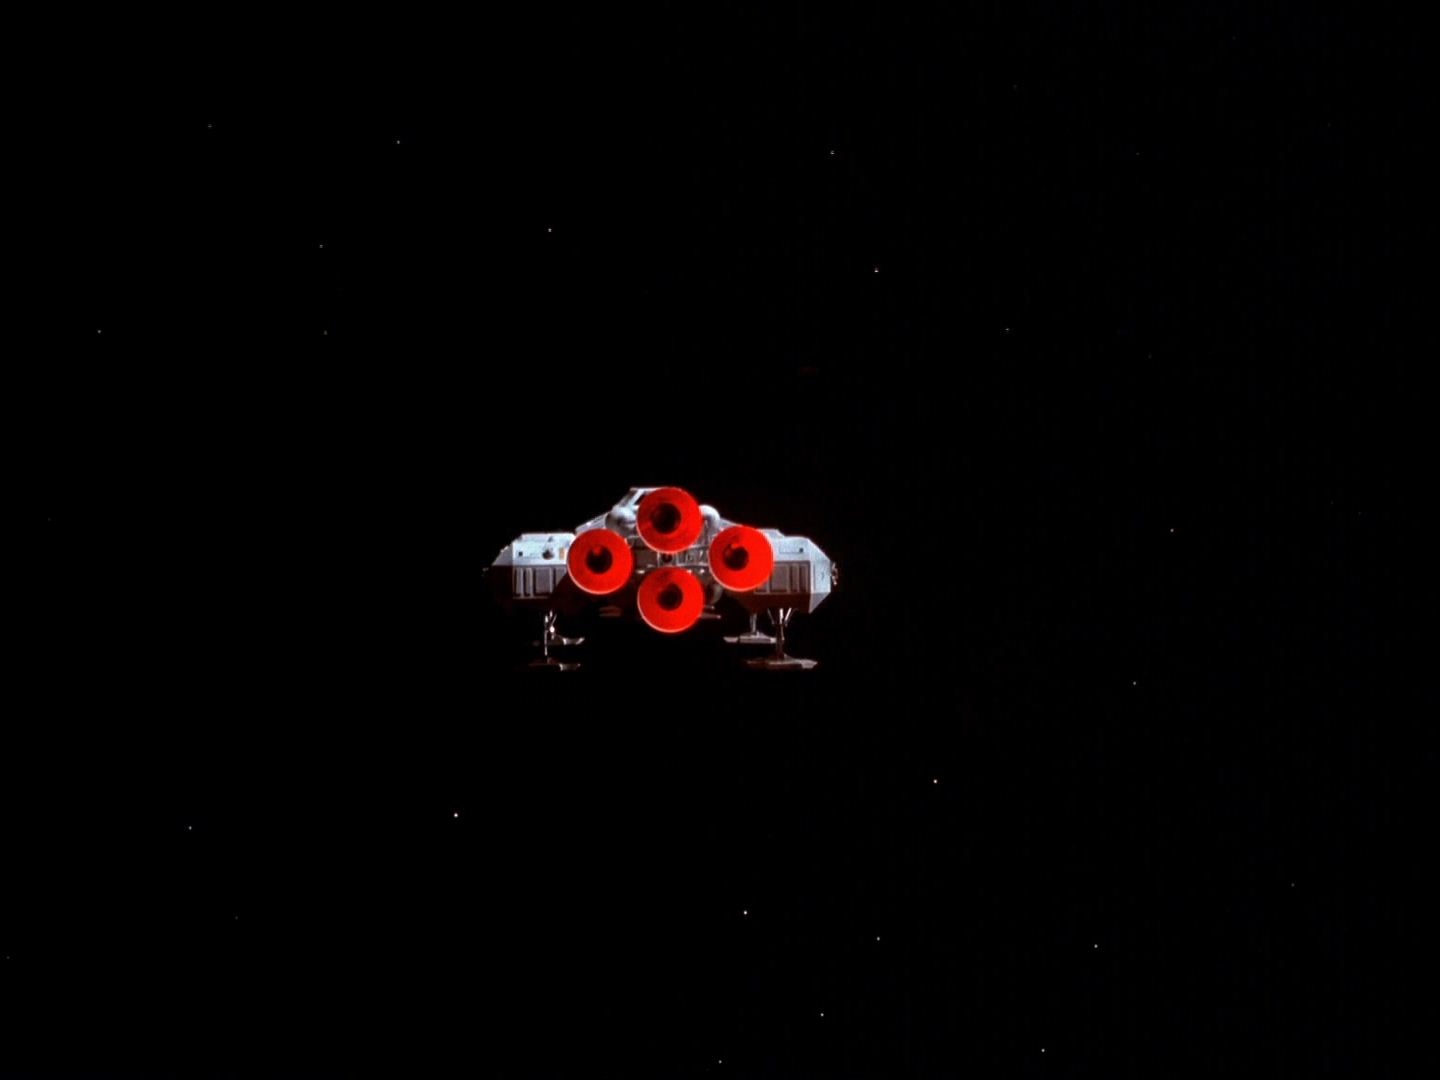 |
Rear of an Eagle, the engines glowing red. Not in the episode. |
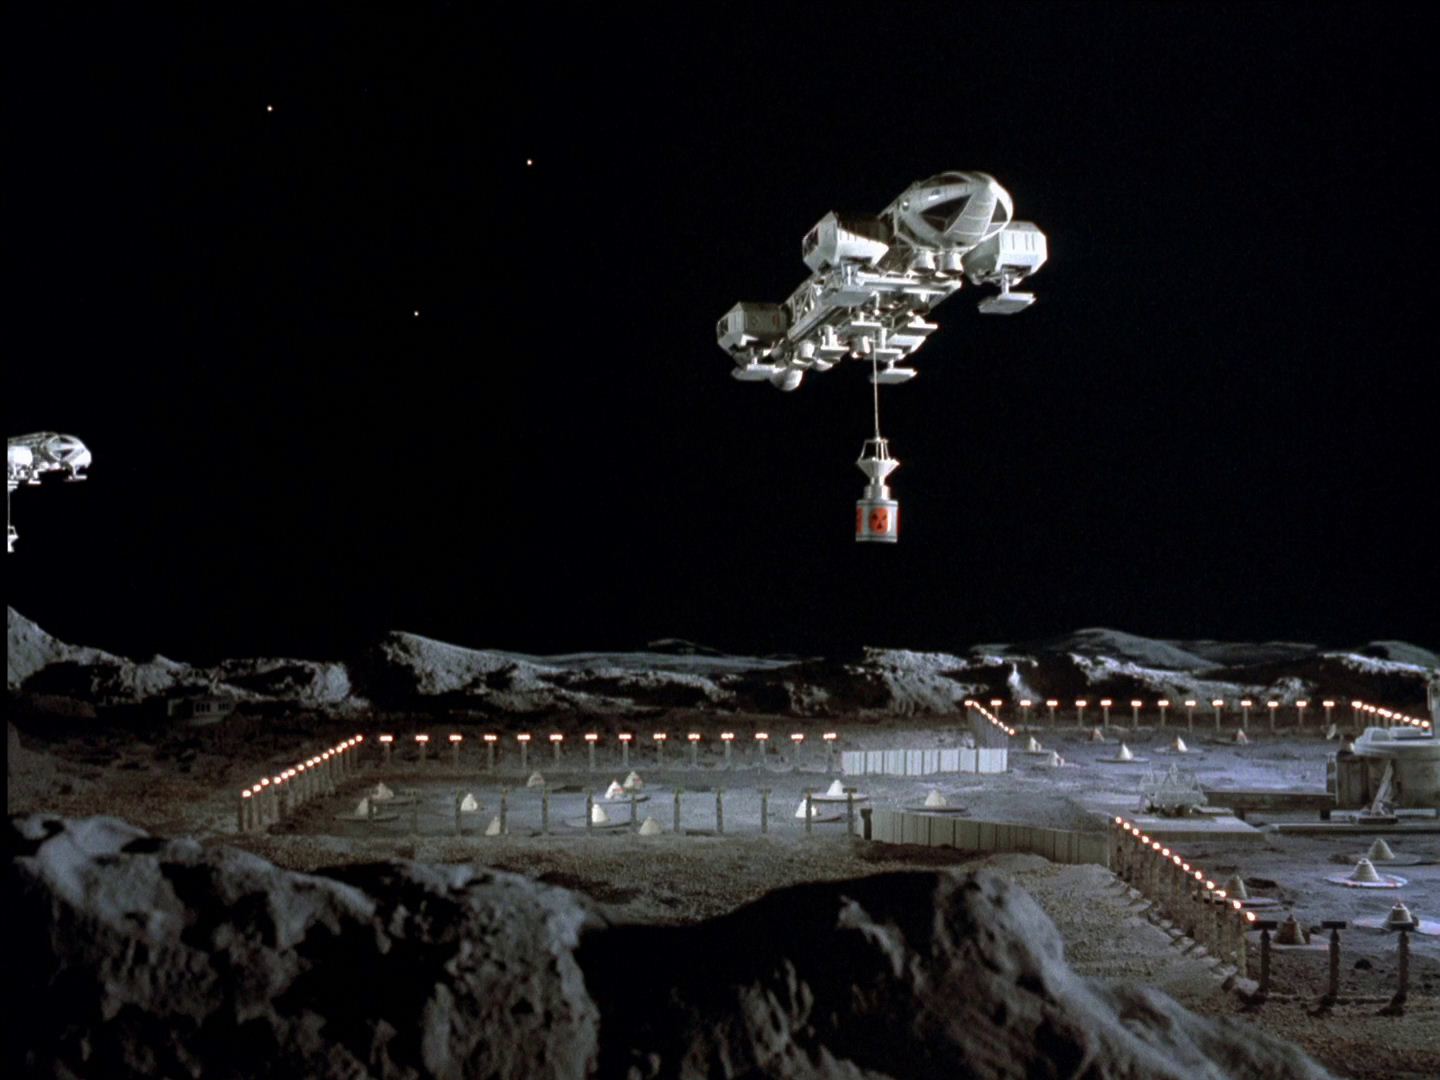 |
Eagles carrying nuclear waste cans over Disposal Area 2. A version of this shot, left for right, appears on the Big Screen in Main Mission. 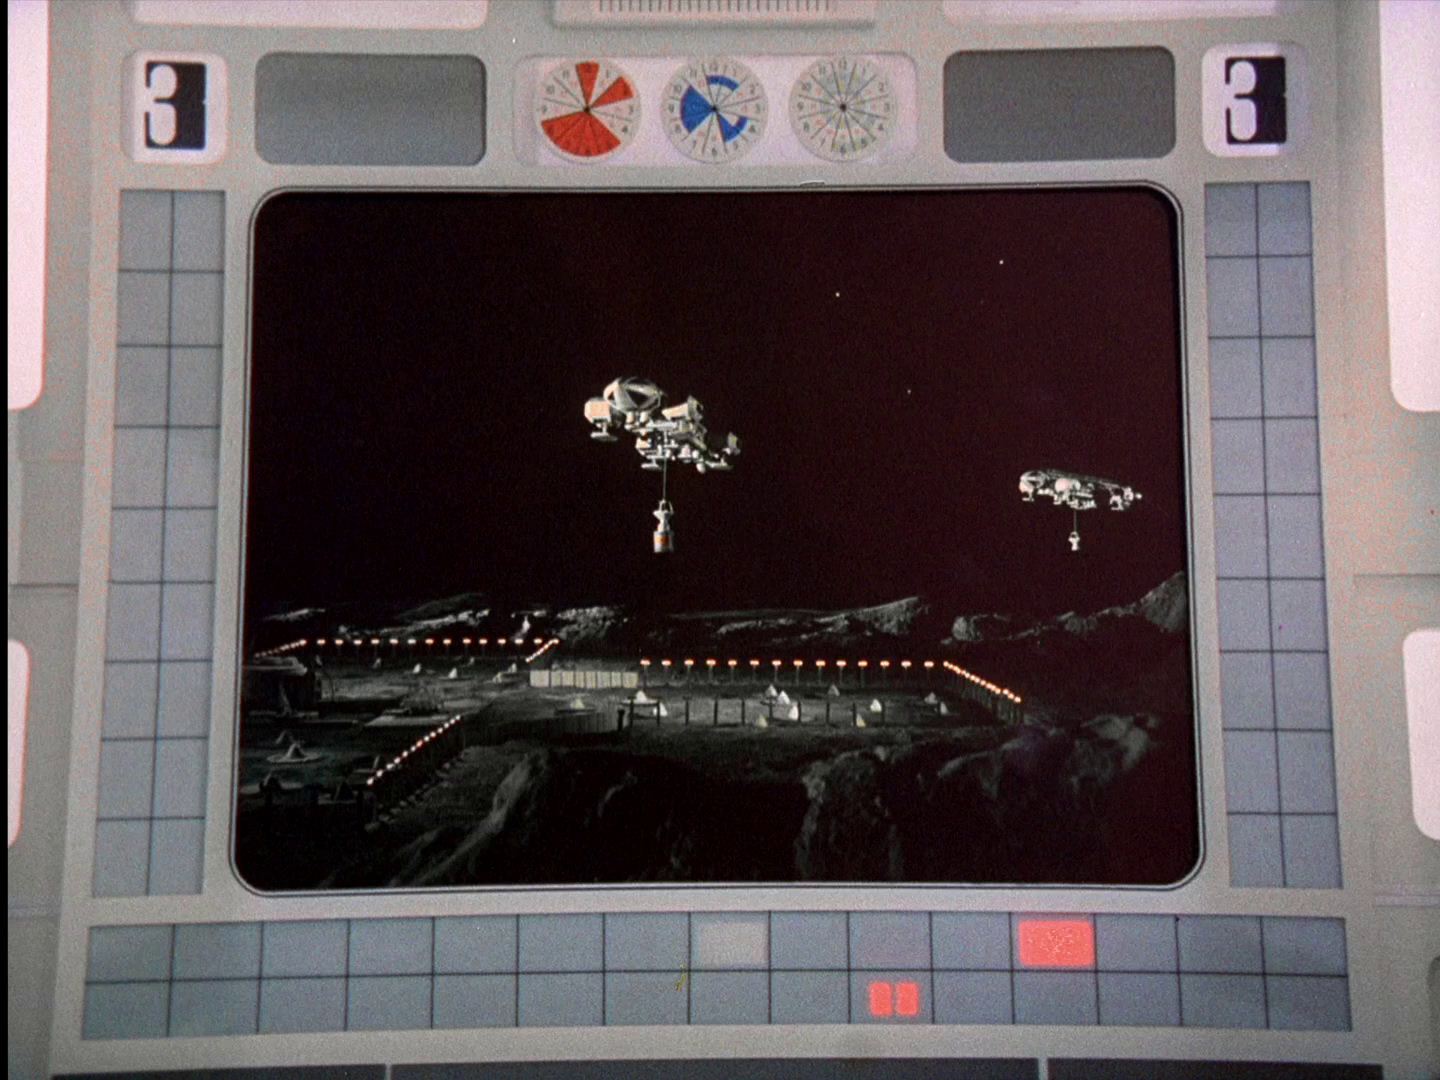
|
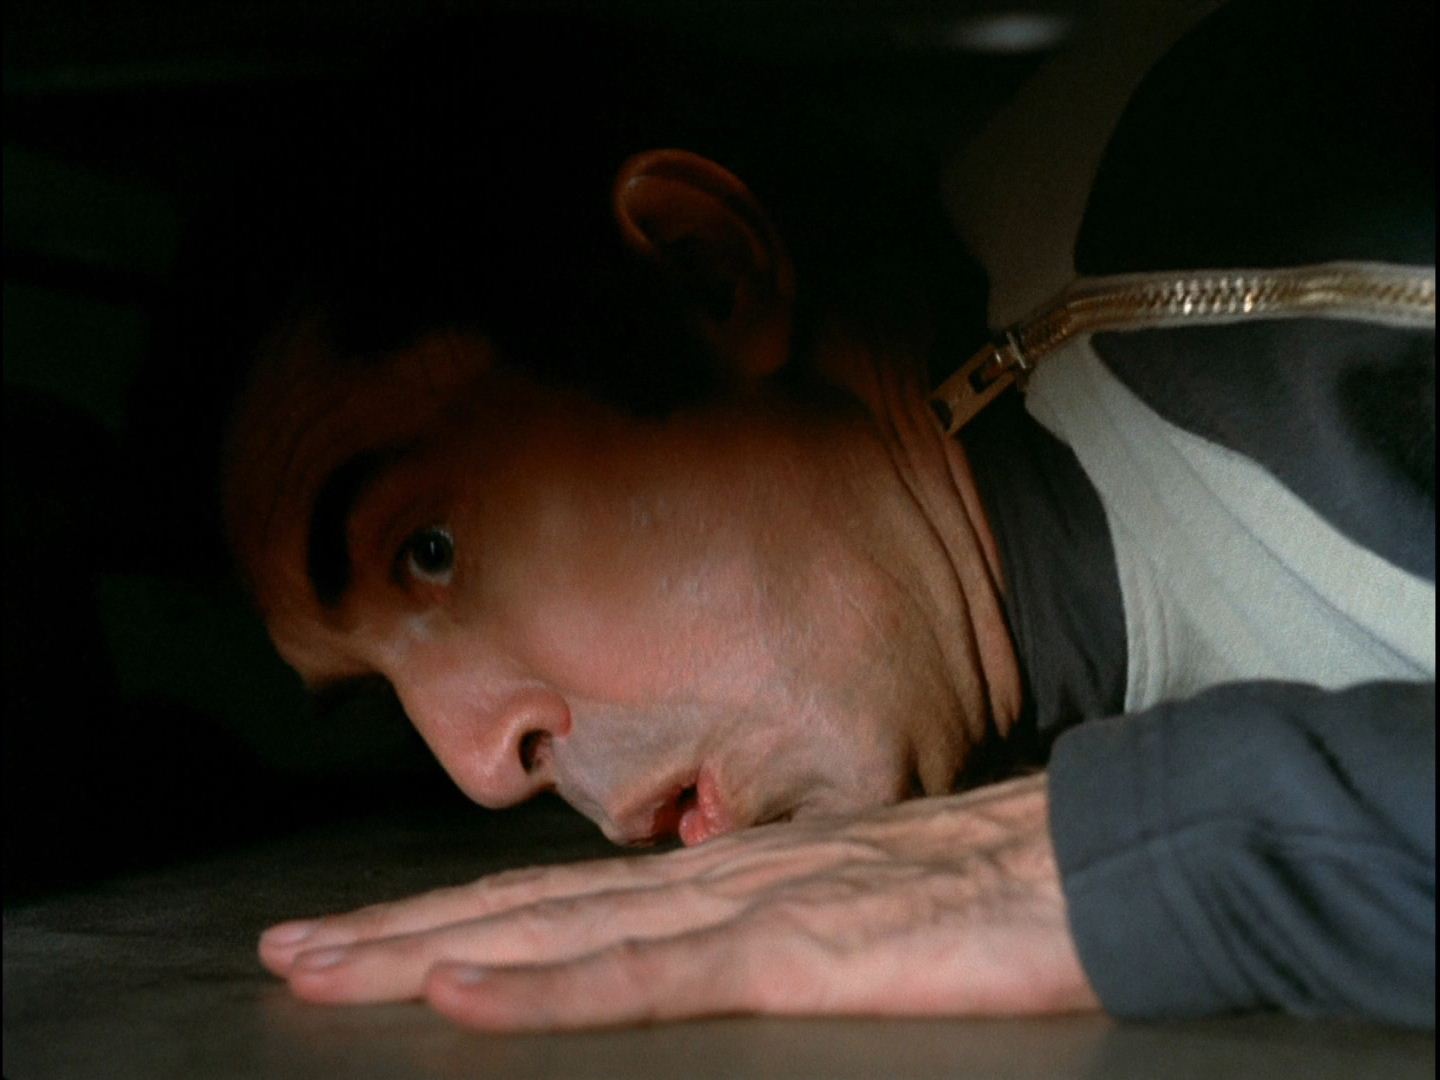 |
A close shot as Koenig is pressed onto on the floor. The episode shows a continuation of this shot, but not the start as he lands. 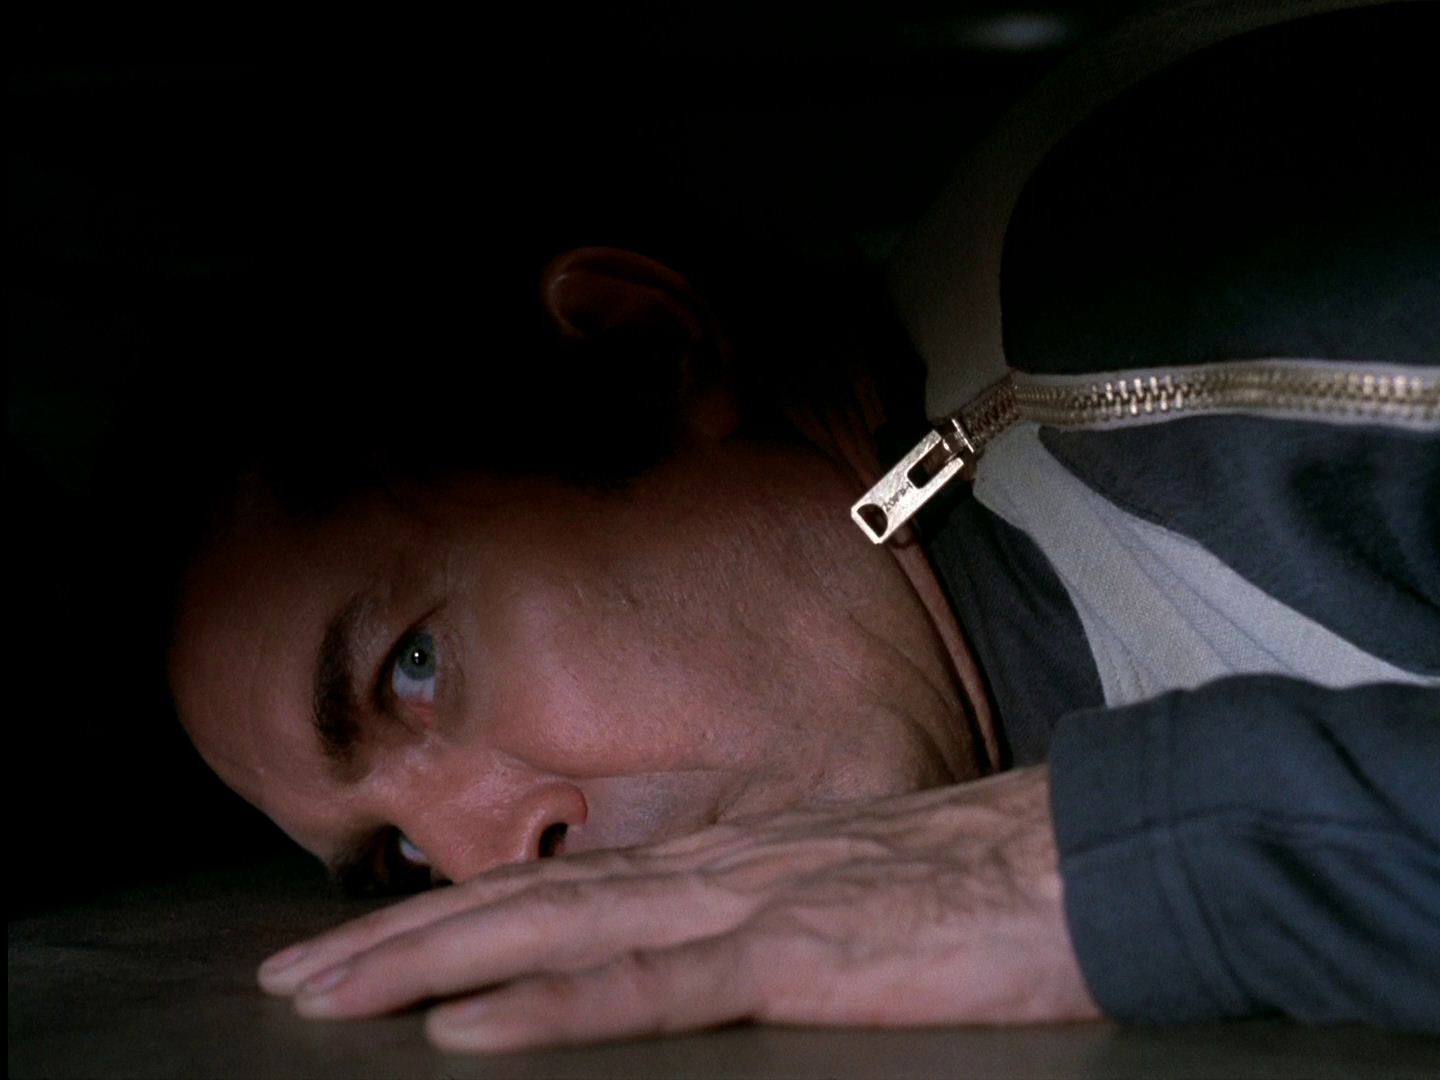
|
 |
A pan over Helena's right arm, pressed to the floor by gravity. Not used in episode, although a similar shot of her left arm is shown. |
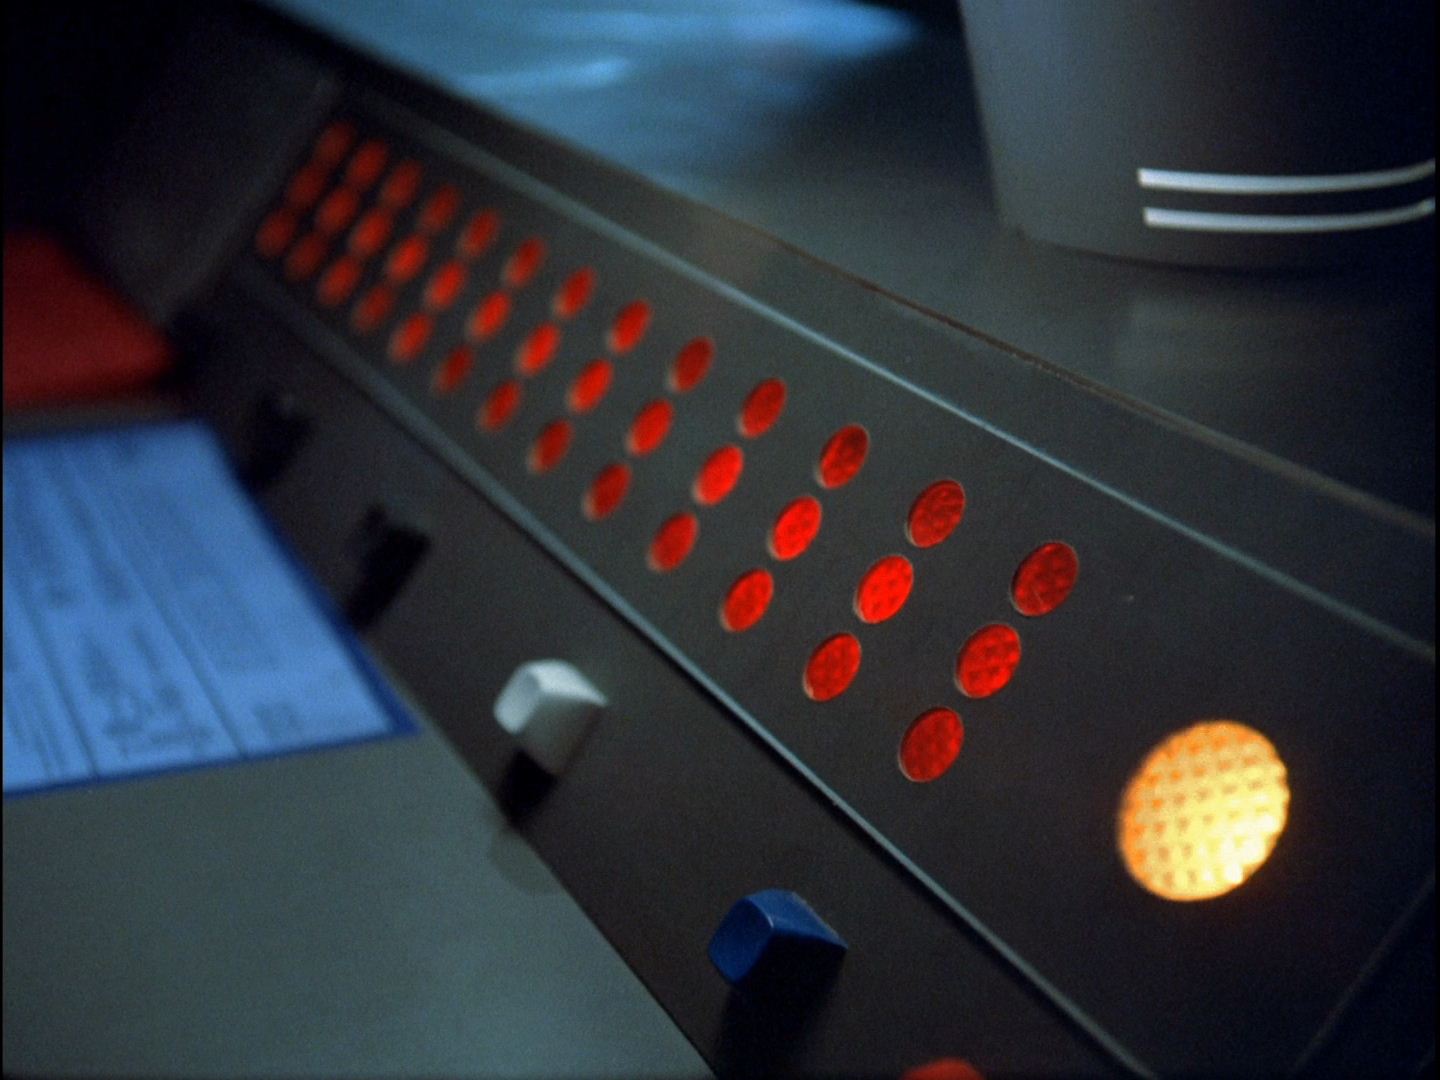 |
Lights illuminate along the panel of a Main Mission desk. Not seen in episode. |
 |
Helena is shocked as something explodes in front of her. Not seen in episode. |

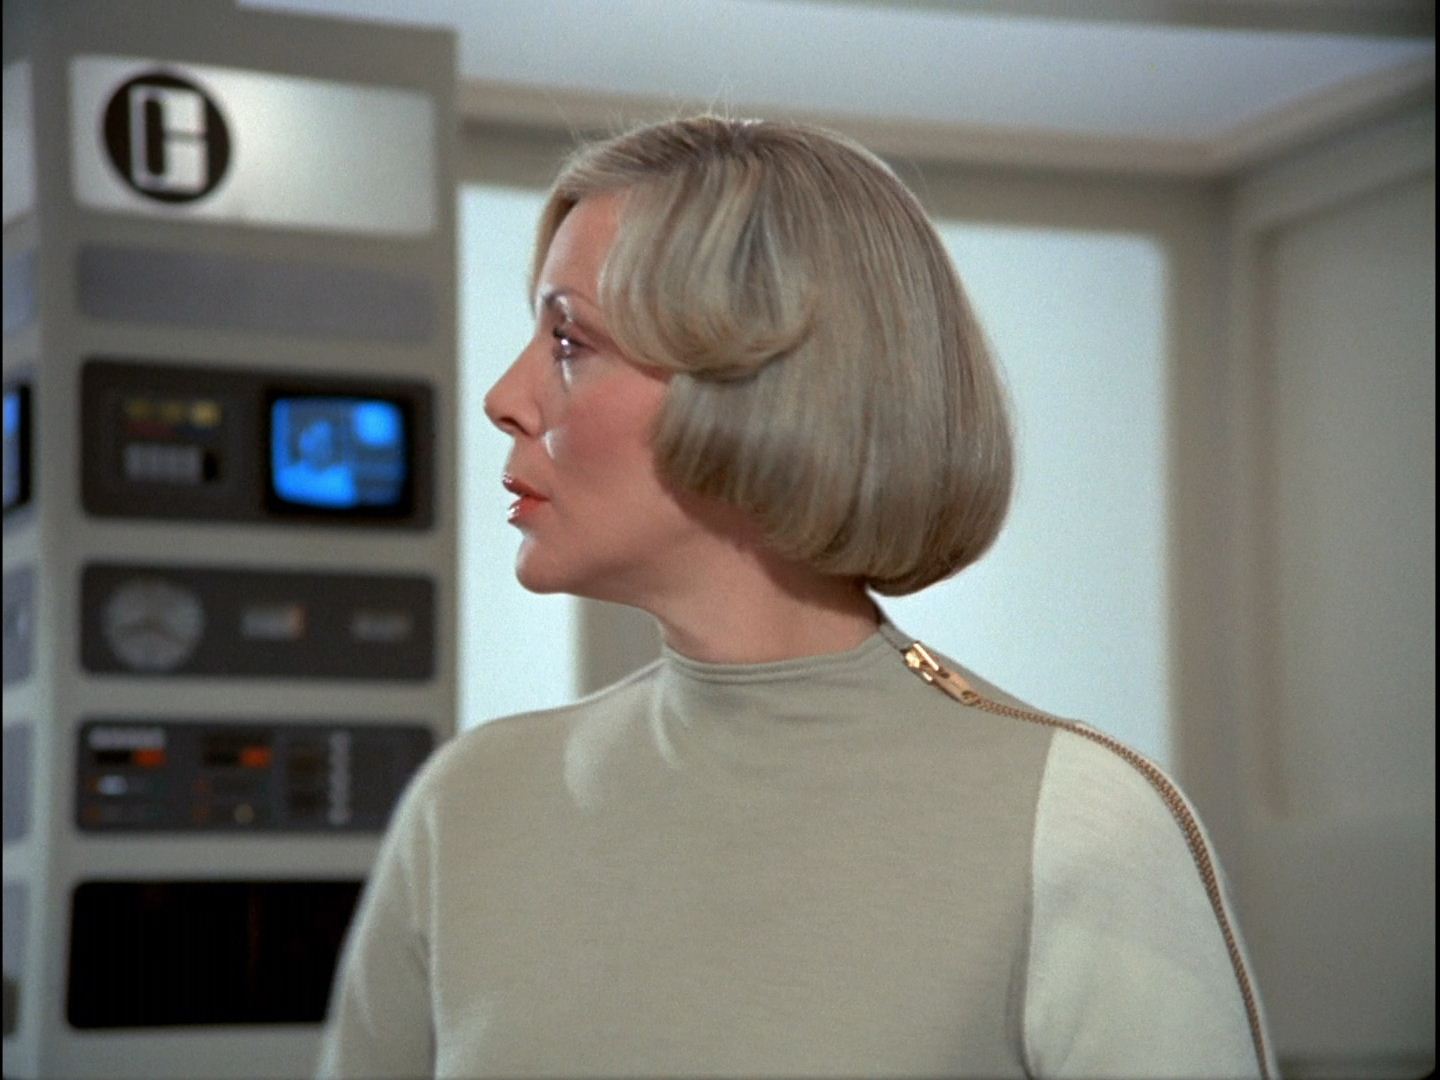 Two shots, apparently in Command Office. Koenig looks up, Helena looks round. Not seen in episode. |
|
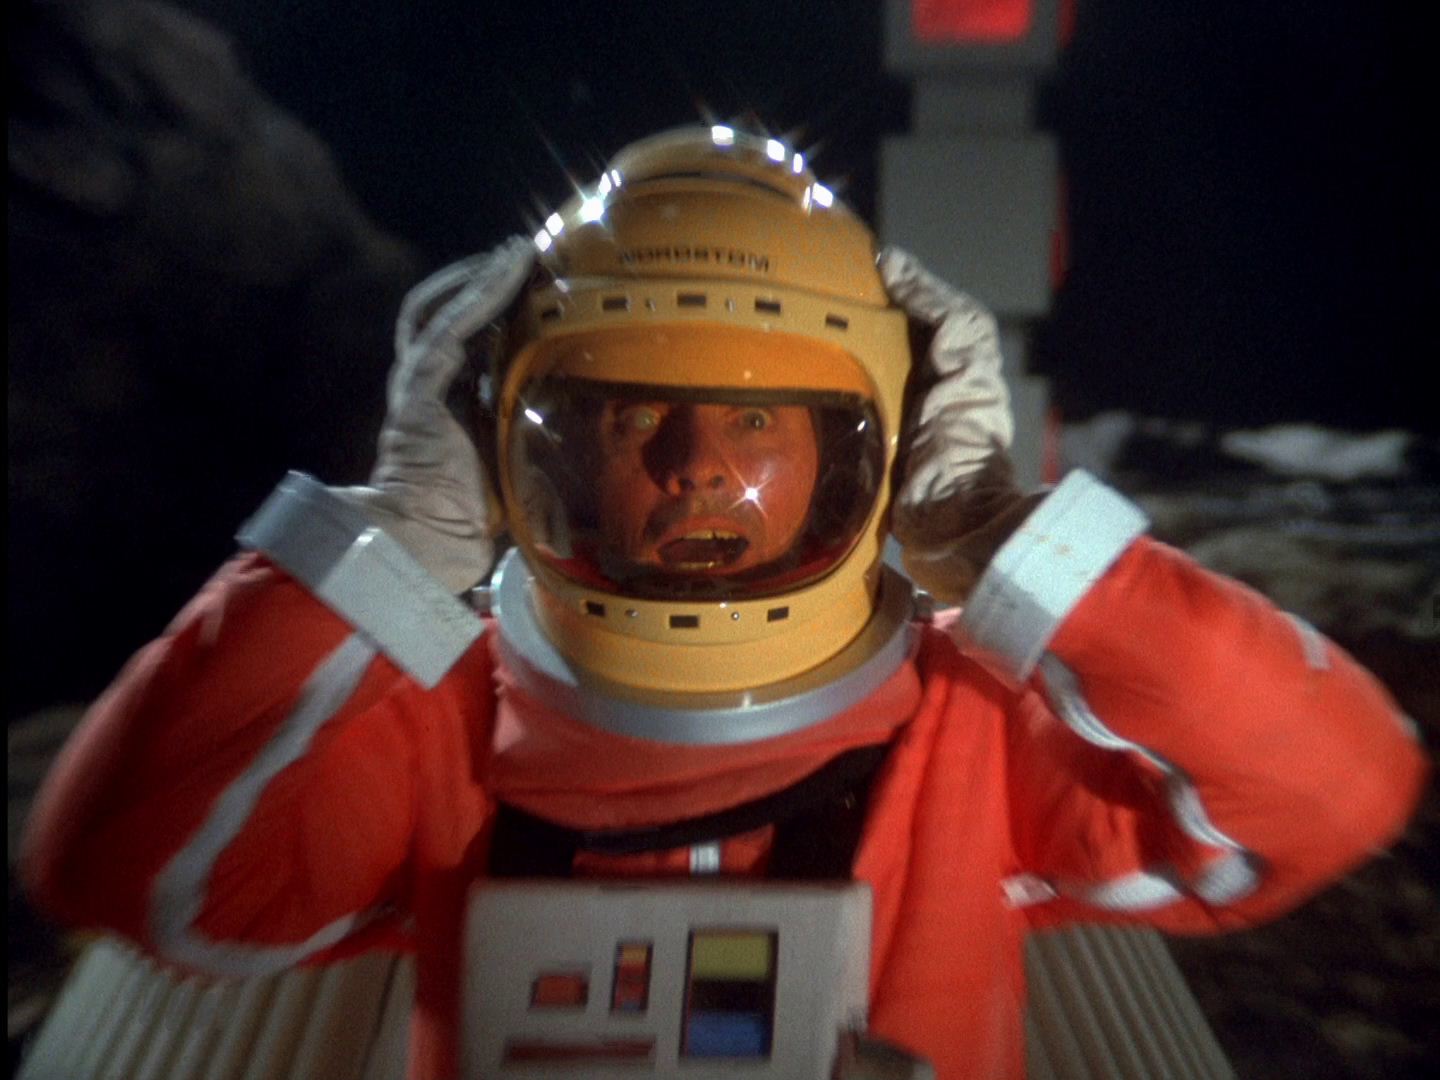 |
Nordstrom brings his hands to his head. The version of this shot in the episode is wider and Nordstrom is in more agony. (thanks to Chris Dale) 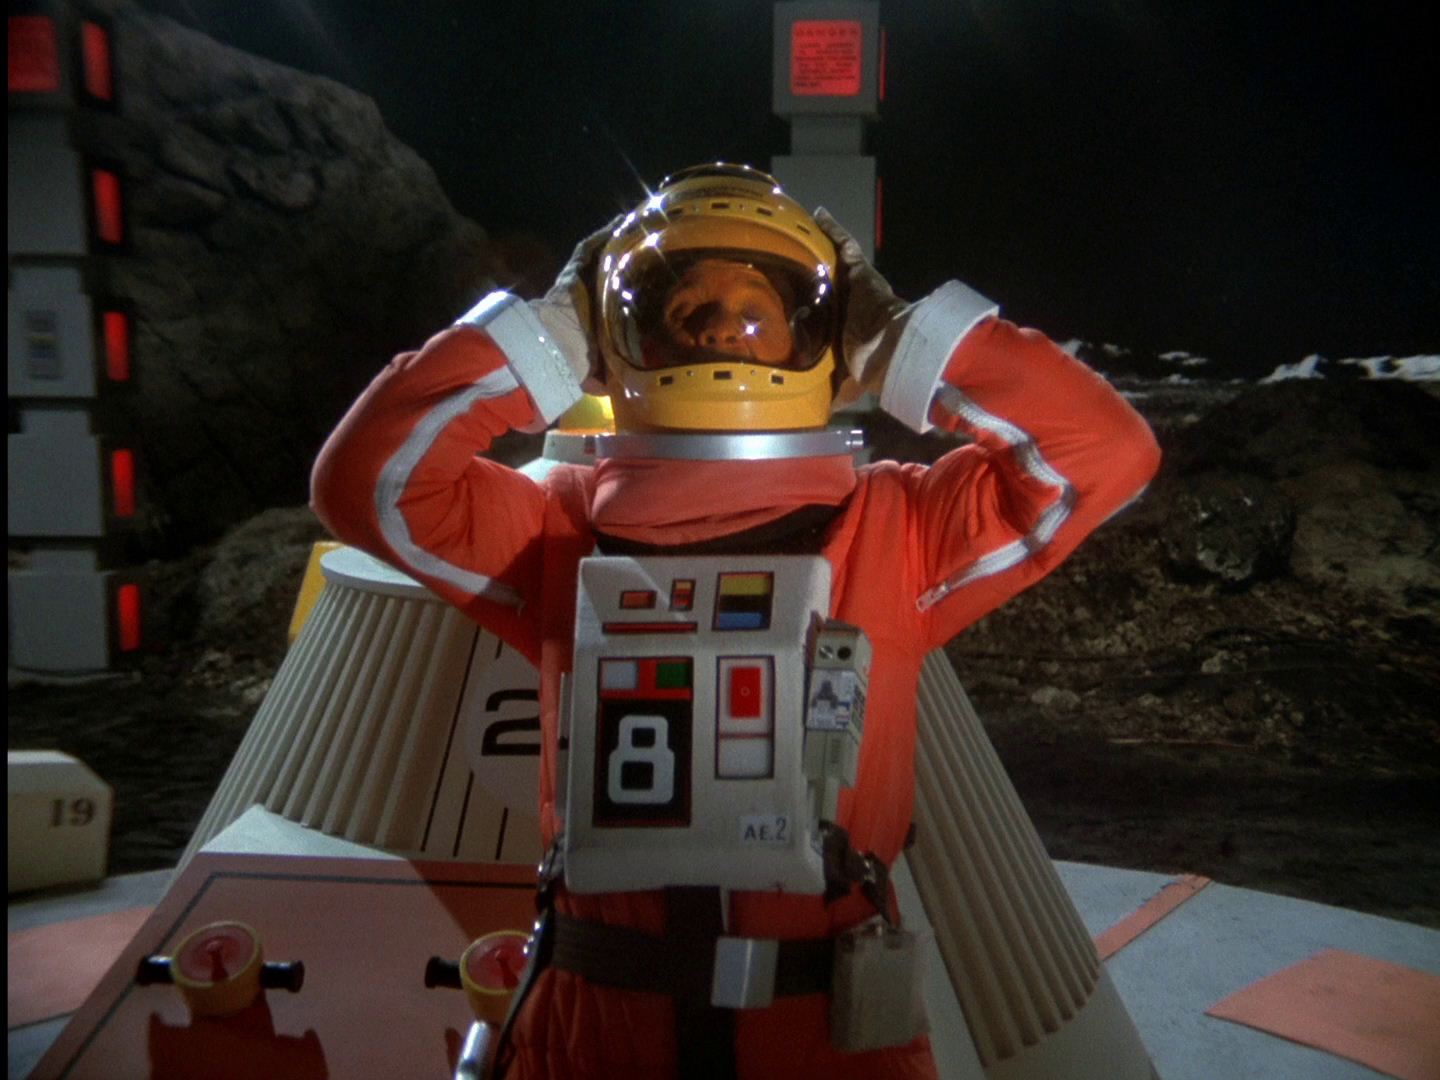
|
|
Slightly different versions of shots seen in the episode. Possibly alternate takes, framed with a slightly different angle or distance. Thanks to Martin Daoust. 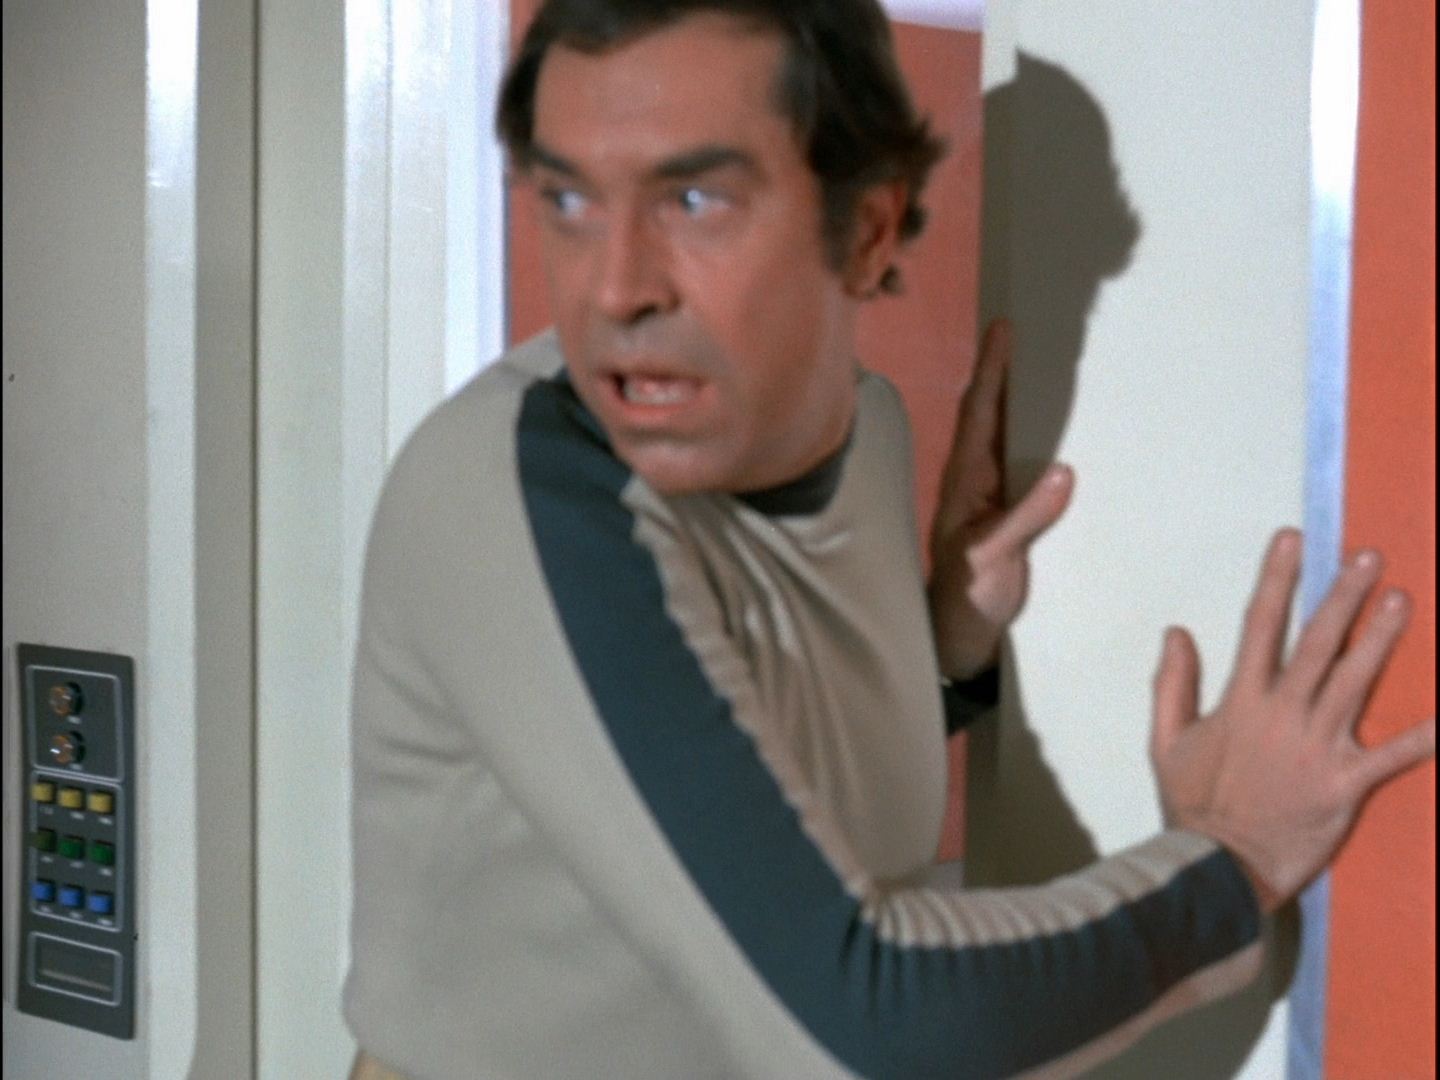
 |
|
|
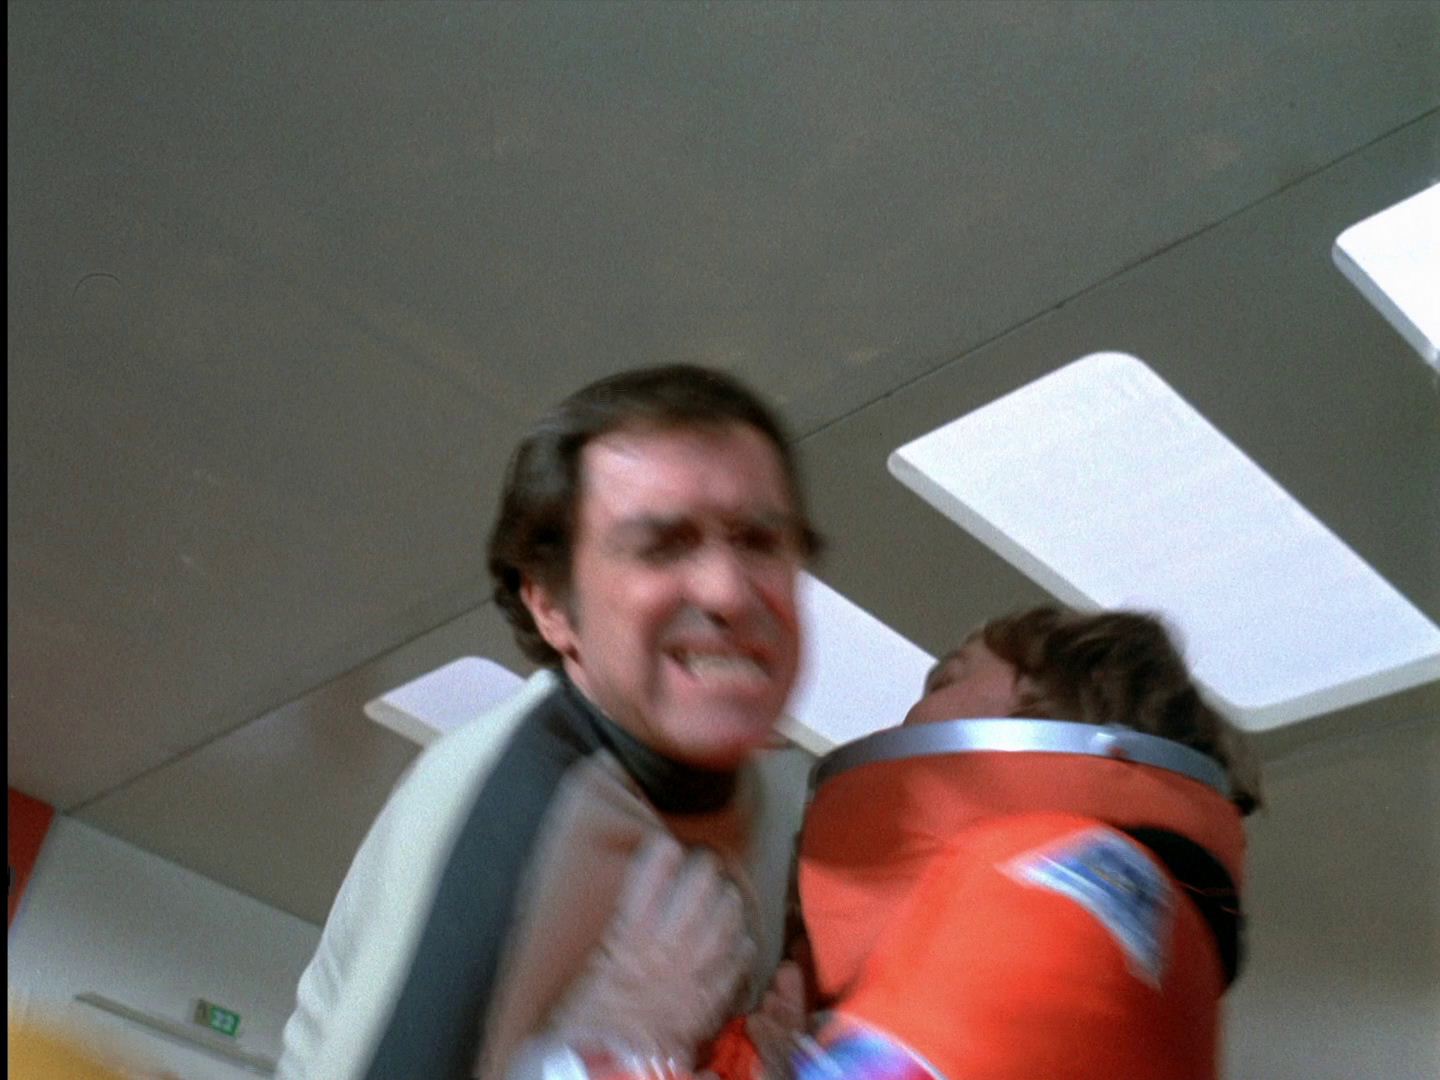
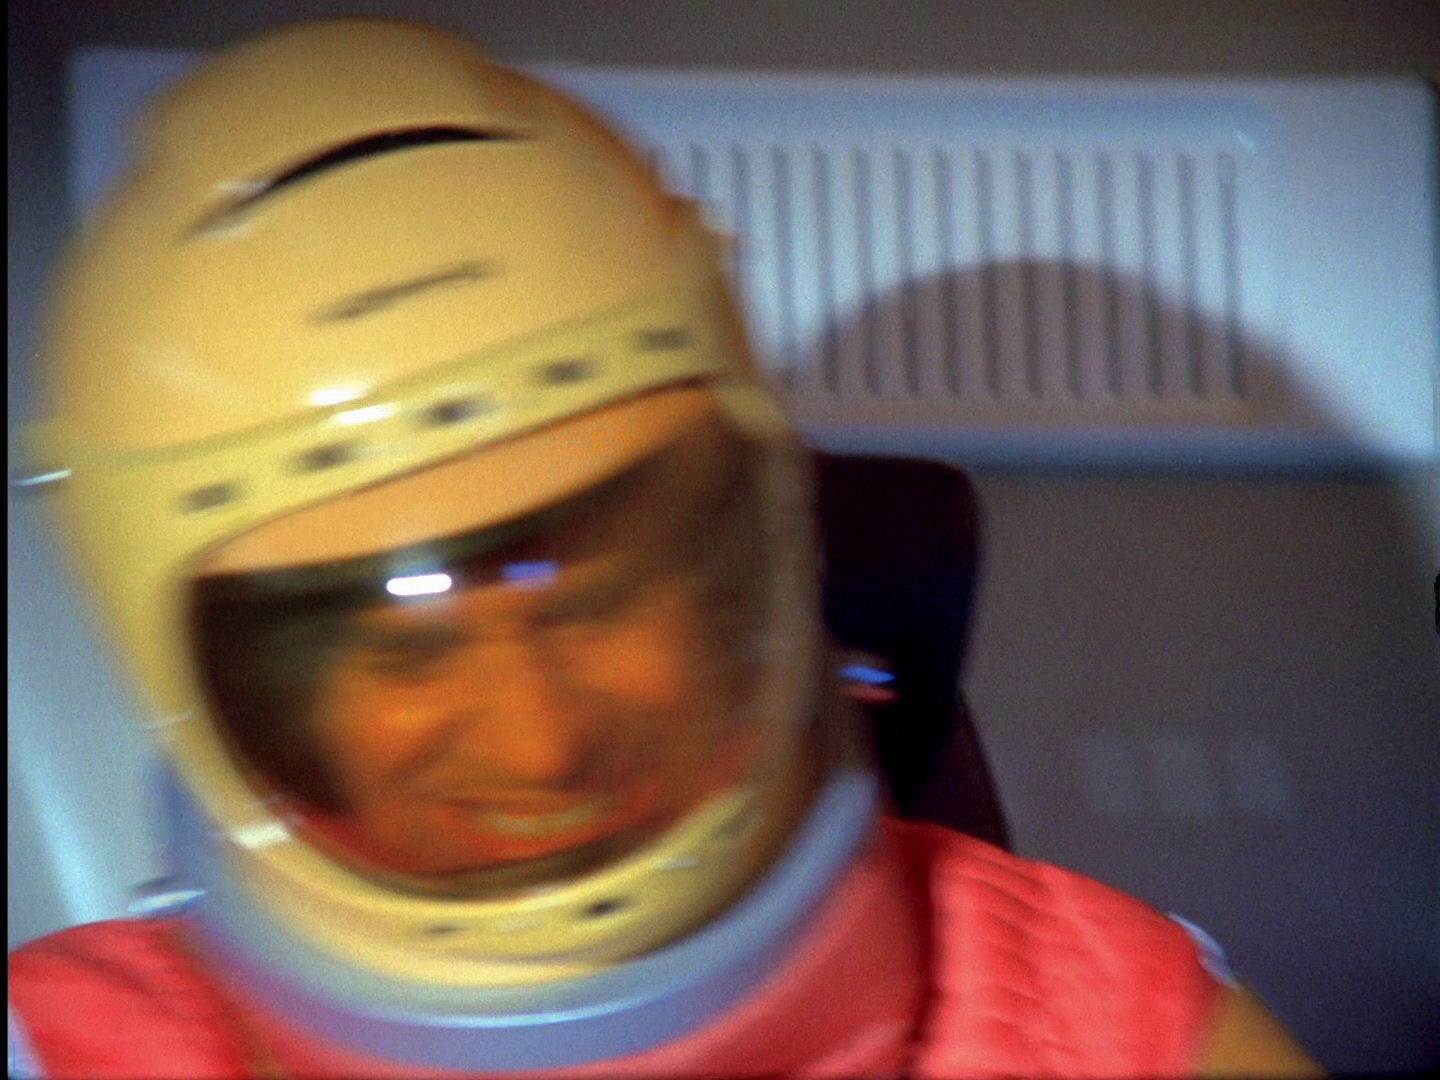
More slightly different versions of shots seen in the episode. Possibly continuations of scenes. We see Bergman looking forward in the episode, but not turning his head. Similarly, after Koenig puts his visor down we don't see more lightning flashes. Thanks to Martin Daoust. 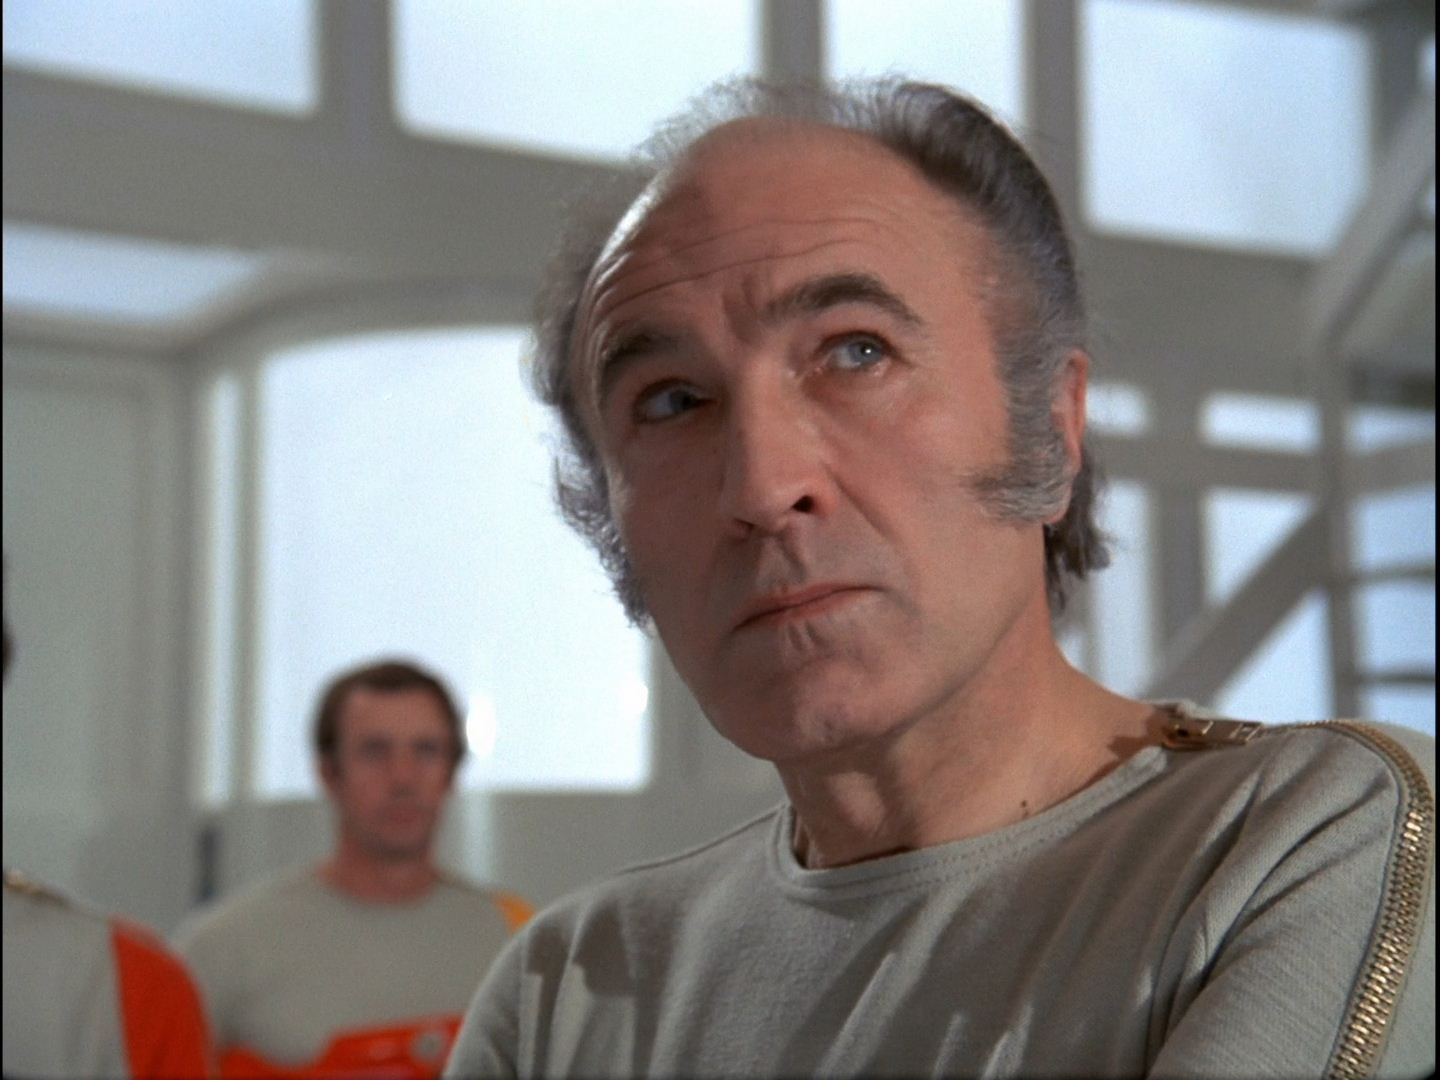
 |
|
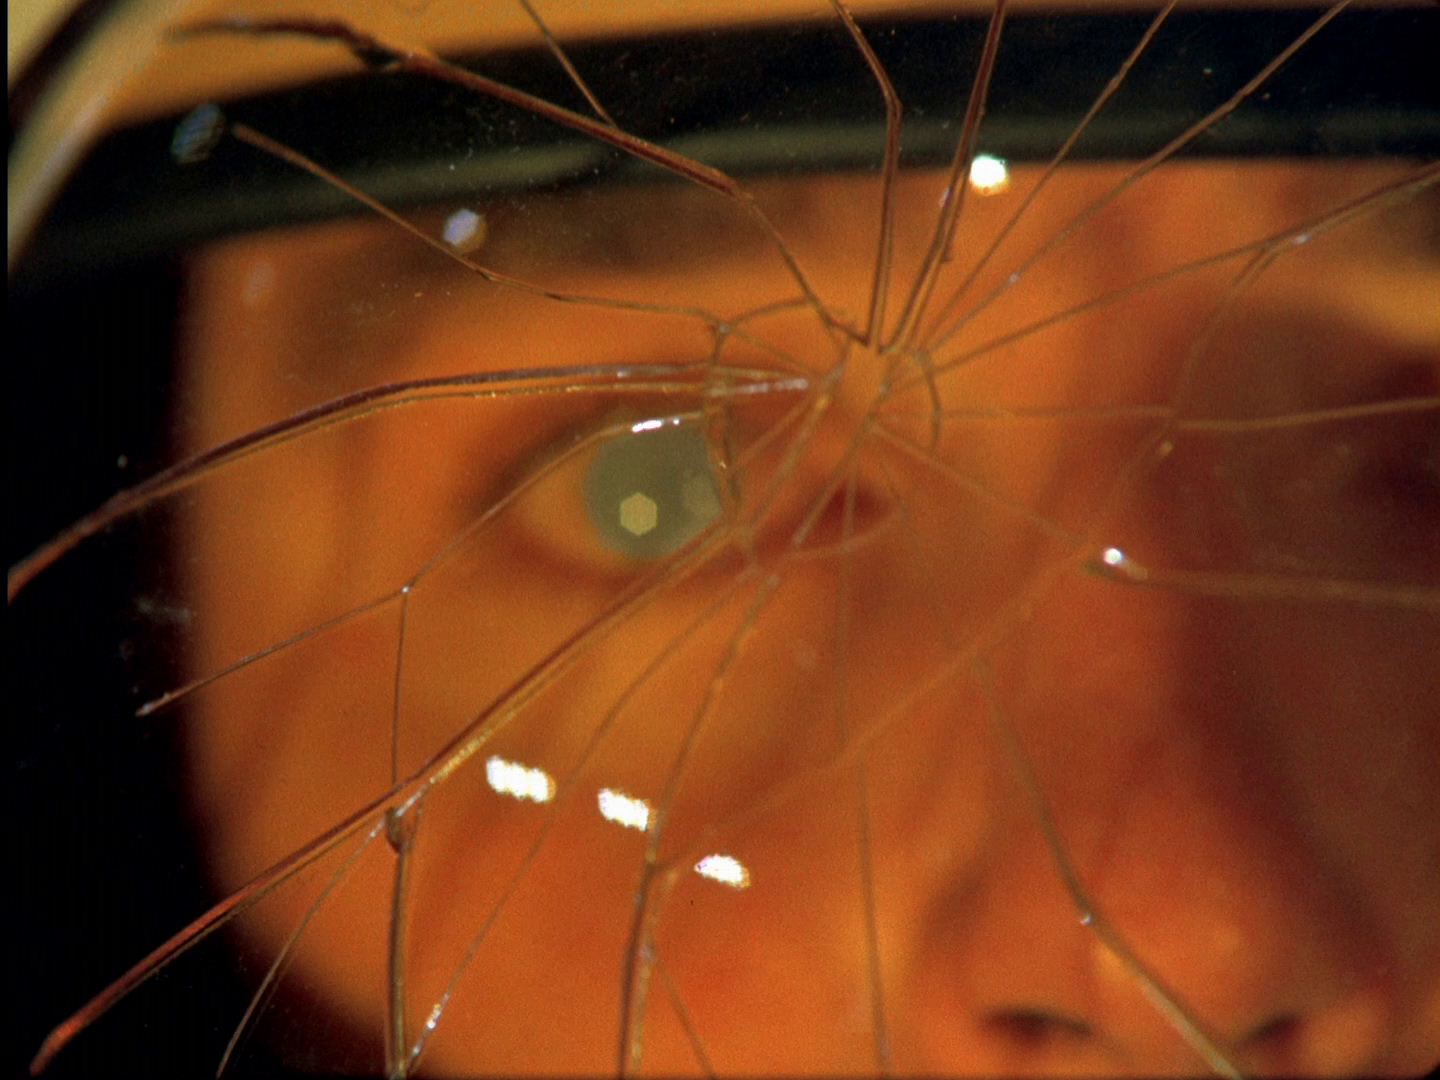 |
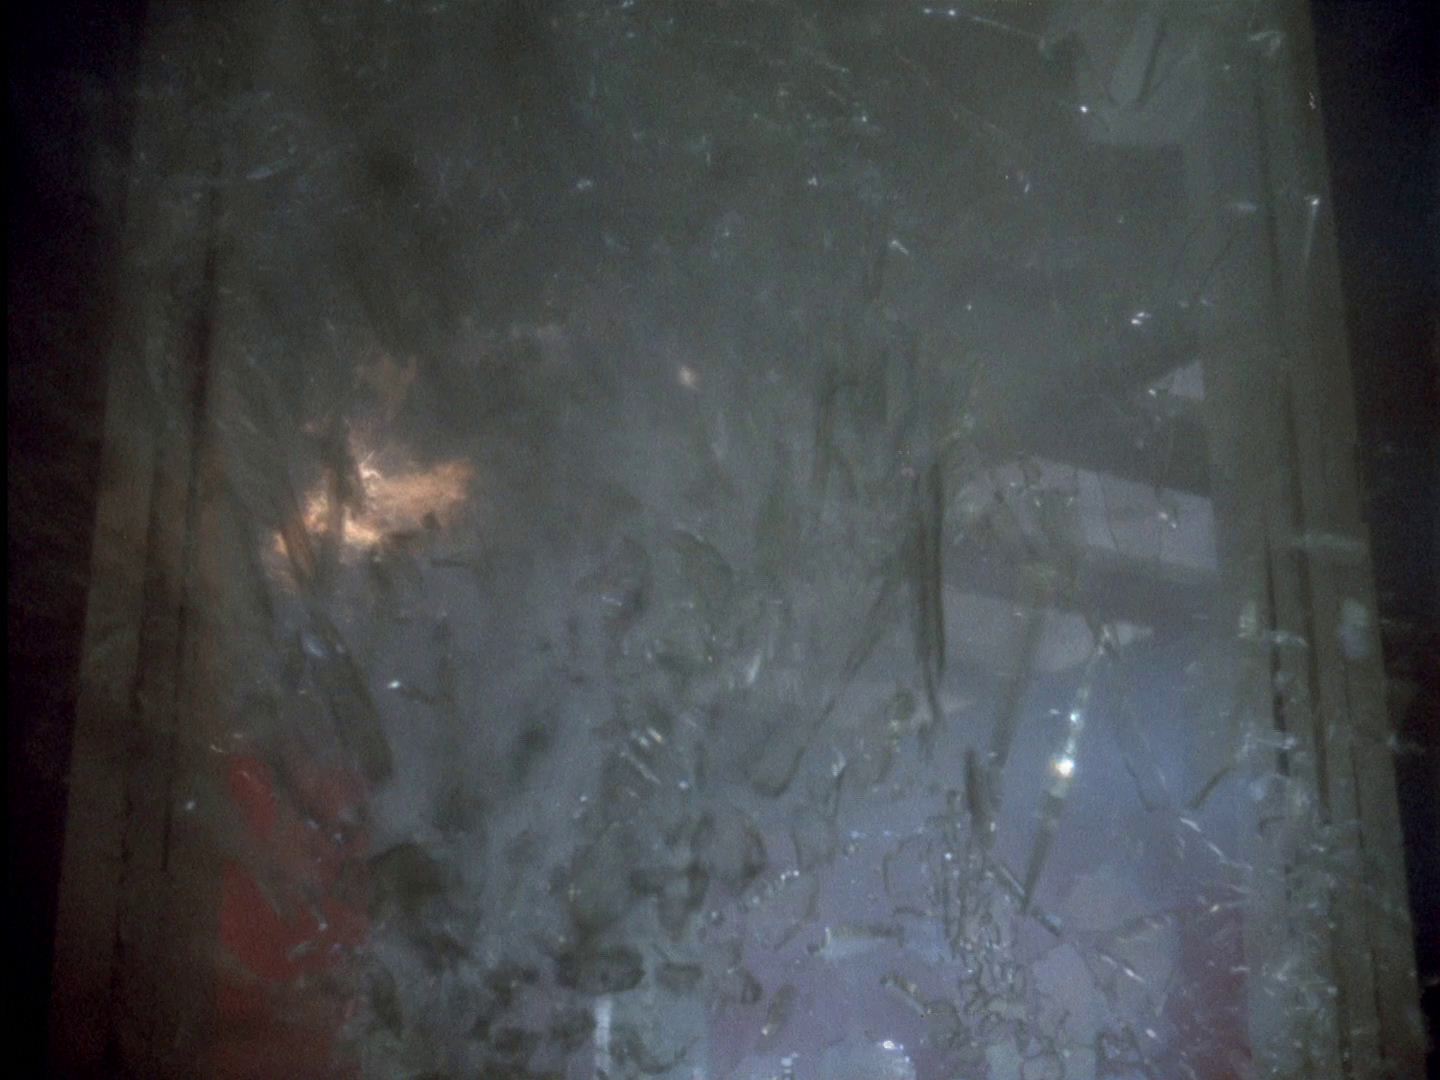
Closeup of Nordstrom's eye; focus changes to broken visor glass. In the episode Nordstrom is seen side on; his face has fallen away from the cracked glass (just visible top right and out of focus). Thanks to Martin Daoust. 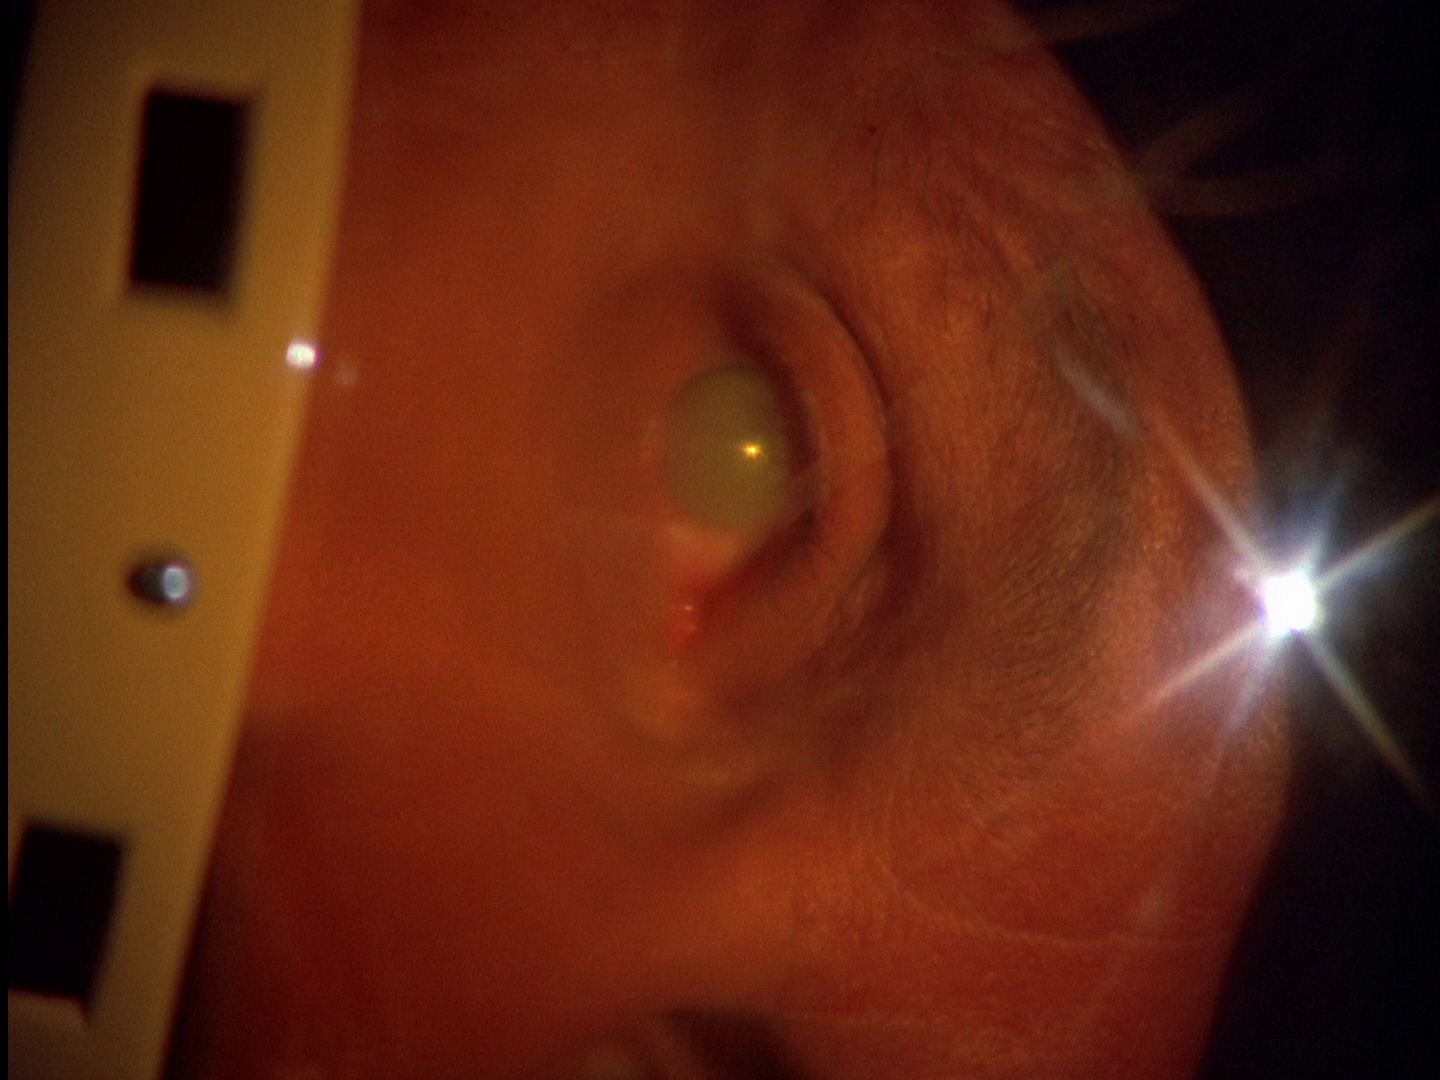
|
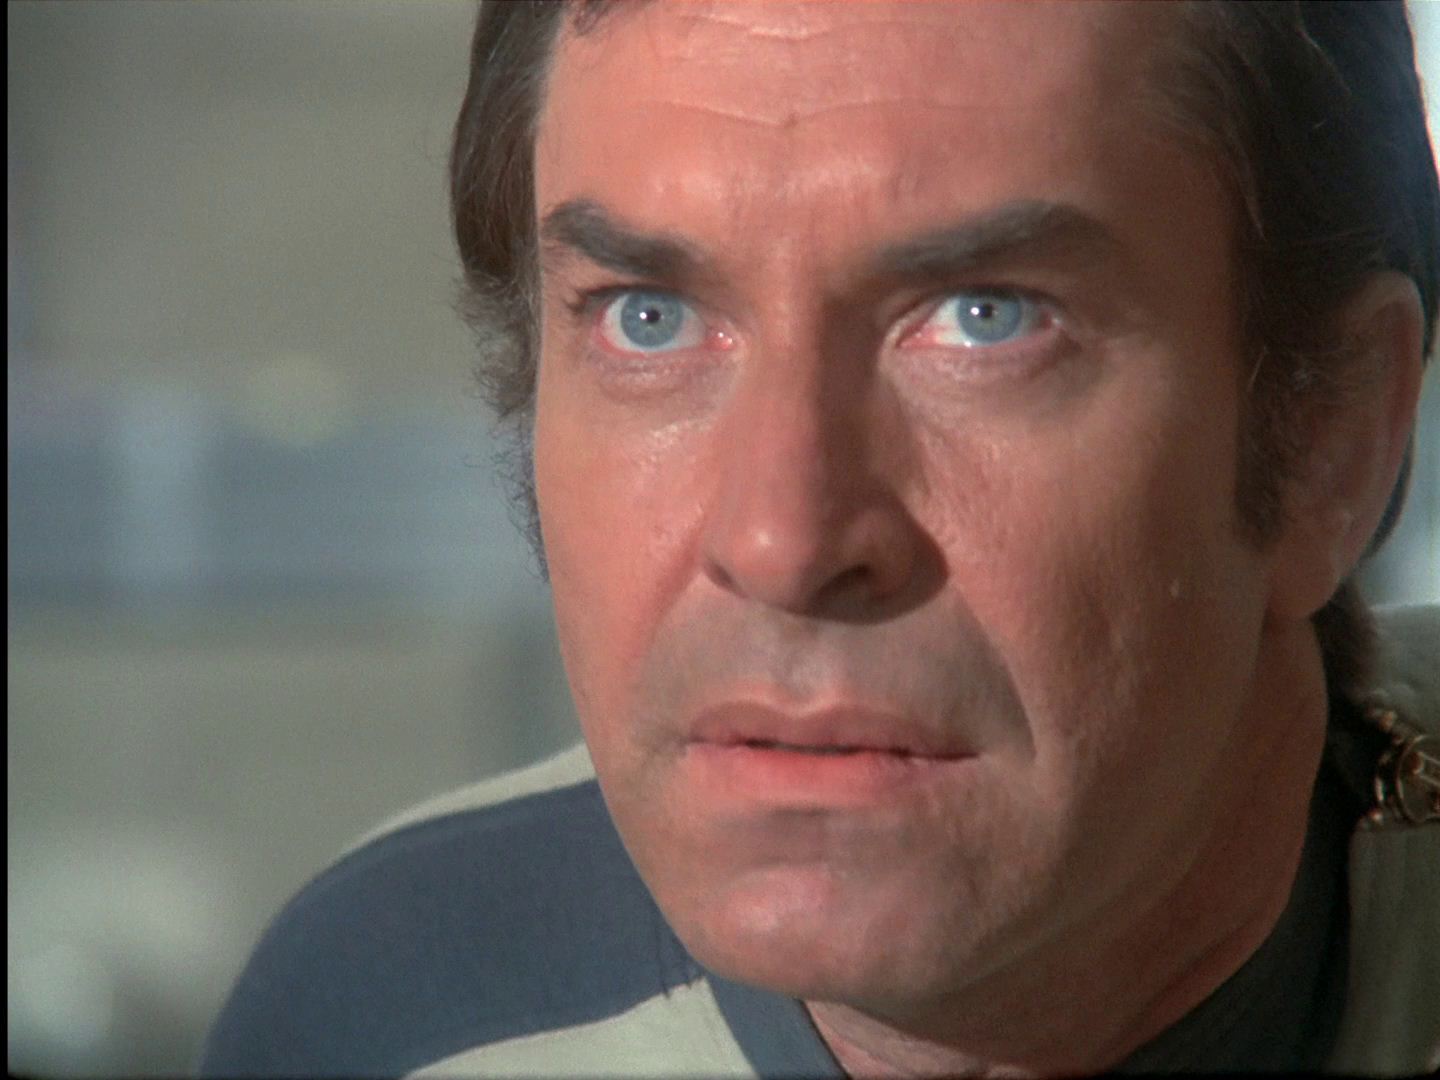 |
Koenig in the Travel Tube. Not seen in episode. Possibly from the arrival scene with Bergman. Thanks to Martin Daoust. |
Copyright Martin Willey