Storyboards - Voyager's Return
These are the SFX scenes from Act Two.
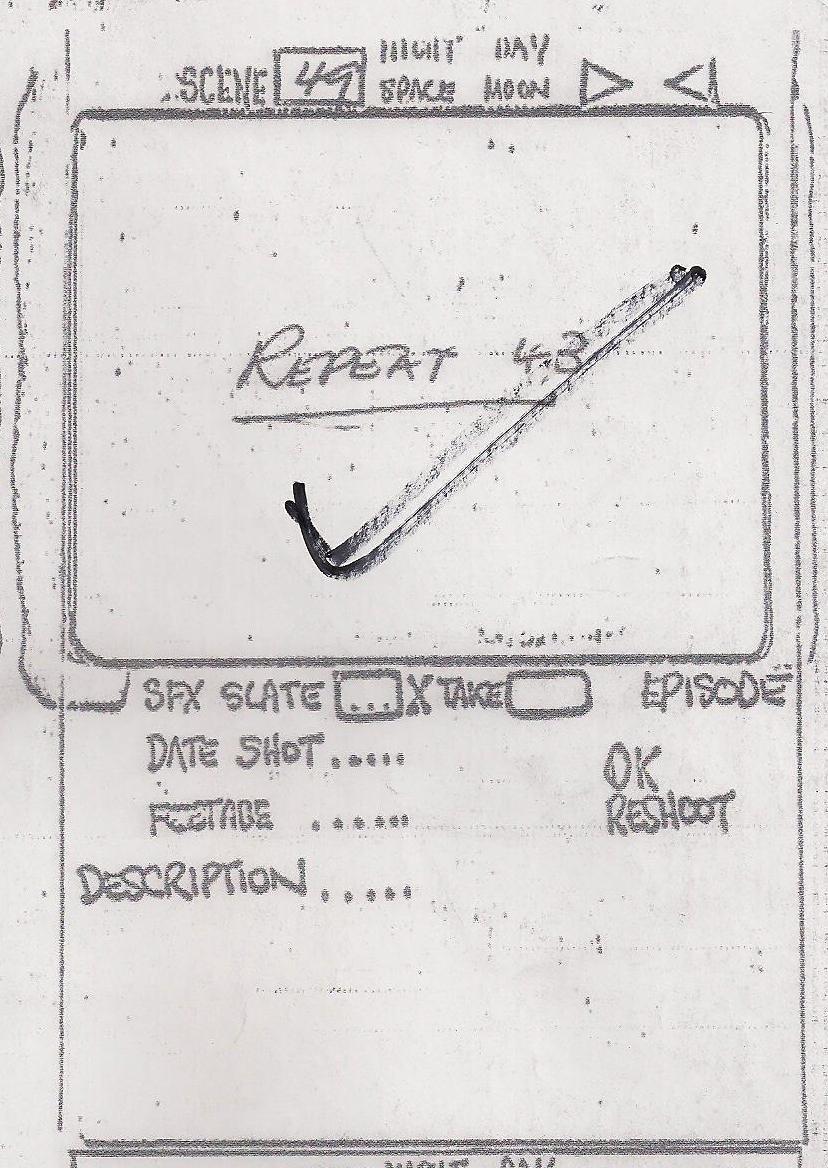
Scene 43. Voyager moving thro space drawing closer to Alpha.
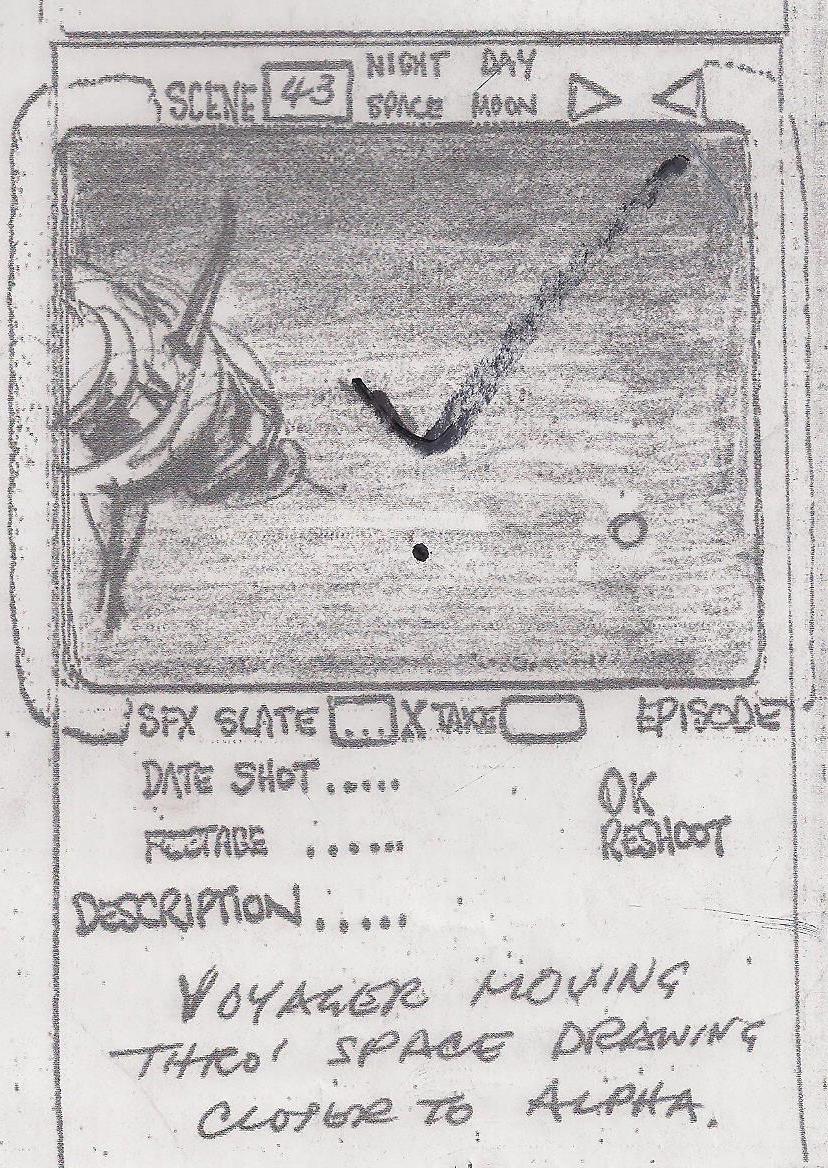
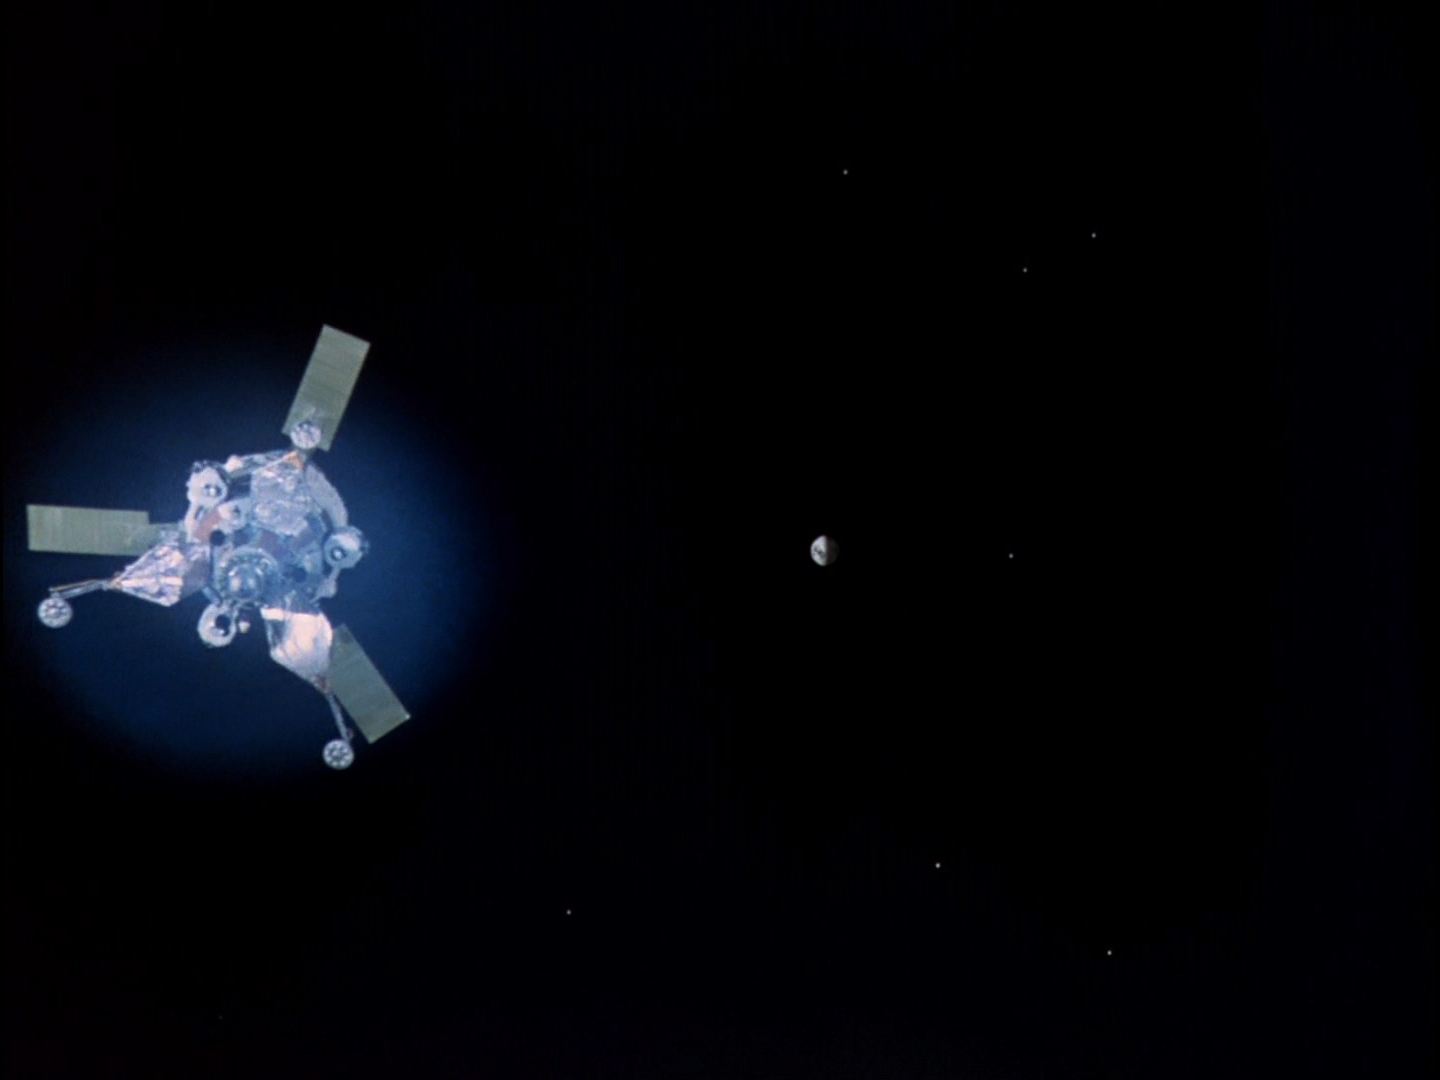
Opening scene of Act Two, before the Command Conference to discuss Queller. Apparently replaced with similar composition in additional shots scene 2x.
Scene 47. Voyager moving thro space towards Alpha.
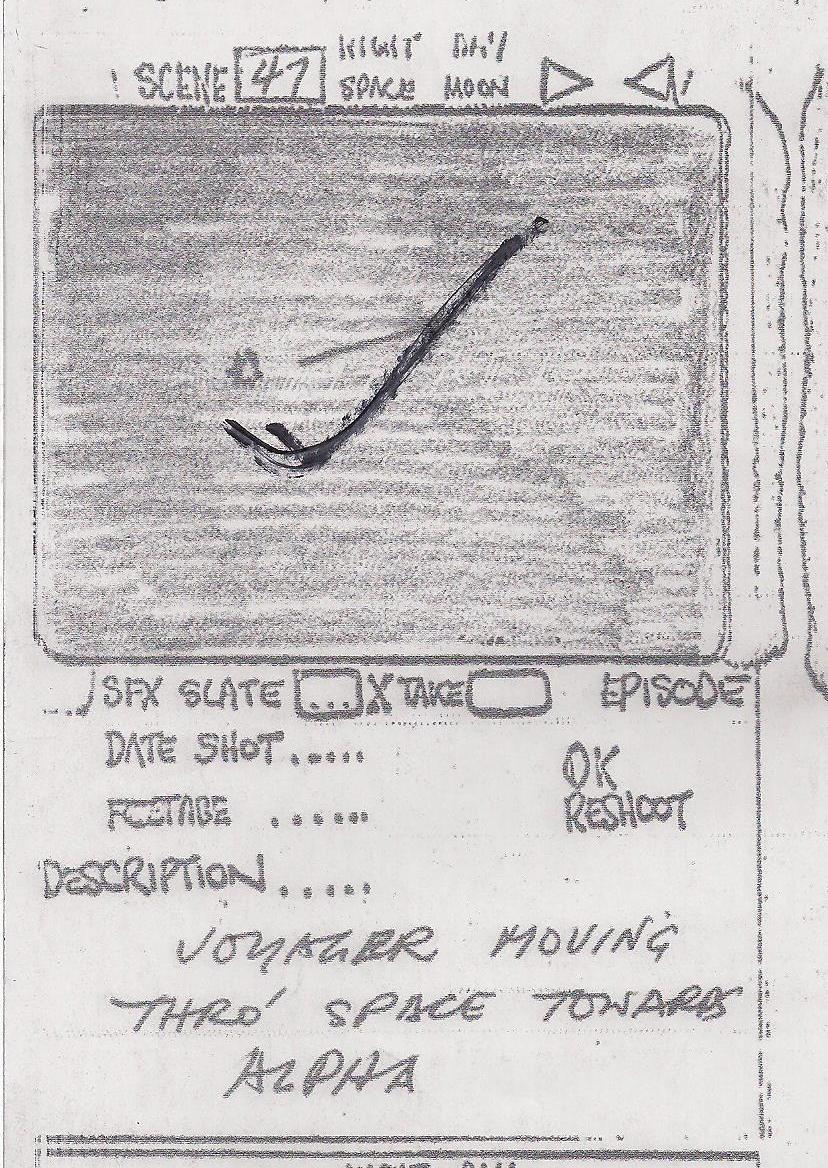
Not used. This is what is on the Big Screen in Main Mission, but in the episode we don't see it.
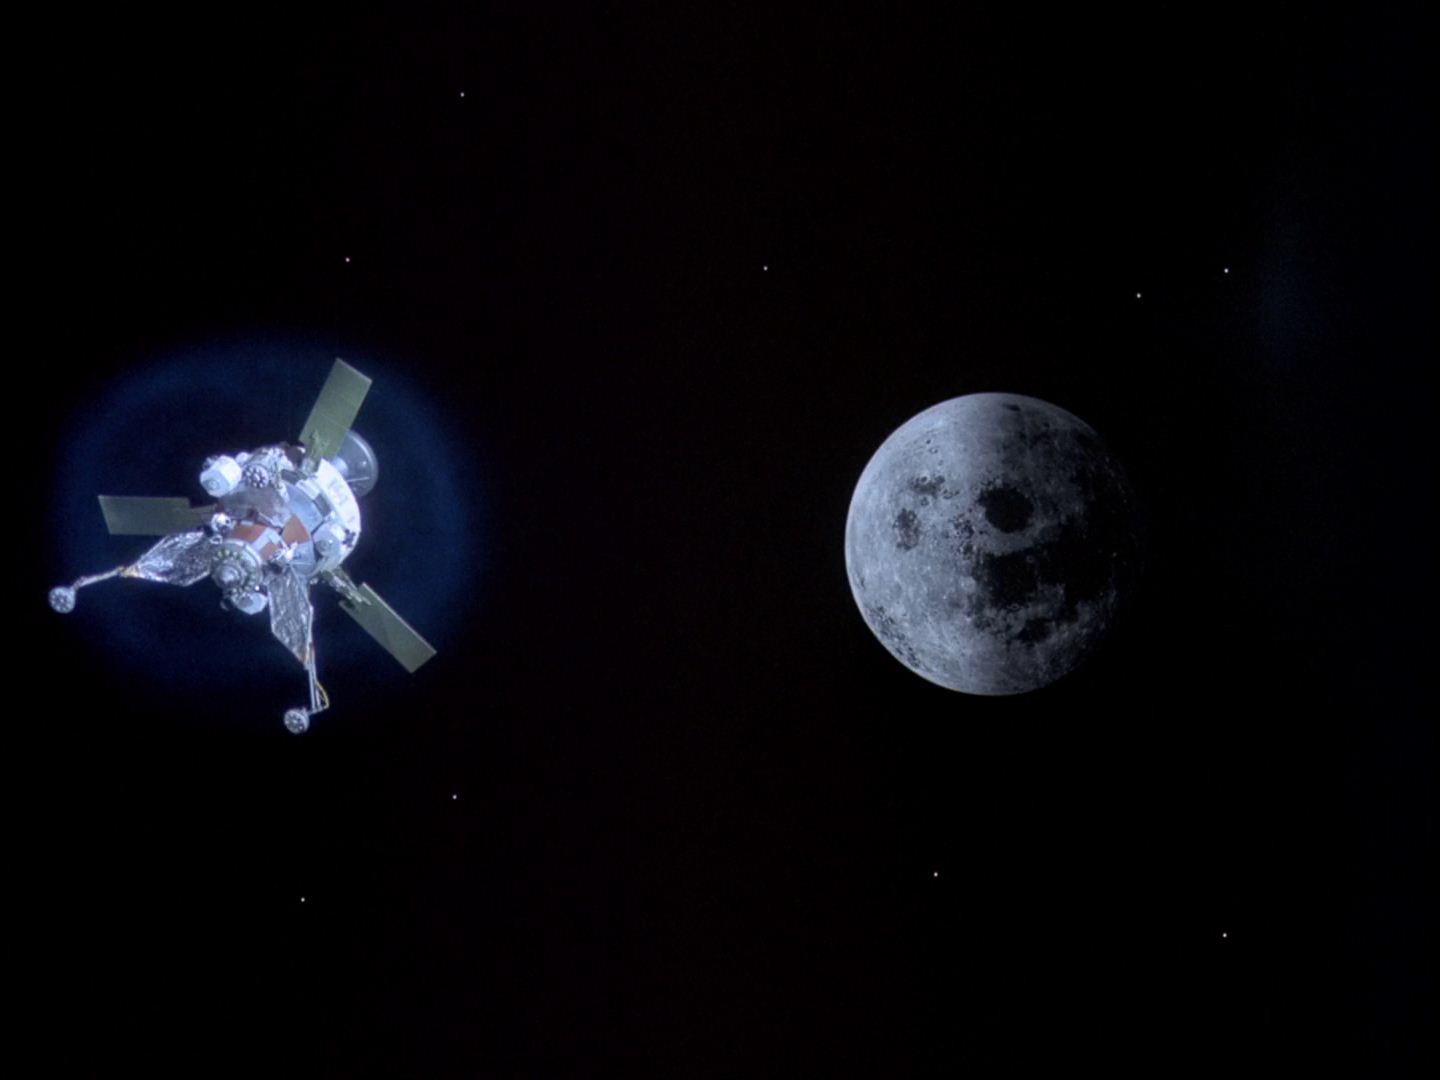
Scene 49.
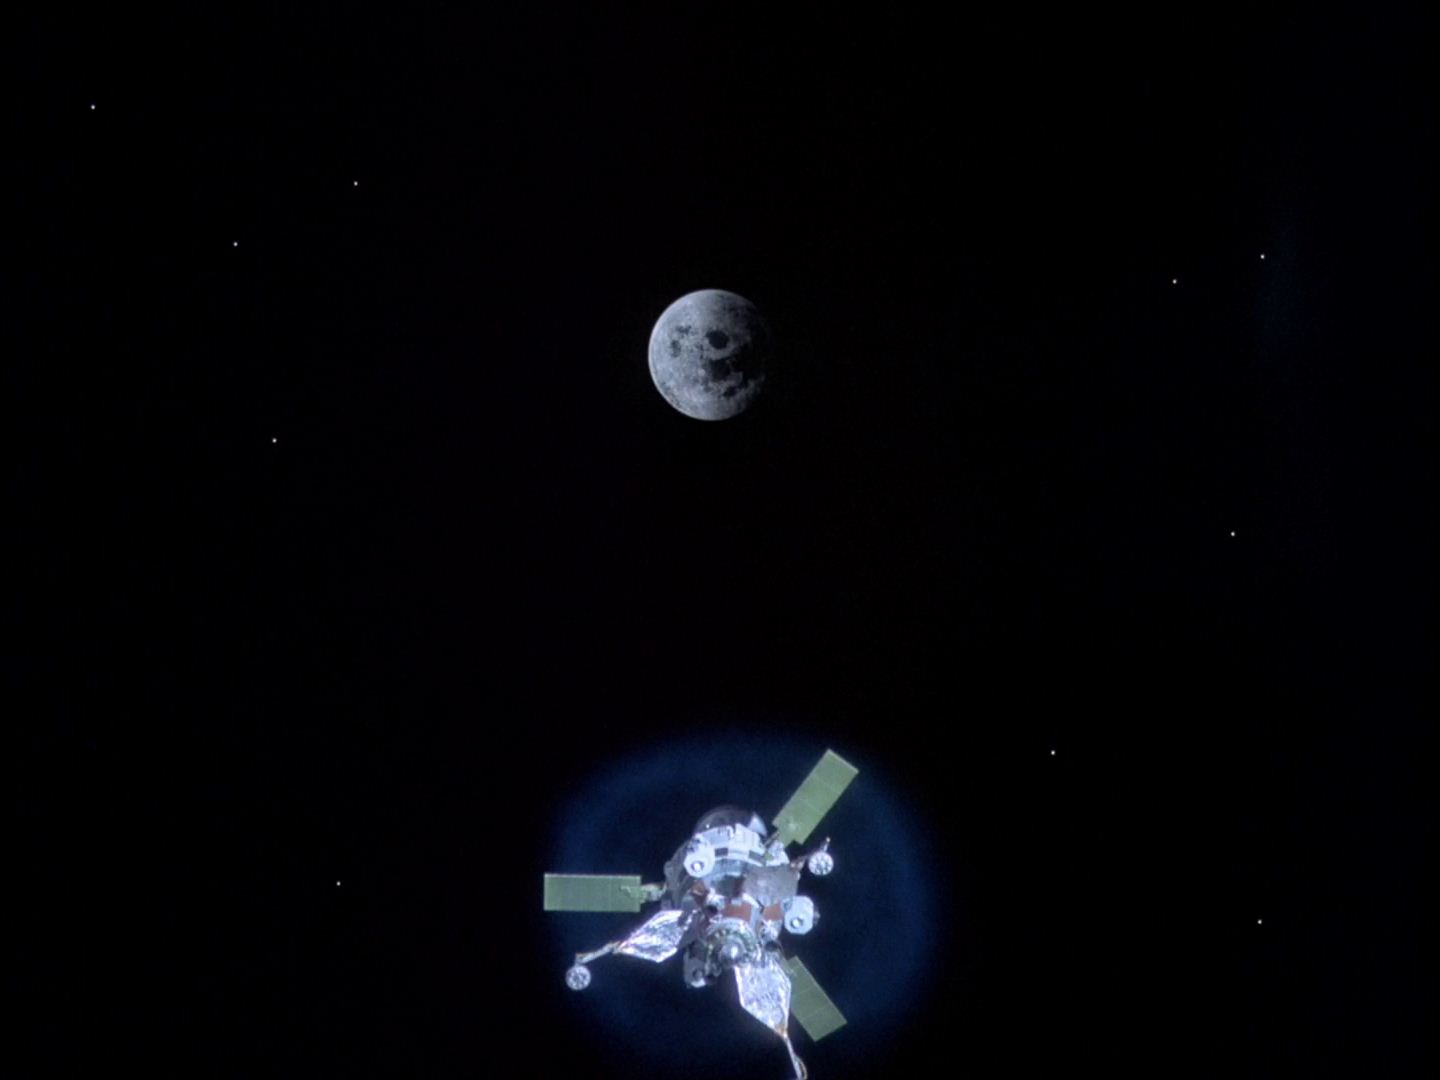
Script: Voyager One moving closer to Alpha.
Storyboard: +47 smaller Moon. Voyager towards Moon.
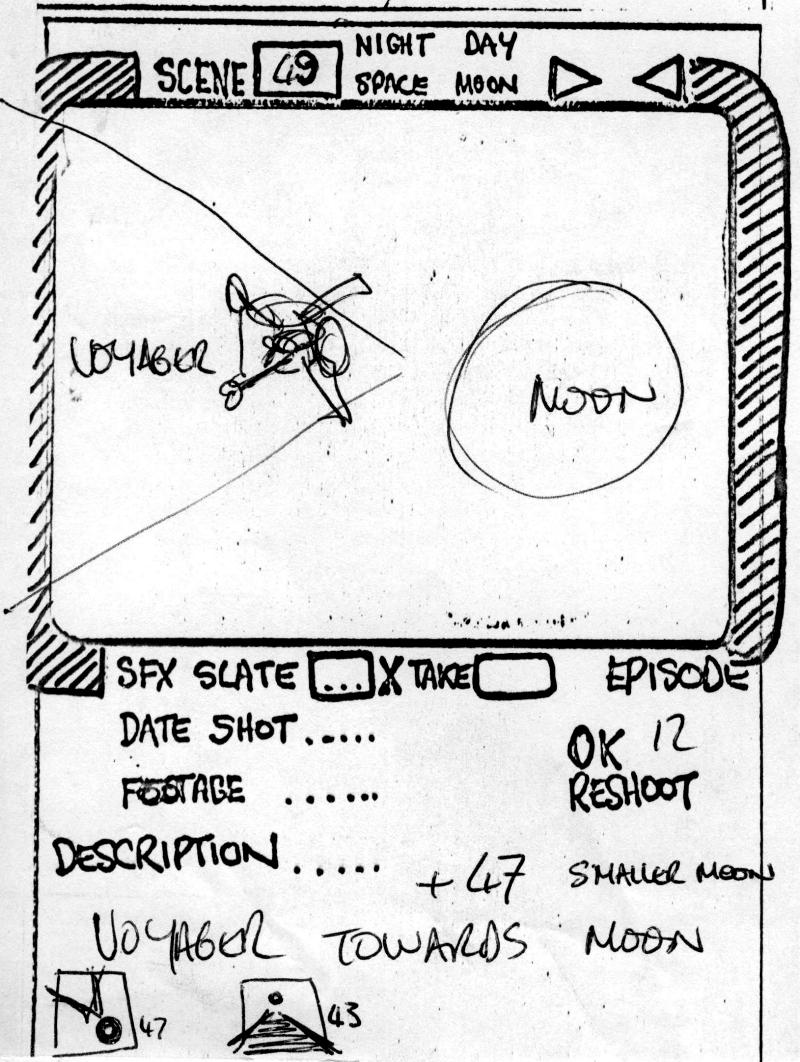
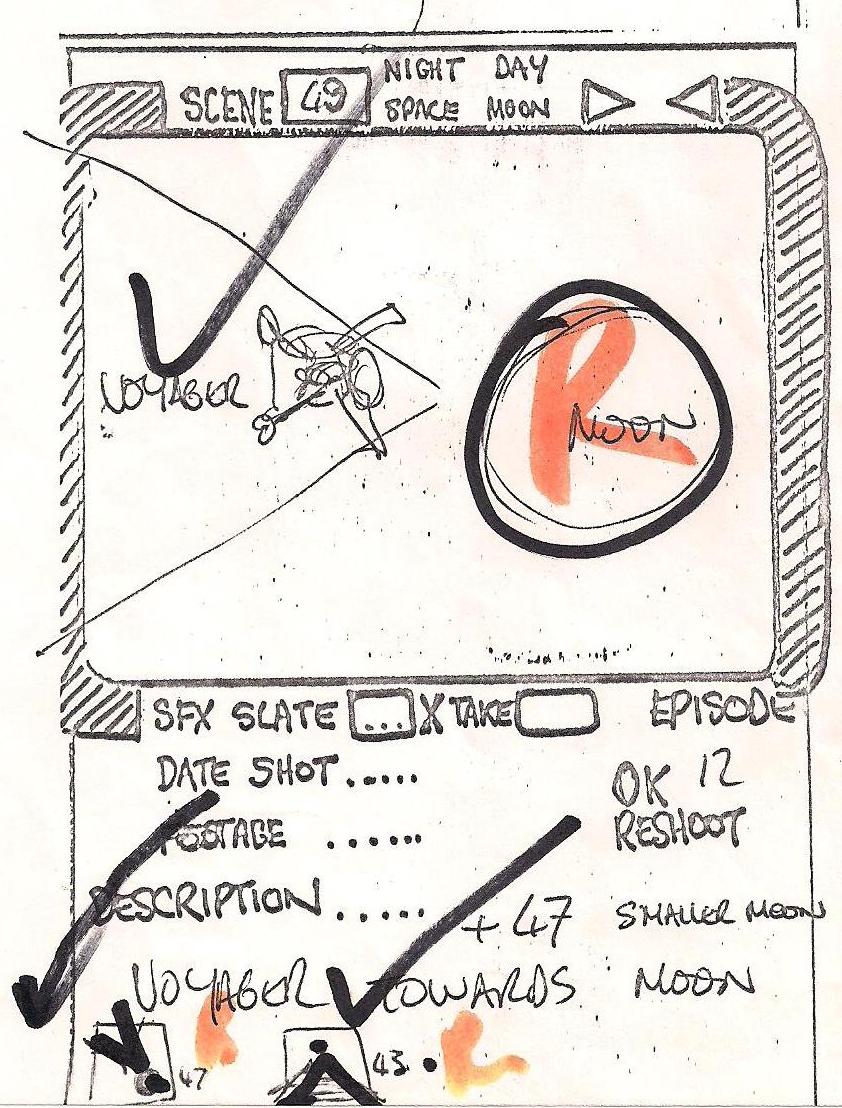
This shot occurs just before the 3 Eagles launch, but is not used here. In small vignettes below the main drawing are scenes 43 (above, the start of act 2, just before the command conference) and 47 (Alan explains his 3 phase plan). The editor moves the 47 and 49 shots up to the climax as Queller works on the drive, watched by the Helena.
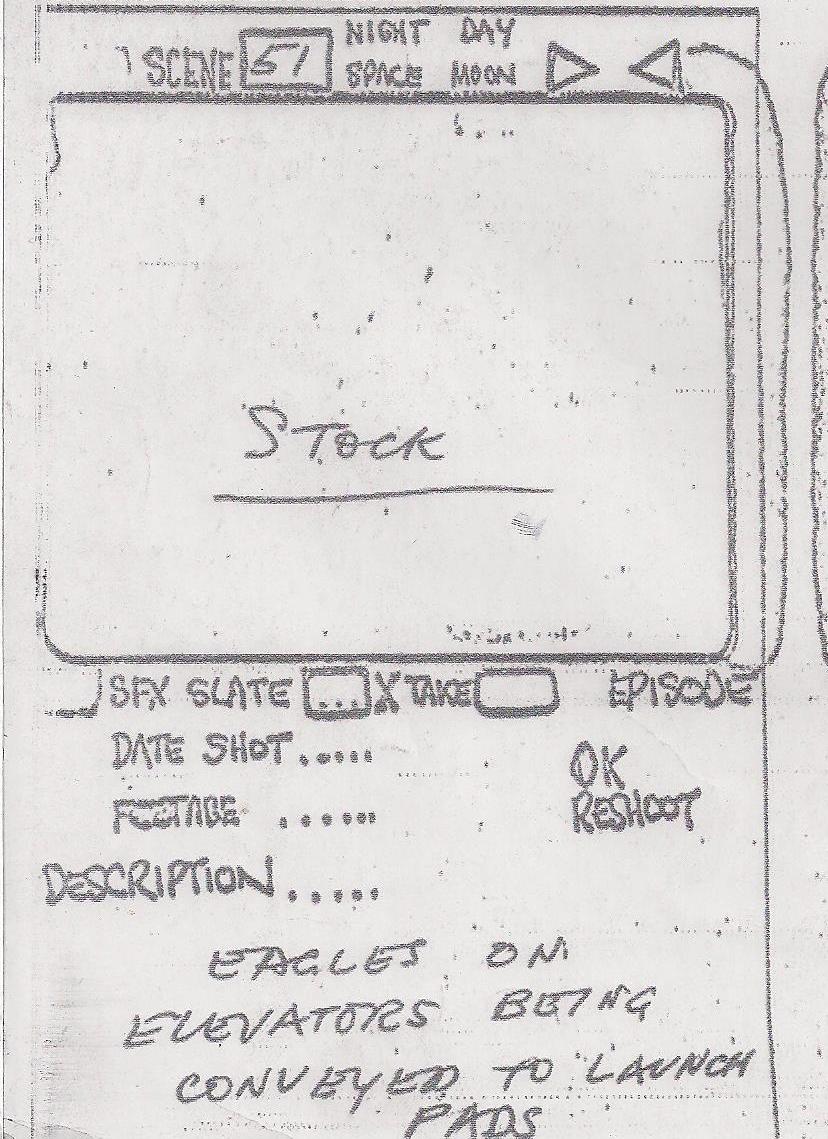
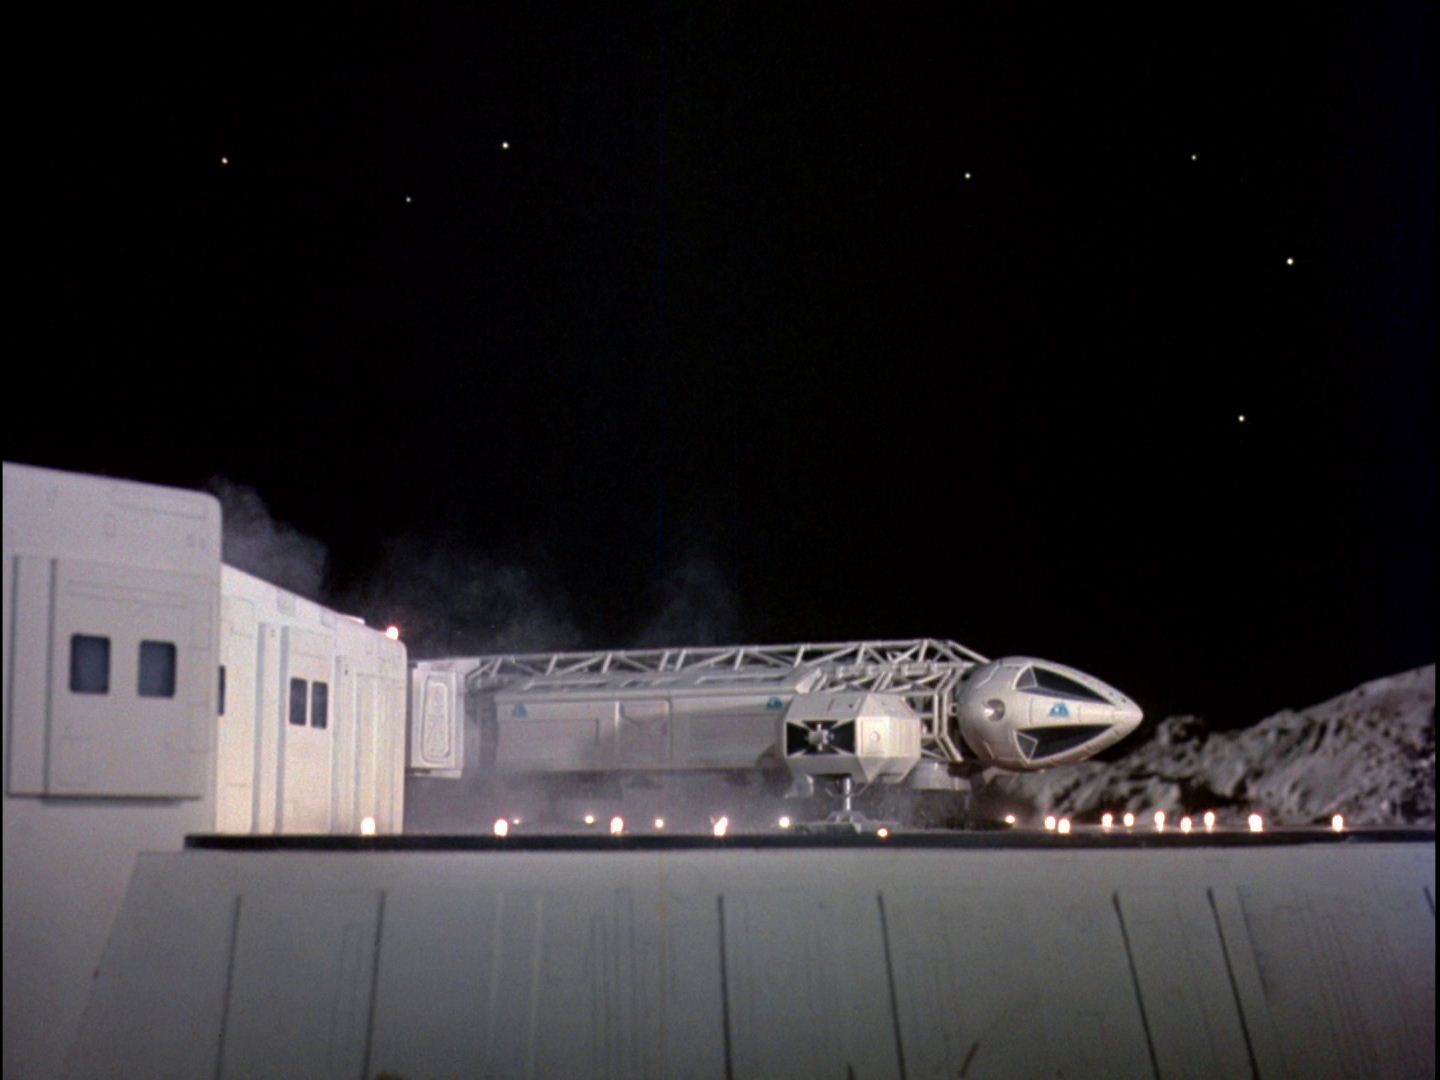
Scene 51. Eagles on elevators being conveyed to launch pads.
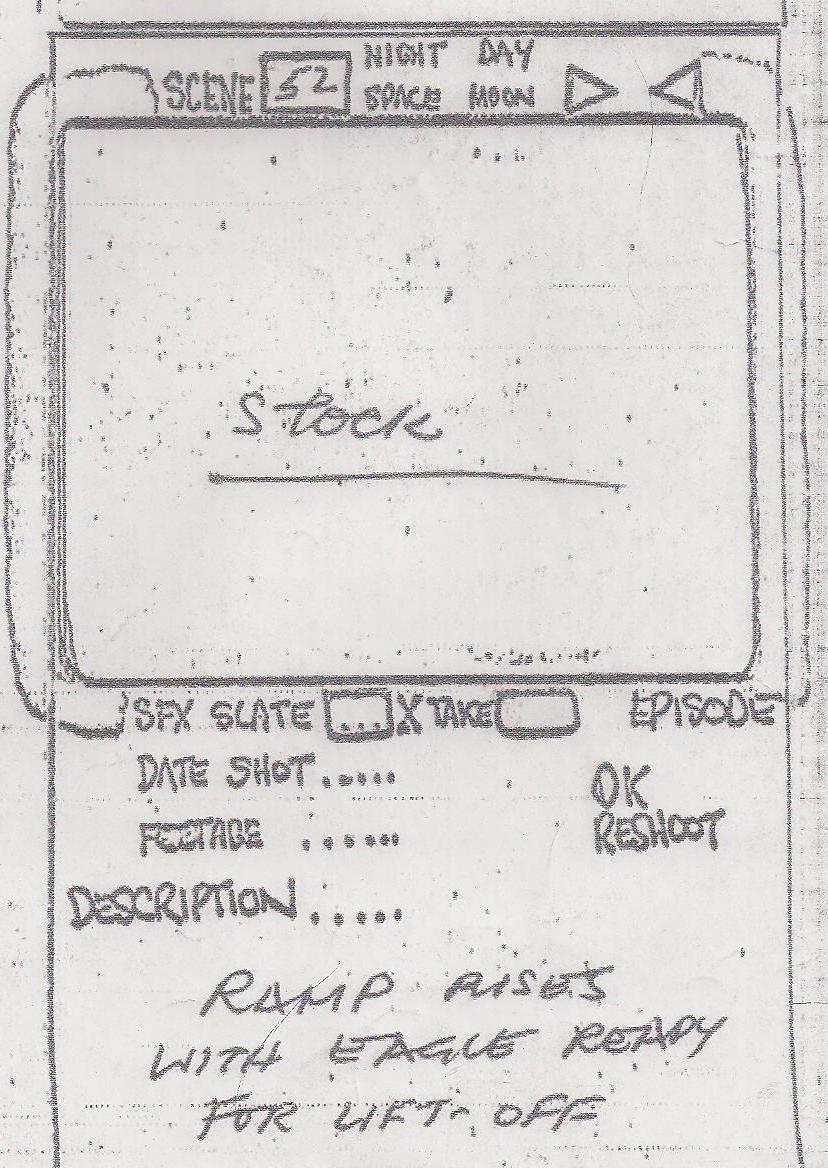
Scene 52. Ramp rises with Eagle ready for lift off
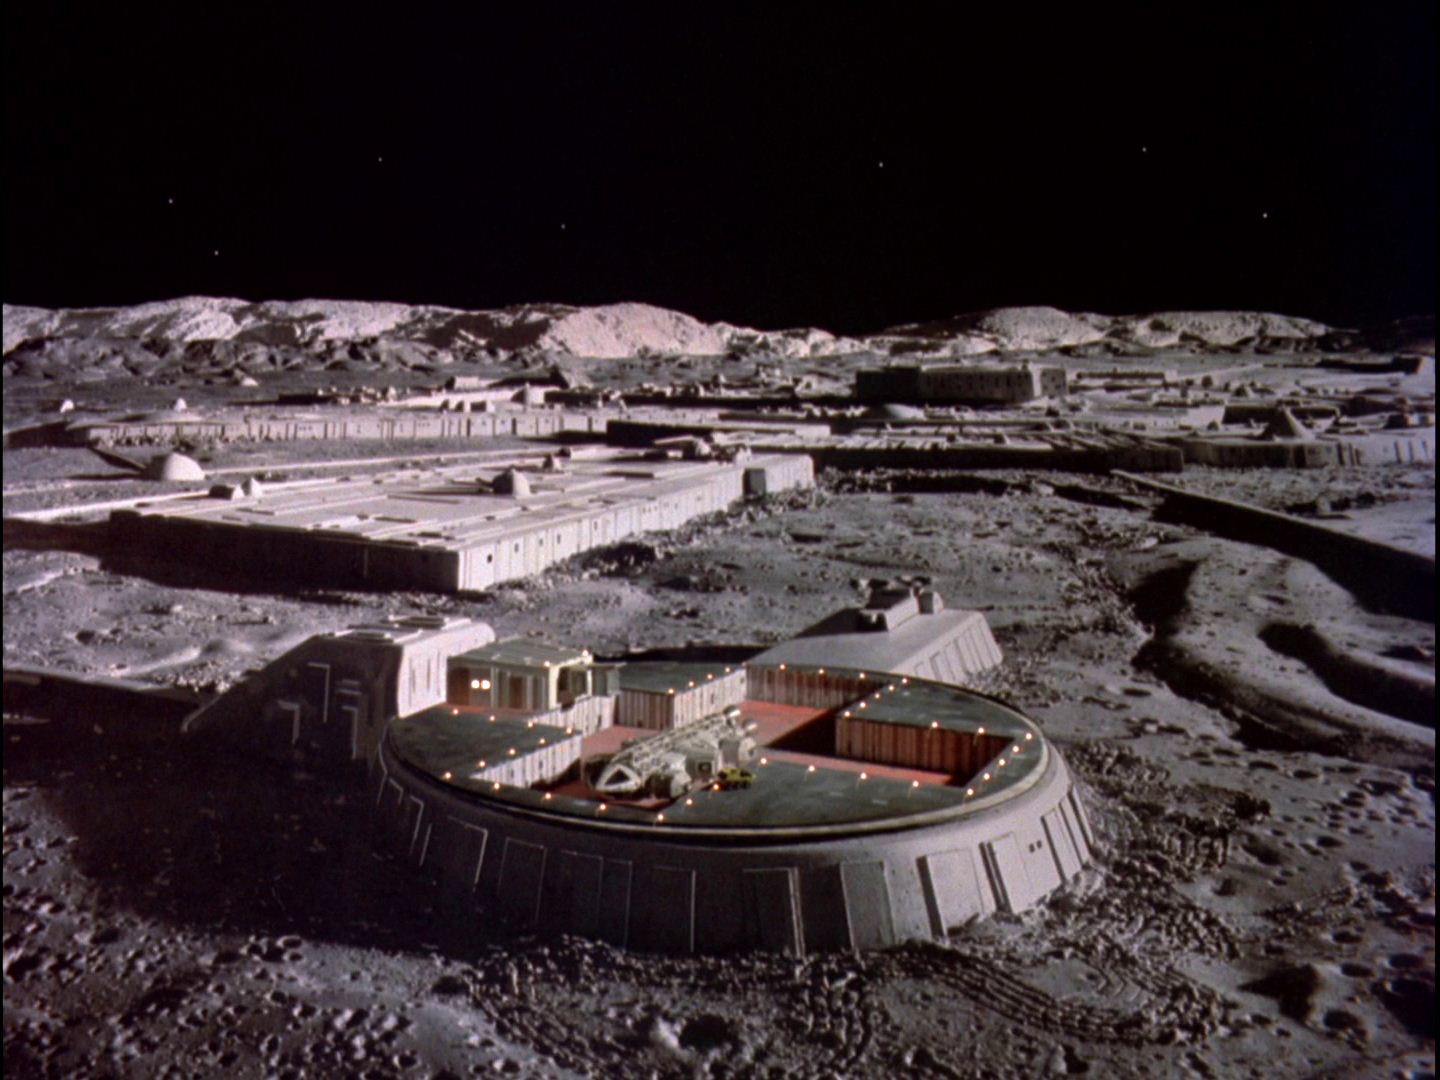
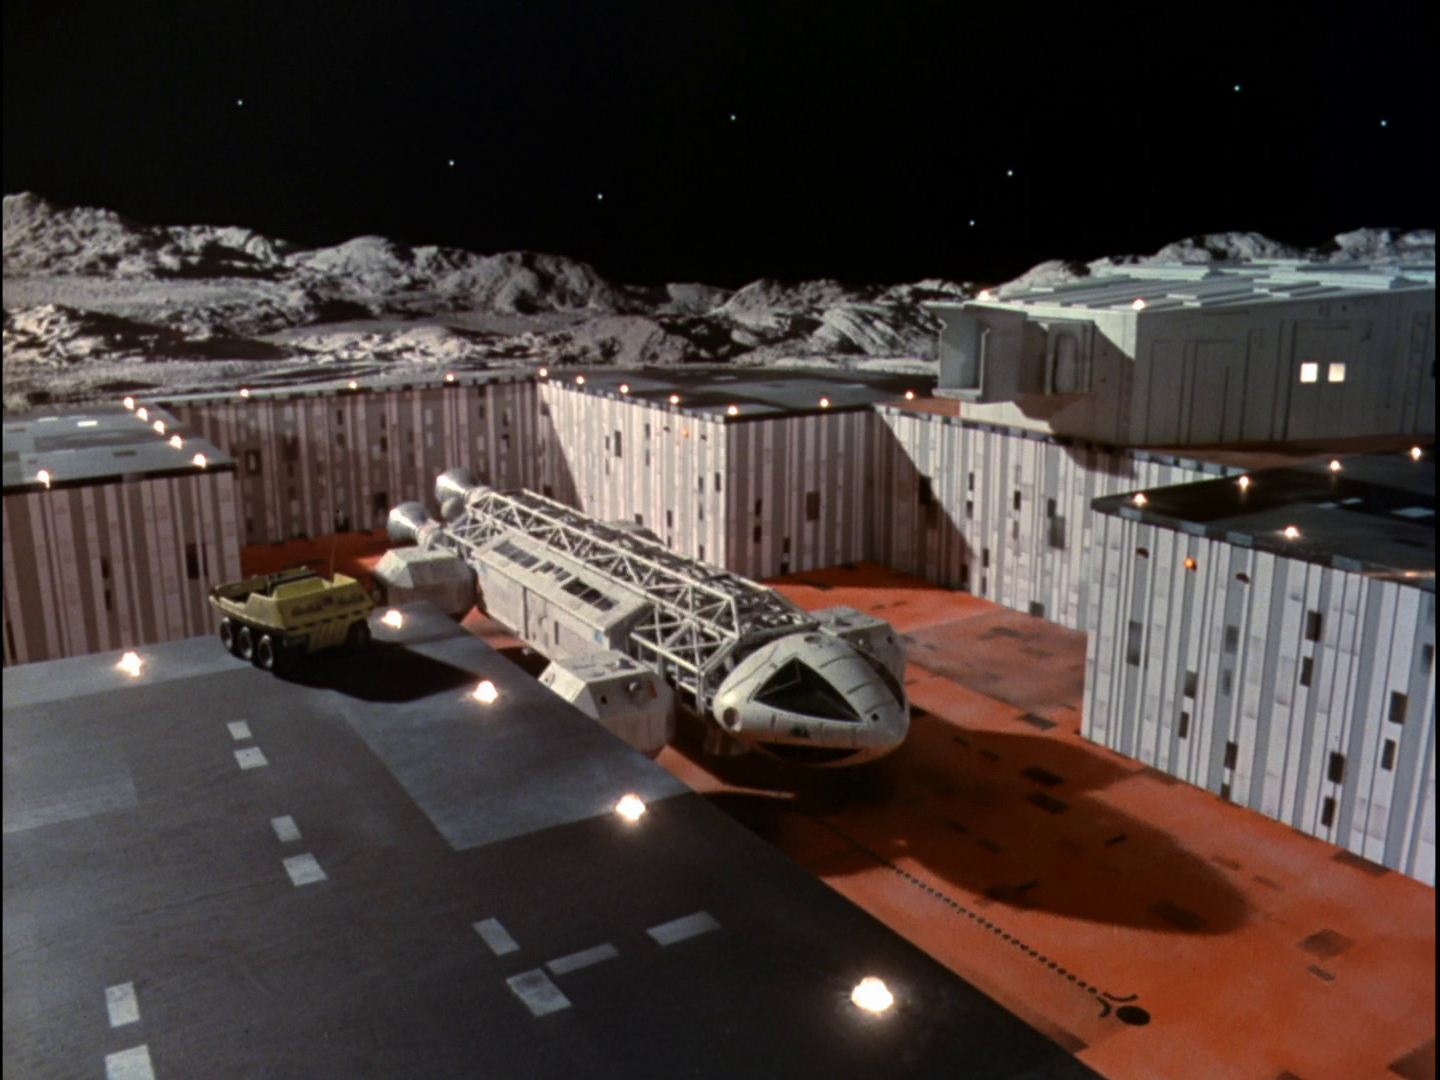
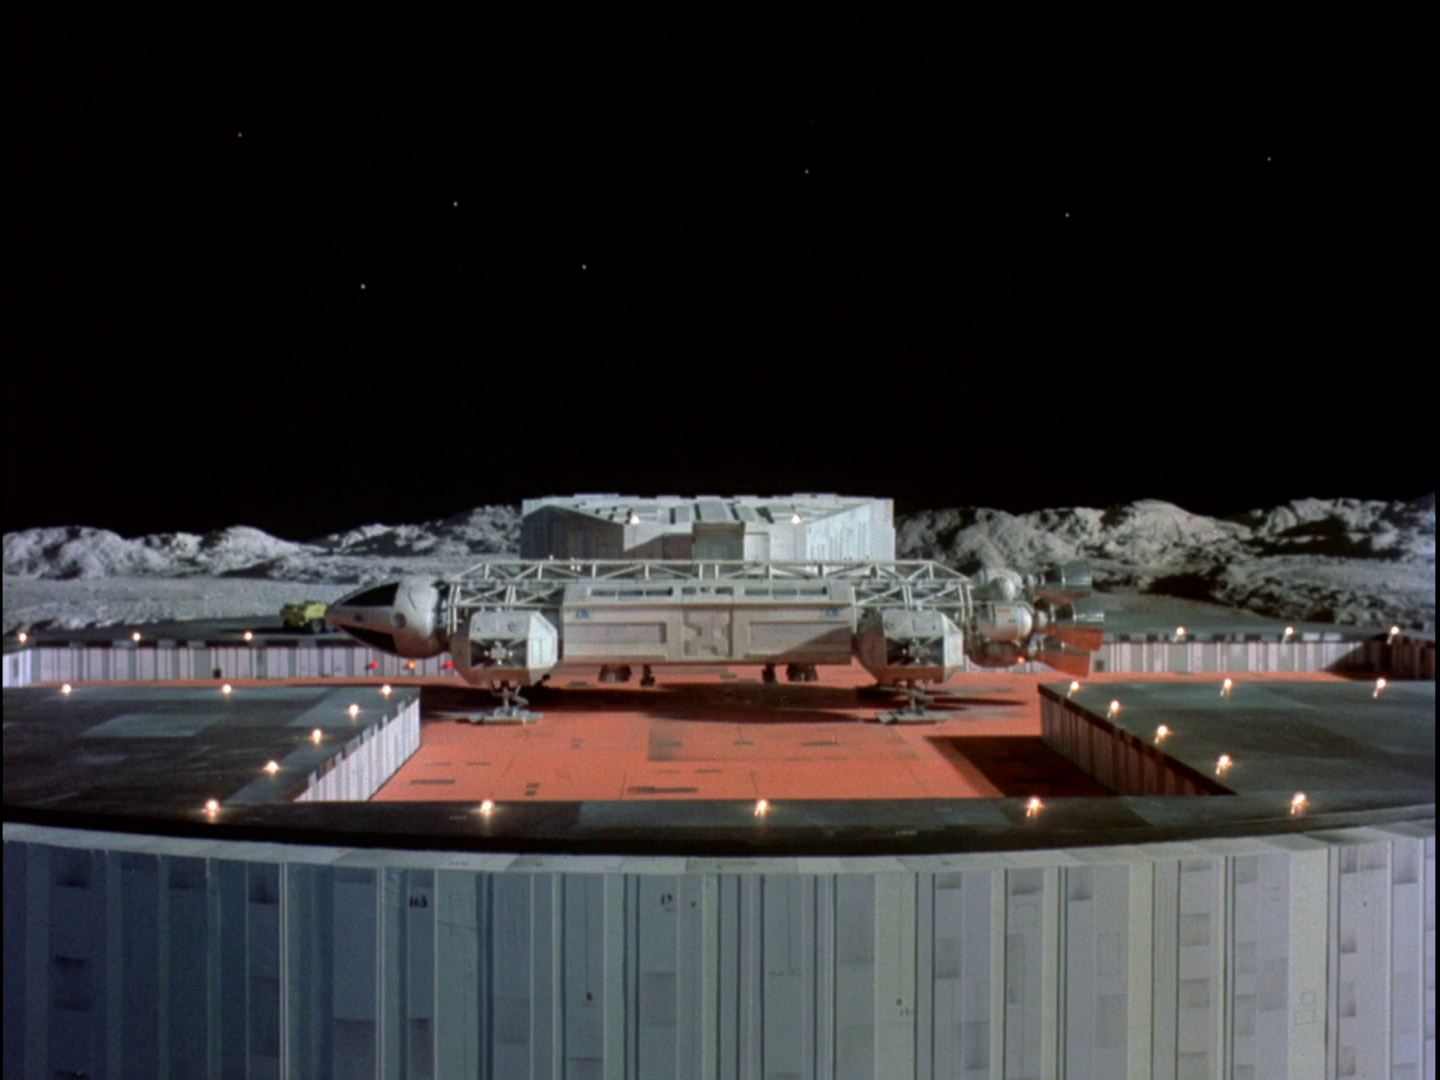
The editor uses 3 stock shots. The first shot of Moonbase Alpha is the only appearance of this shot (it was probably filmed for Guardian Of Piri).
Scene 58. Eagle Ten is launched.
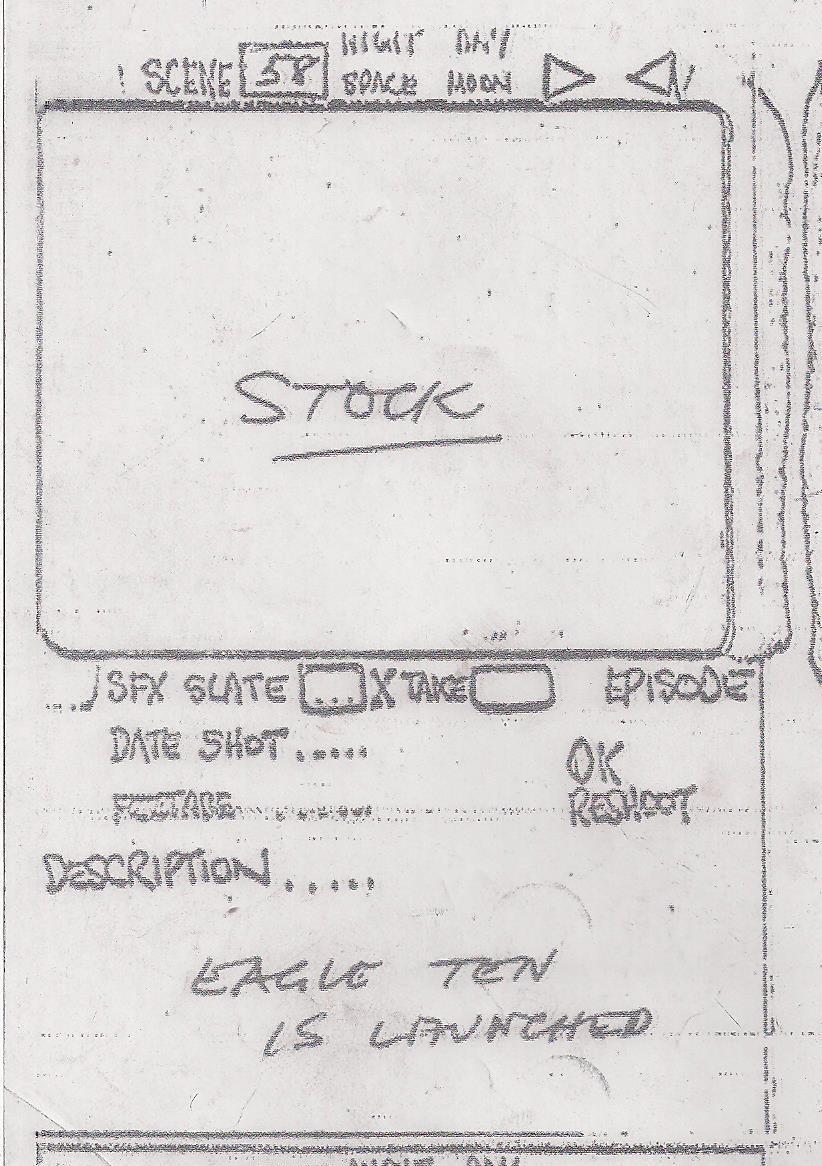
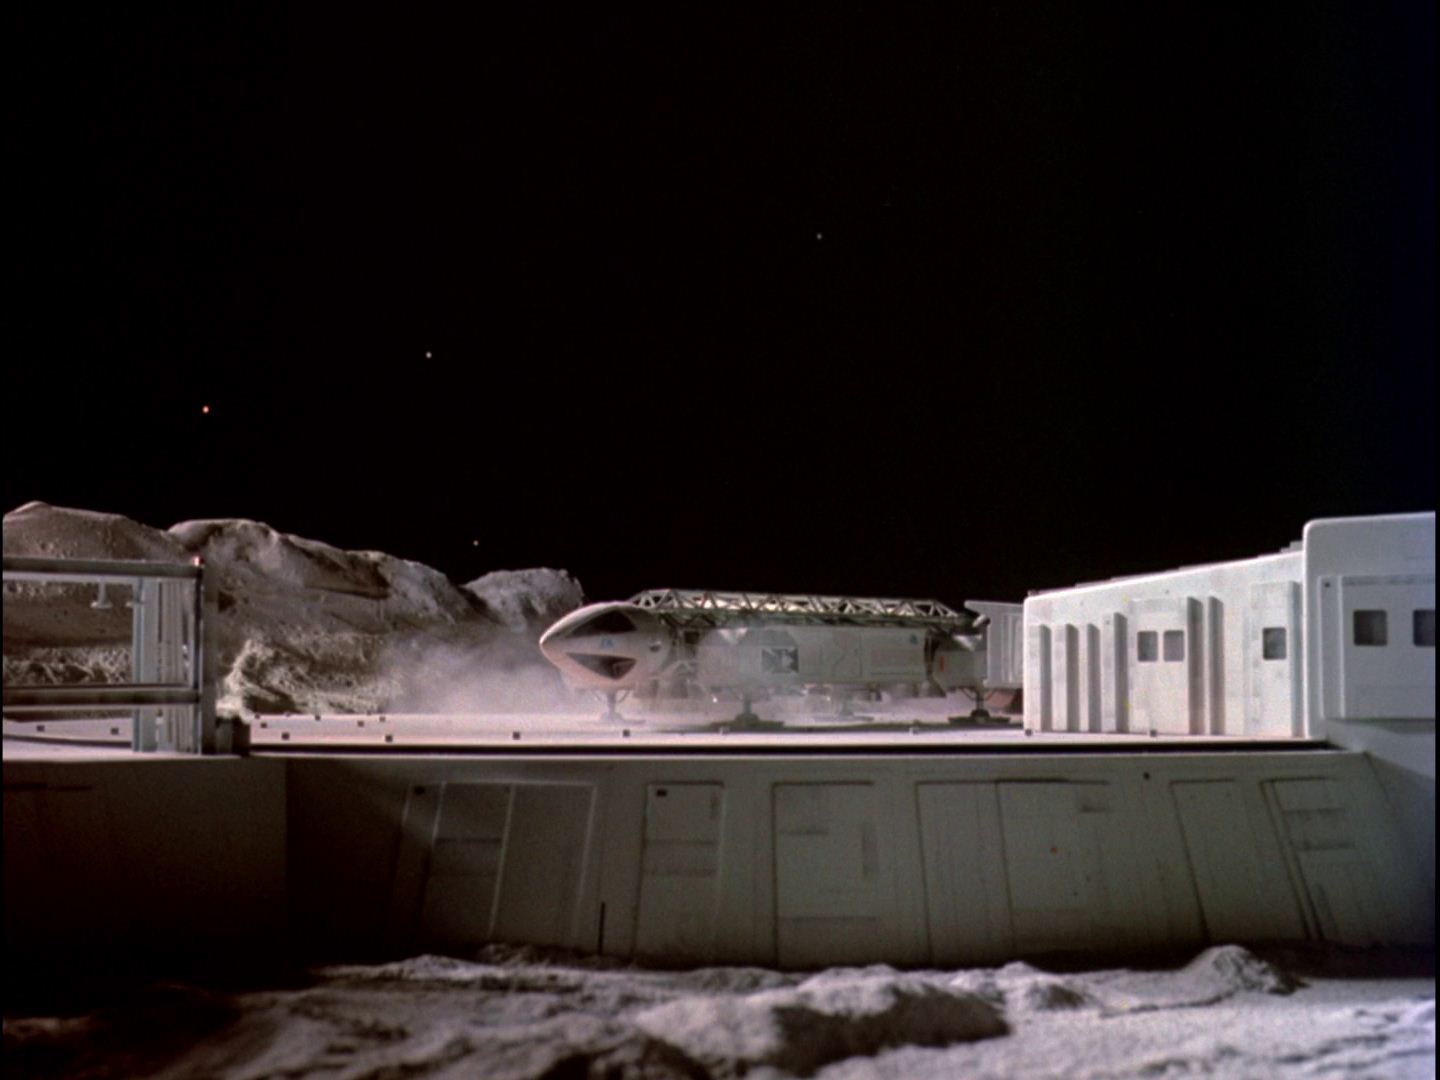
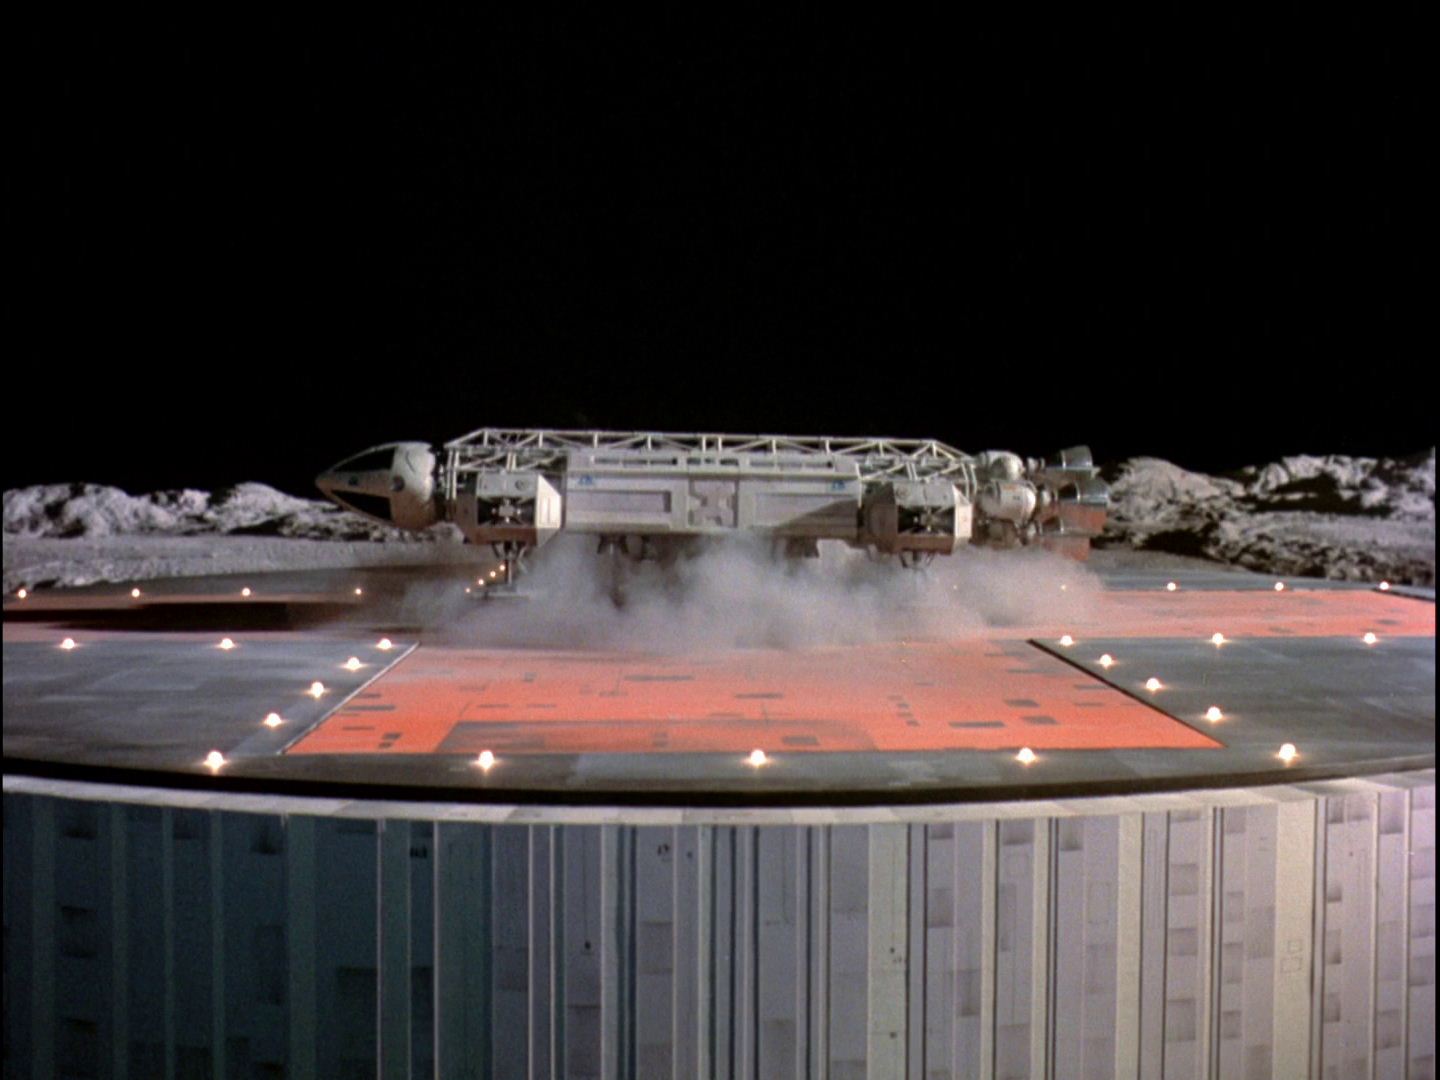
The editor uses 3 stock shots, two of the 22 inch Eagle, one of the 44 inch.
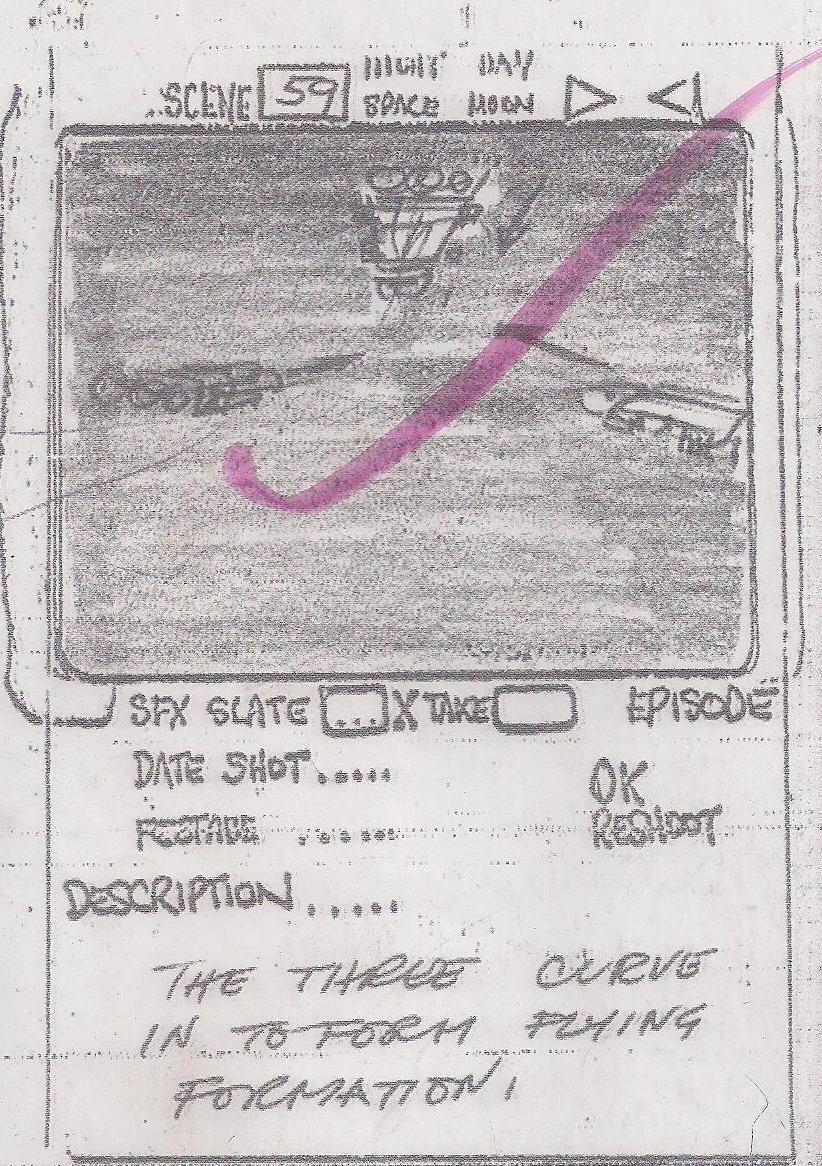
Scene 59.
Script: The three Eagles curve in to form a flying formation in the space sky.
Storyboard: Eagles o/head into distance leaving Alpha base
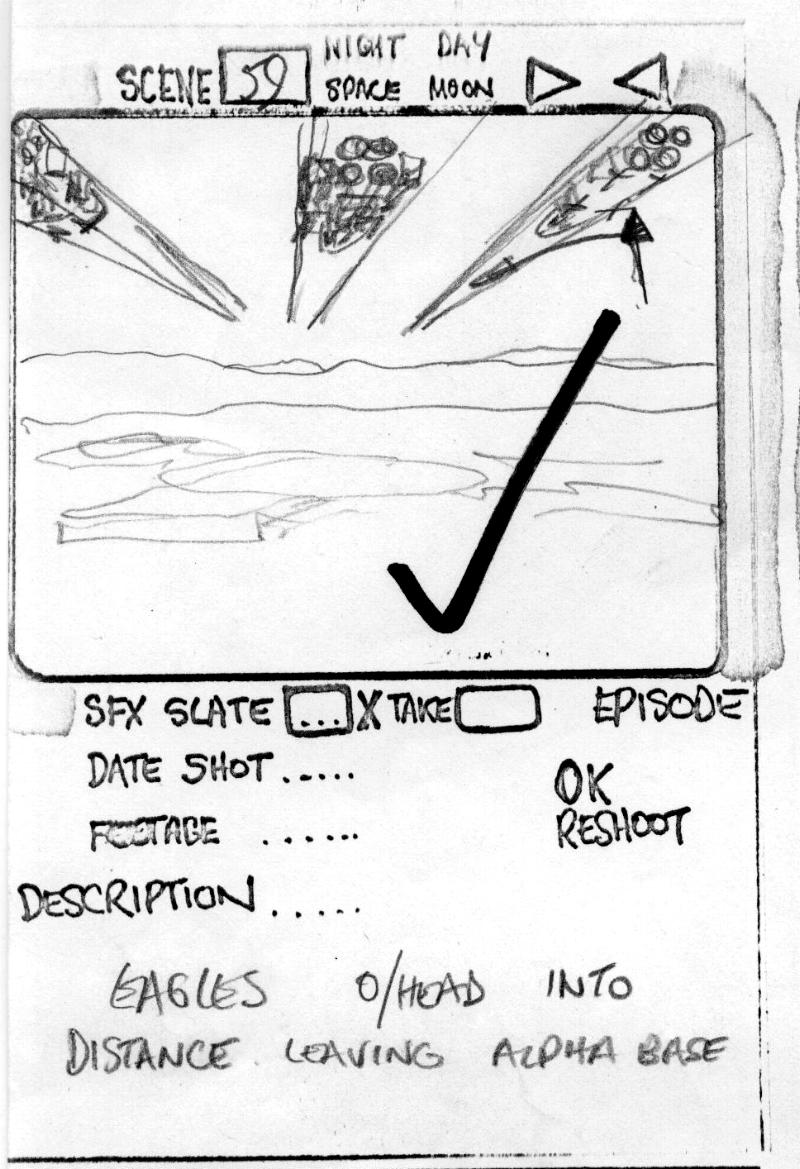
The final scene is close to the original script description, without moonbase appearing in the shot.
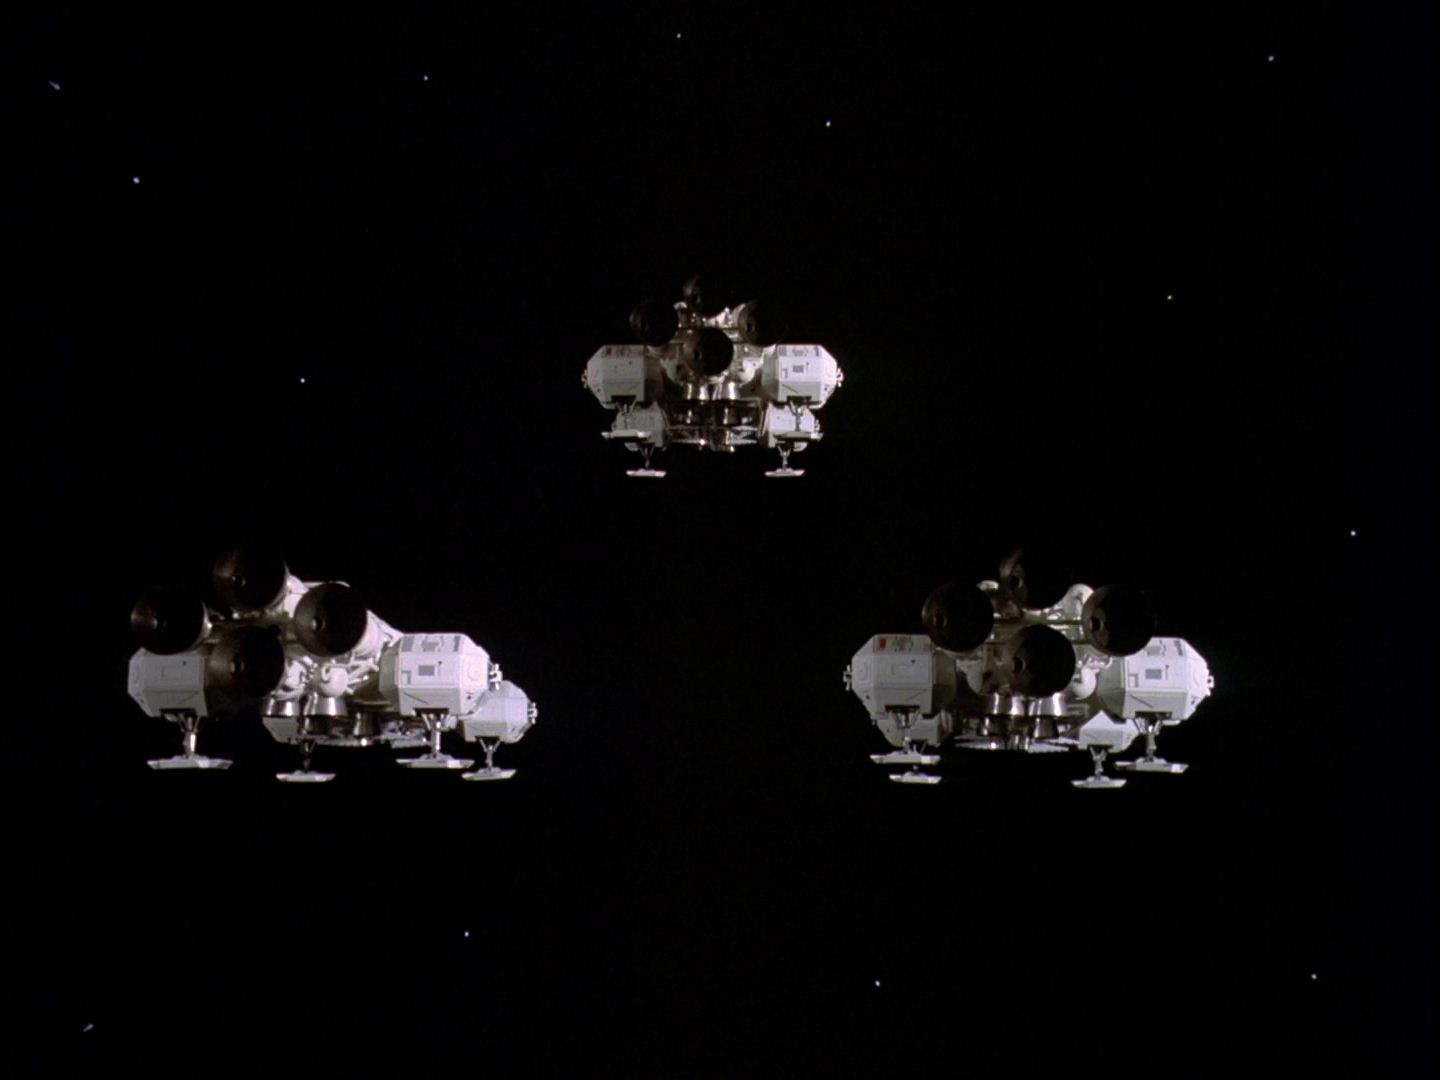
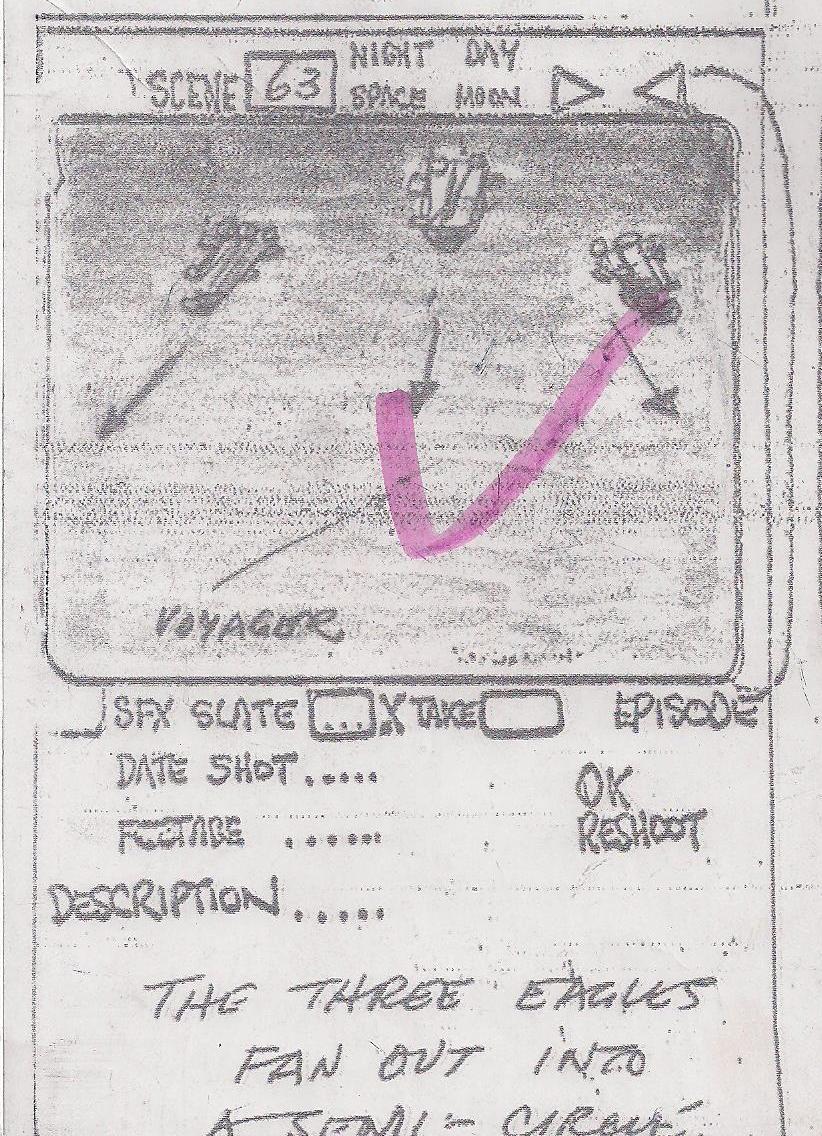
Scene 63. The three Eagles fan out into a semi-circle
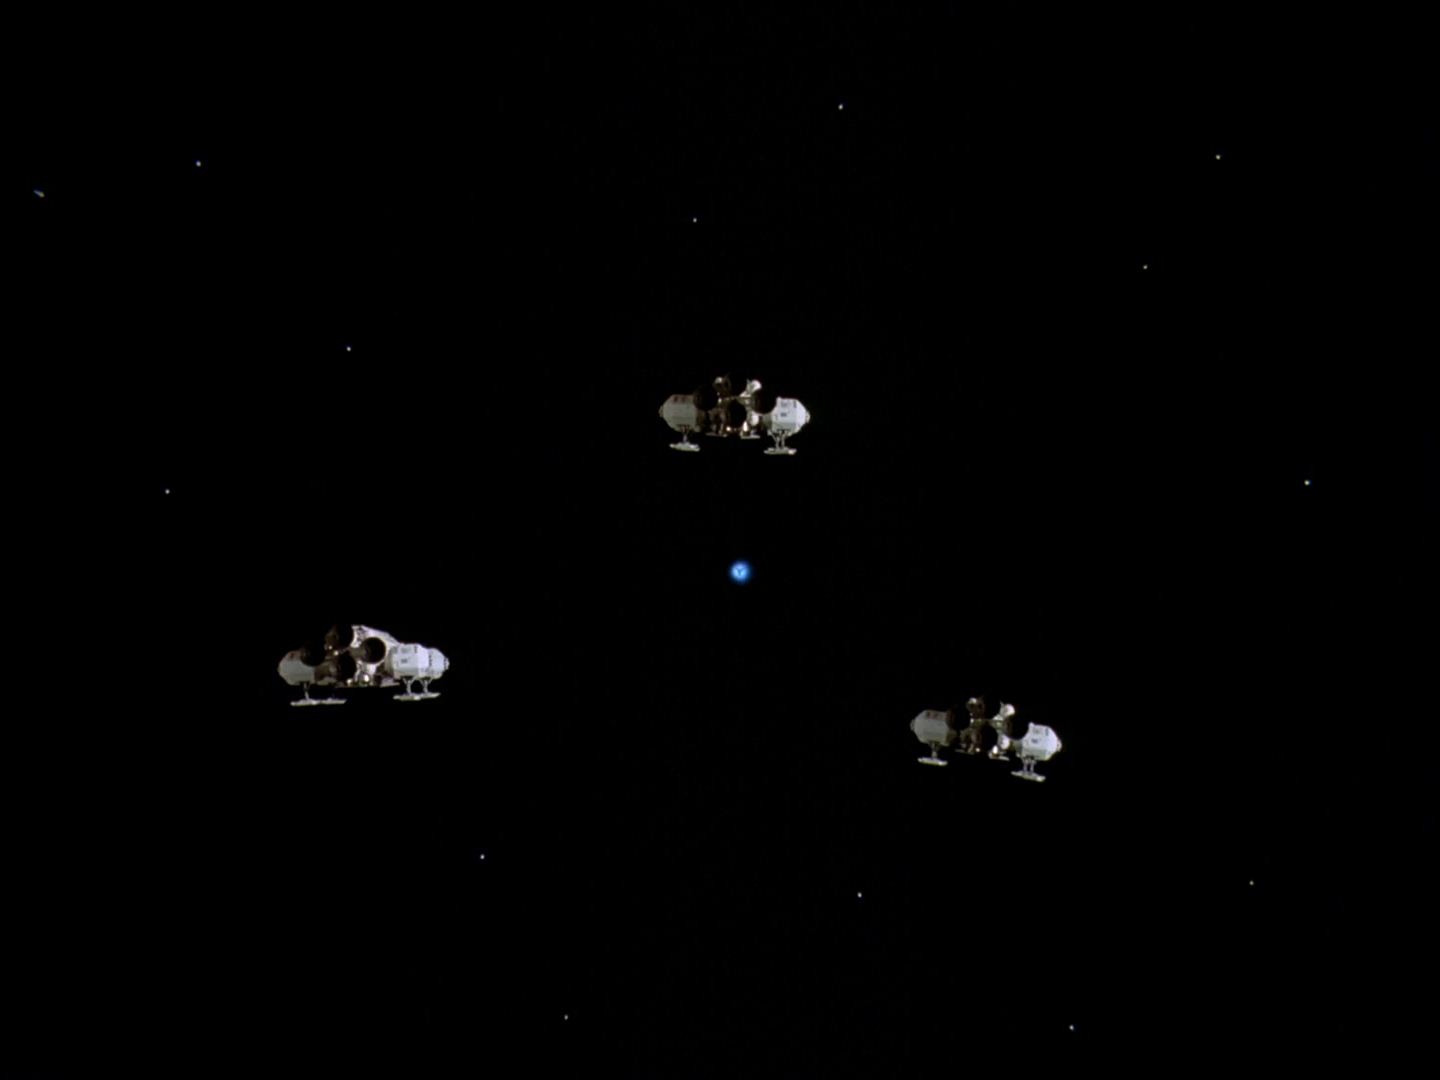
Scene 63A. Zoom into deep space to reveal Voyager
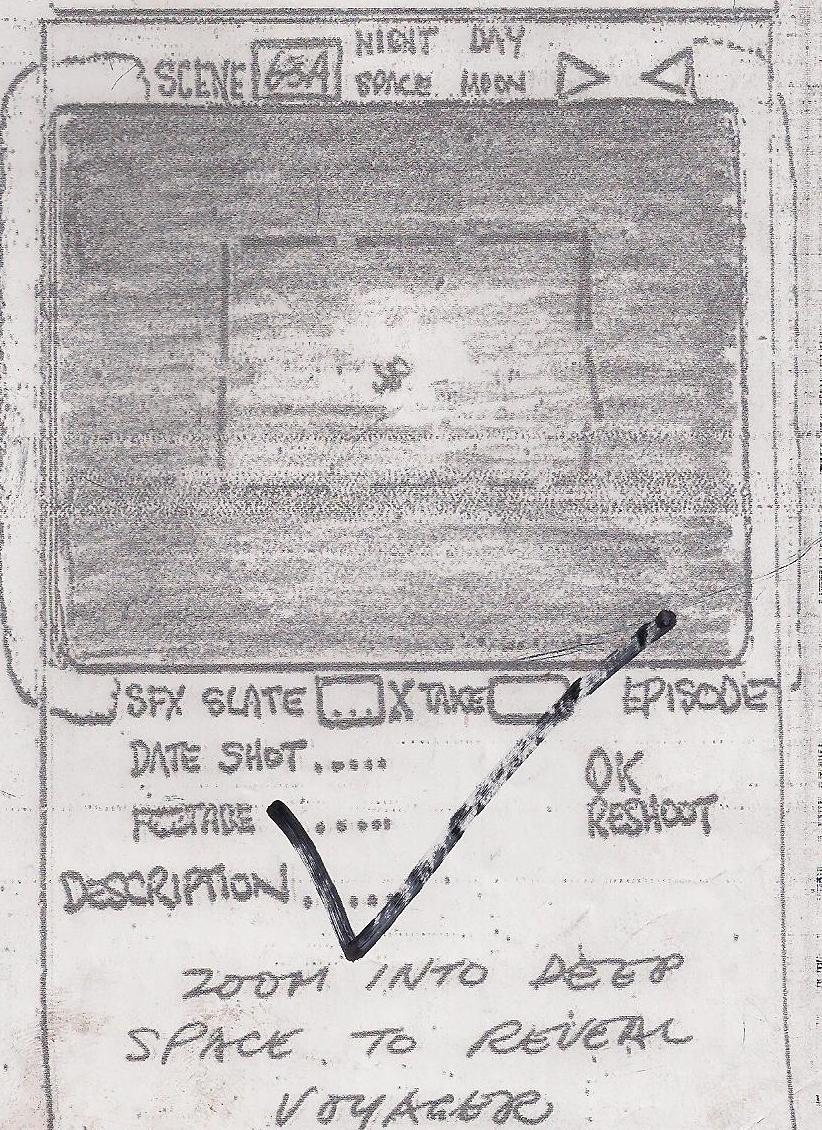
Not used.
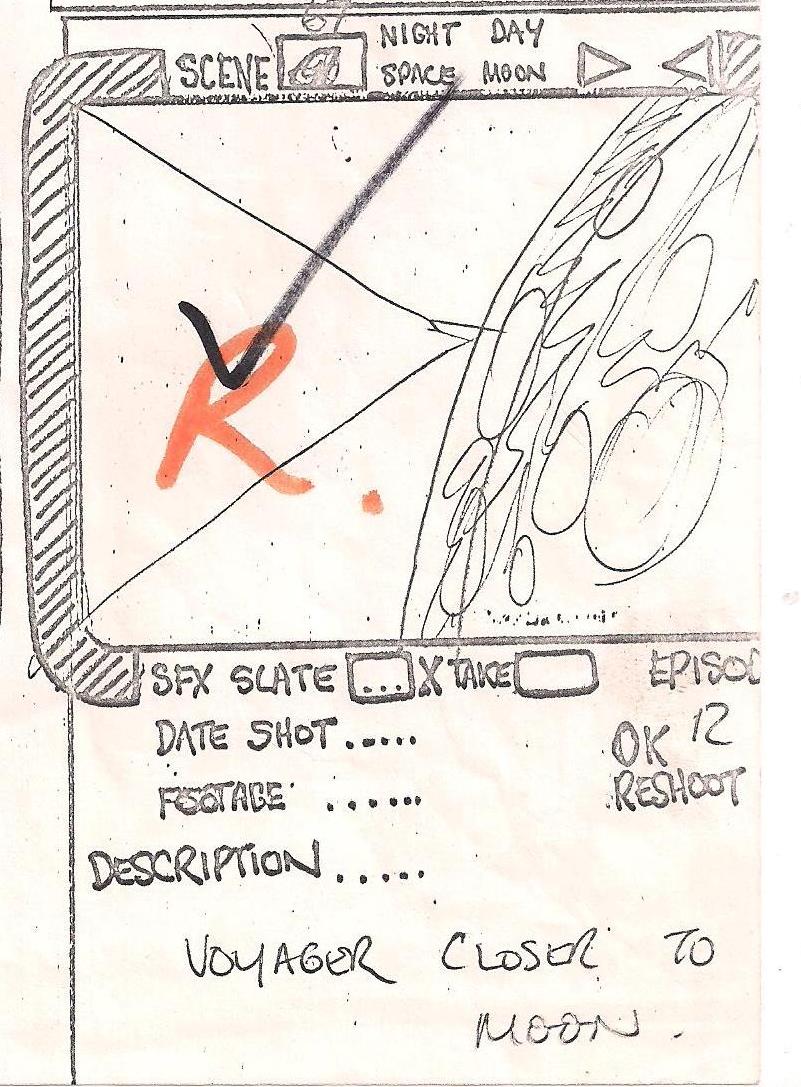
Scene 67.
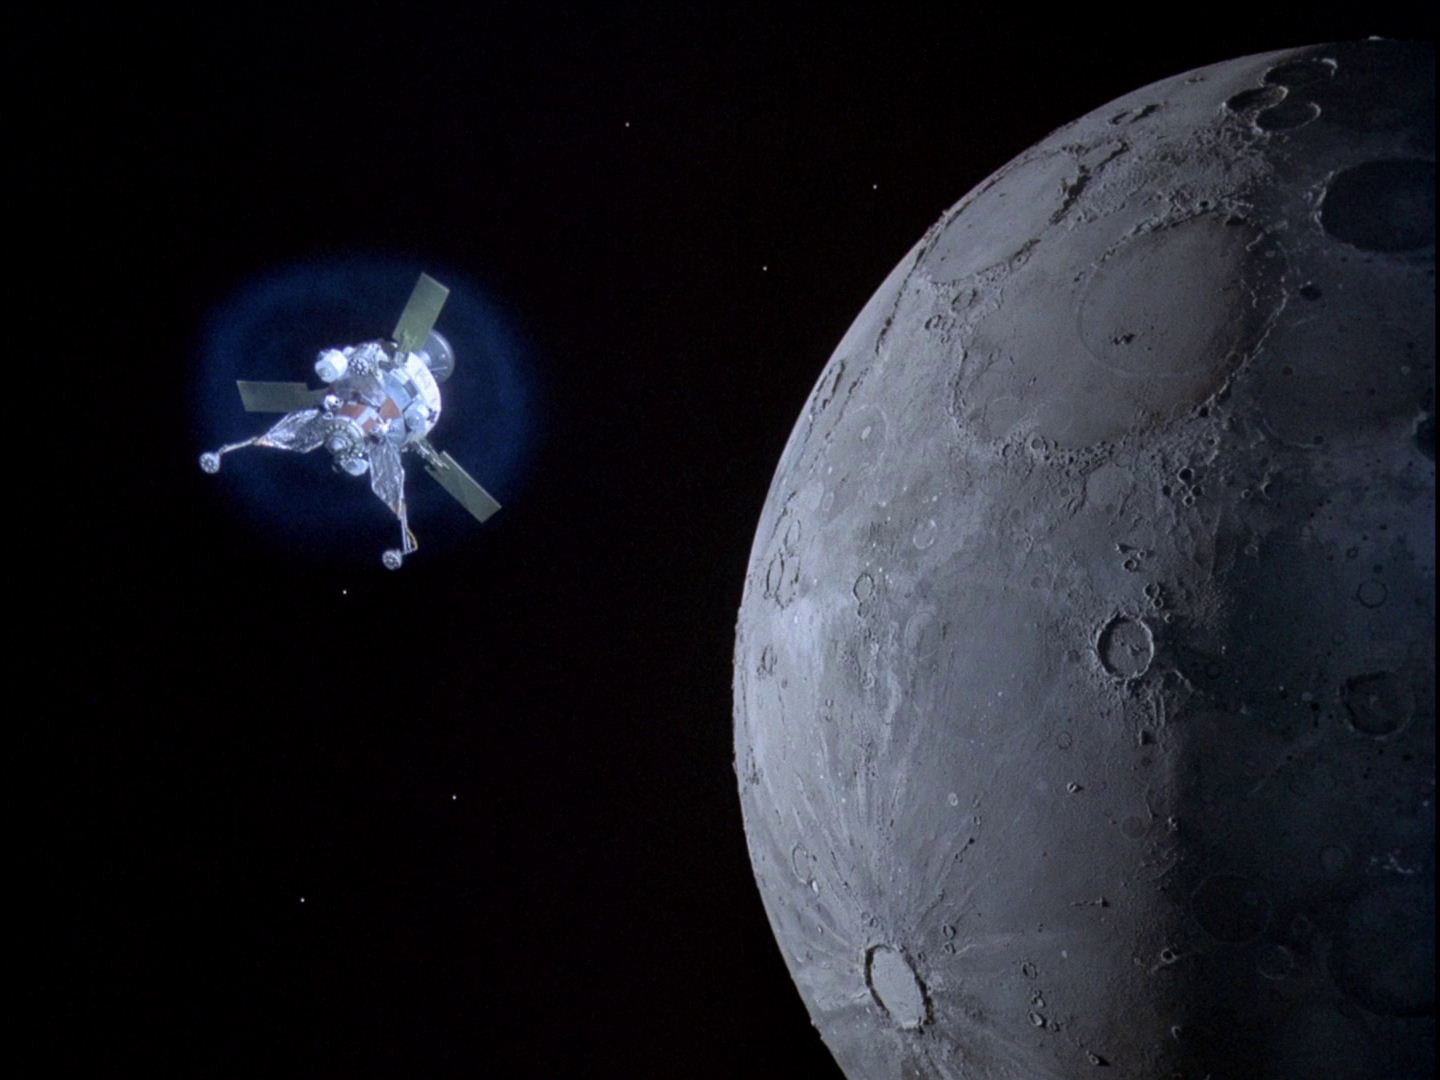
Script: Voyager One looming towards Alpha through space. (end of Act 2, after Haines knocks out Queller)
Storyboard: Voyager closer to Moon
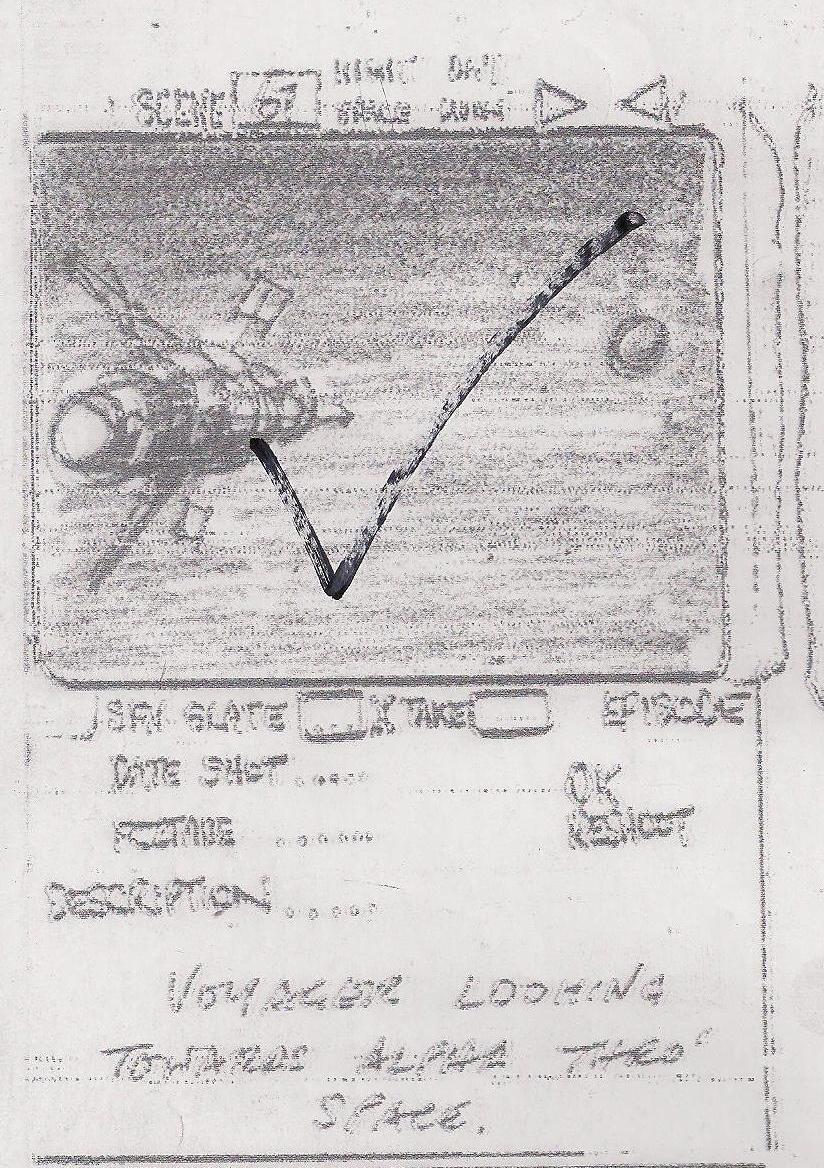
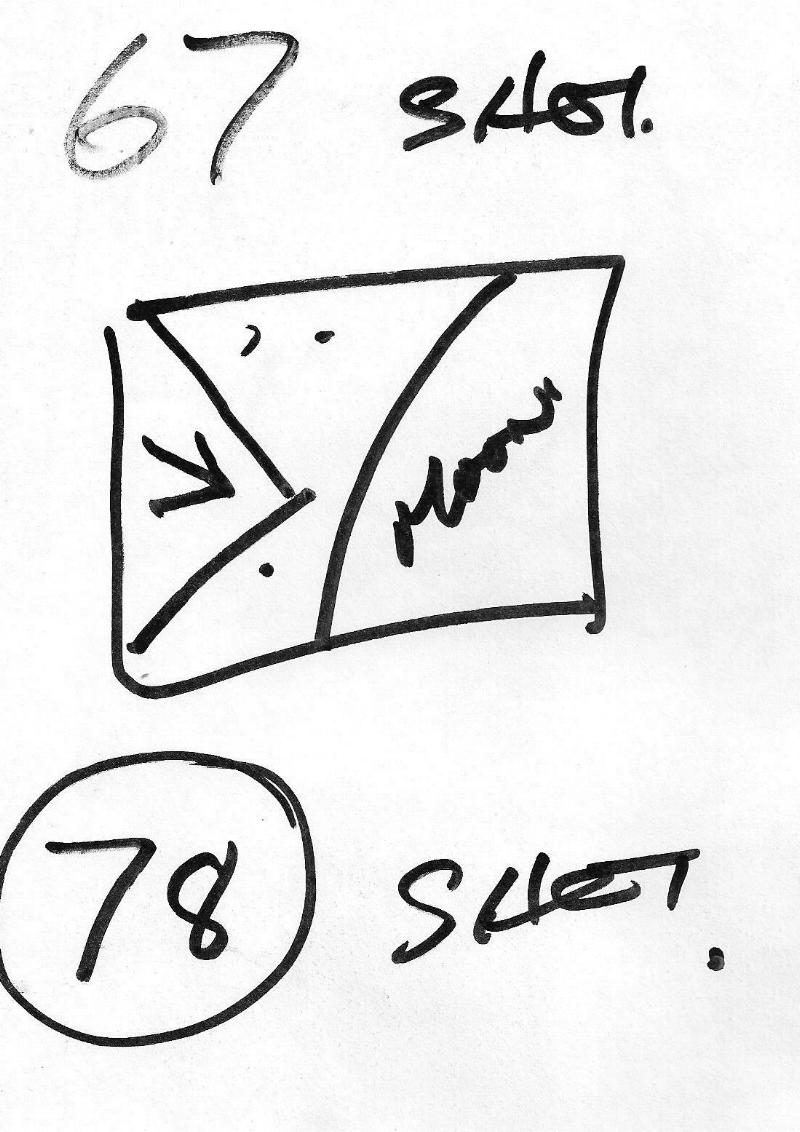

The sketch for 67 with the large Moon was on the back of the first storyboard for scenes 47, 49, 51 and 52 (above). 78 is a similar shot, a close-up of Voyager, which will be omitted.
The editor moves the shot later into act 3, just before Queller finally deactivates the drive. Instead, we end Act 2 by zooming to the communications post screen as the countdown clock drops to 45 minutes.