Storyboards - Voyager's Return
These shots occur in Act Four. It opens inside the Voyager, as Aarchon speaks to the Alphans.
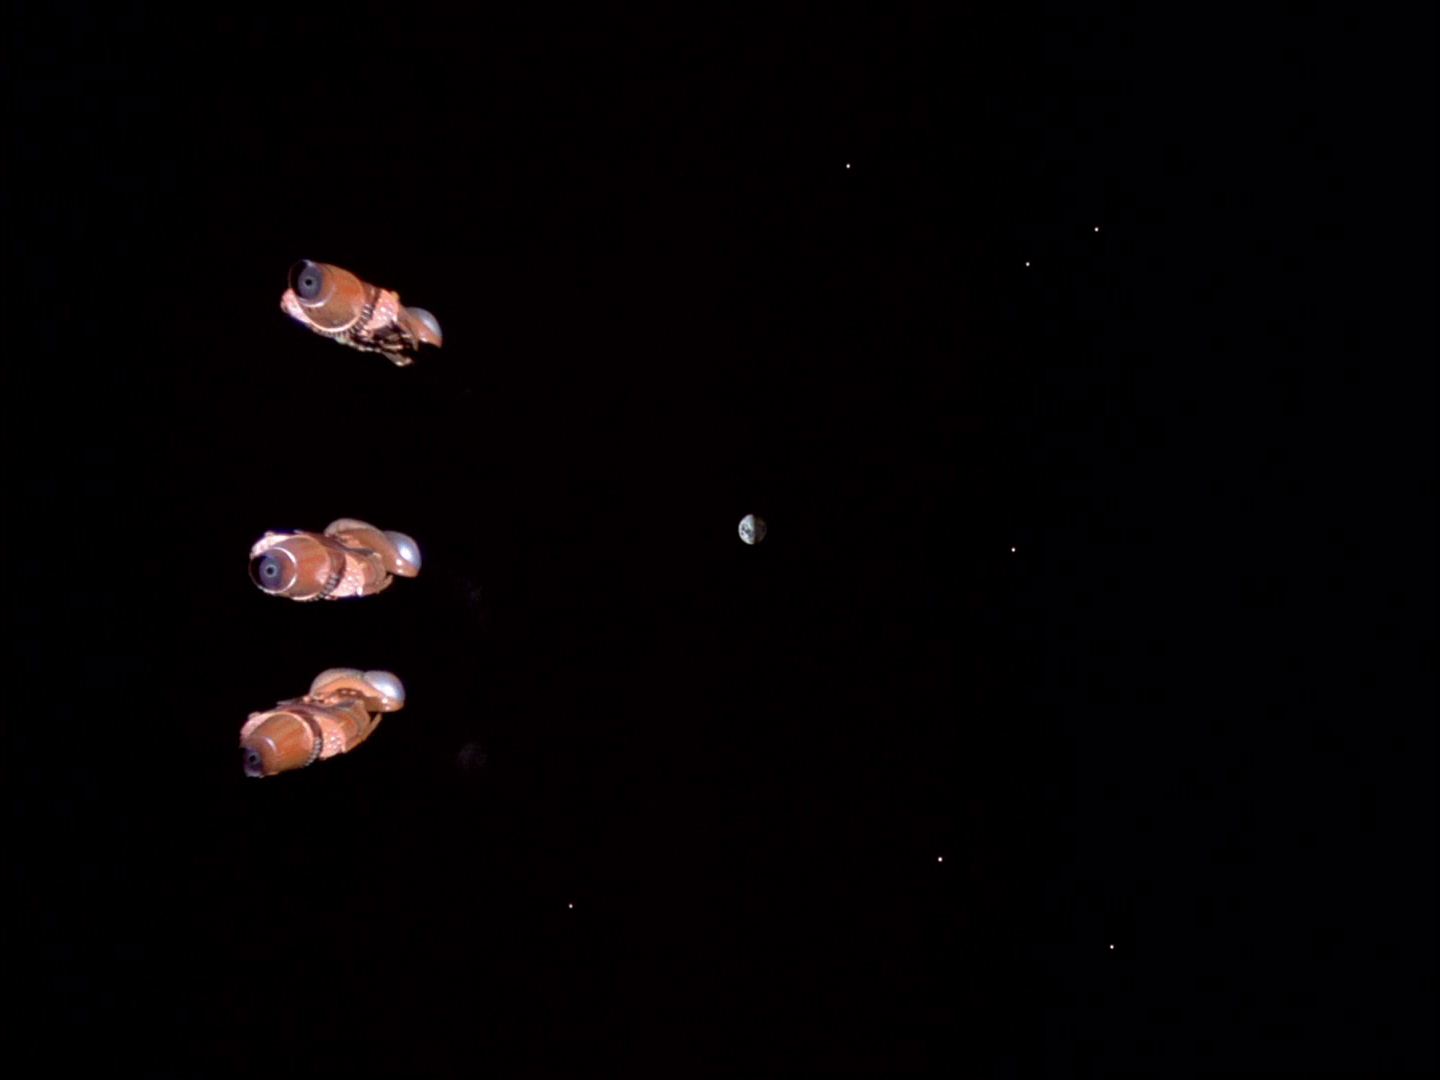
Scene 95 Three Sidon ships approaching distant Alpha
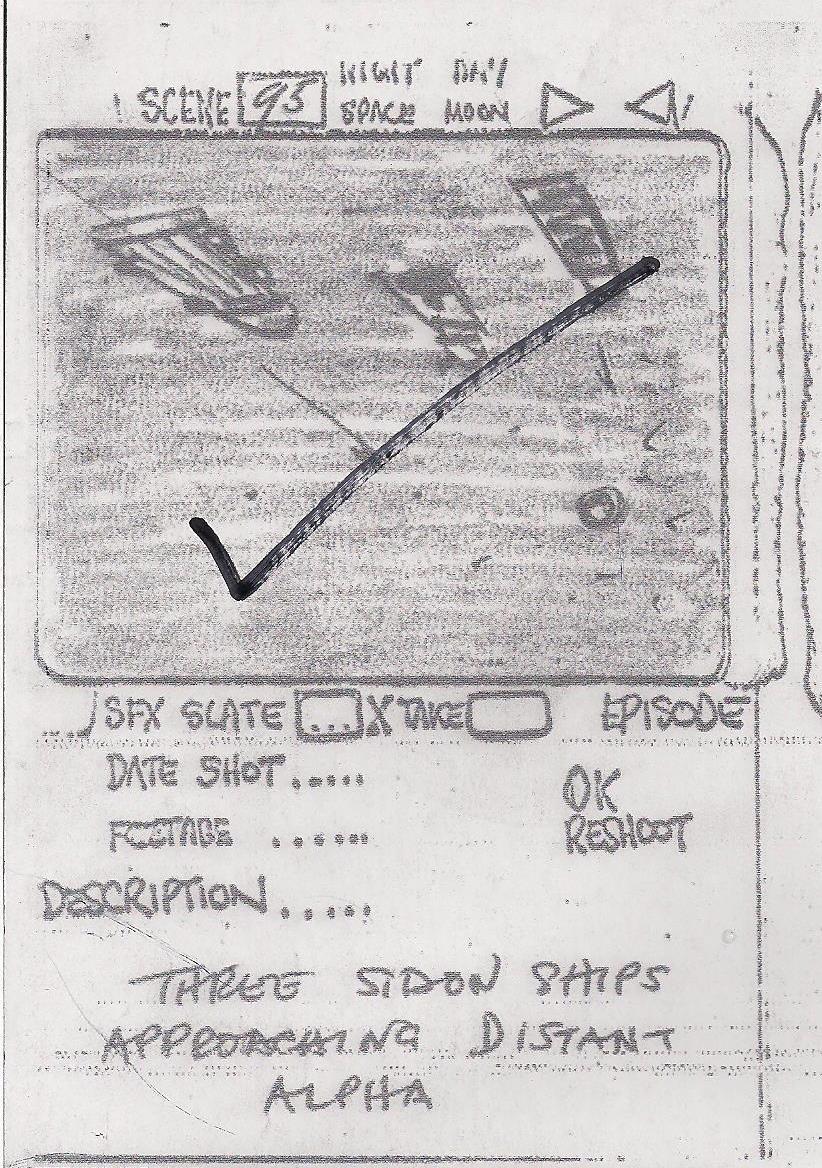
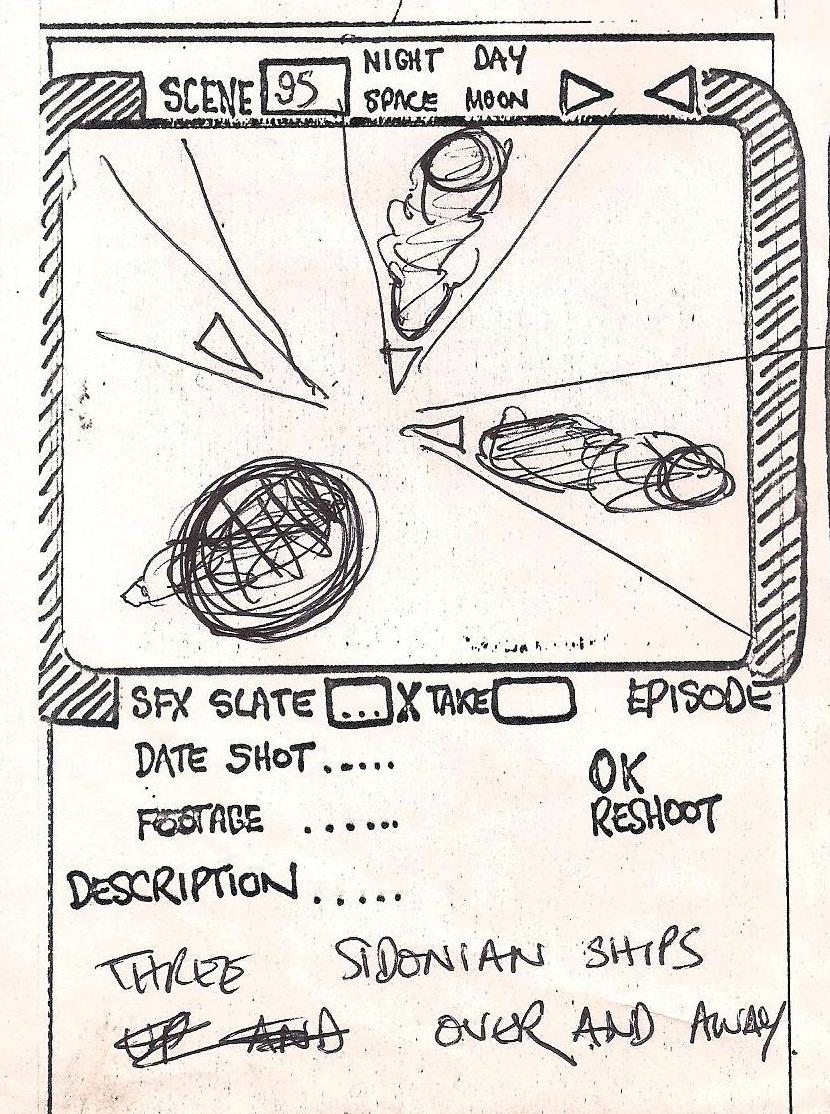
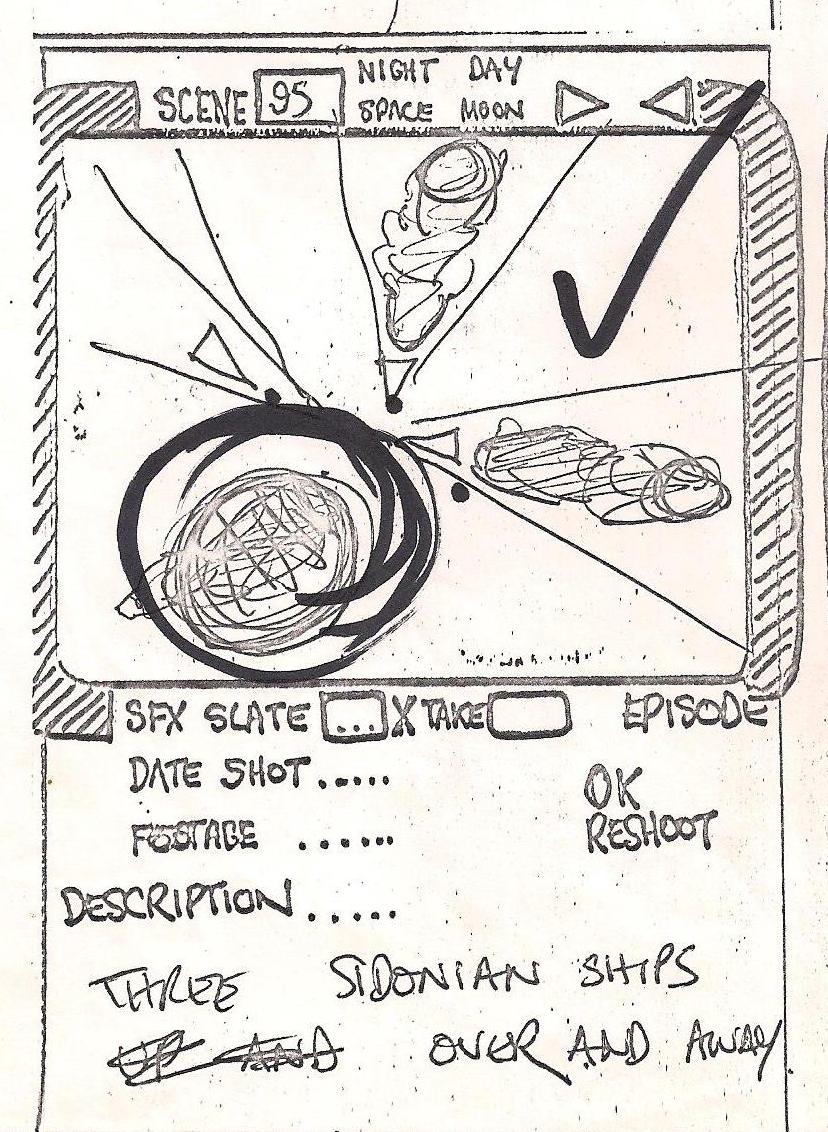
This is seen as Aarchon is speaking "Soon our fleet will be in effective range.", before we return inside the Voyager. The episode shot is completely different to the storyboards, a variation of the next shot, scene 97.
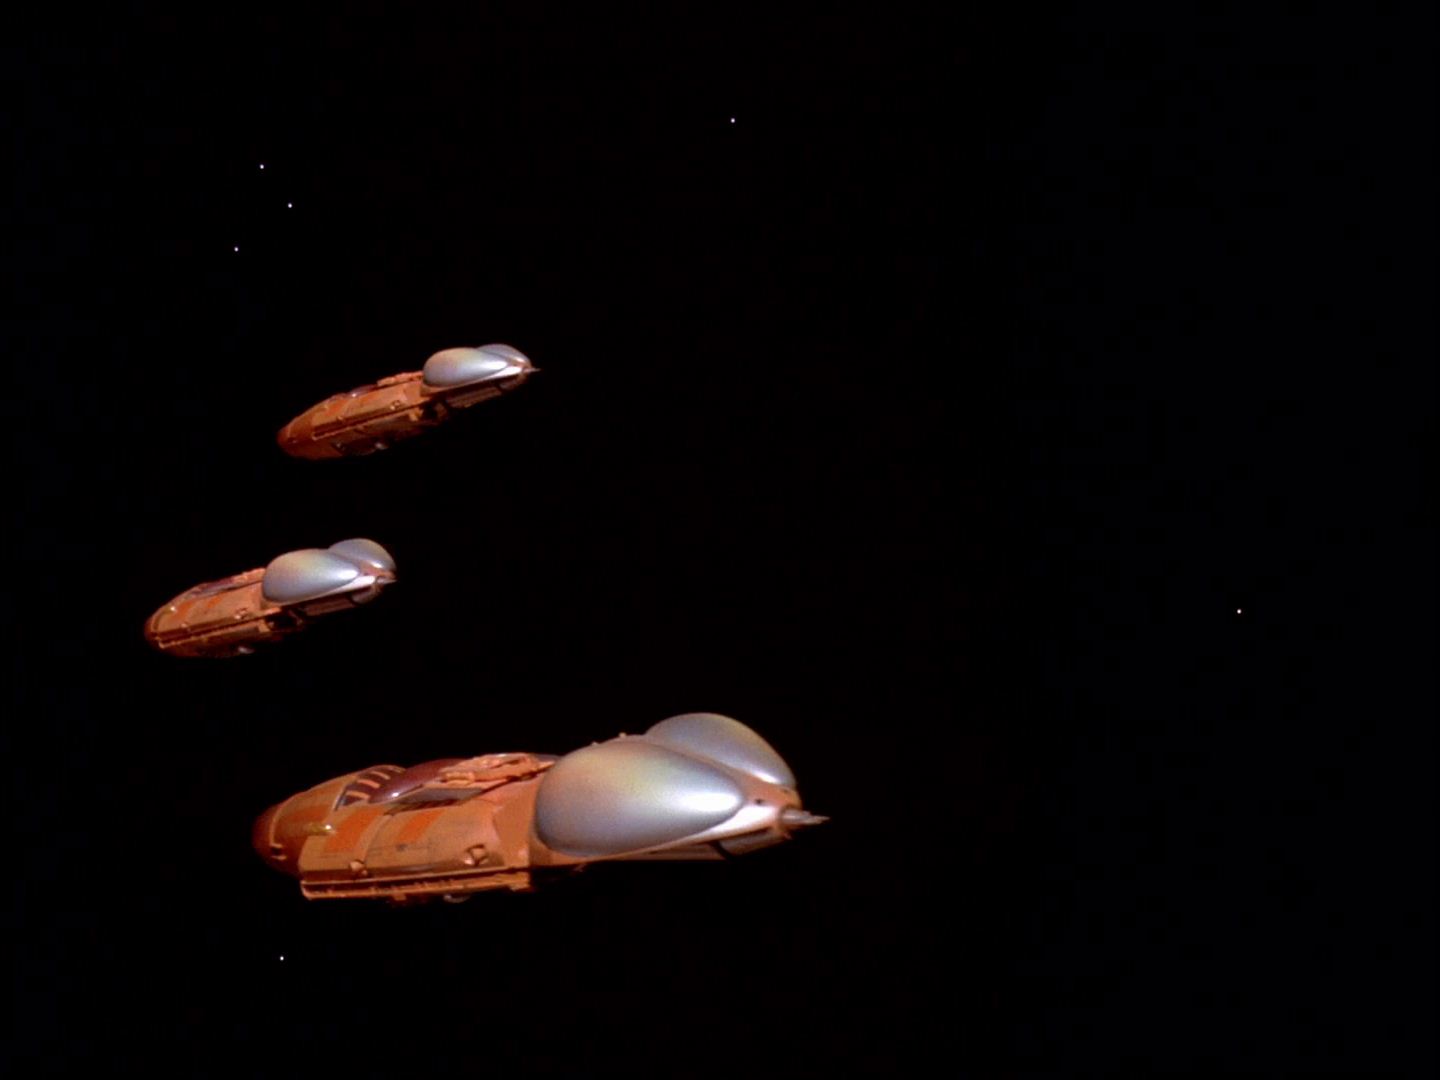
This shot, seen later after Helena talks to Linden in medical, is close to the original storyboard (and see also Scene 126). This was one of the additional shots 4x and 5x.
This seems to be the shot filmed for scene 95, but it will be seen much later (replacing scene 137)
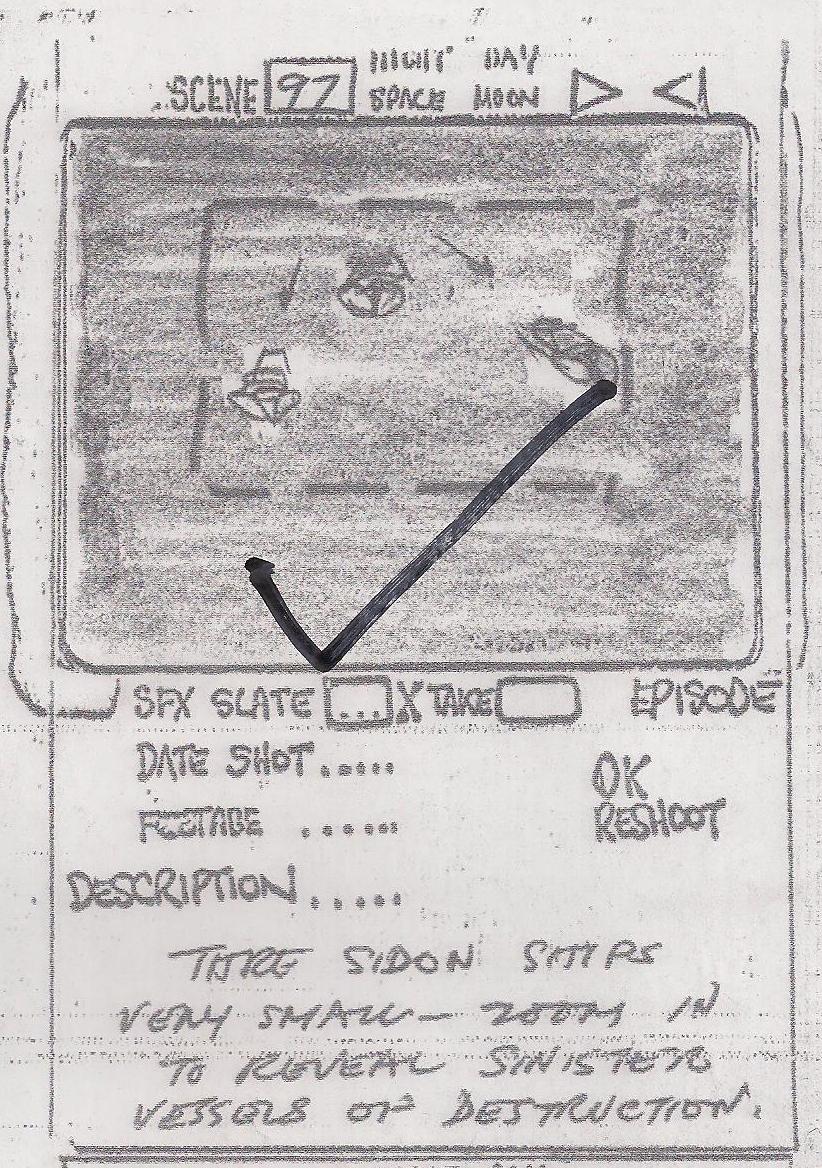
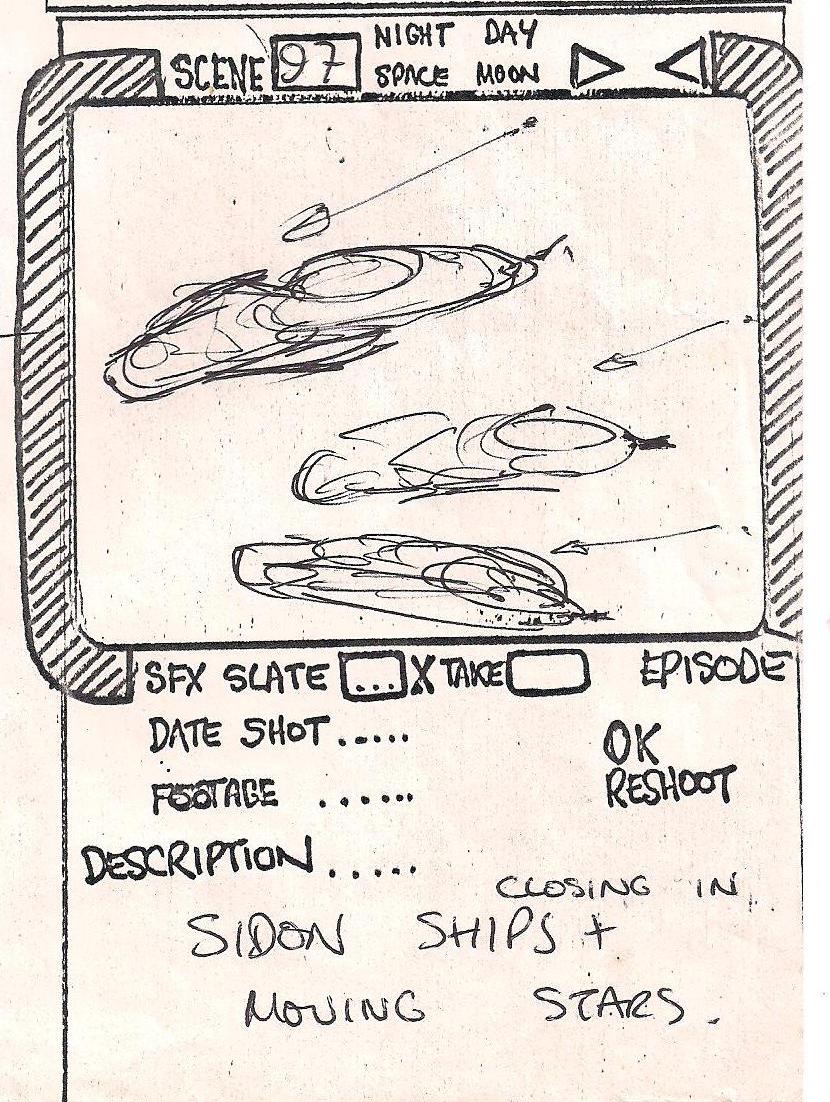
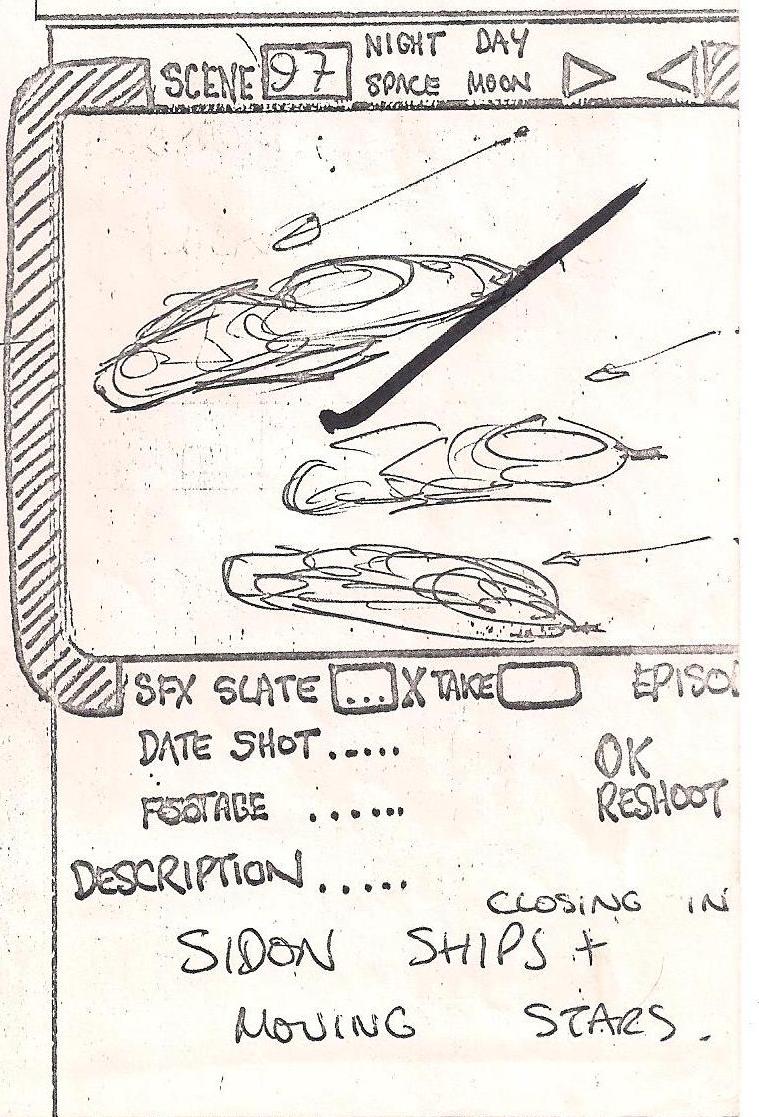
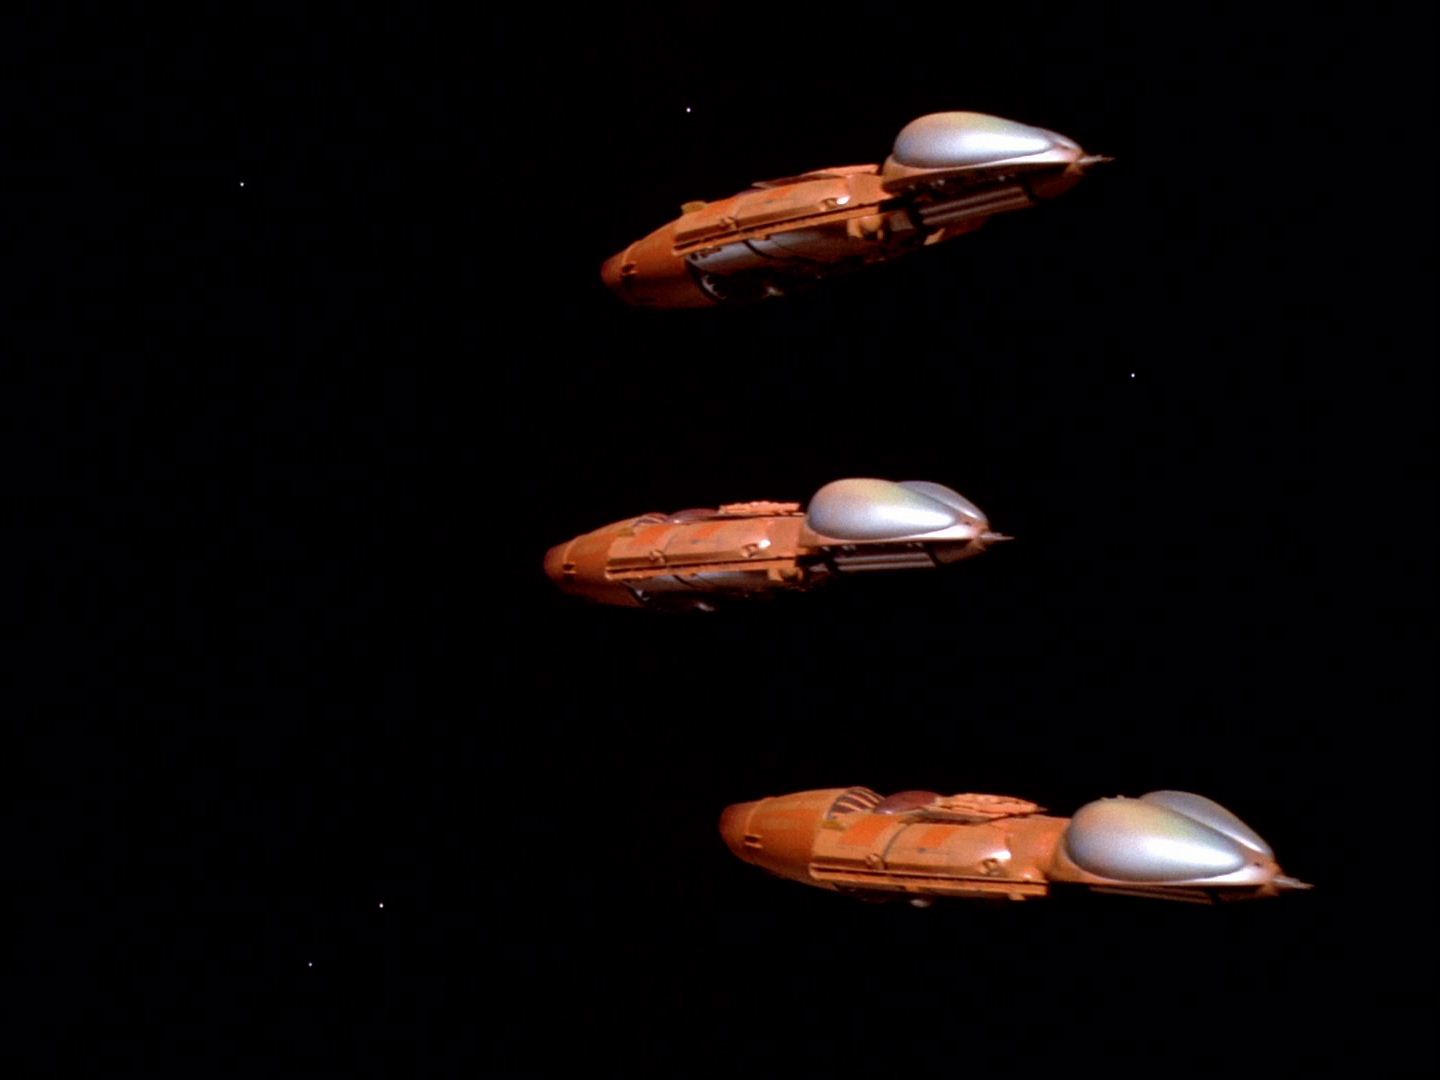
Scene 97. Three Sidon ships very small - zoom in to reveal sinister vessels of destruction
Script: Three dots of light, moving towards Alpha in the remote distance. CAMERA ZOOMS in and they resolve into the three Sidon ships, powerful, sinister-looking vessels of destruction.
Seen after Aarchon disappears, and Linden collapses. A variation of the shot used for scene 95, different from storyboarded
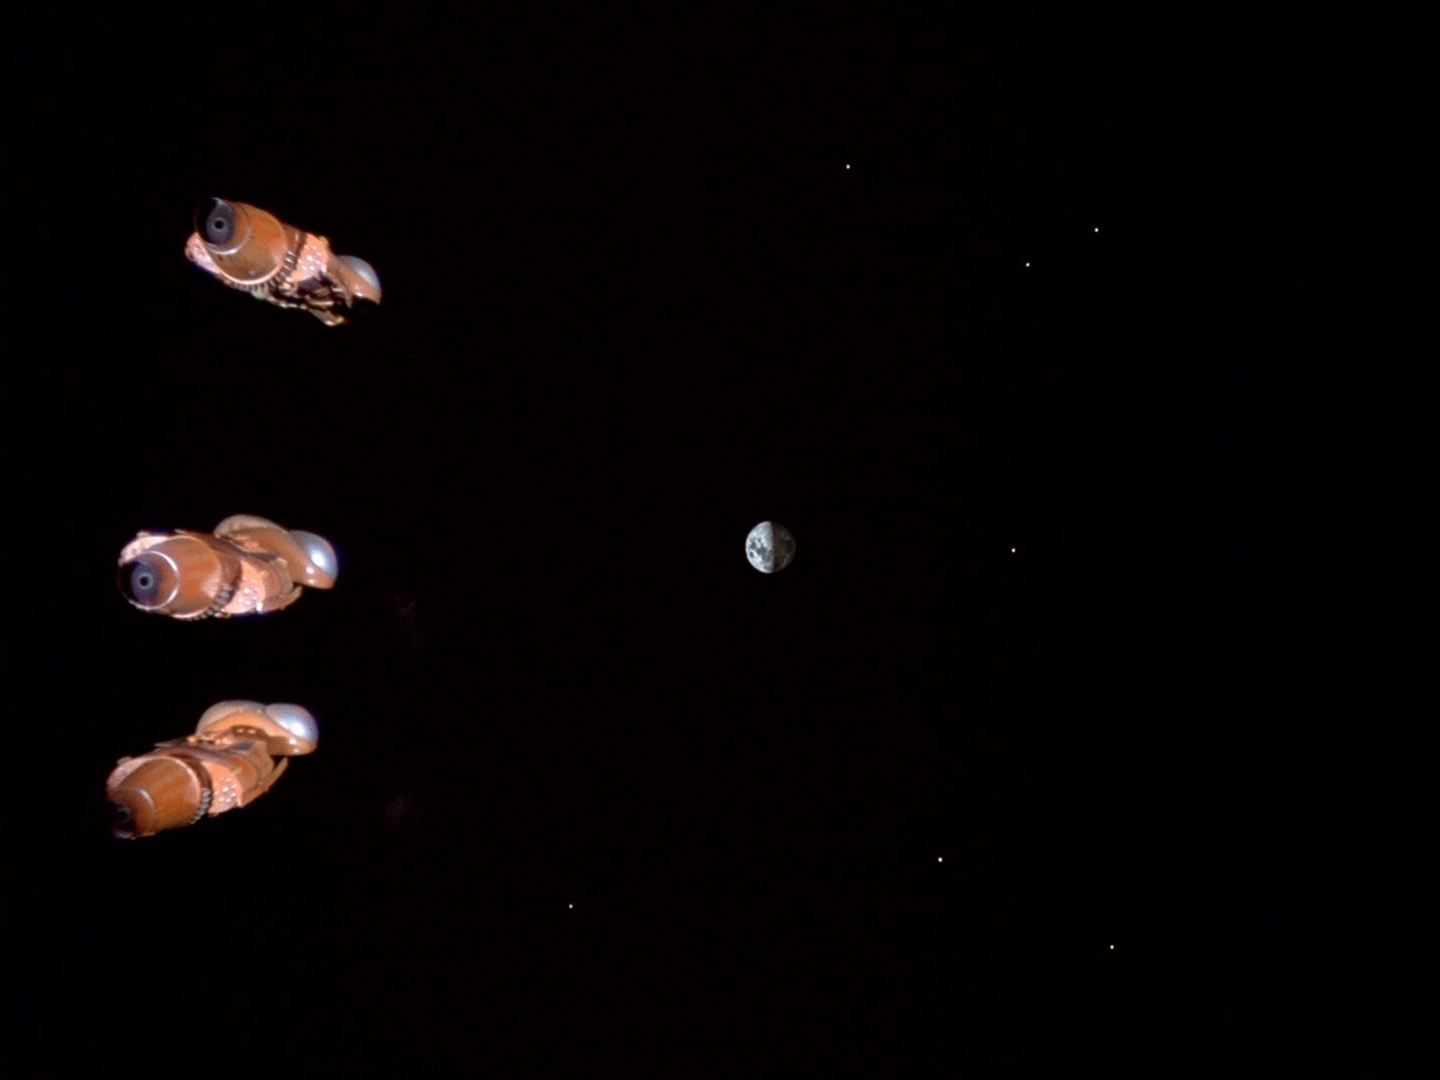
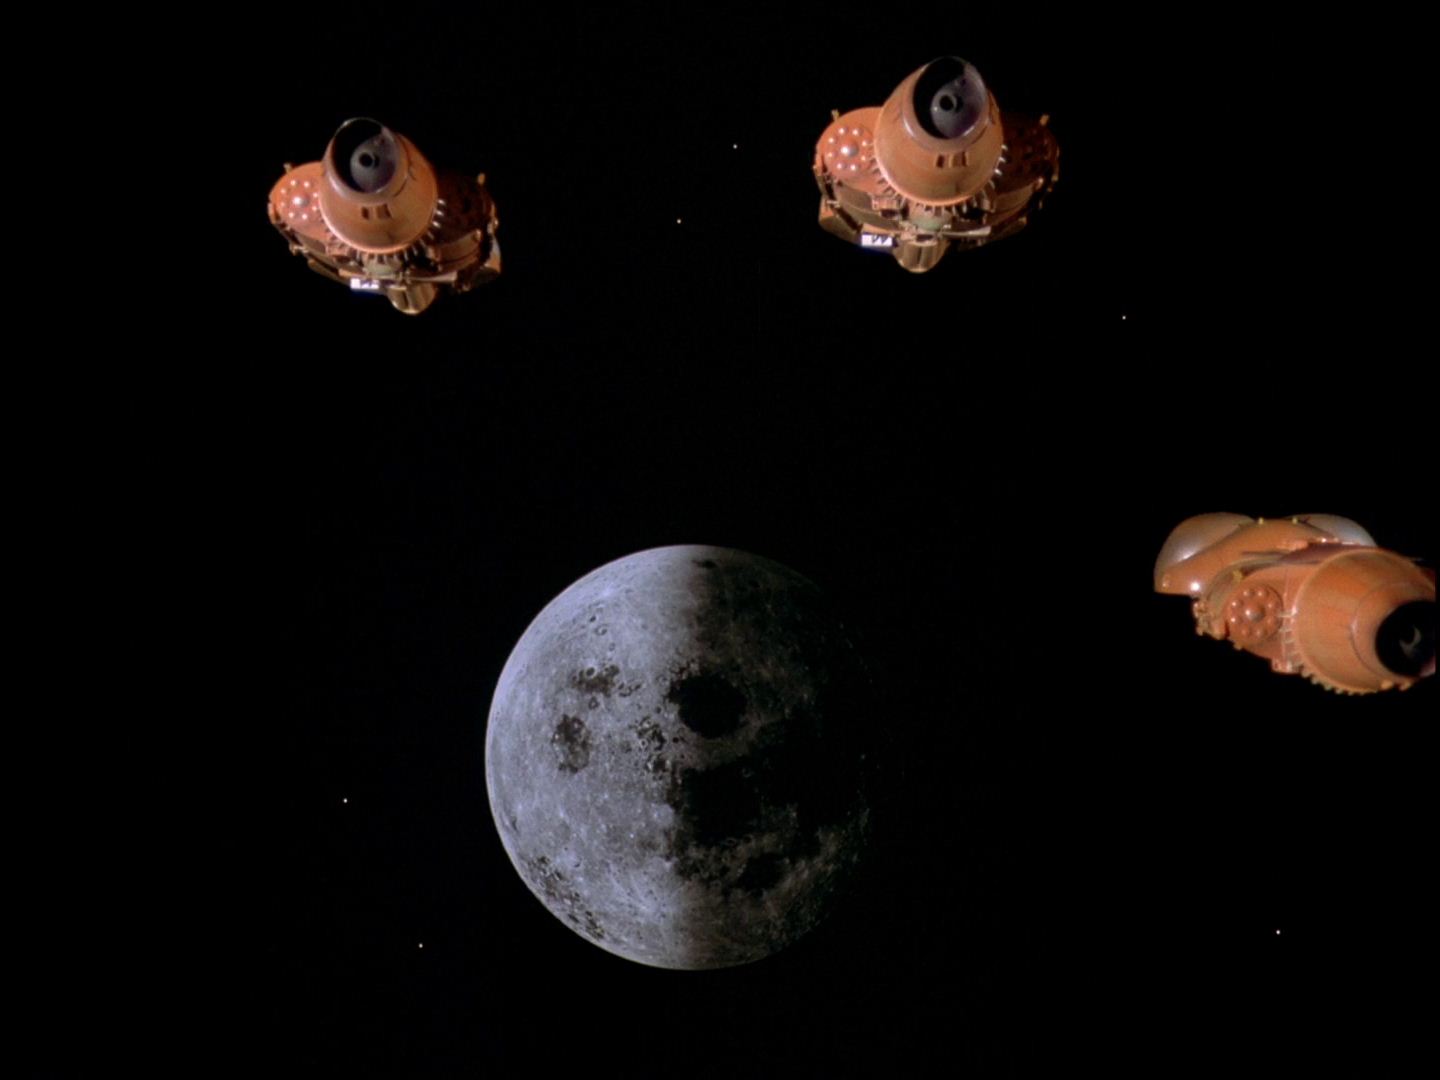
This unscripted shot, a version of the original 95 with a larger Moon, appears after Linden leaves Medical and before he arrives in Experimental. This is one of additional shots 4x and 5x.
Scene 108. Three Sidon ships seen in detail
BCU Three Sidons
Script: ON THE BIG SCREEN SFX. The three Sidon ships seen in some detail.
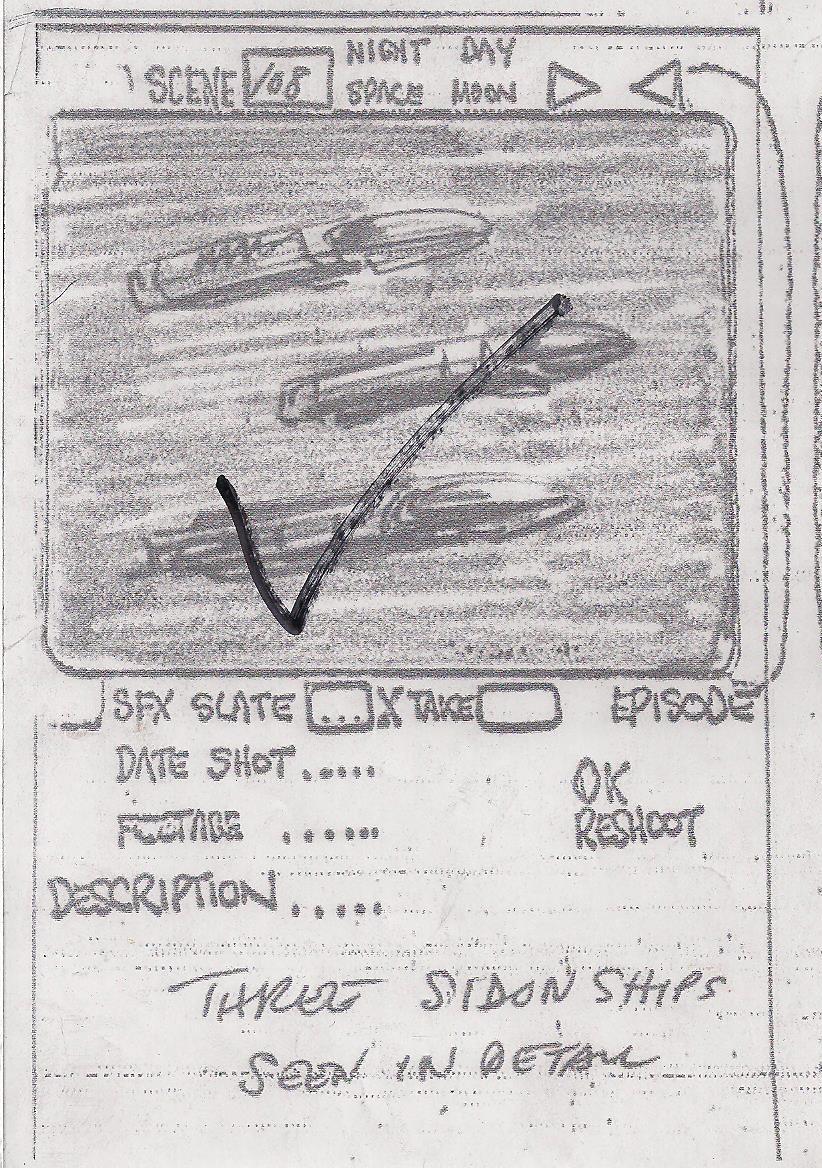
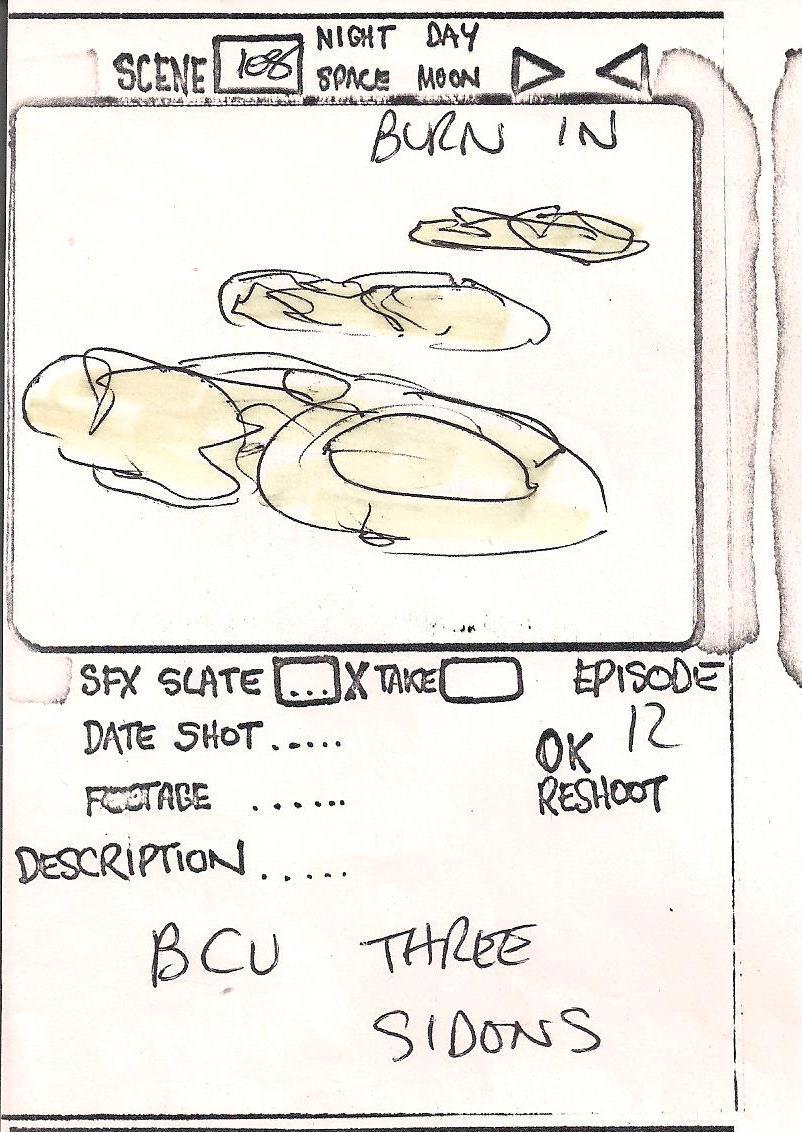

In the Main Mission scene, Sandra says "Visual contact". Koenig studies the ships, then orders the Eagles "As soon as the Sidon ships are within range..fire"
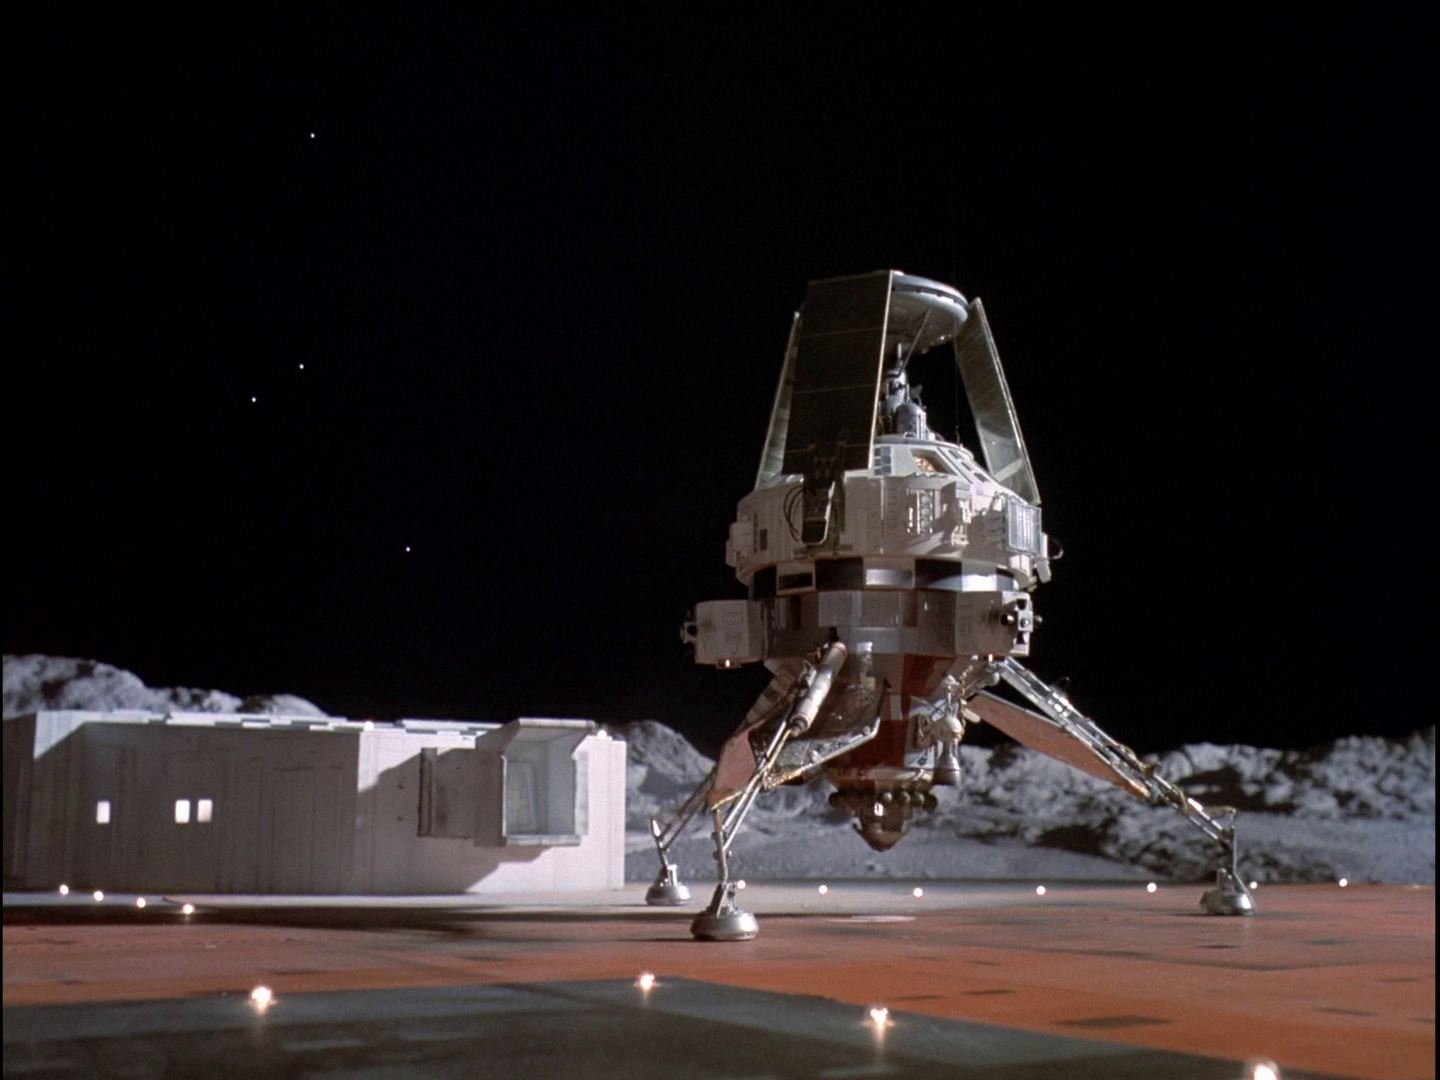
In scene 104 in Experimental, Linder activates the Voyager circuit pattern. In scene 105 we see inside the Voyager as it activates. The editor inserts this static shot of the Voyager on the pad.
Scene 109. Three Eagles move towards Sidon ships
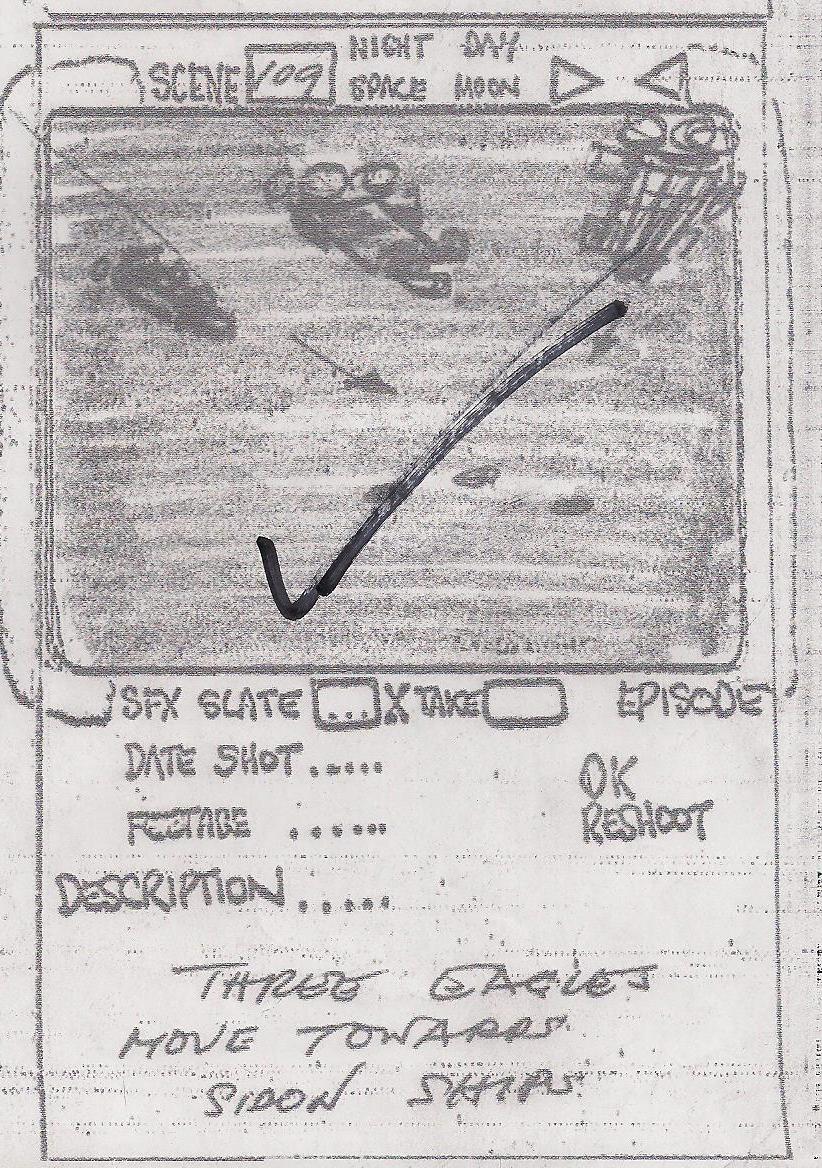
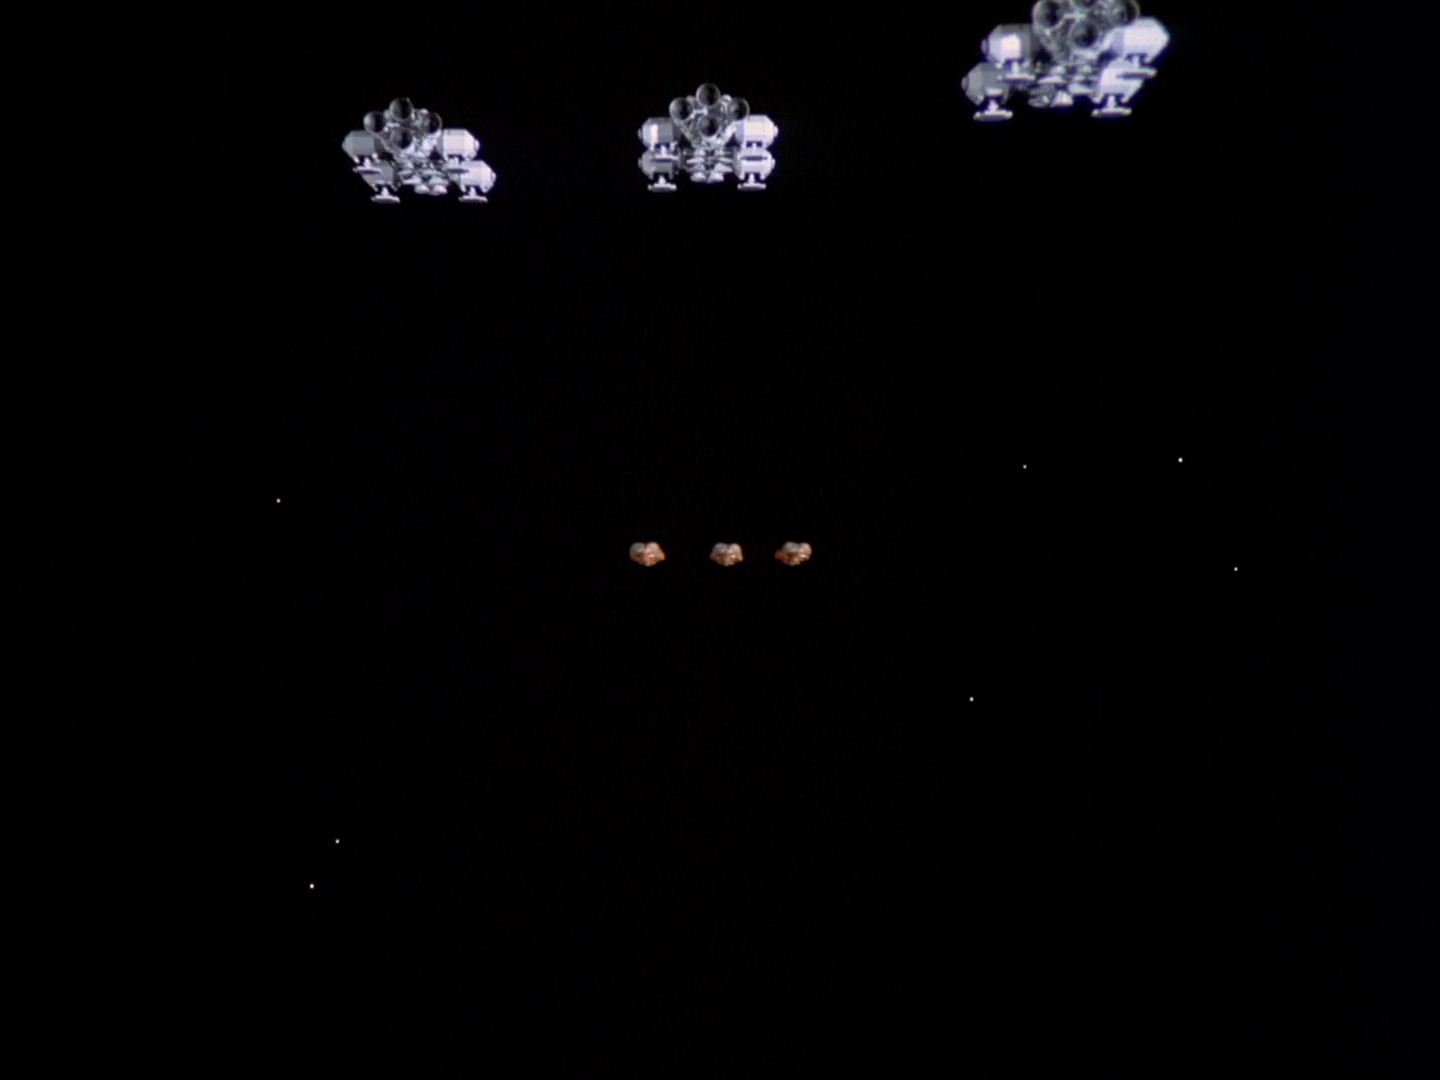
Not seen at this point, but moved later (after Voyager takes off).
Scene 114. Stock. Travel Tube
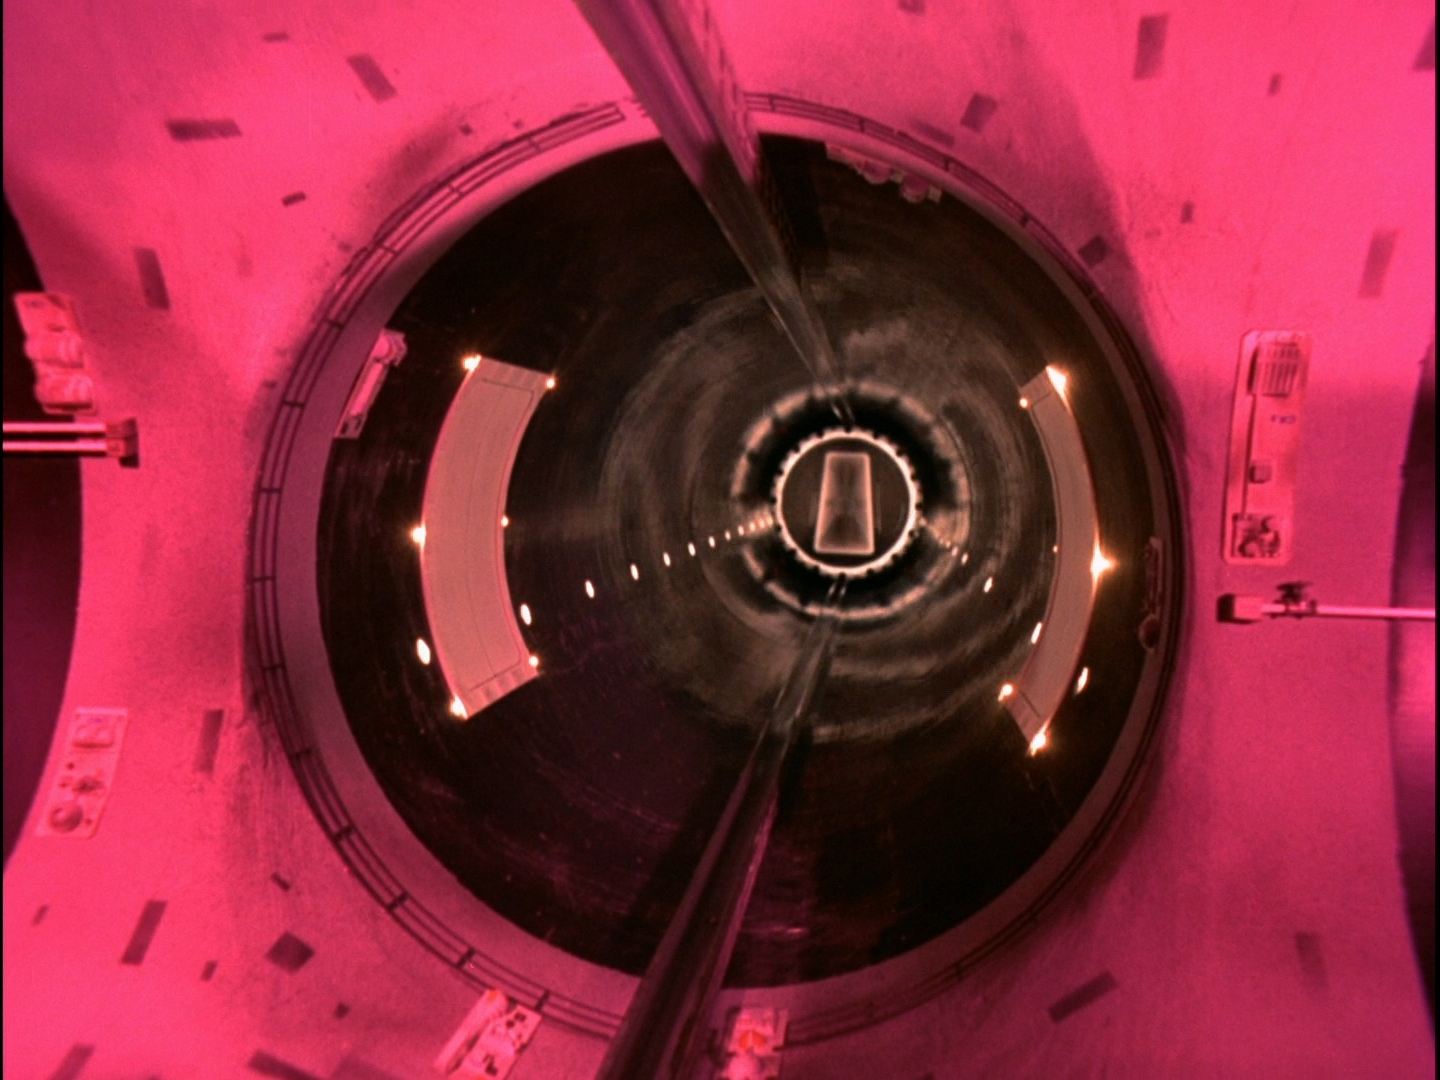
The editor adds this extra shot of the boarding tube connecting to Voyager

This shot appears just before Voyager lifts off. We cut to Sandra in Main Mission reading the range, "Fifteen thousand", before Paul calls that the Voyager is taking off.
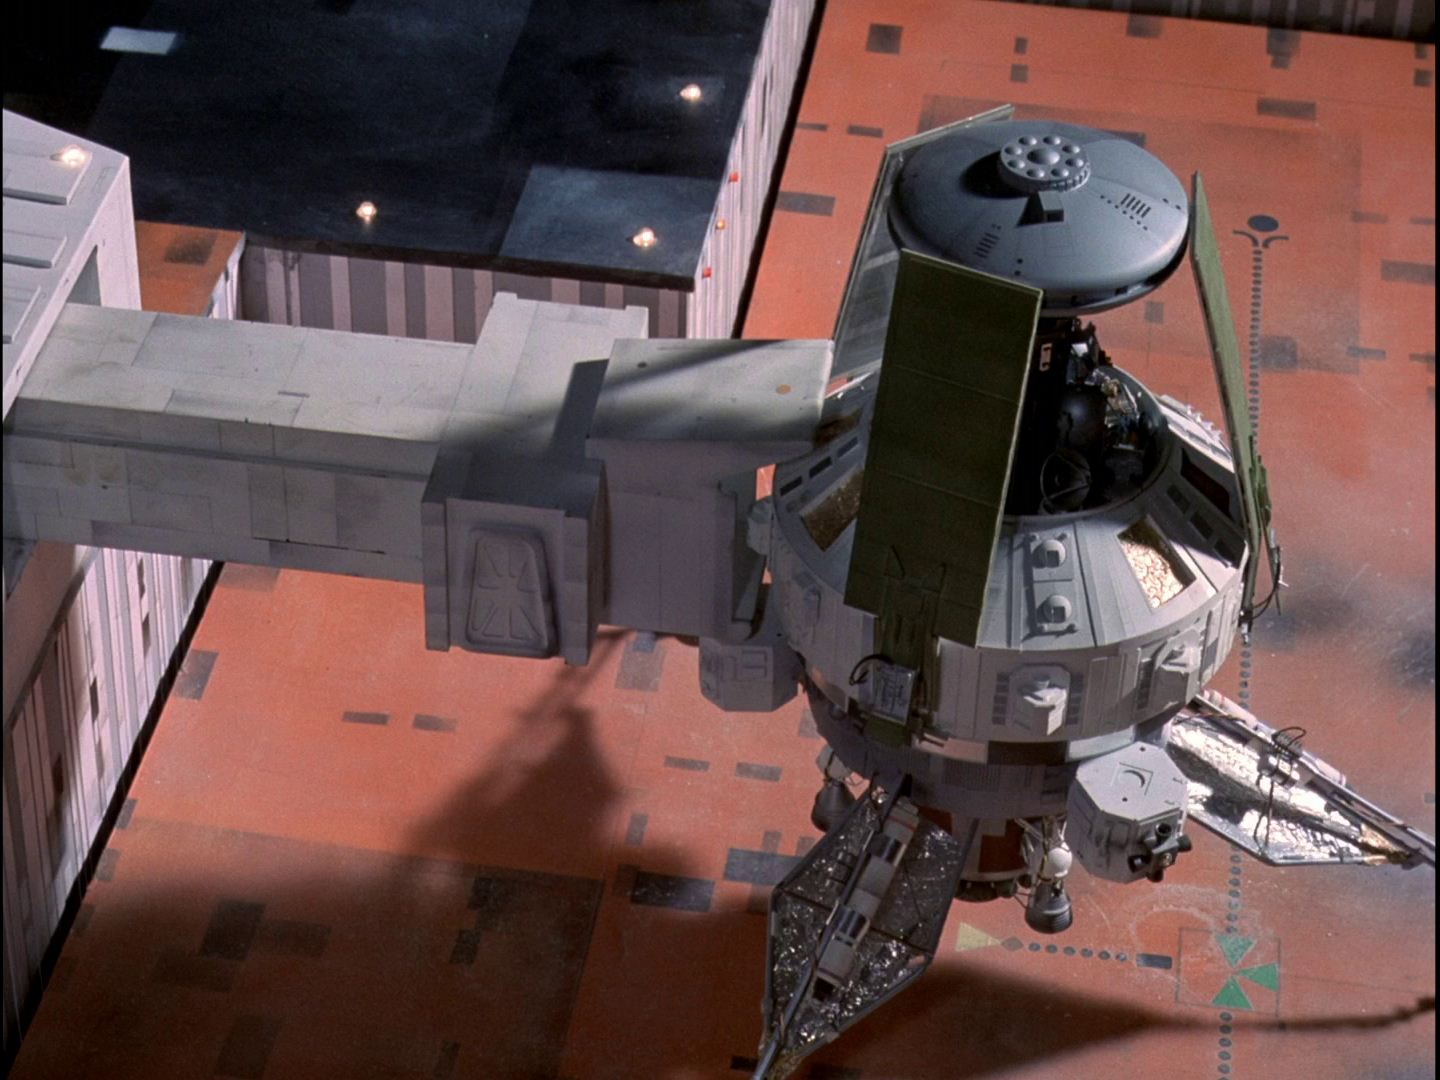
Scene 118. Voyager life off. Reverse 87A

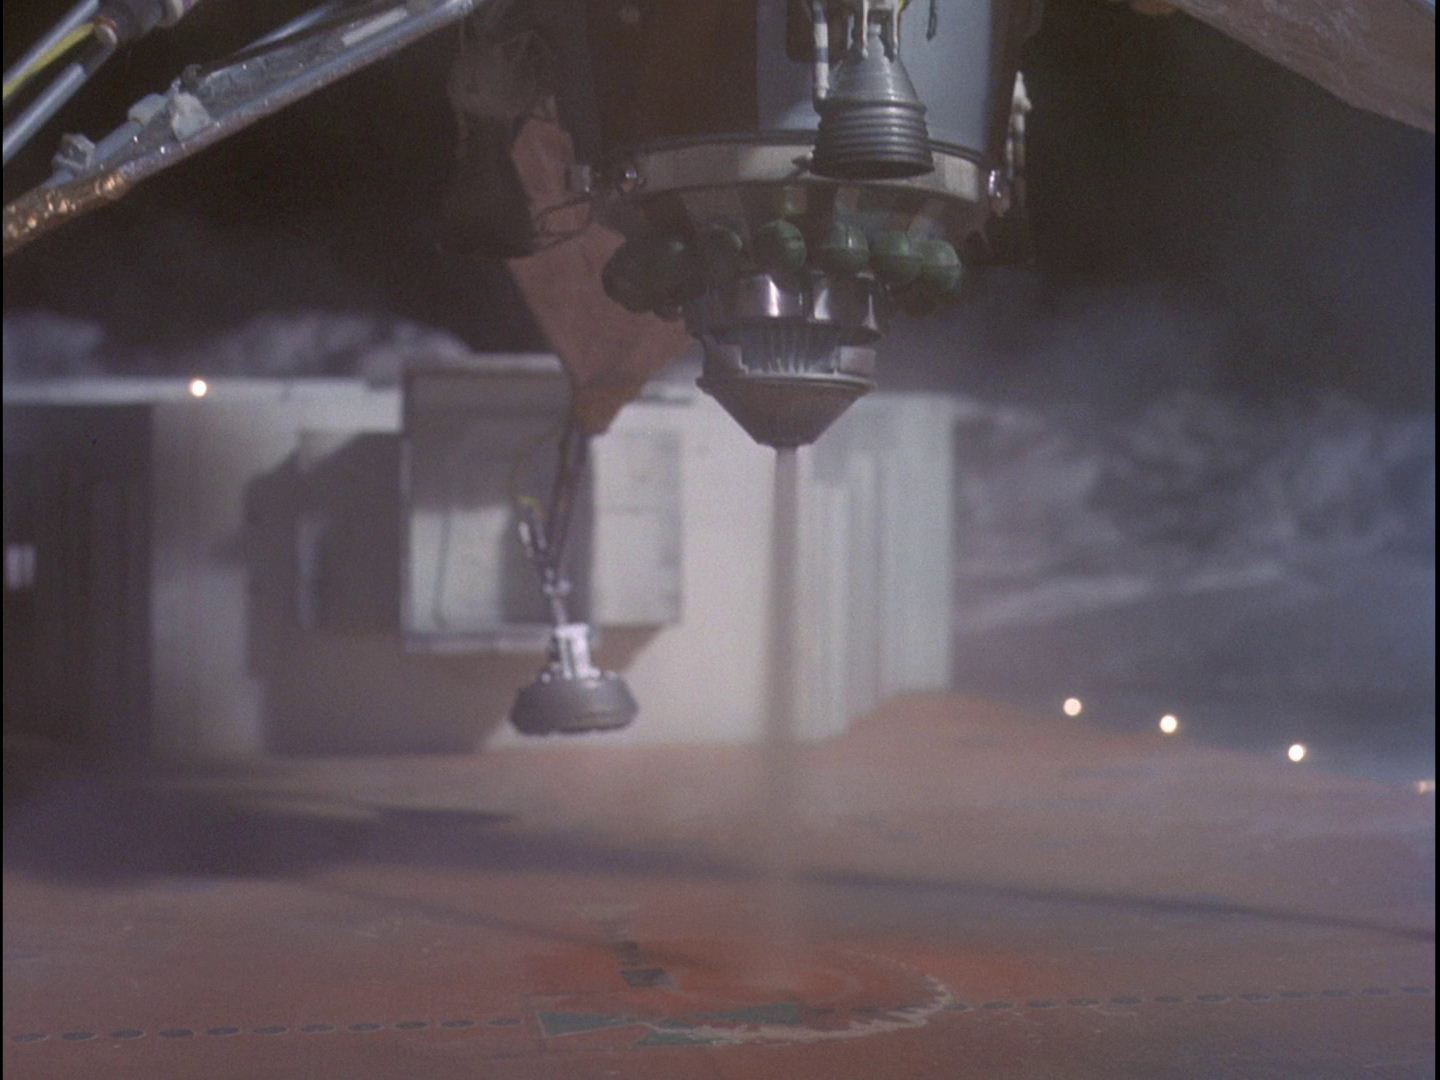
Seen first as a close-up of the engines, then a wider shot.
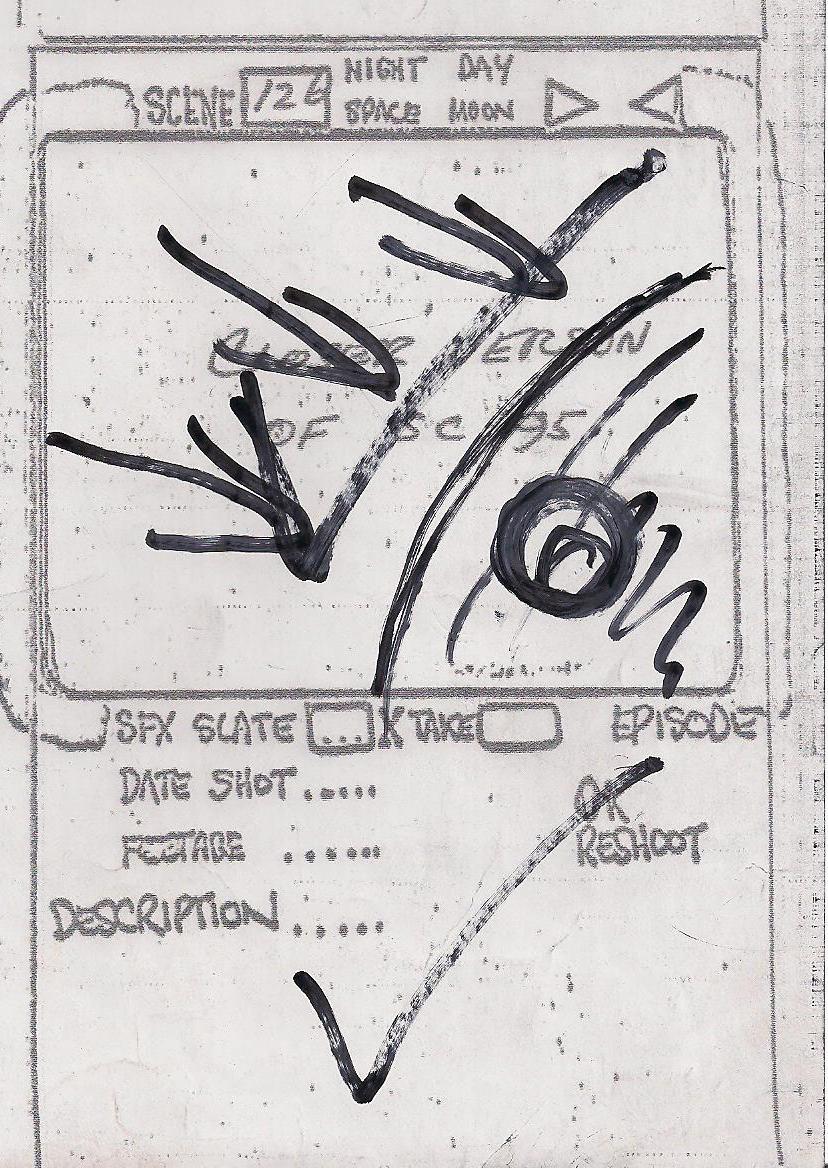
Scene 121. Voyager moving thro space Engines blazing
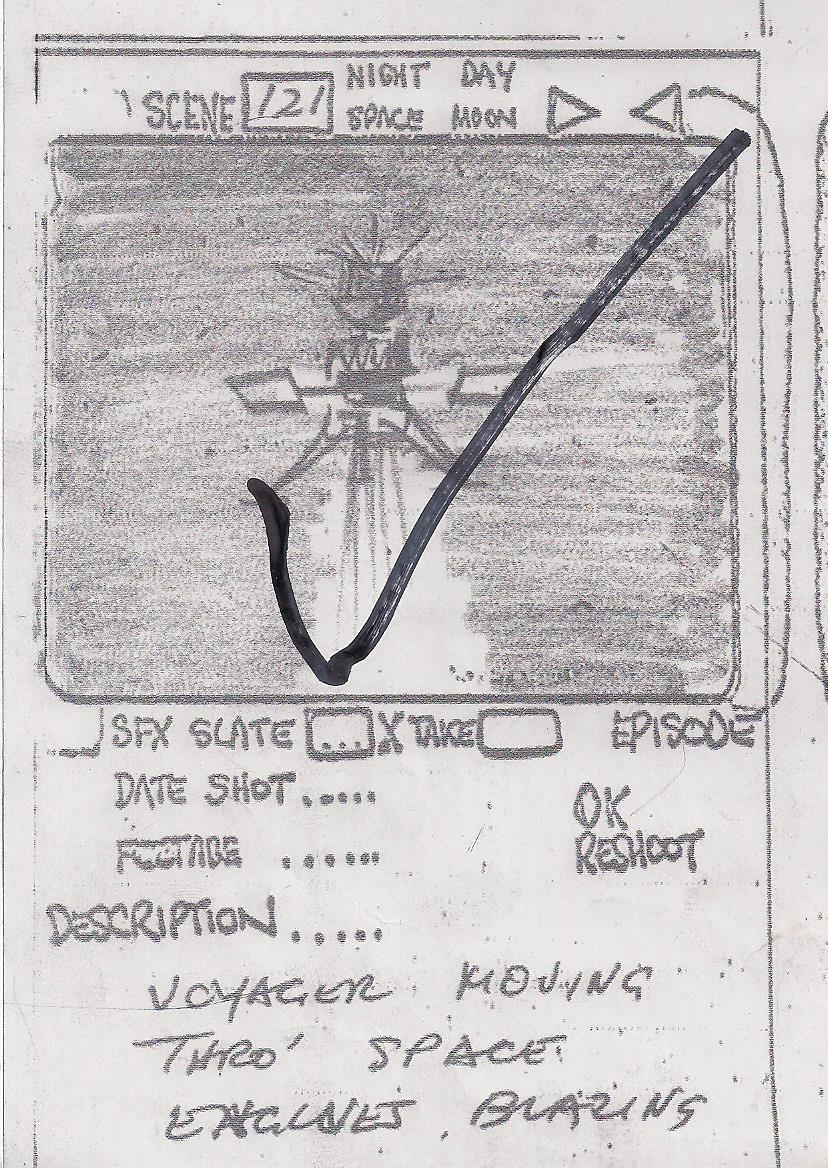
Not used.

Instead of 121, we see this head-on shot of the Sidon ships, similar to scene 141 later, when the ships are shaking.
Scene 126. Bigger version of Sc. 95
Script: Three Eagles in space. A long way ahead we see the approaching Sidon ships.
Scene 128. Burn in Big Screen. Image of ships dissolves to the face of Archon
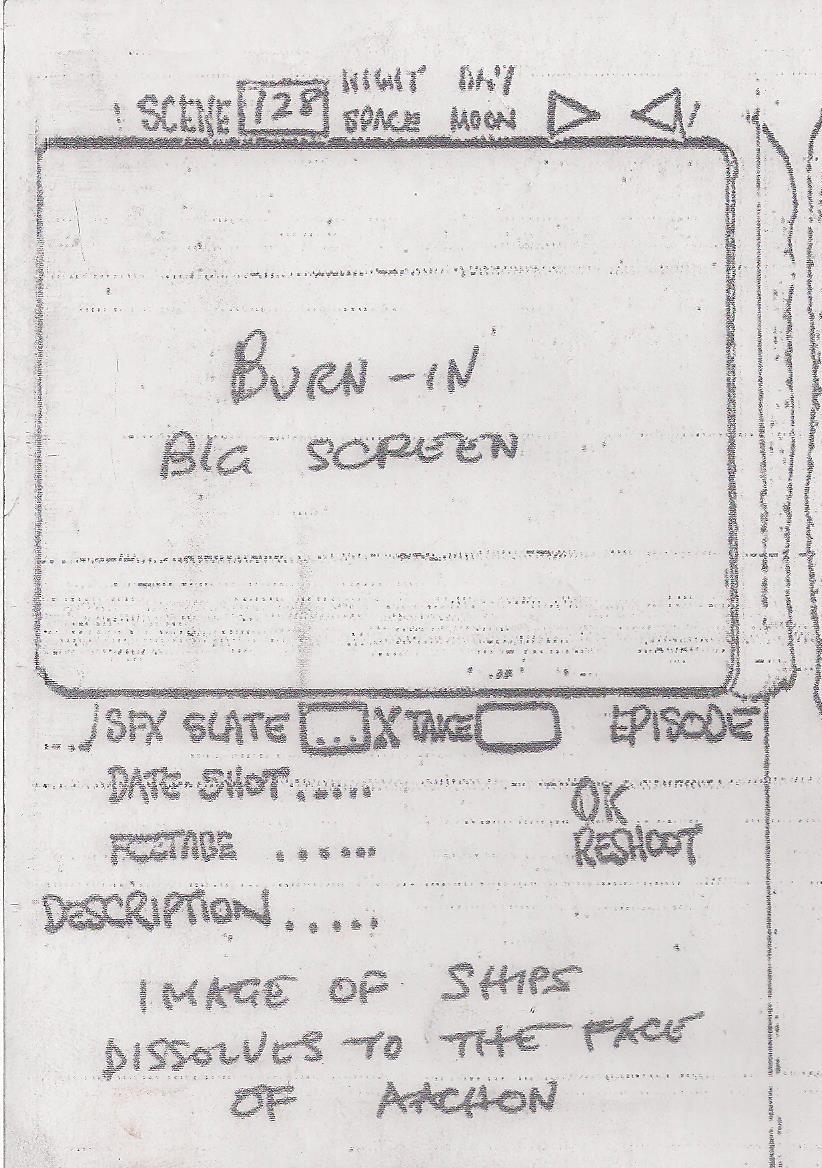
Full frame, not on the Big Screen, this dissolves to the image of Aarchon
Scene 132. Sidon ships moving thro space towards us.
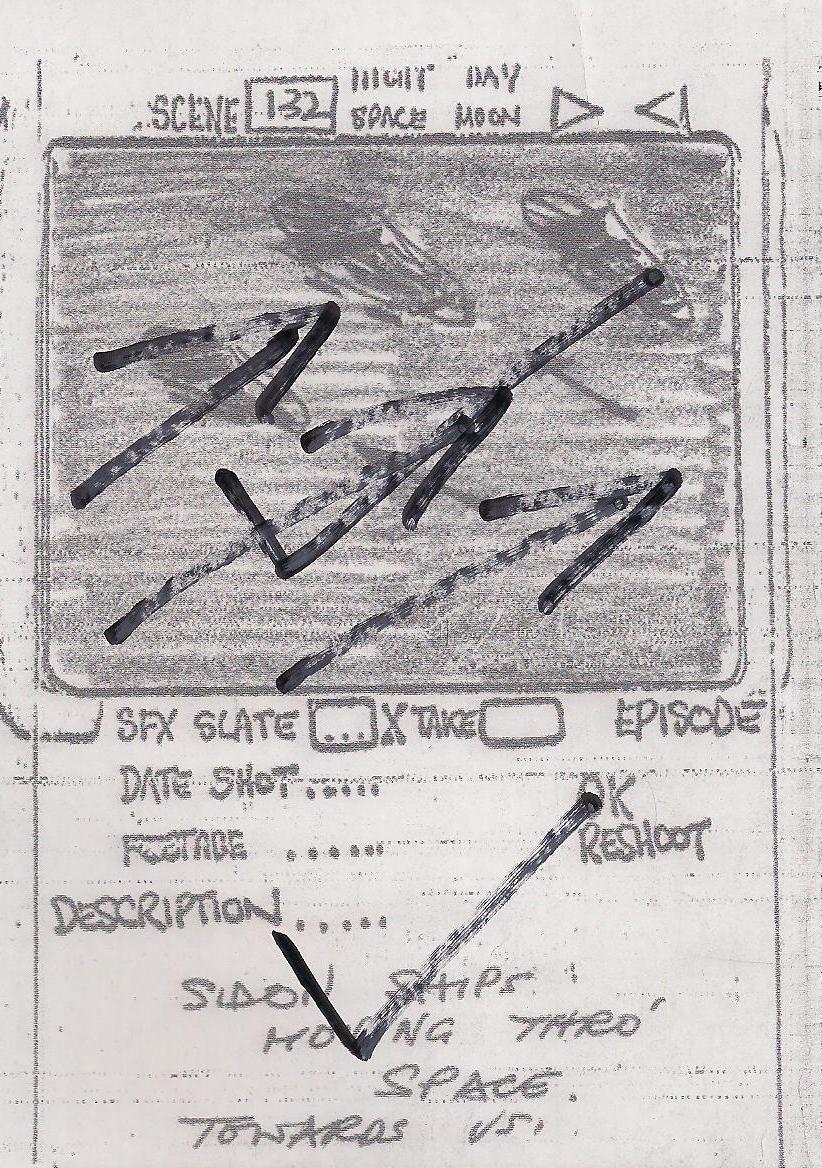
Scripted as a shot during Linden's speech ("Punish me. Do not condemn an entire world for the mistake of one man.") The shot is not used; instead the editor cuts between inside Voyager, Main Mission and Aarchon, with Linden seen as he speaks these lines.
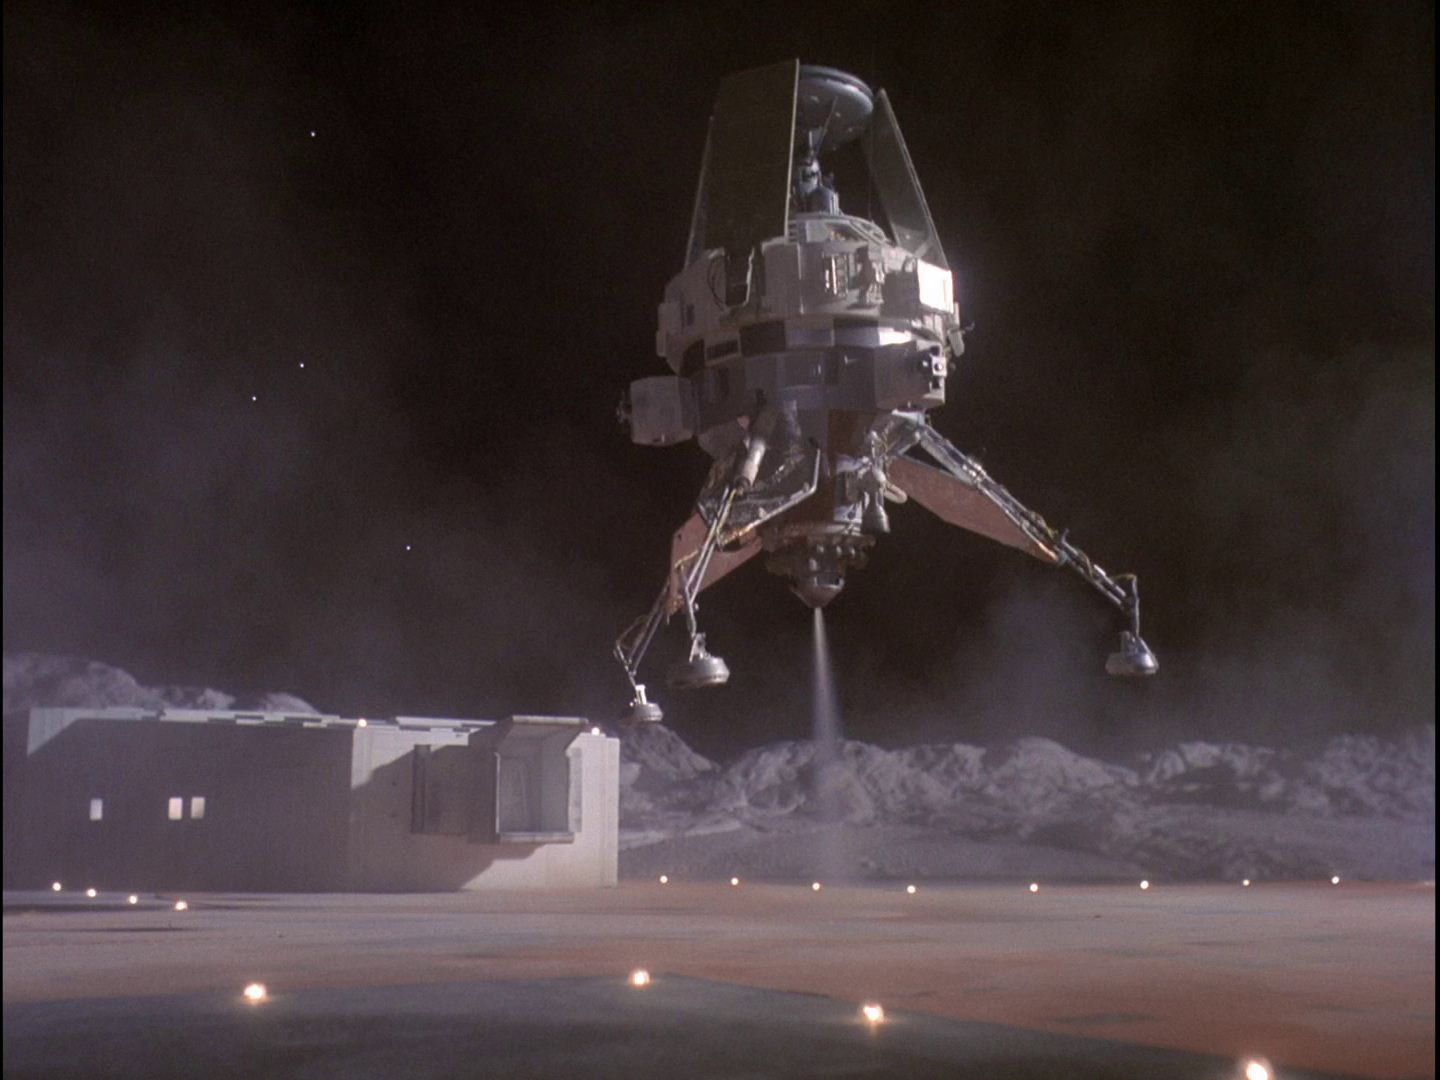
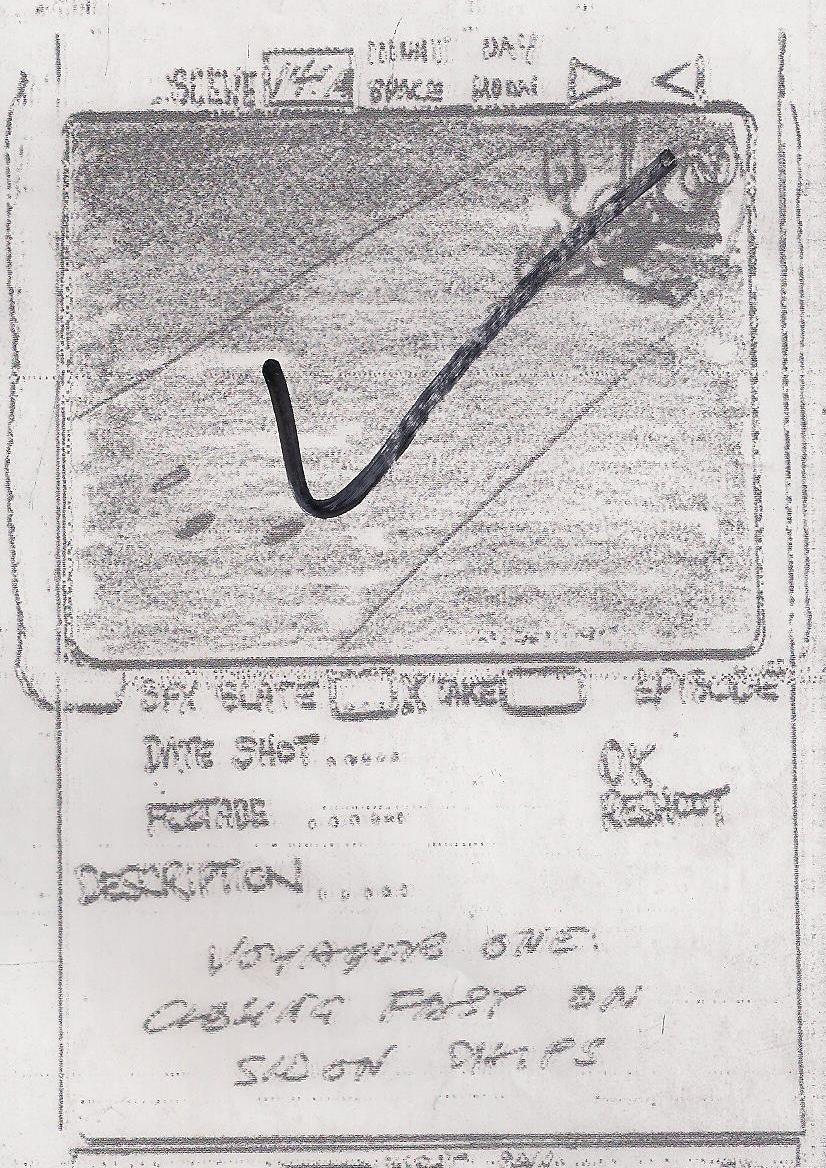
Scene 135. Voyagers chemical rockets cut-out and accelerates with terrific speed.
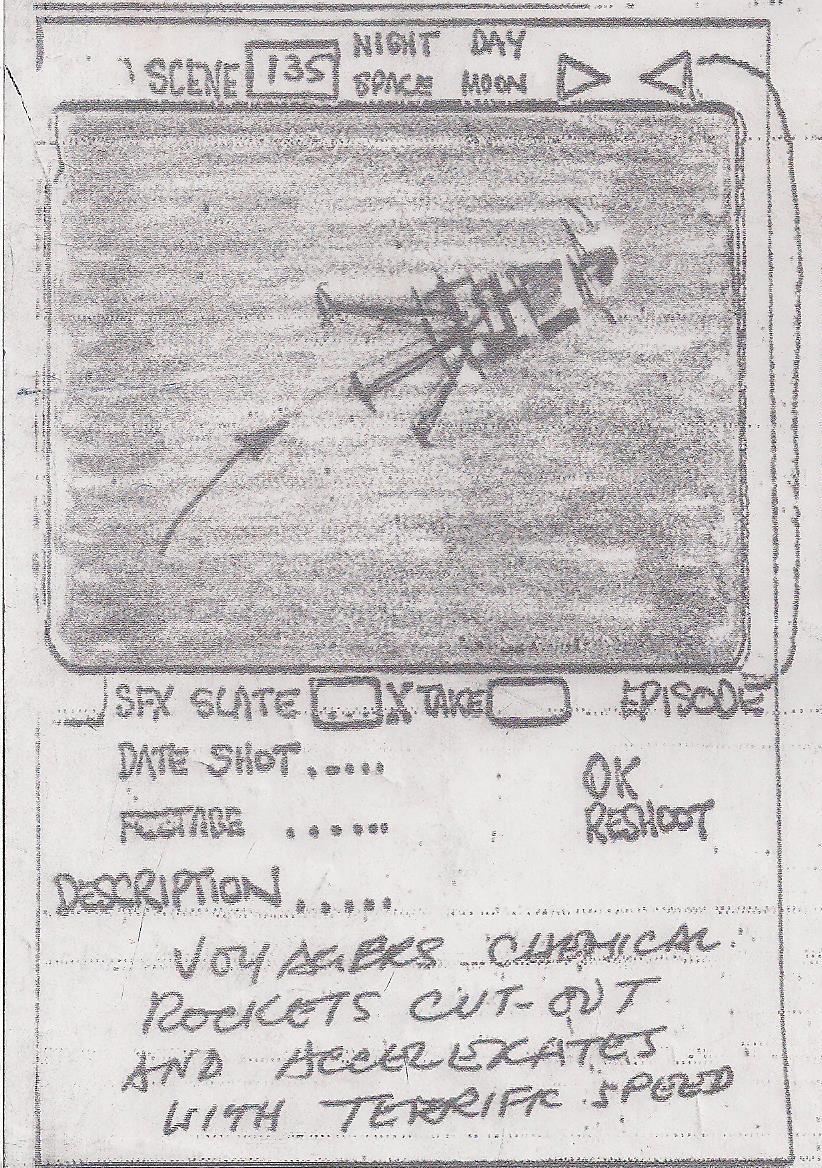
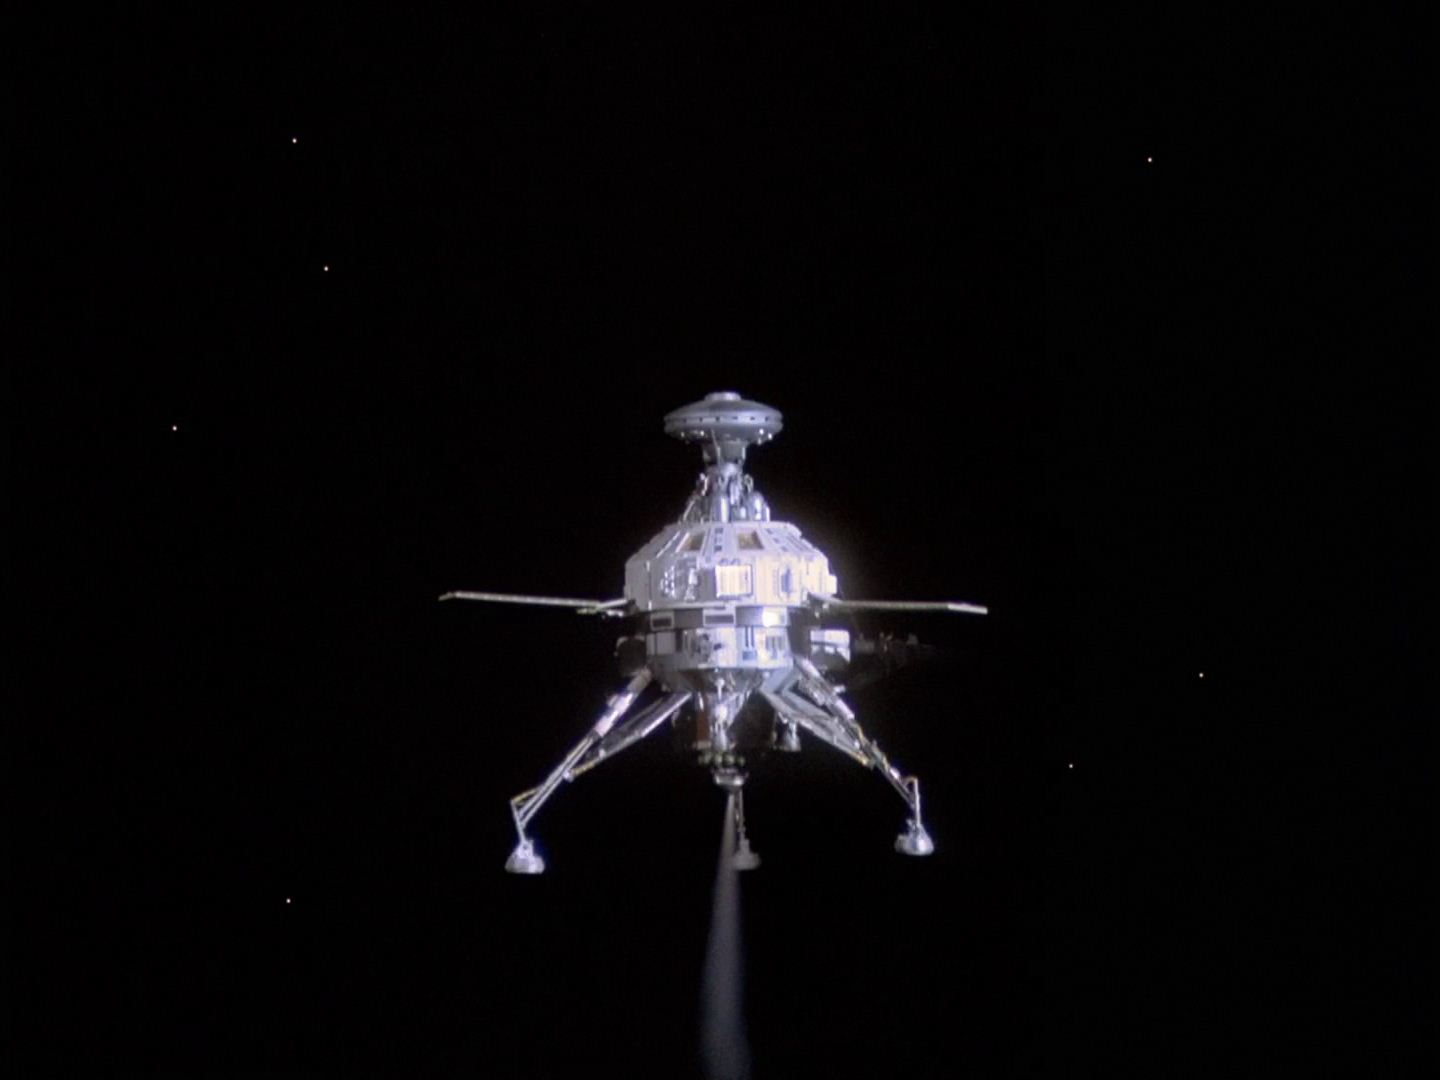
The Voyager rises vertically, then tilts 90 degrees away from camera before rapidly receding. Edited into 3 cuts, between shots of Linden shifting levers inside the Voyager.
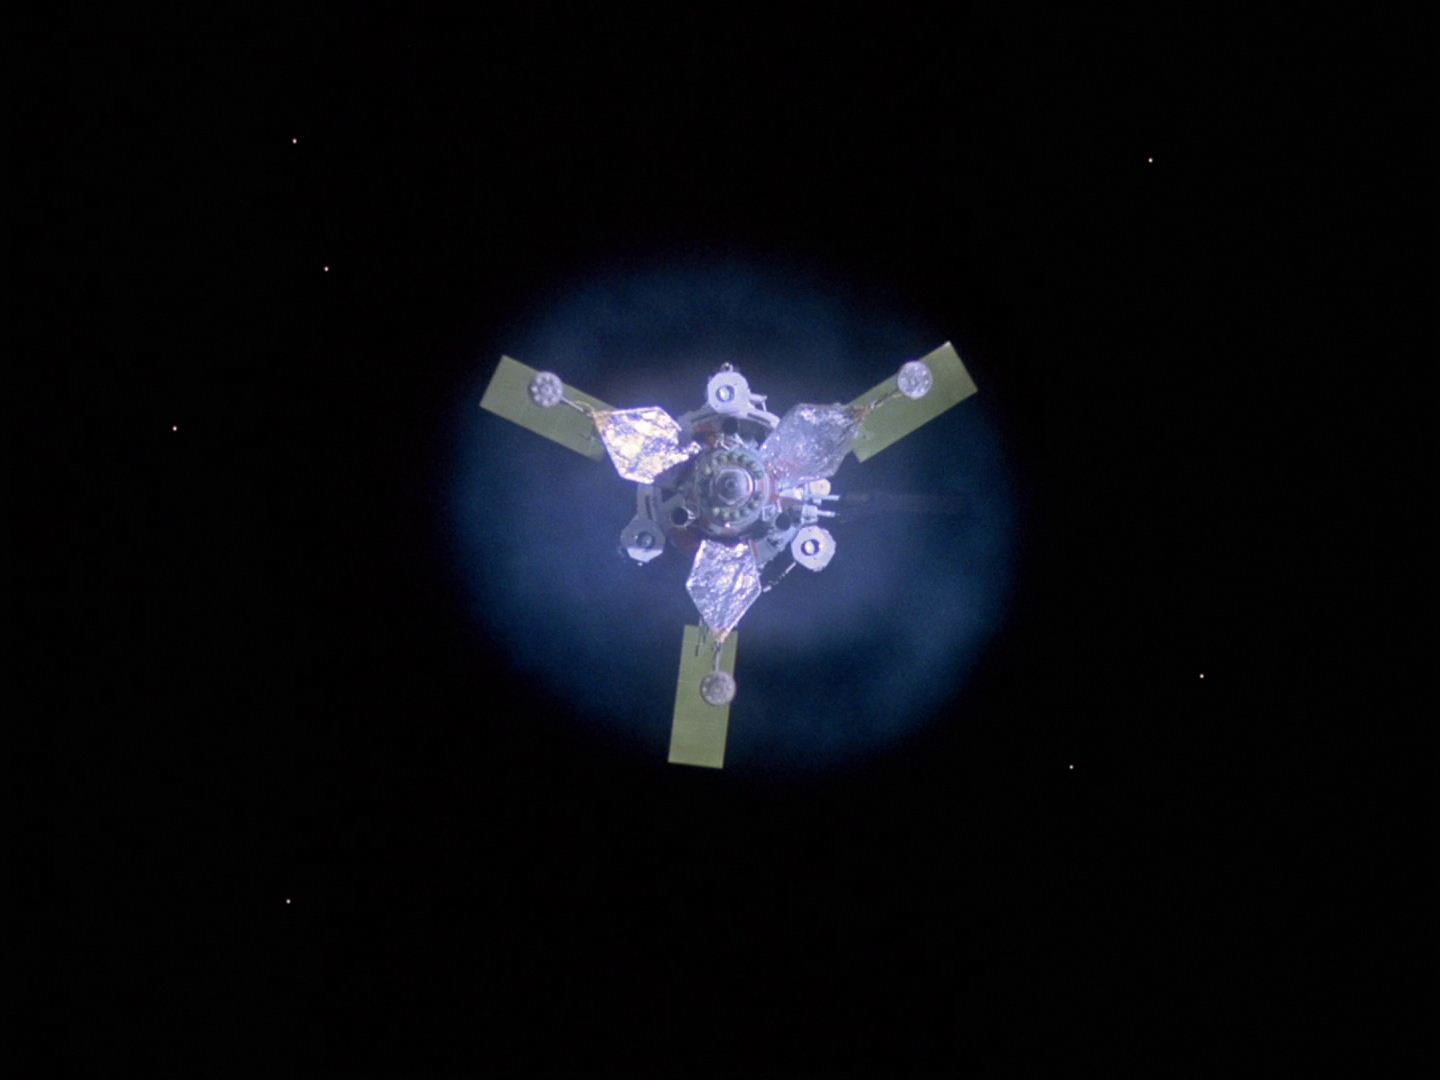
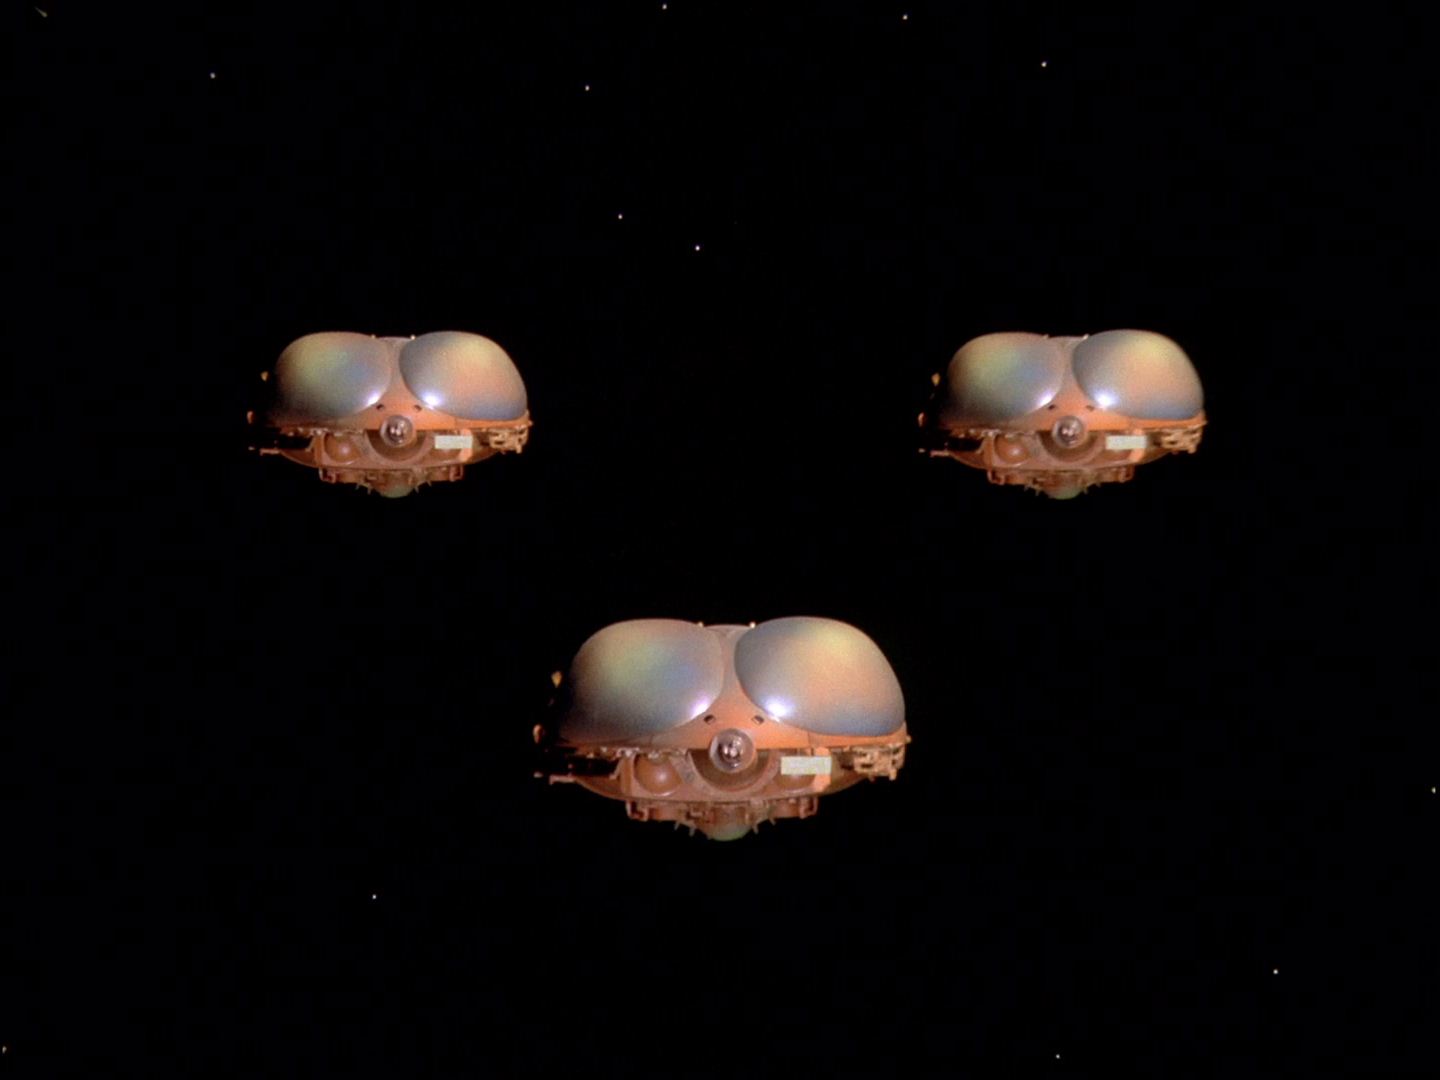
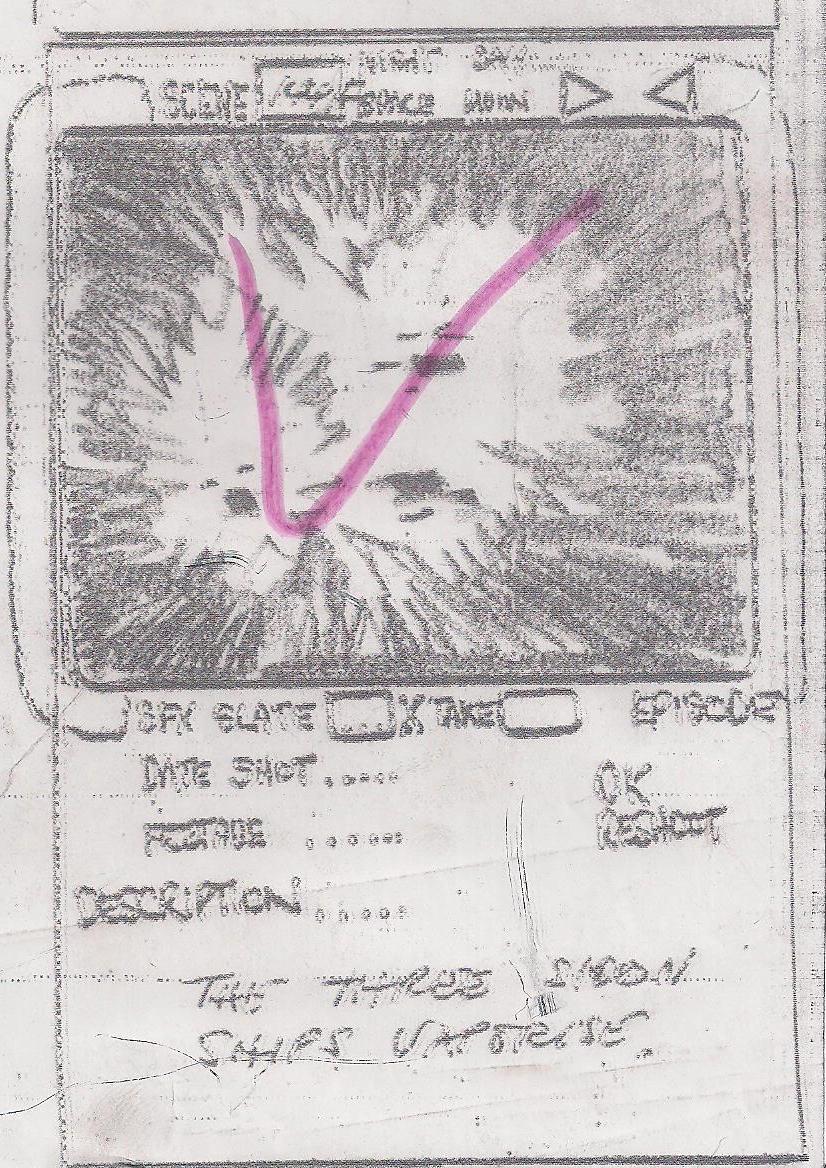
Scene 137. Three Sidon ships. Shuddering violently in space.
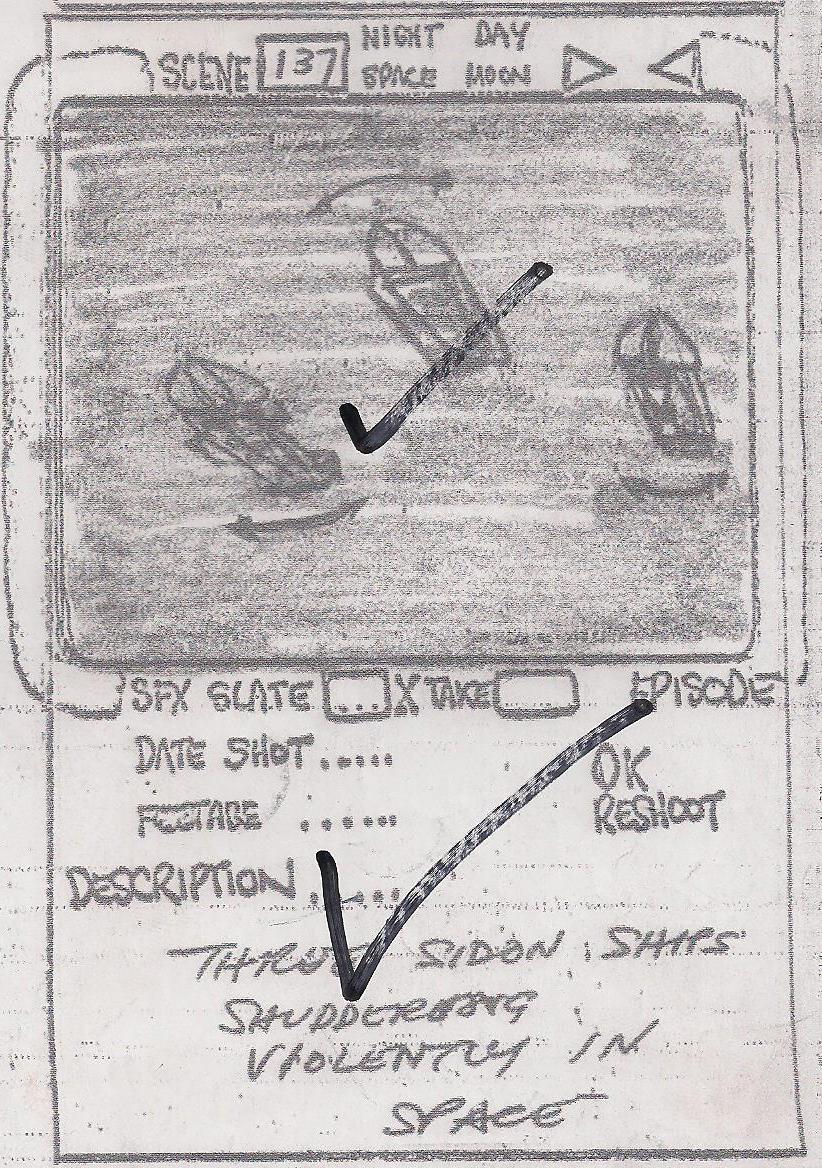
This is seen after Linden stops the Queller drive, so the ships are not shuddering. This seems to be scene 95 from earlier.
Scene 141. Three Sidon ships. The area around distorts + shimmers
Script: The area round the three Sidon ships distorts and shimmers.
ON the ships. They are shuddering madly. We see Voyager One closing on them with colossal speed.
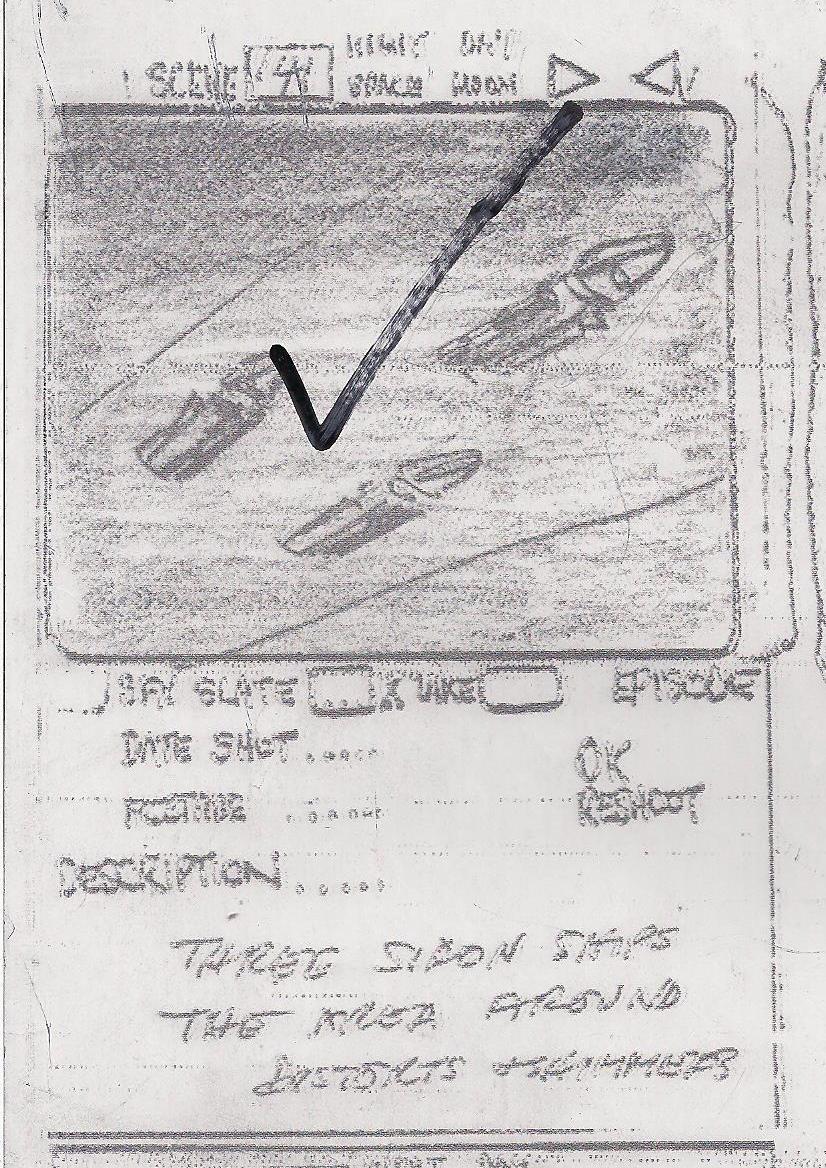
The filmed shot is head on.
Scene 141A. Voyager One closing fast on Sidon ships

This second view from scene 141 is shifted to after Linden presses the self-destruct button, immediately before the explosion (see below)
Scene 144. Close on Voyager shimmering and the explodes.
Scene 144. The three Sidon ships vaporise.
Script: The area round Voyager One shimmers and distorts and Voyager One disintegrates with a fantastic explosion. Immediately the three Sidon ships are vaporised.
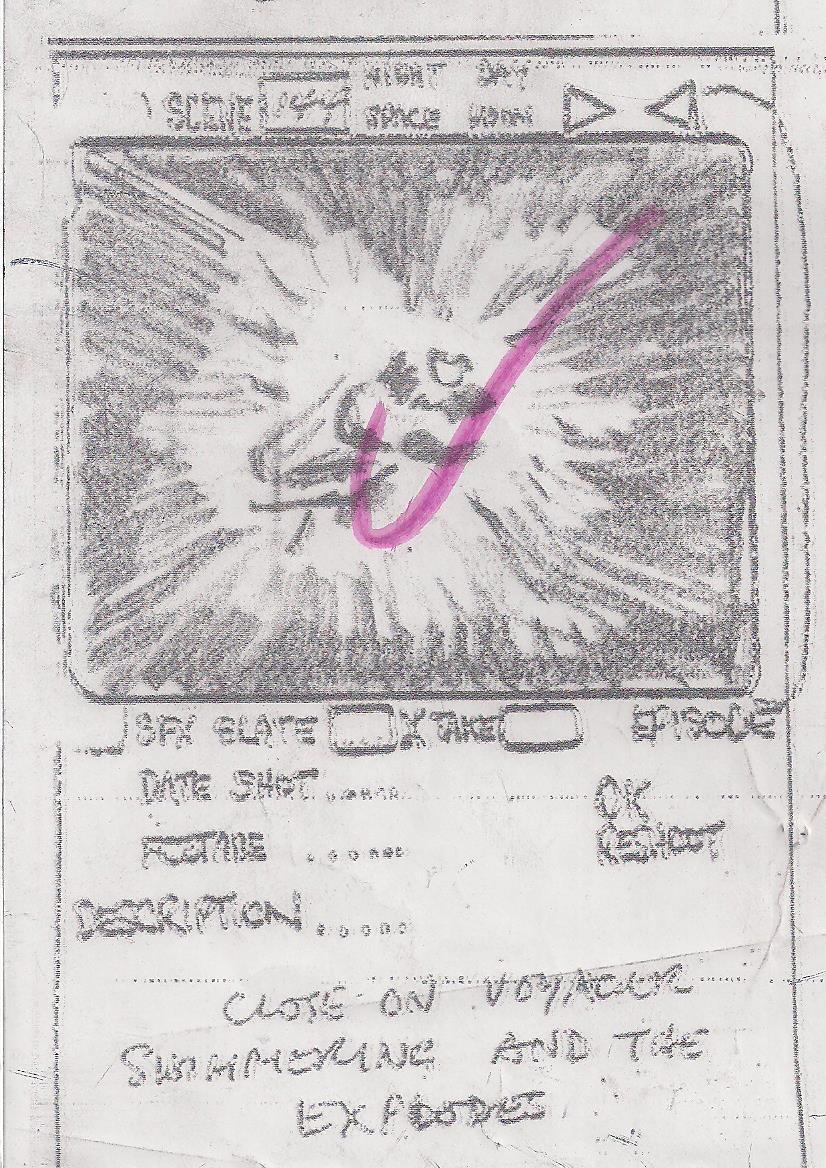
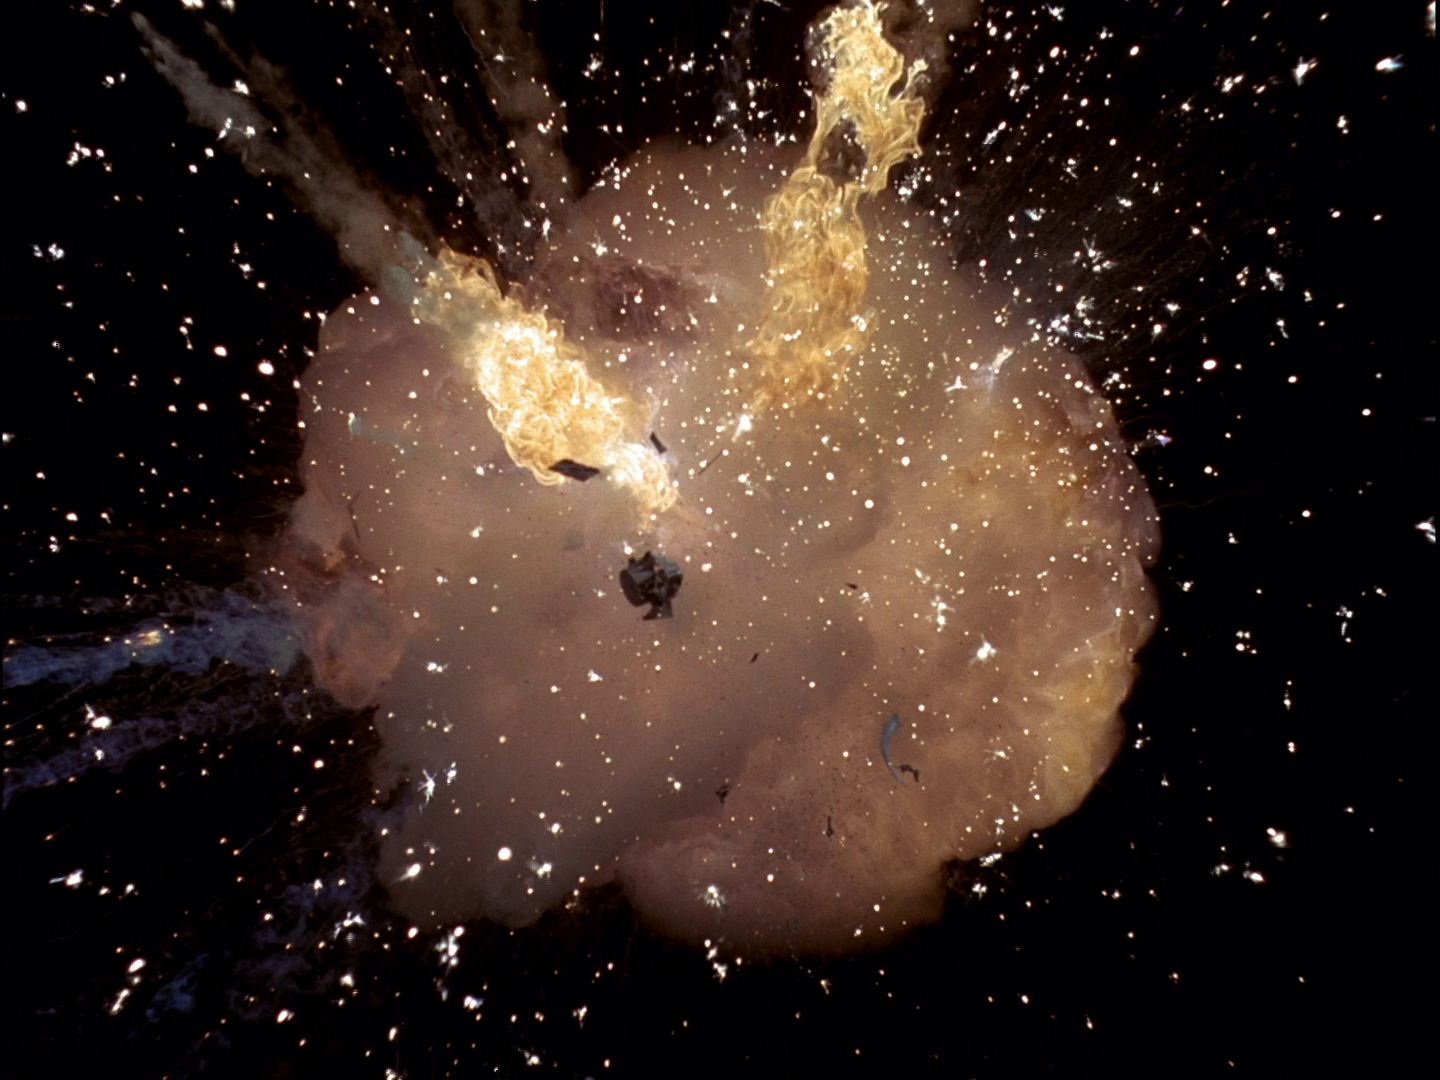
The initial shot of the Voyager is replaced with scene 141A. Scripted and storyboarded as two explosions, there is only one explosion.
Scene 146. Moon in space sky.
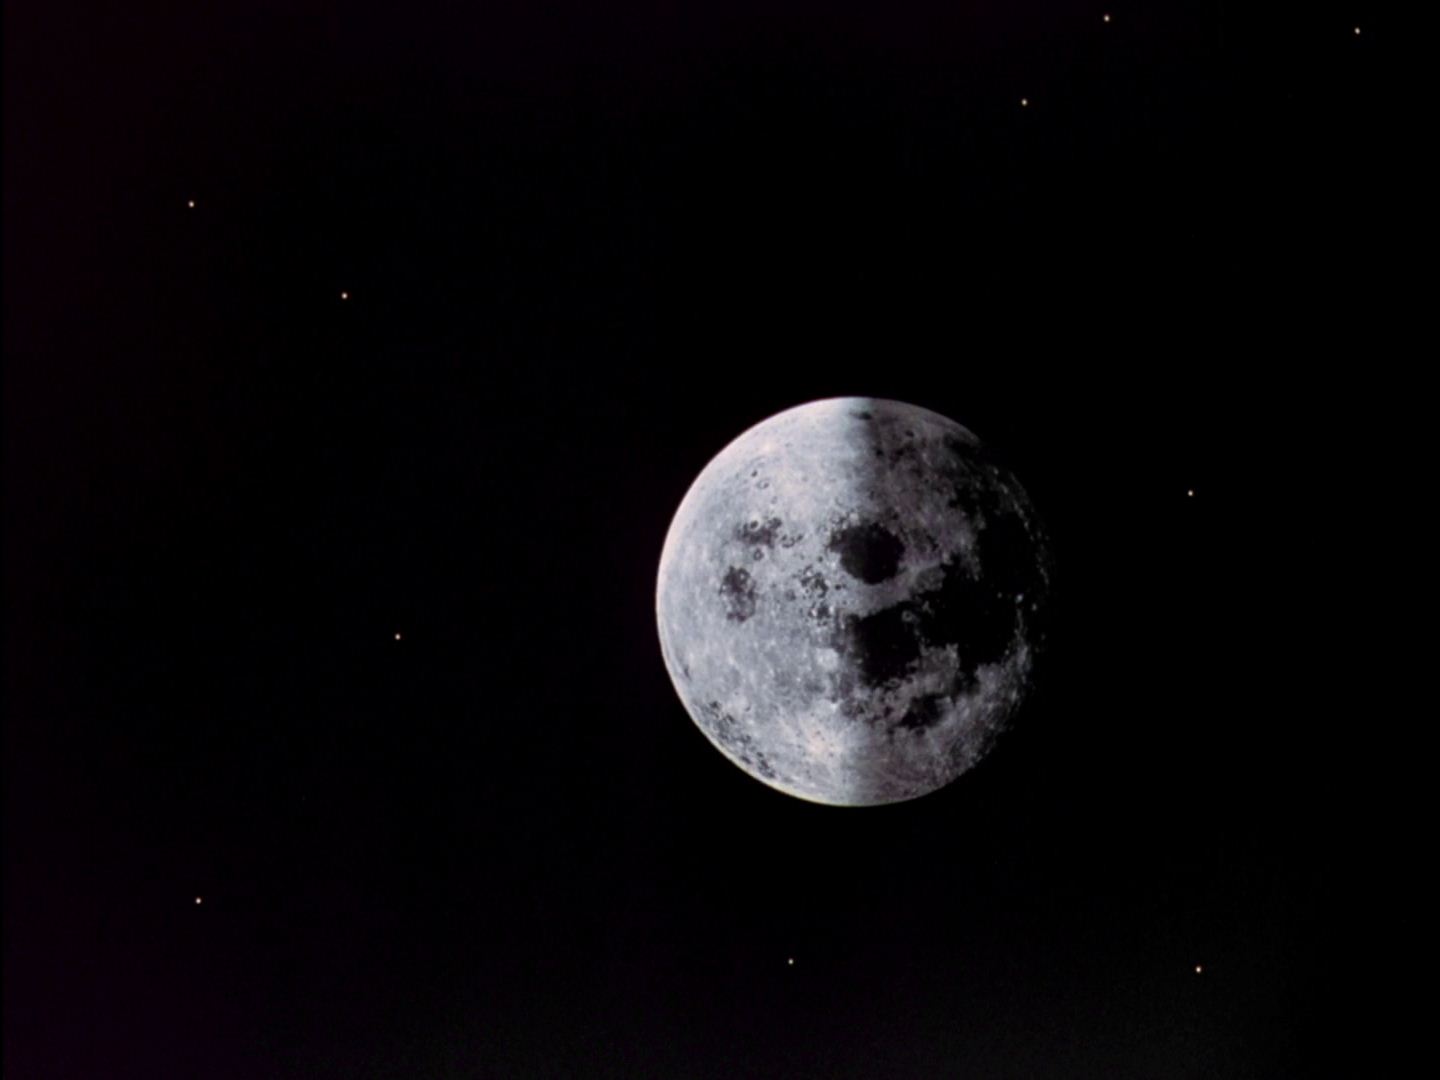
Start of epilogue. The Moon is a NASA photo taken by Apollo 11 on 22 July 1969.