Moonbase Guide
Medical
by Craig Rohloff
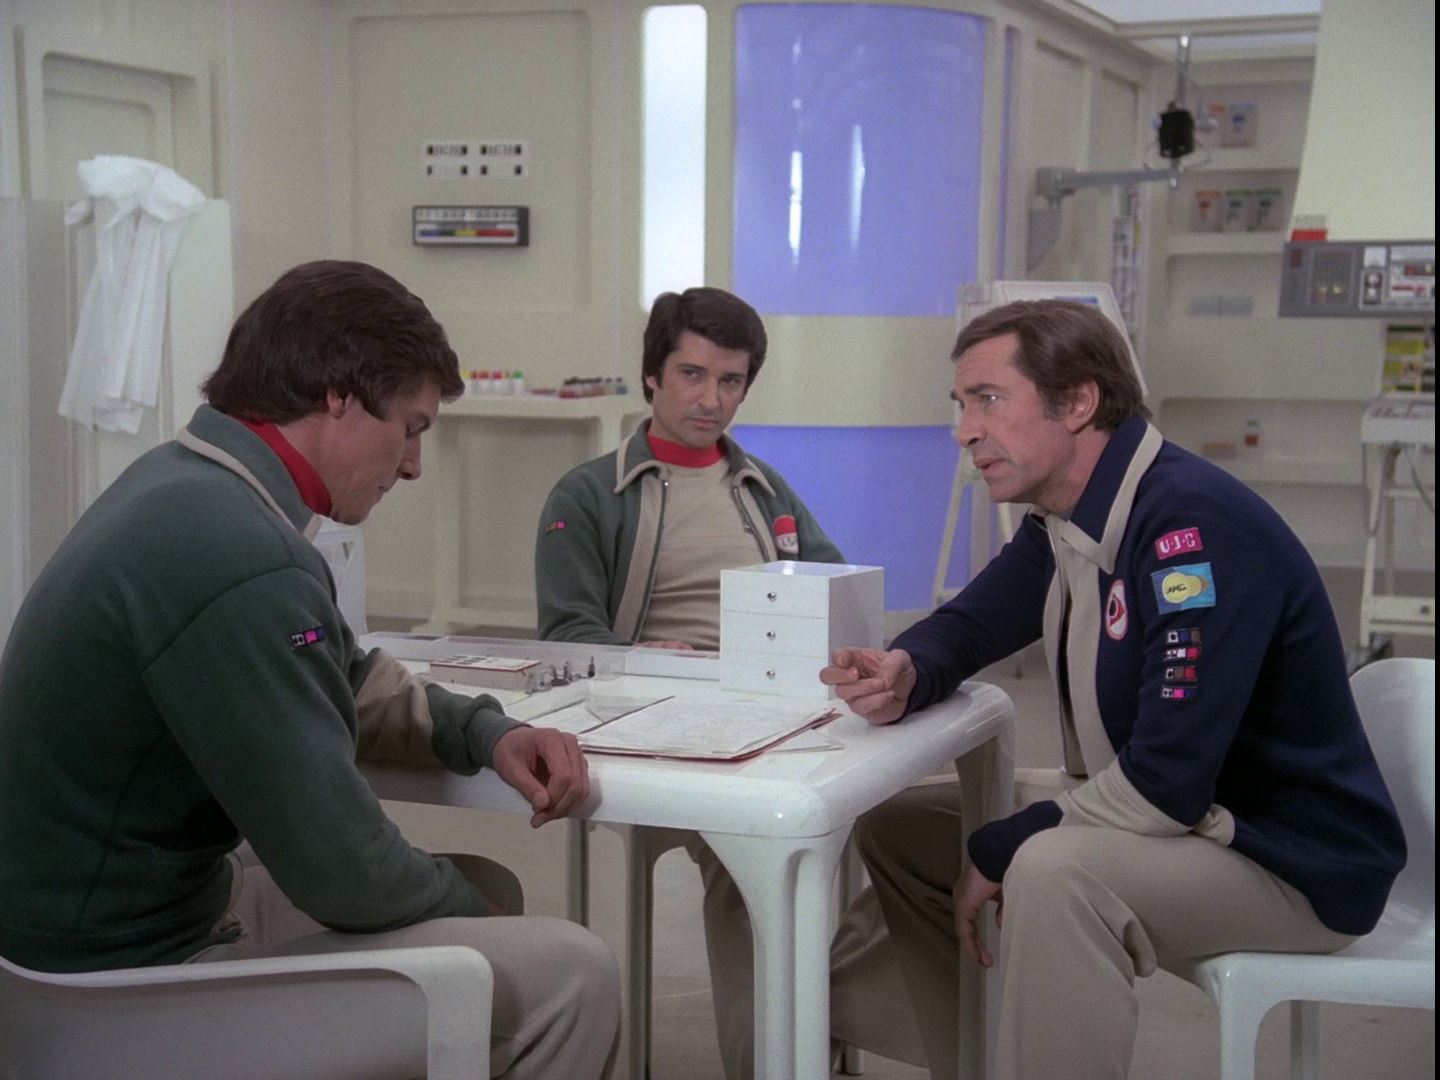
Series 2 of Space: 1999 saw a size reduction of many of the sets used to represent various rooms throughout Moonbase Alpha, and the Medical Centers were no exception. In addition to the styles of Medical Centers, the number of them was reduced substantially. Whereas Series 1 had numerous centres - seemingly a different one every time we saw one, though a few designs were re-used more than once - Series 2 seemed to have a single, small Medical Center that more resembled a ship's sickbay rather than a sprawling hospital-like 'moon city' building. This notion is reinforced by the sketch of the original Keith Wilson set design.
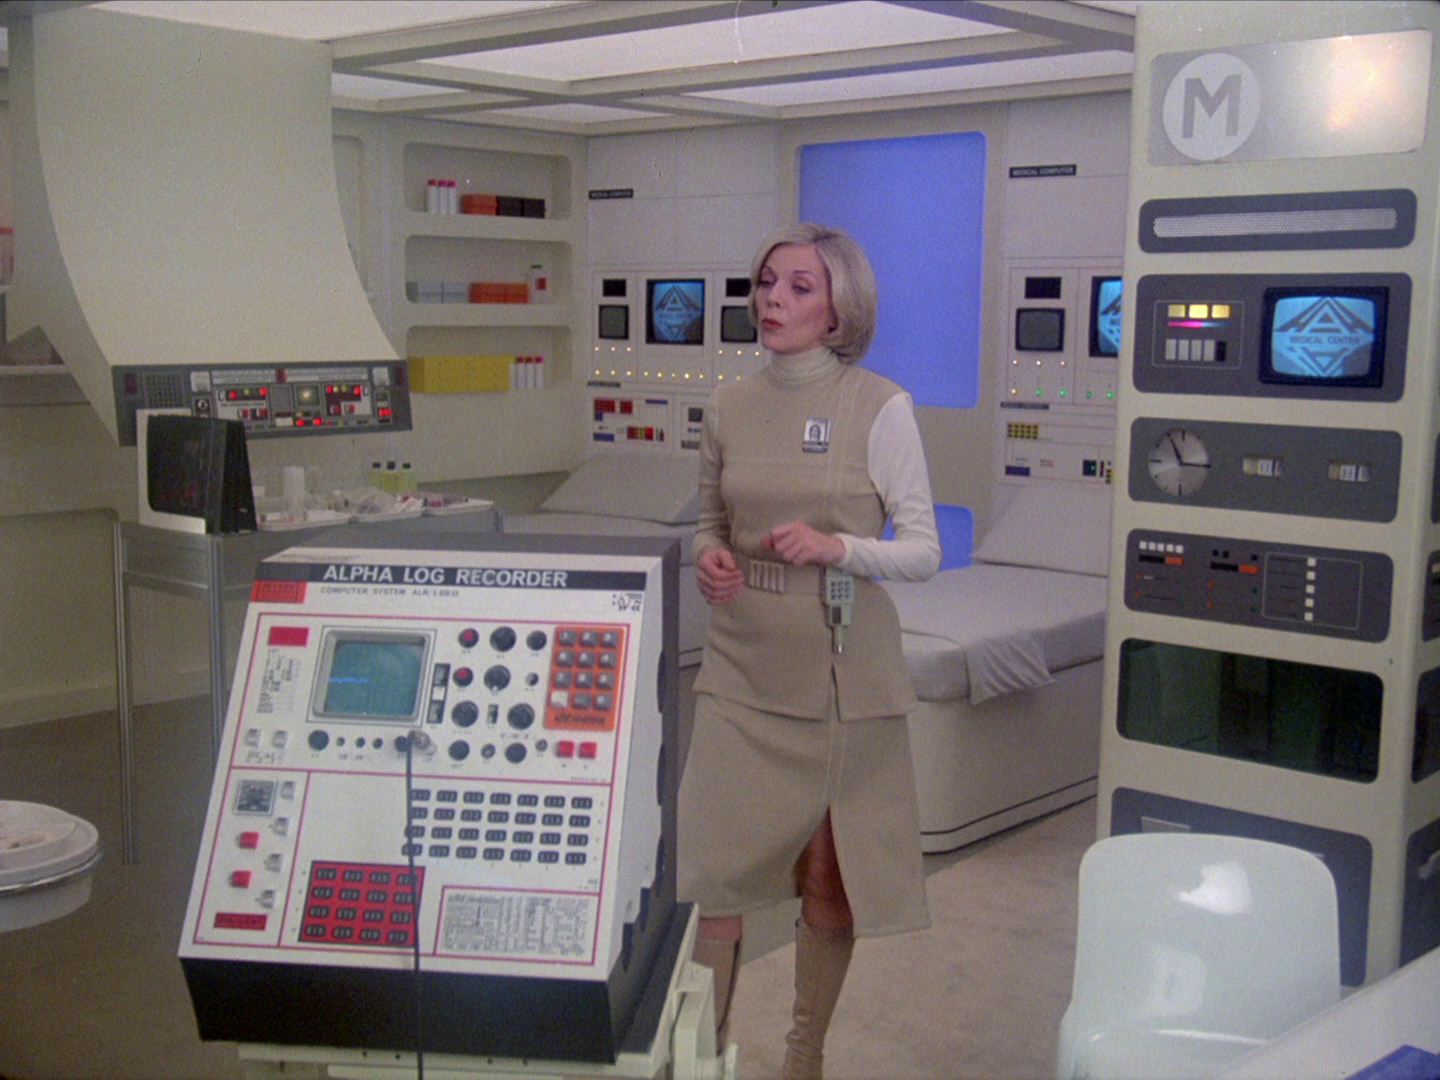
It turns out, however, that there were six designs for the Medical Centers in Series 2, though most were very similar in arrangement and size; the largest and most different appeared near the series' end, and harked back to the Medical Centers from Series 1.
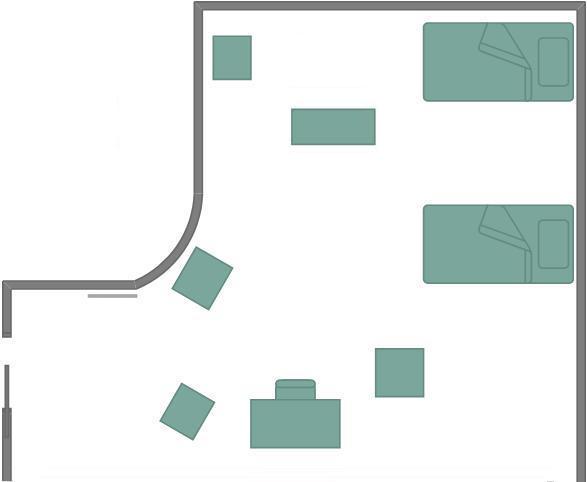
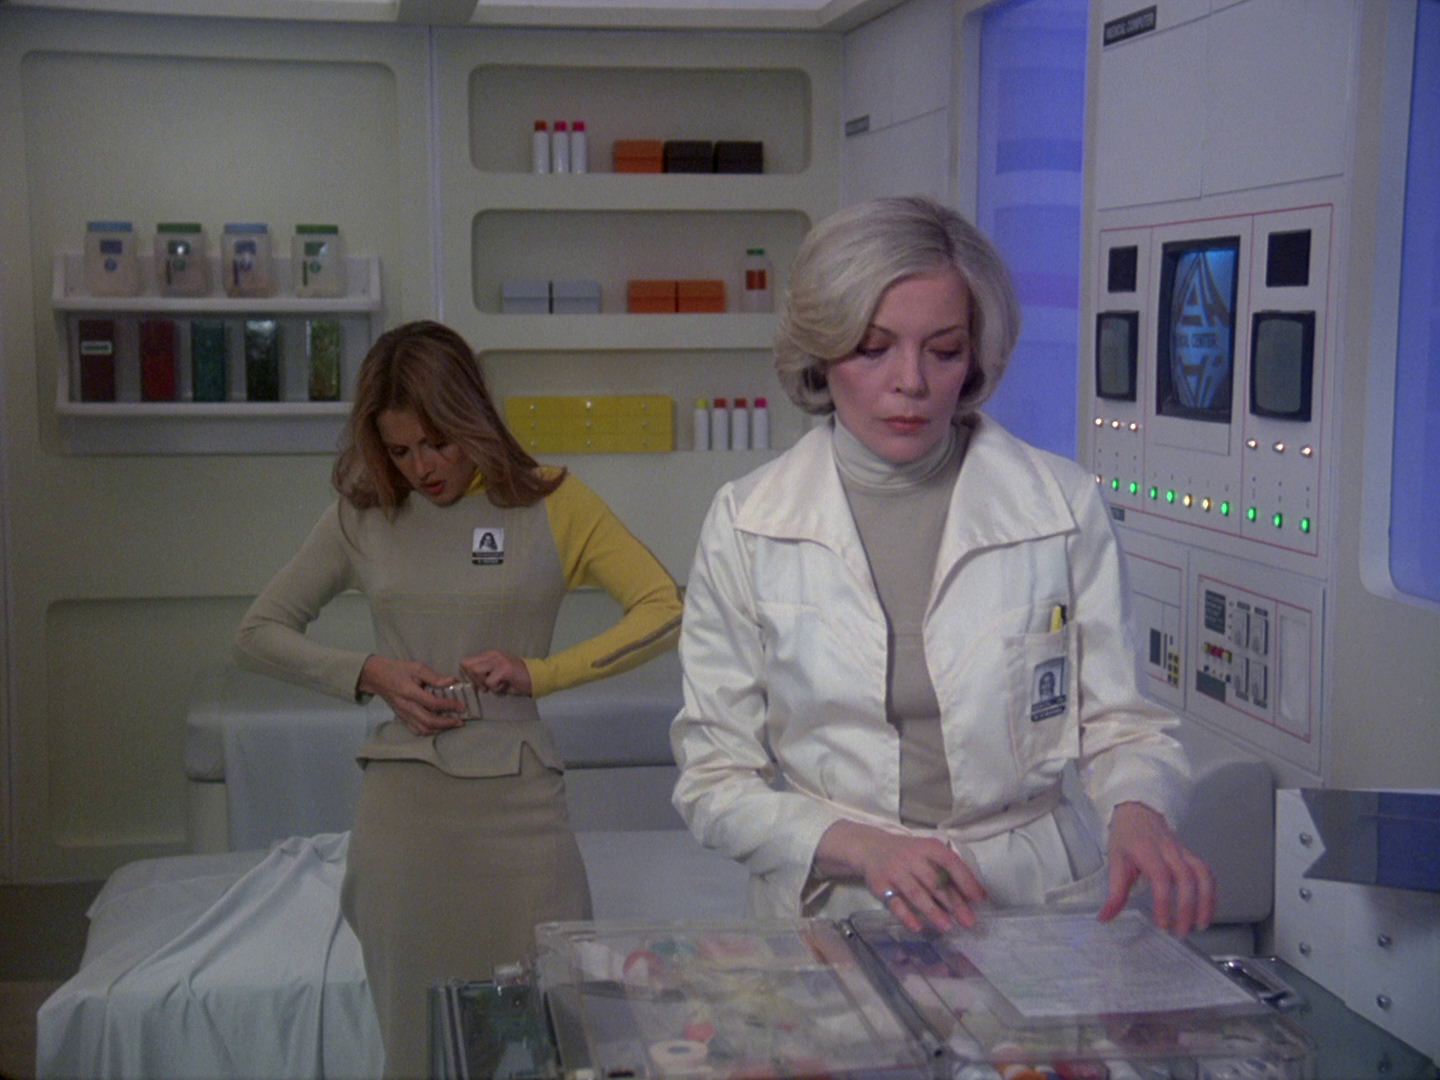
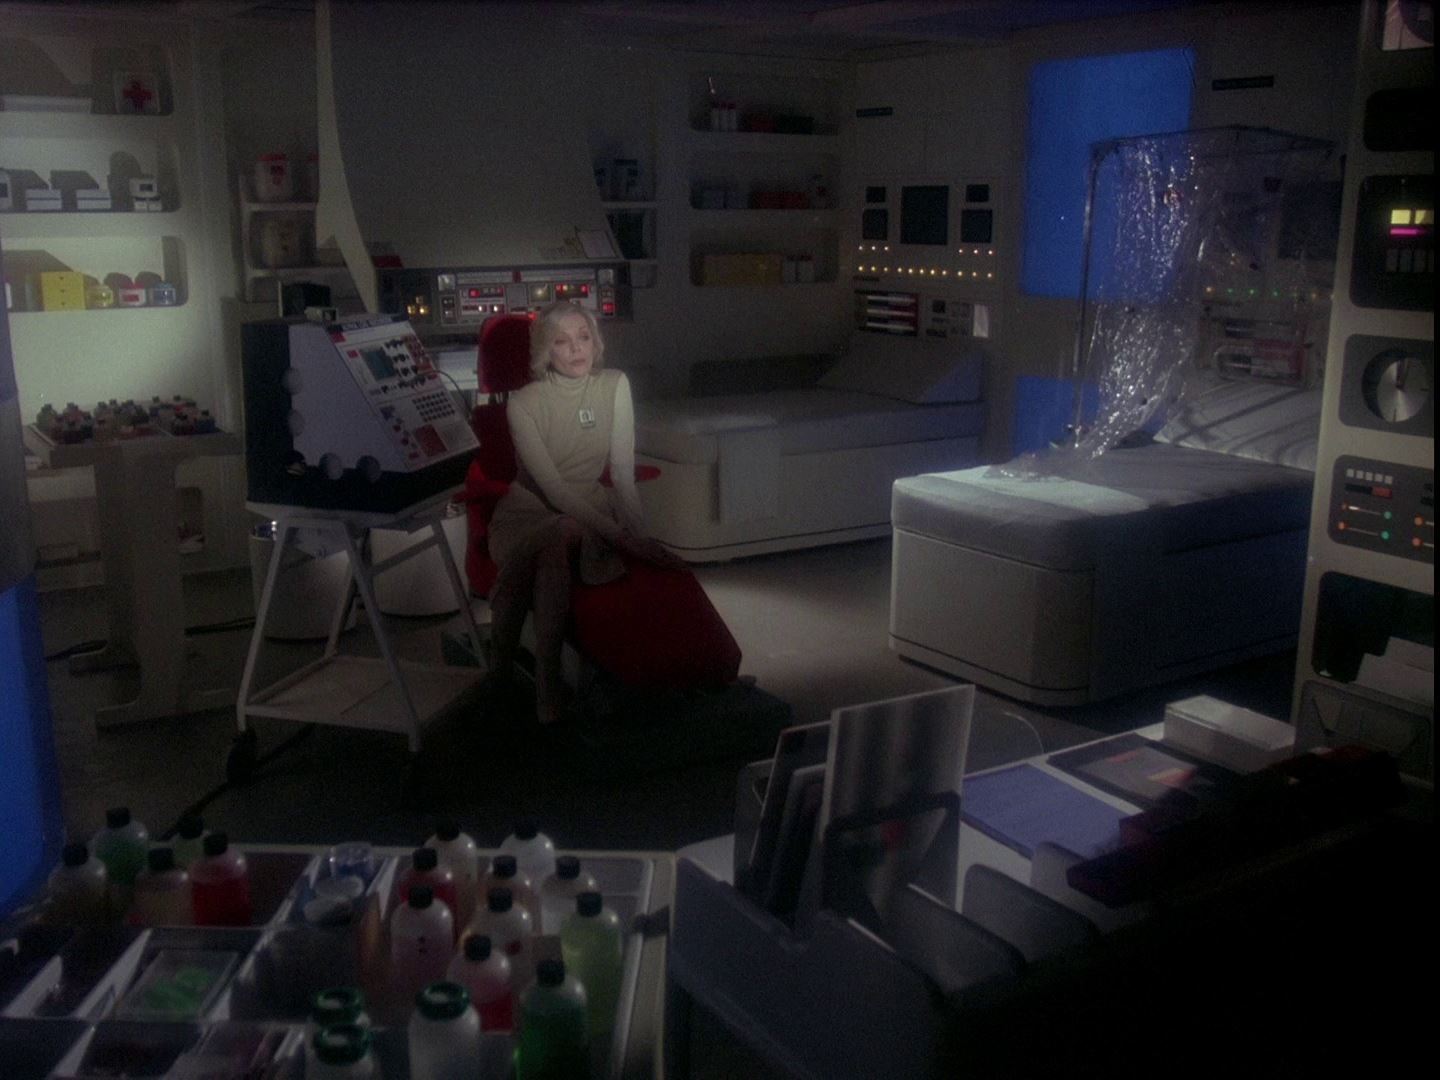
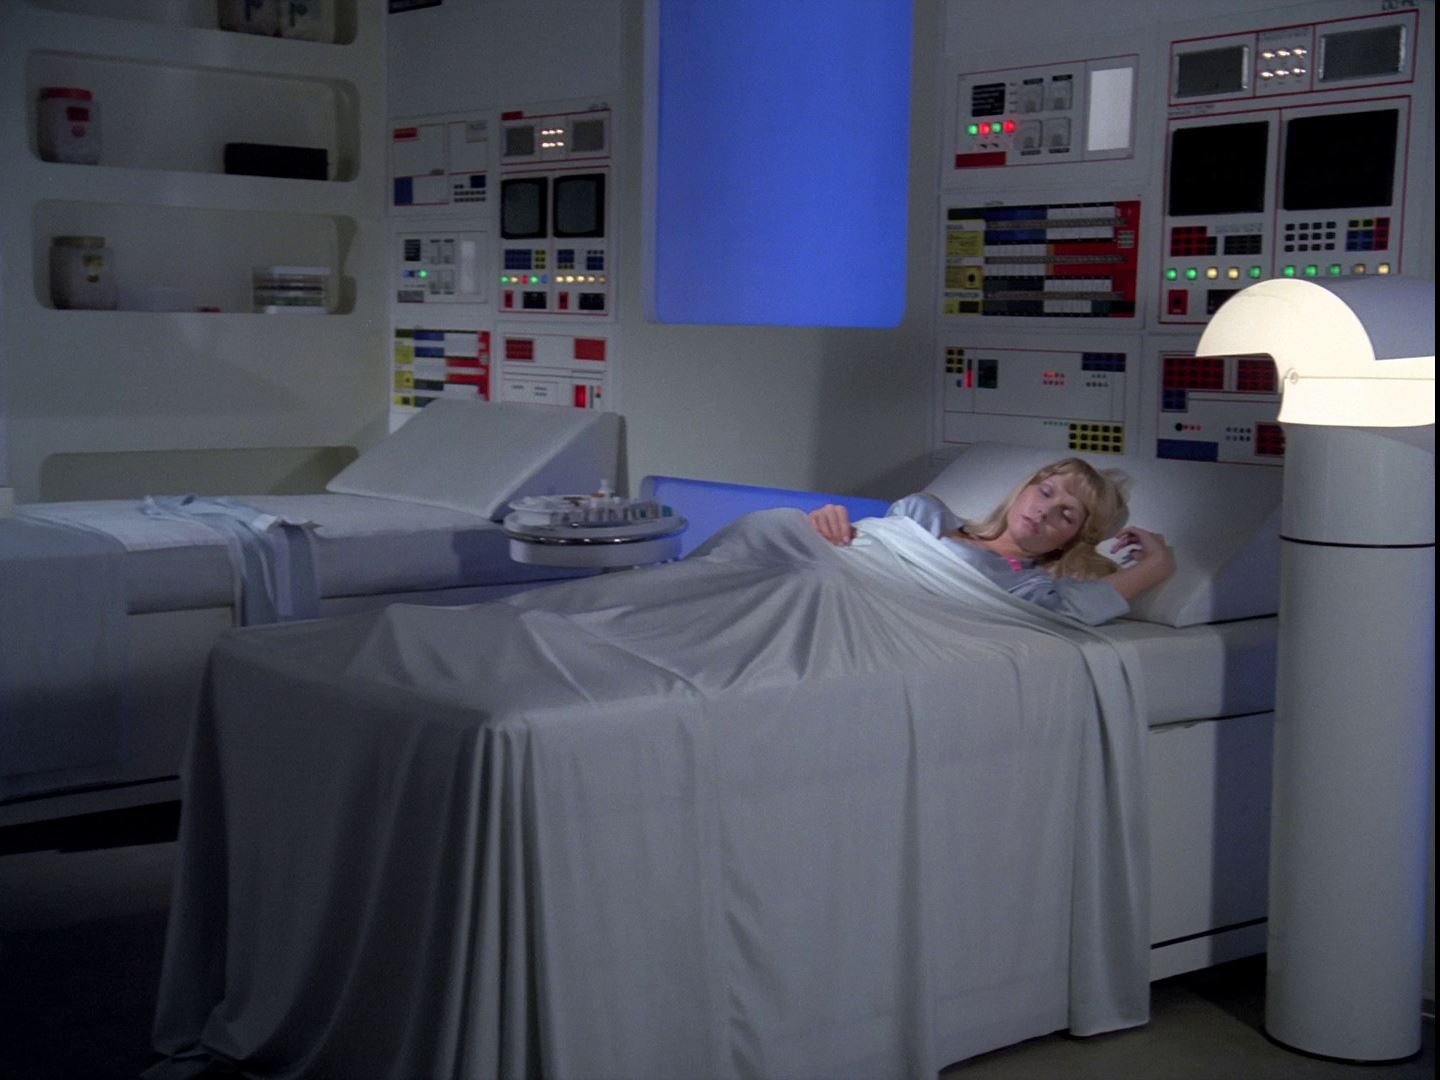
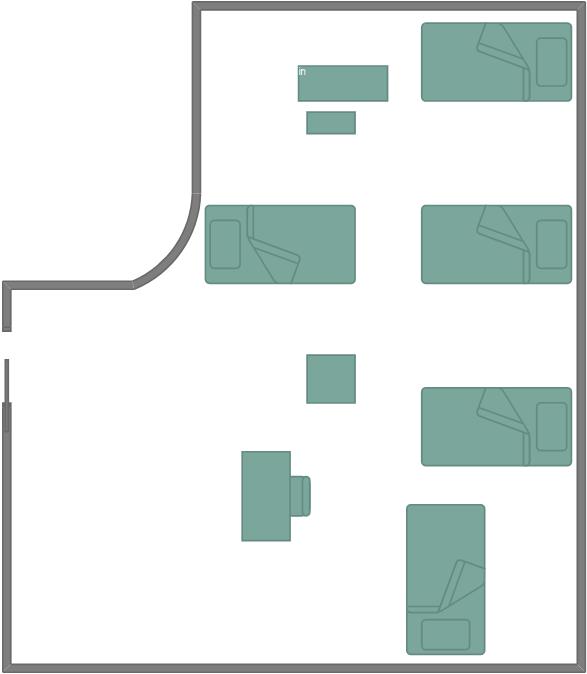
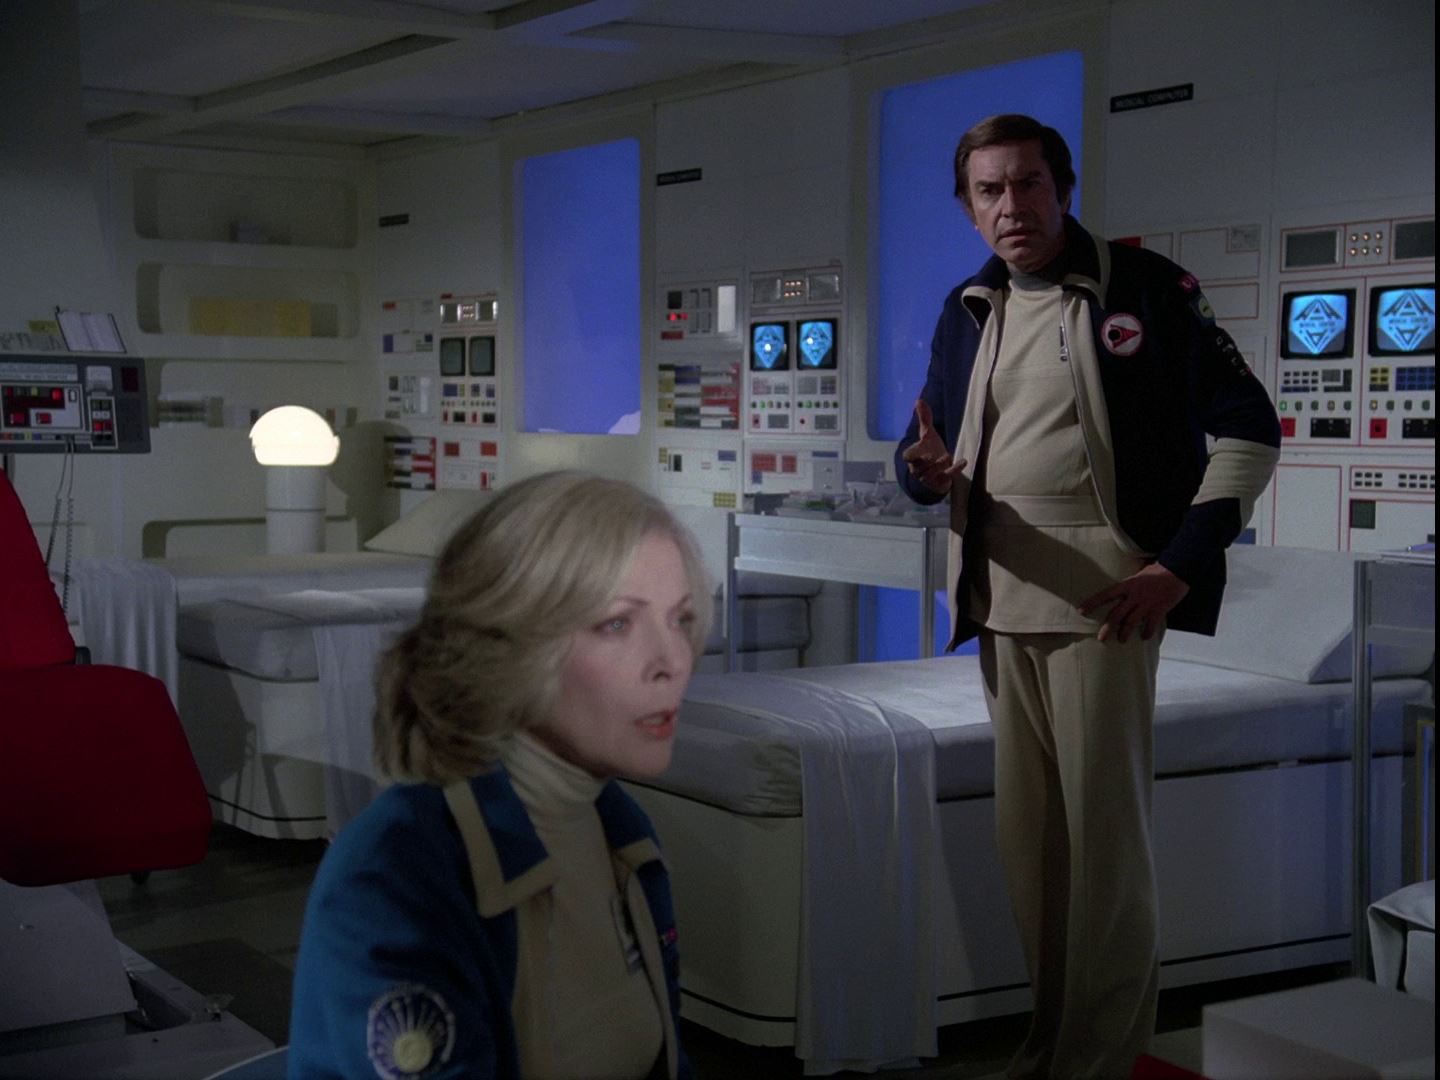
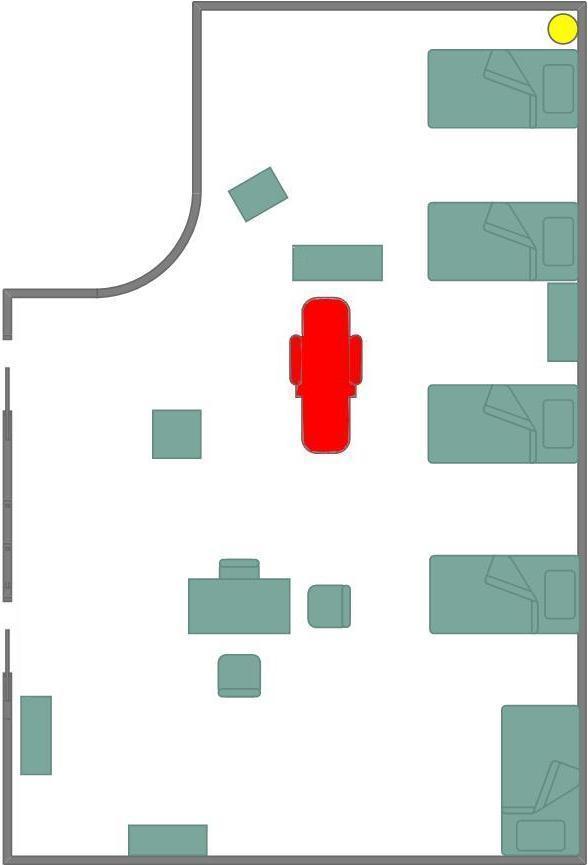
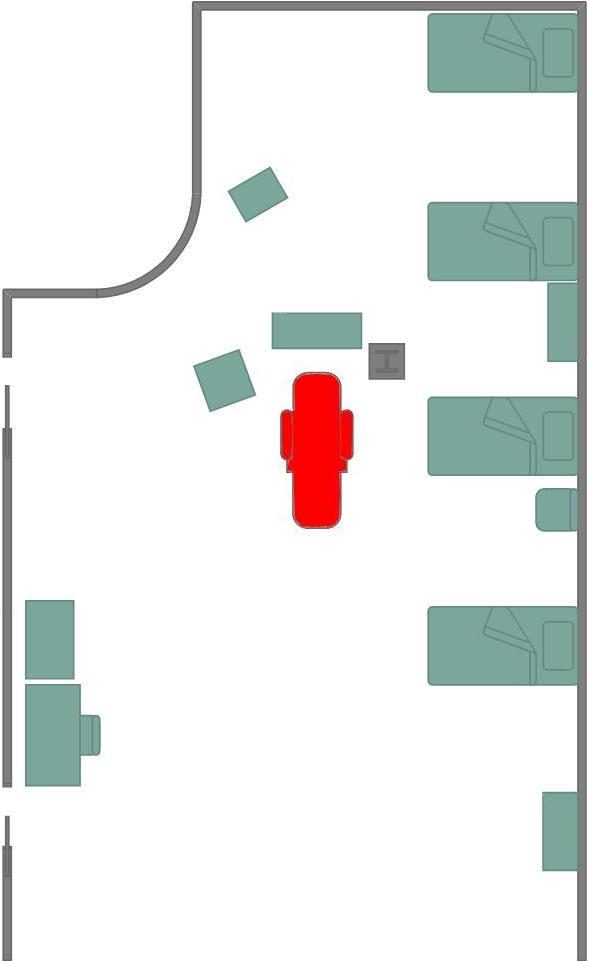
The typical layout of most rooms had a main entrance doorway with a curved wall opening into the left part of the room, where numerous storage shelf units occupied the wall behind a ceiling-mounted surgical unit. Across from the entrance was a wall of beds with computer monitors for each. The rightmost wall was often not fully seen on screen, but was usually made up of standard wall panels with an occasional wall view screen. In at least one episode, there is another bed and computer monitor in that fourth wall's corner, with an out-of-focus tight shot in another episode suggesting a similar layout there. The aforementioned larger rooms rearrange the layout a bit and expand it, with the final version's entrance wall now featuring an attached observation/isolation annex.
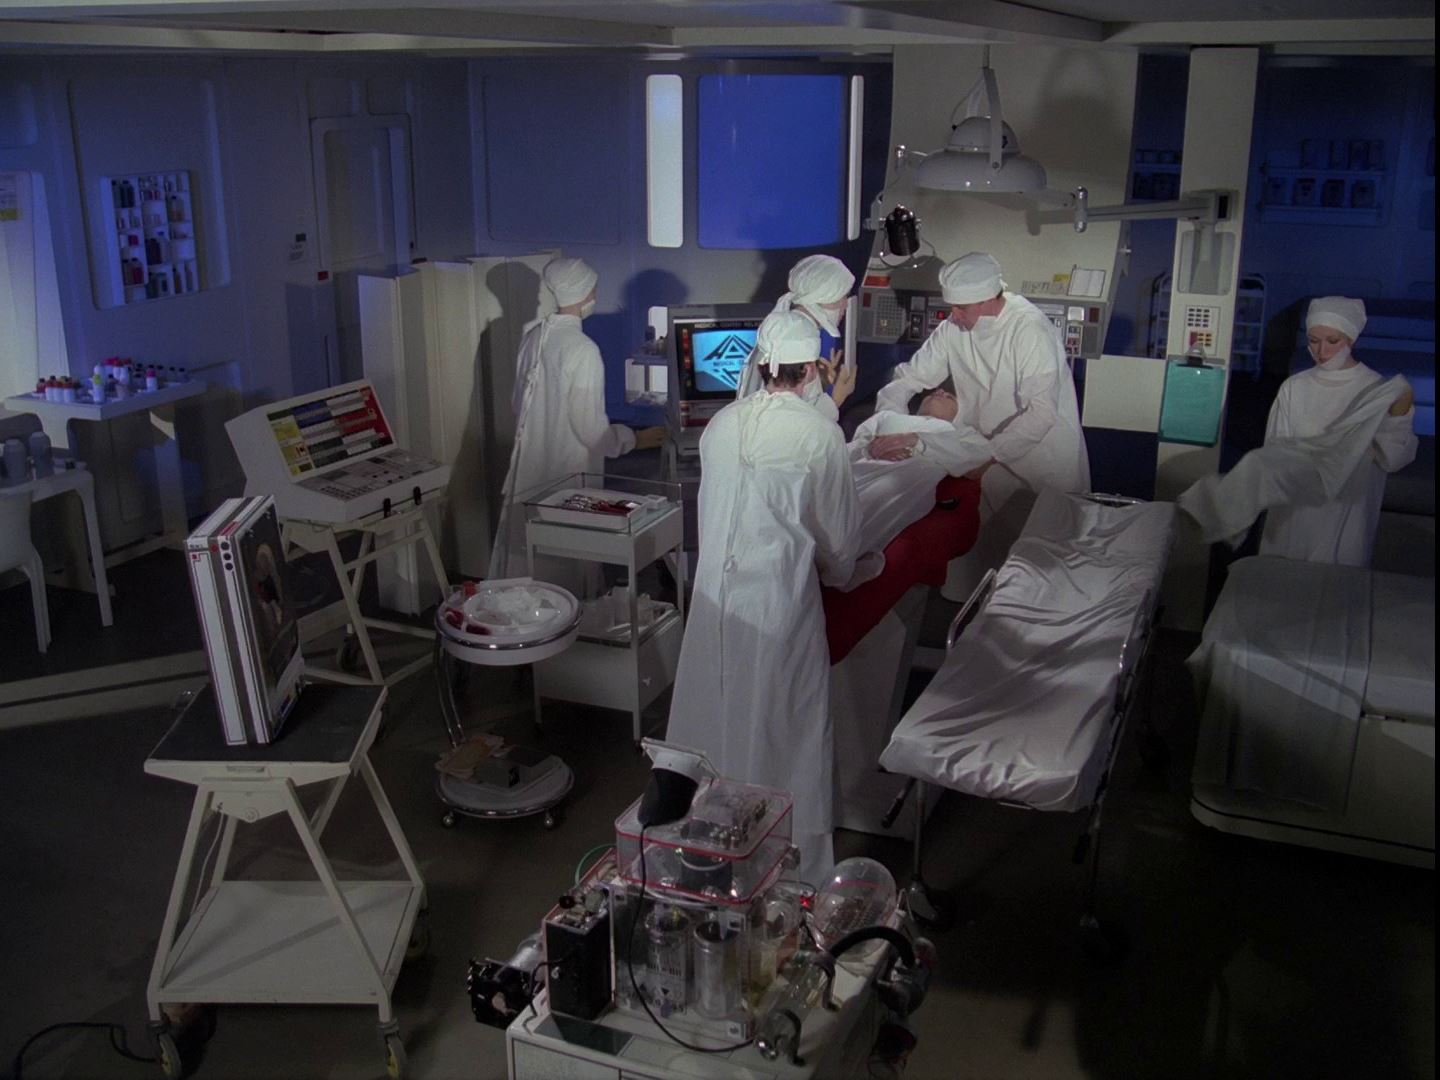
Most of the floor space of all the rooms was cluttered with medicine racks, tables and chairs, and a communications post that changed position depending on which version of the room we saw.
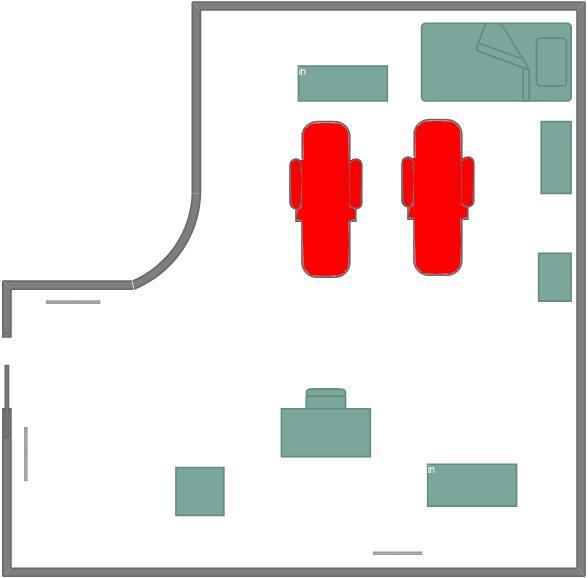
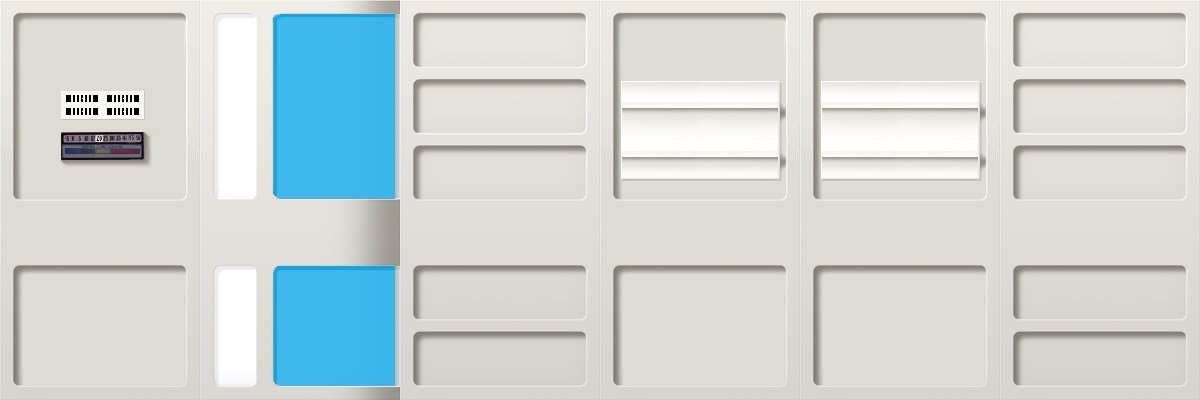
Onward to the wall plans; as usual, I designate whichever wall has the main entrance as Wall A, then make clockwise rotations for Wall B (the 'storage wall'), Wall C (the 'bed wall') and Wall D (the usually-unseen 'fourth wall').
This is the main entrance door.
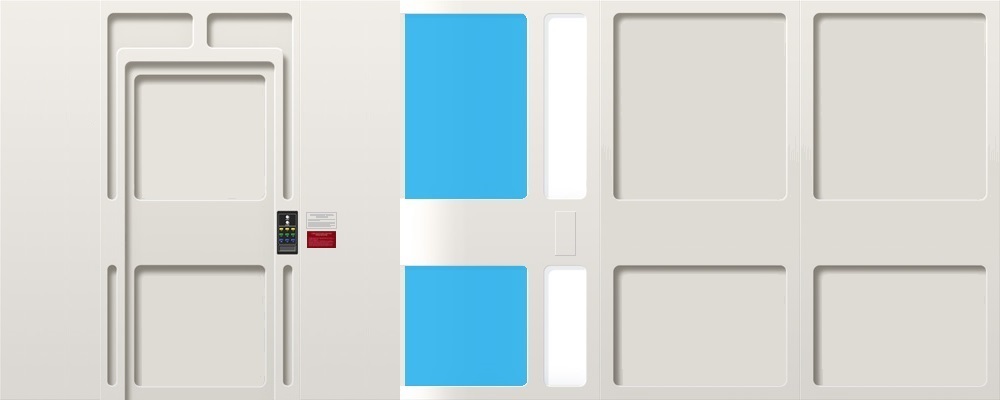

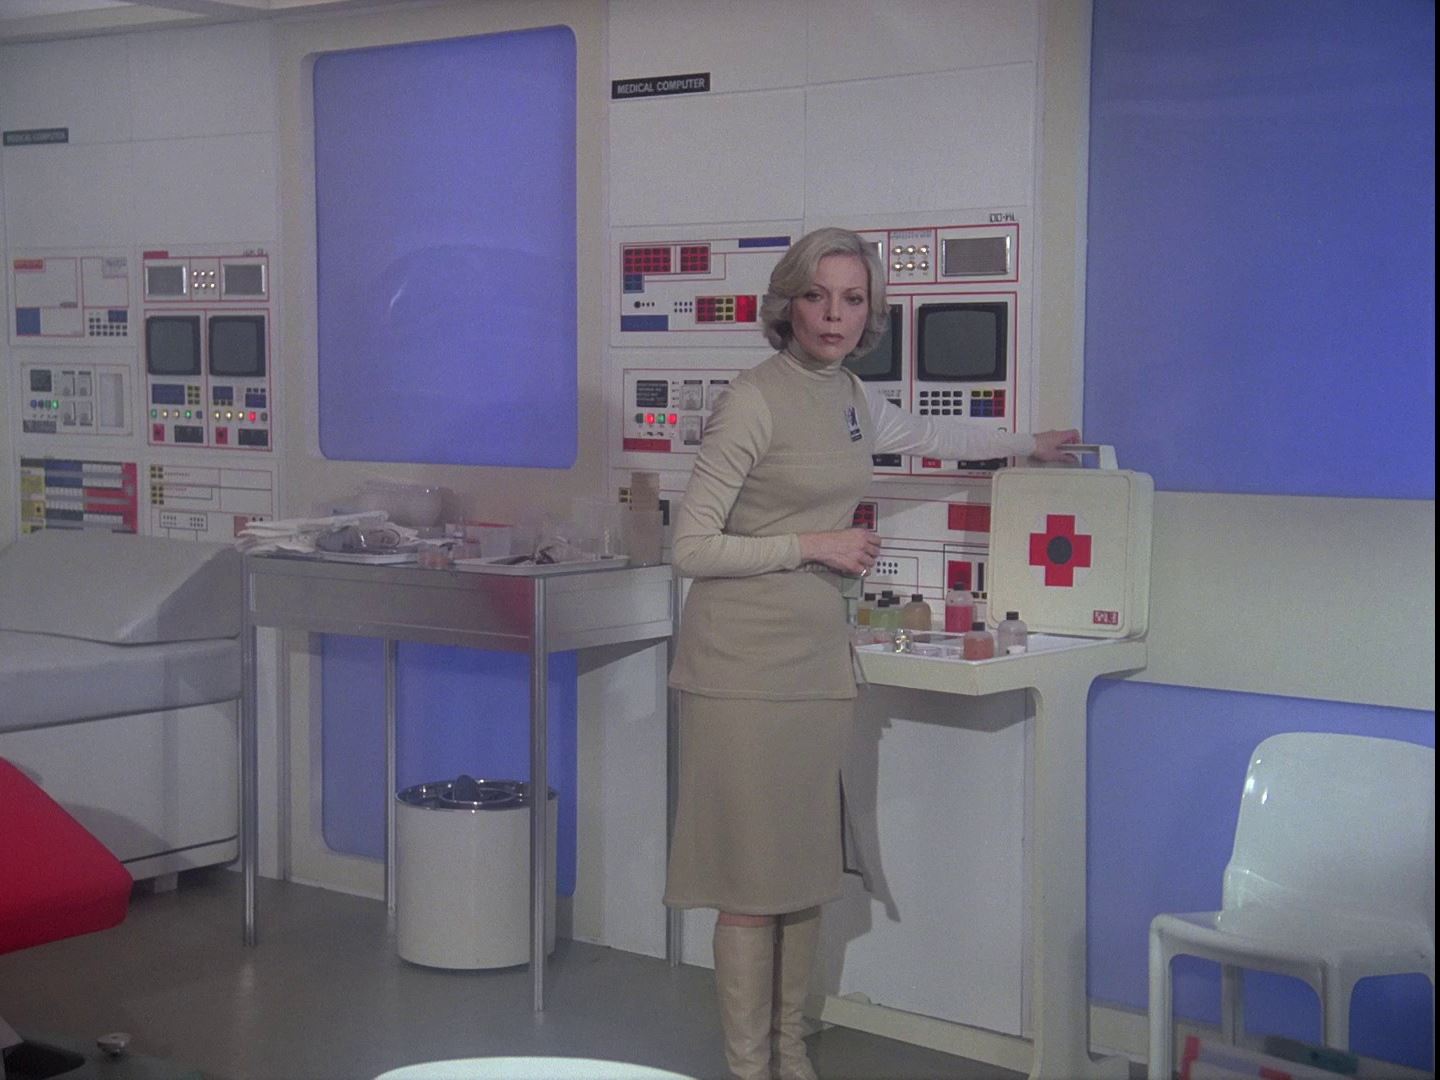
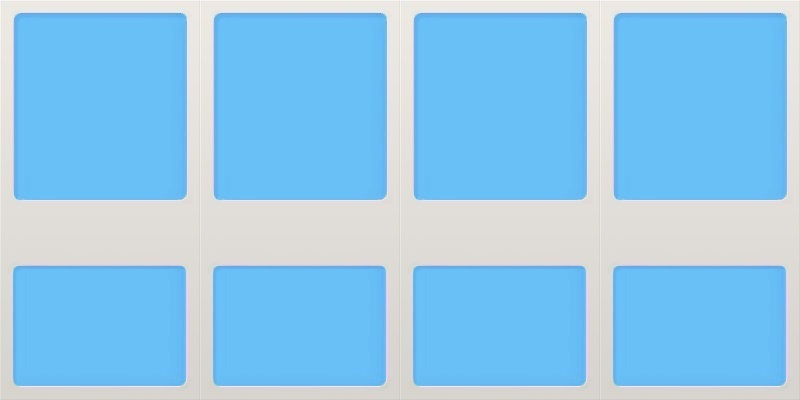
The wall by the door, and shelving.

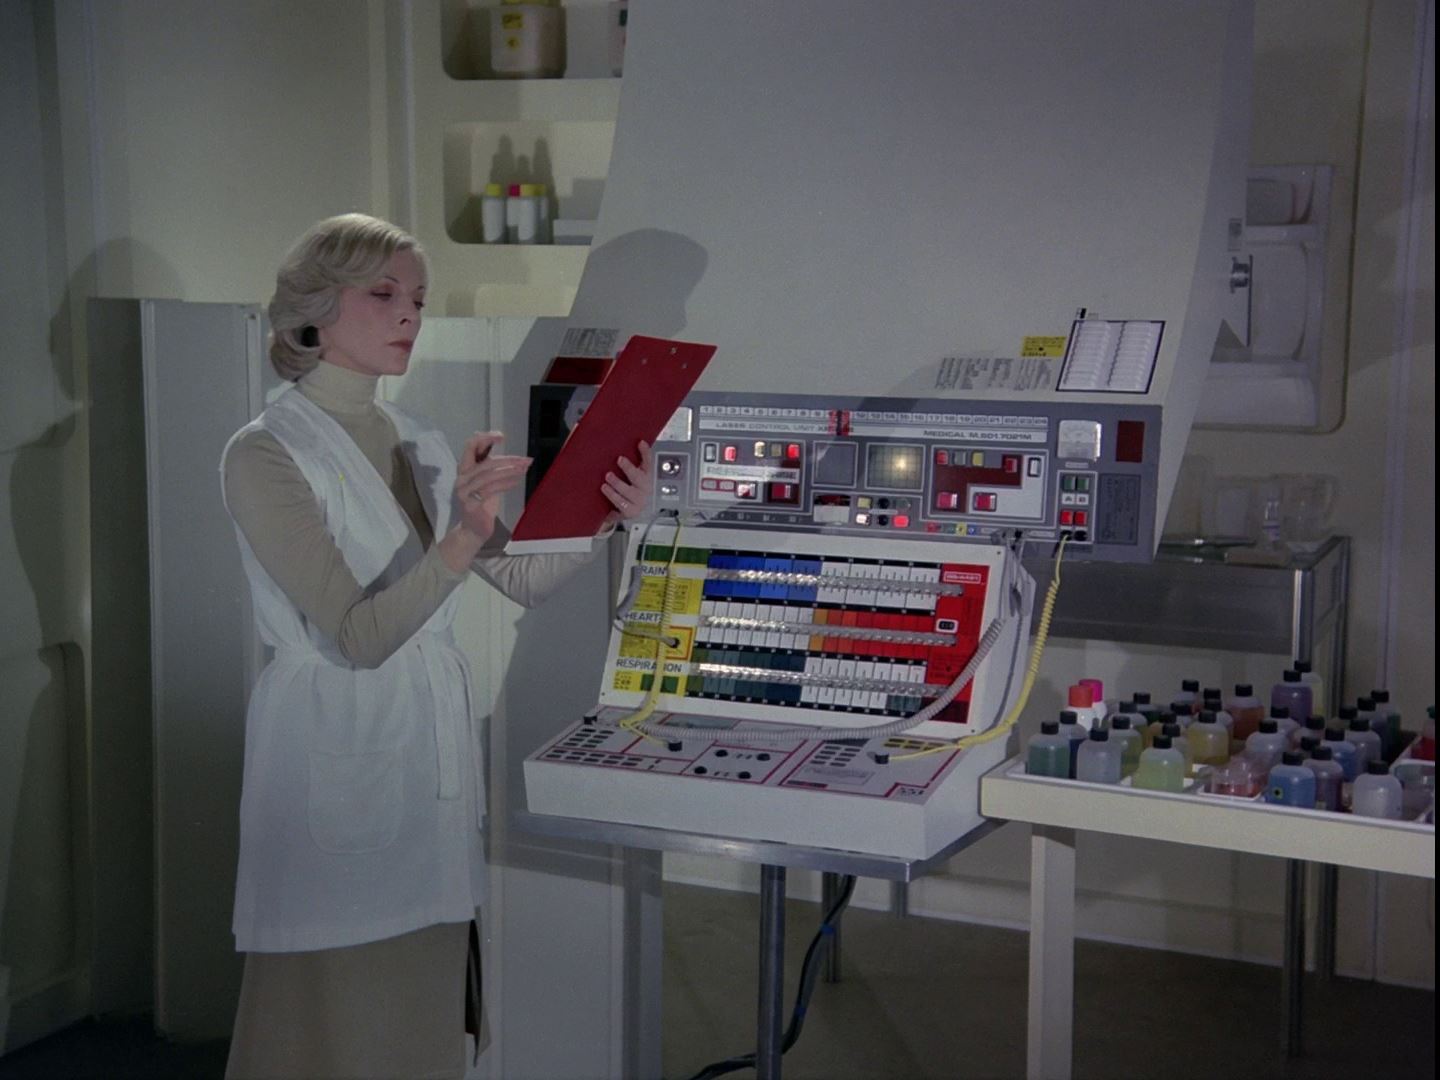
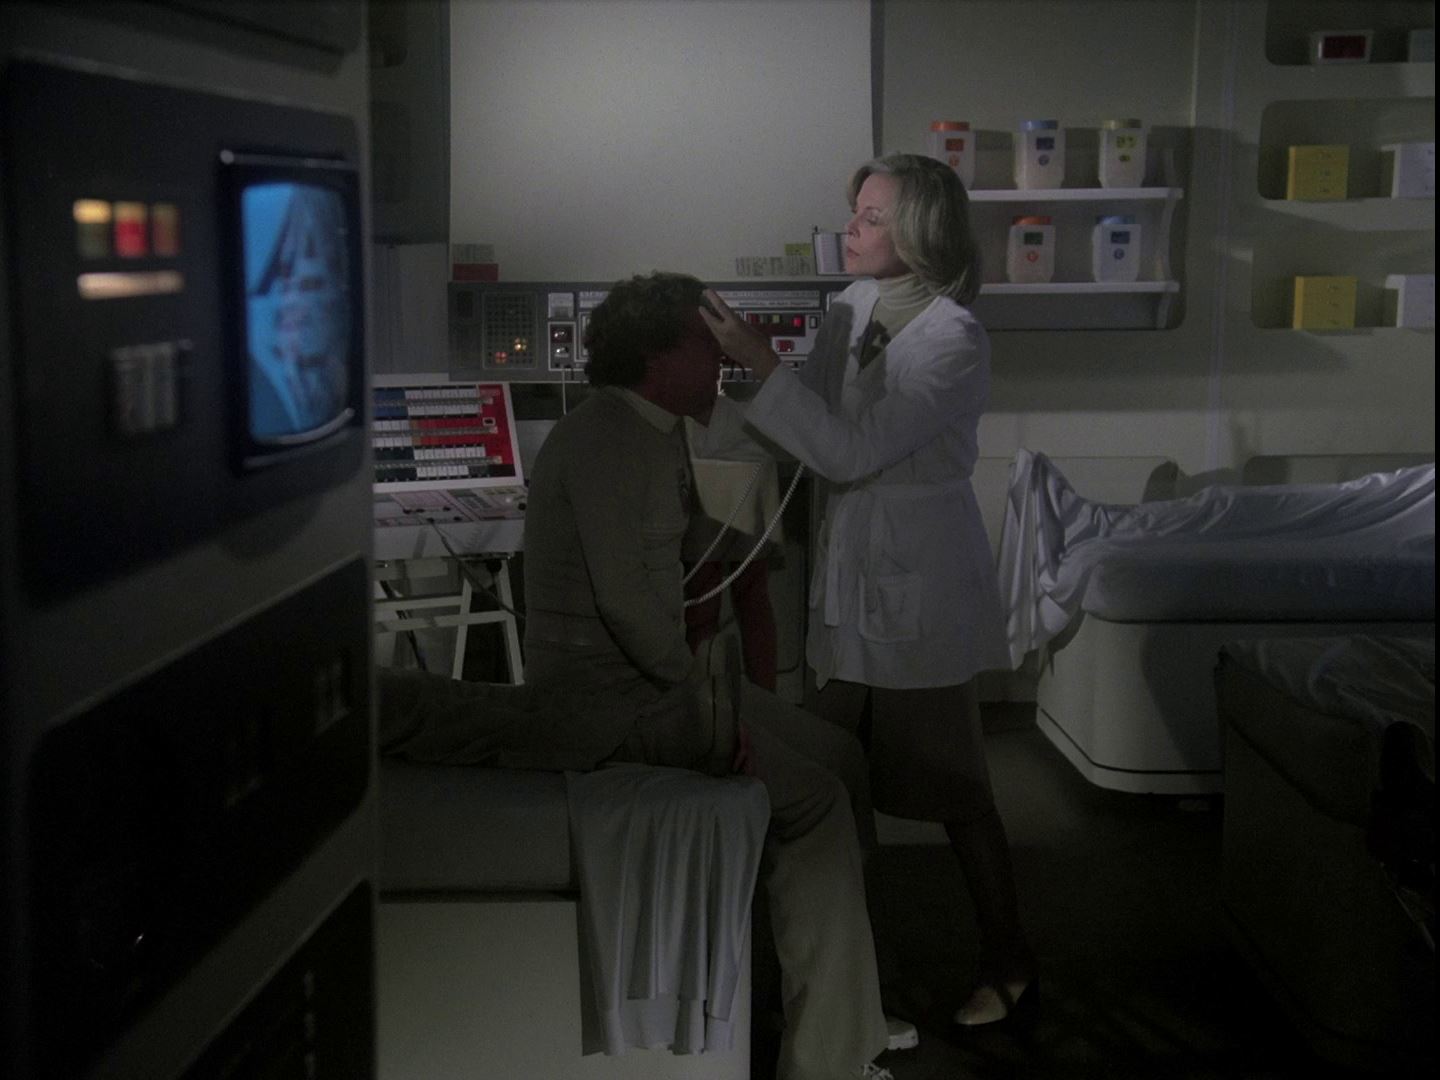
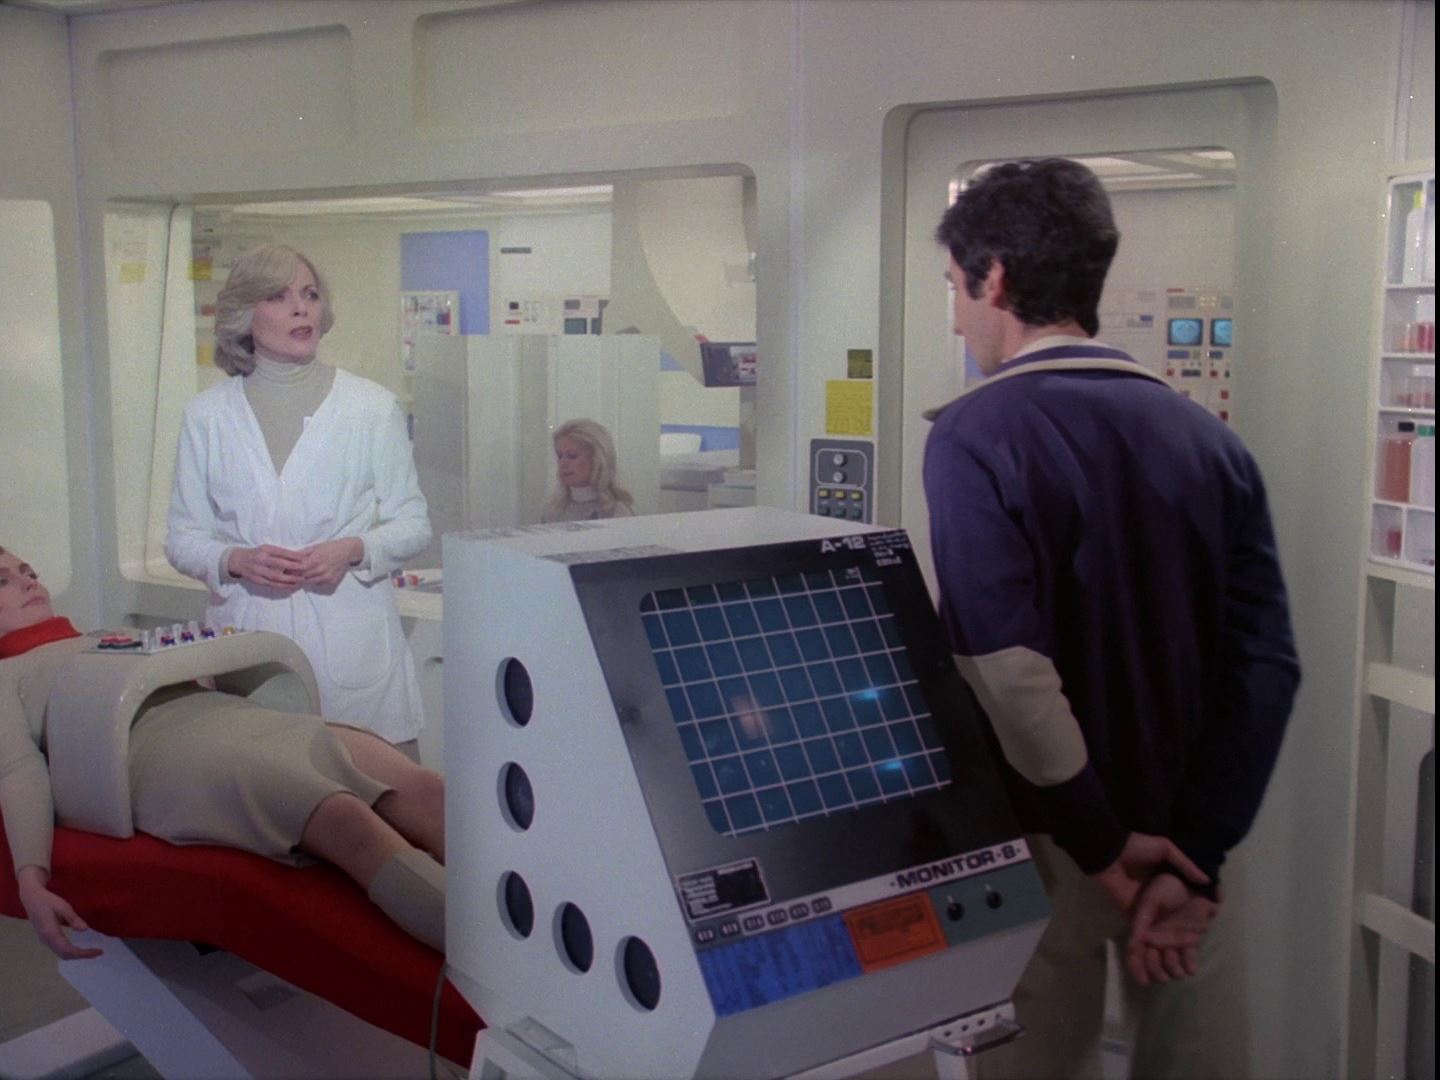
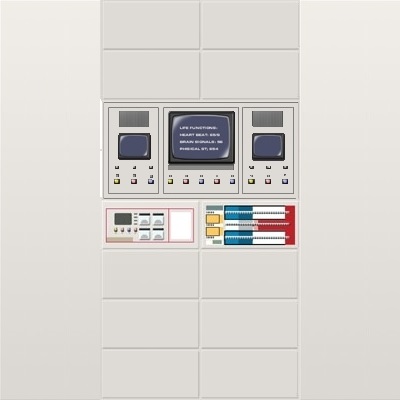
The beds and computer stations.

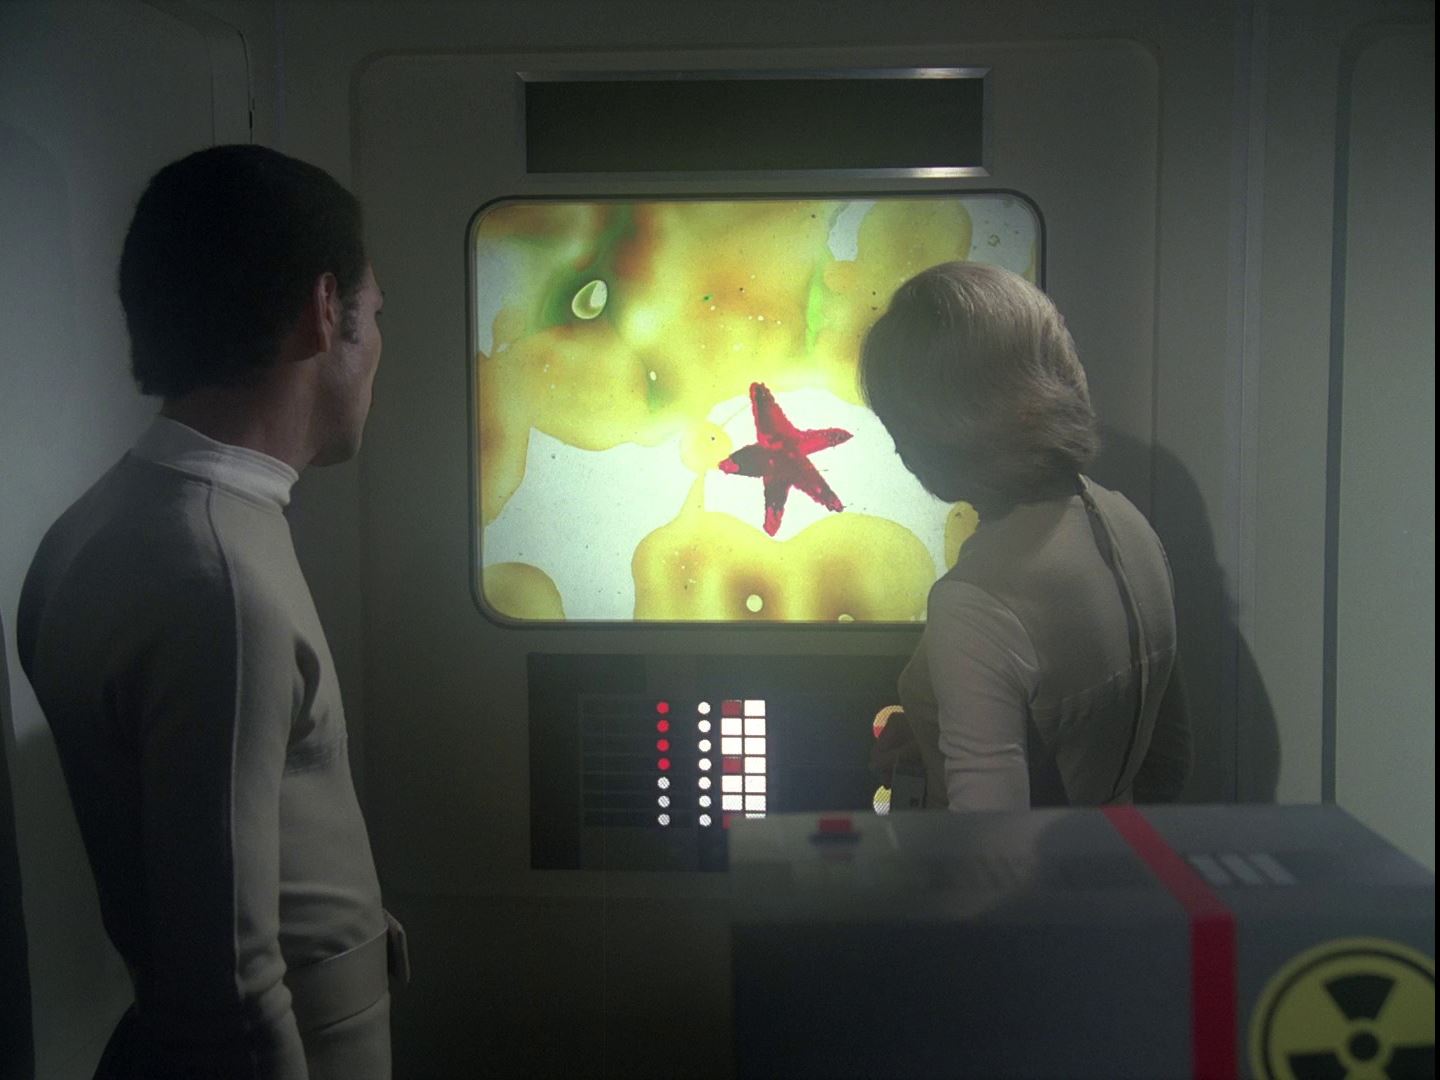
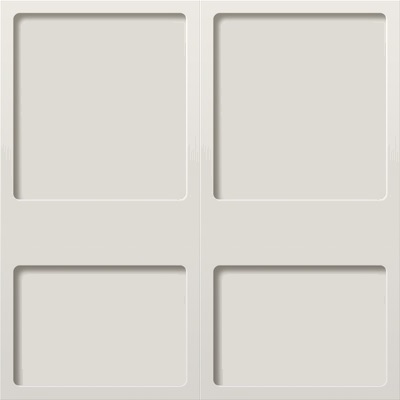
Only a few panels are ever seen. Often there is a point of view shot of a screen, thermometer or Life systems indicator.
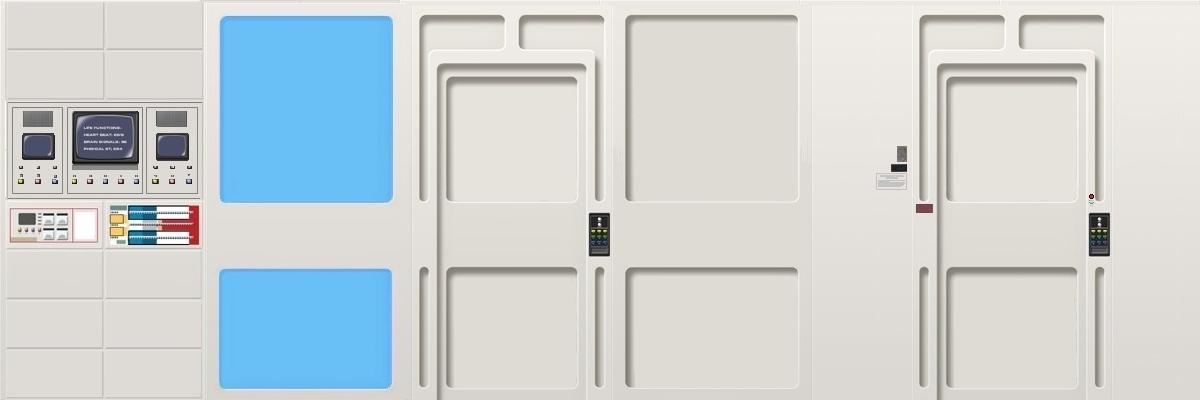
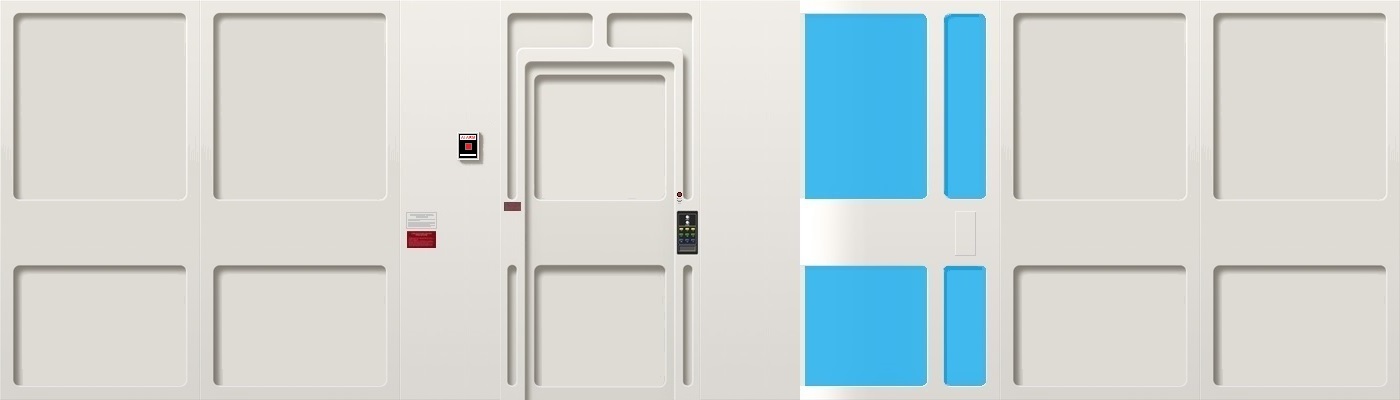
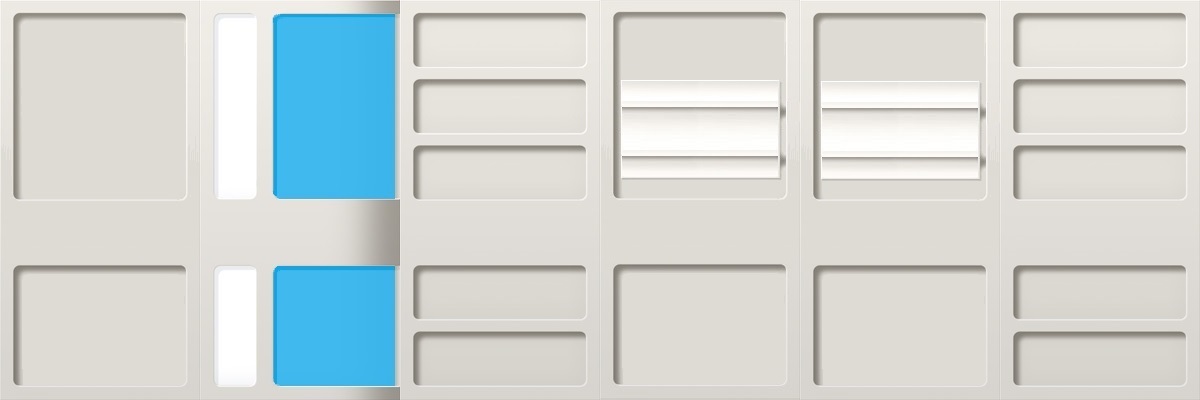
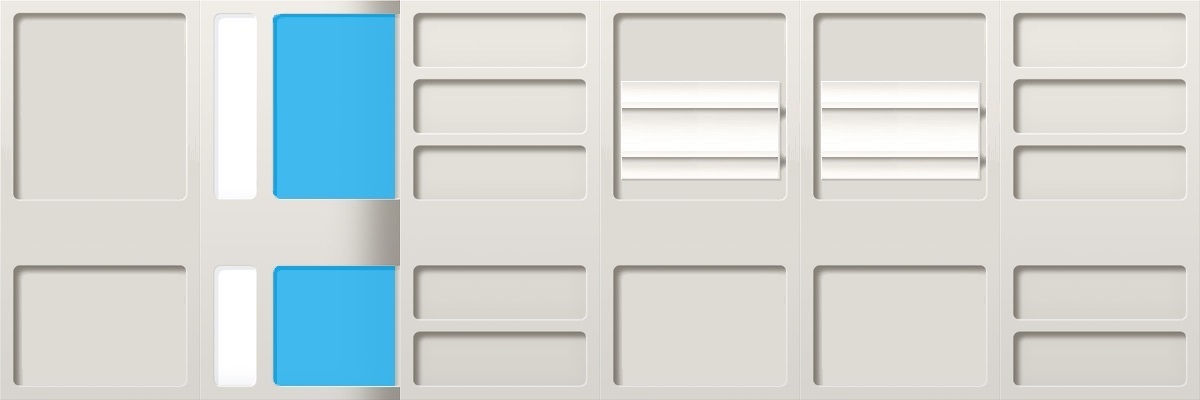
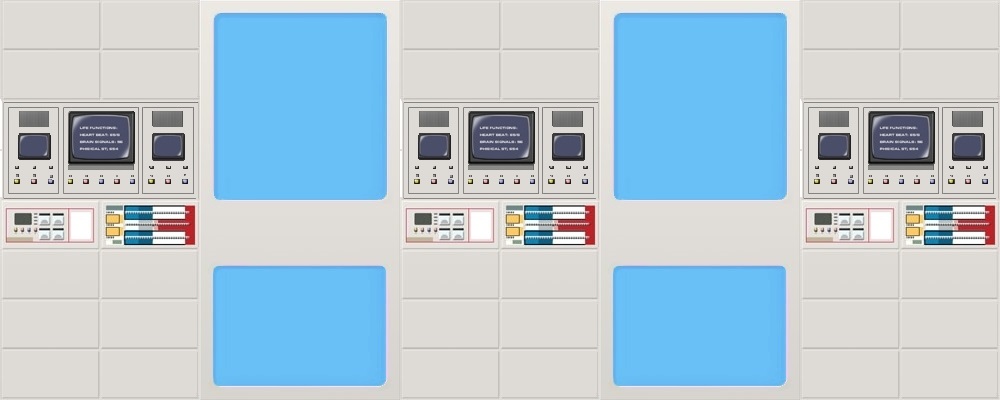
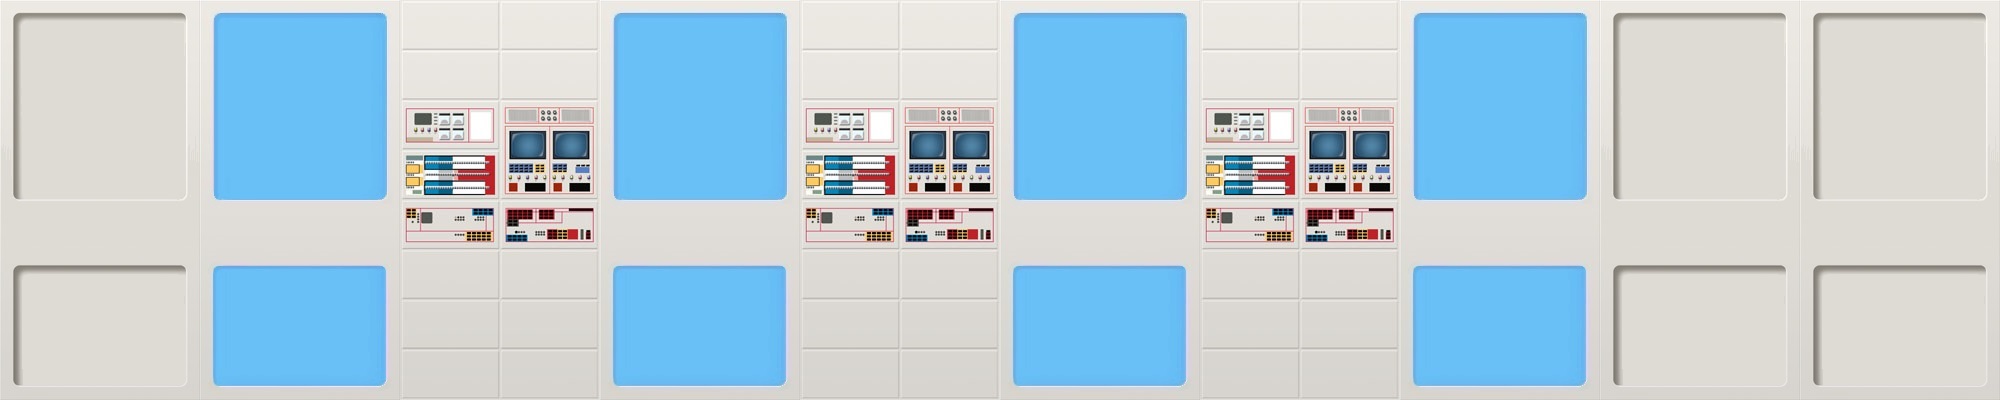
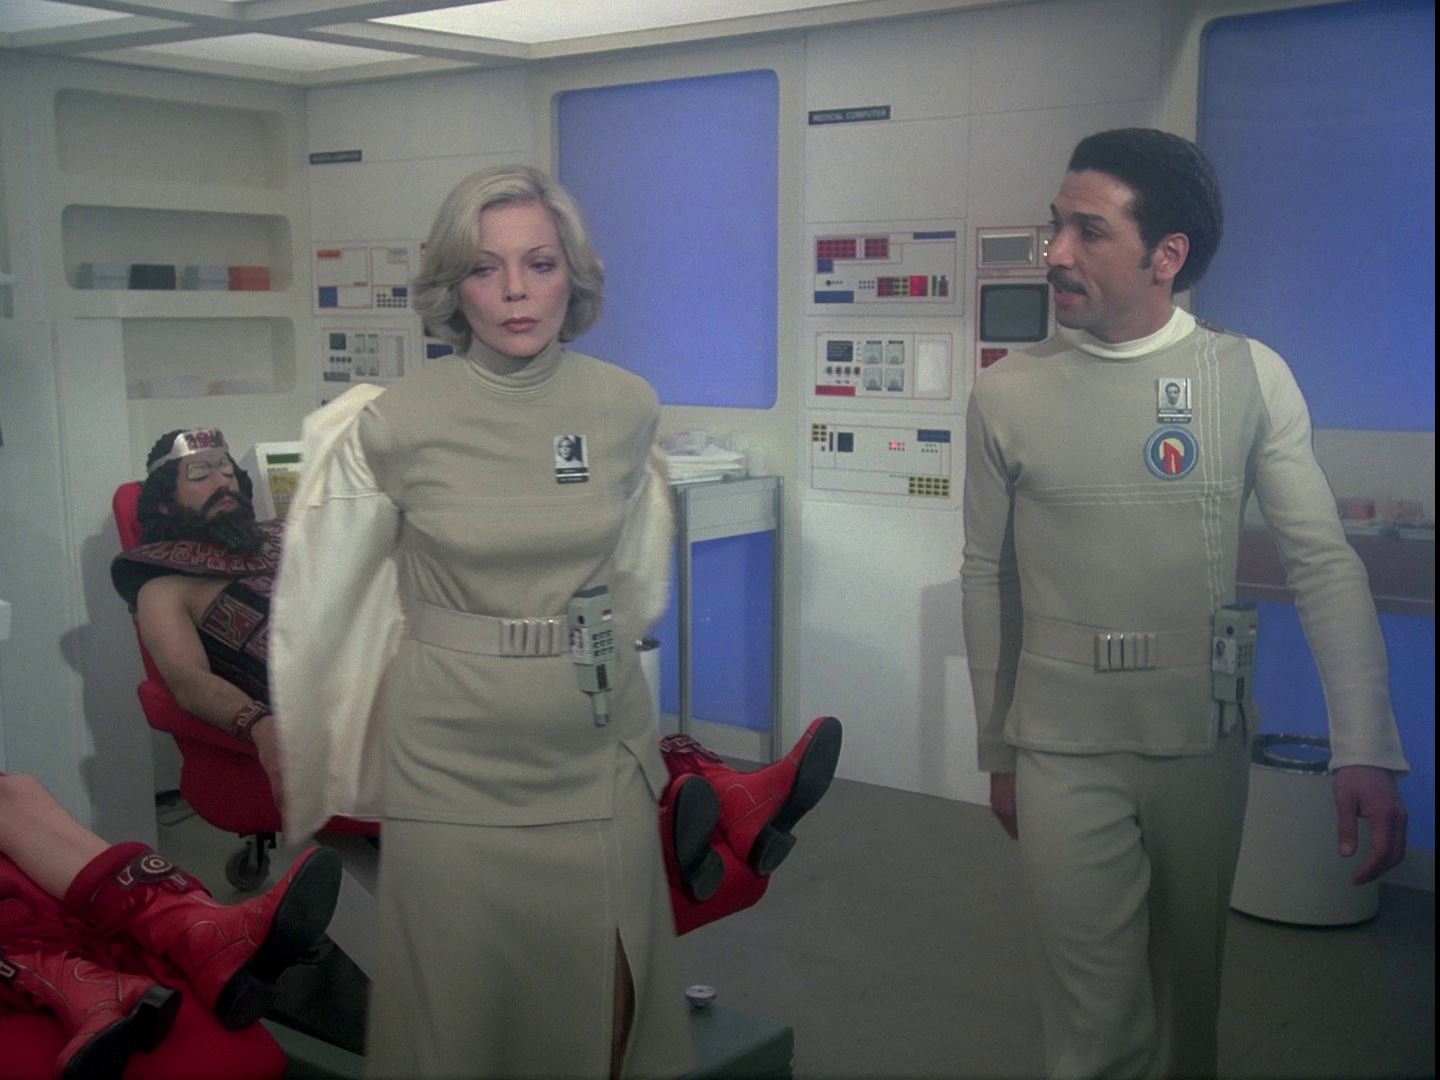
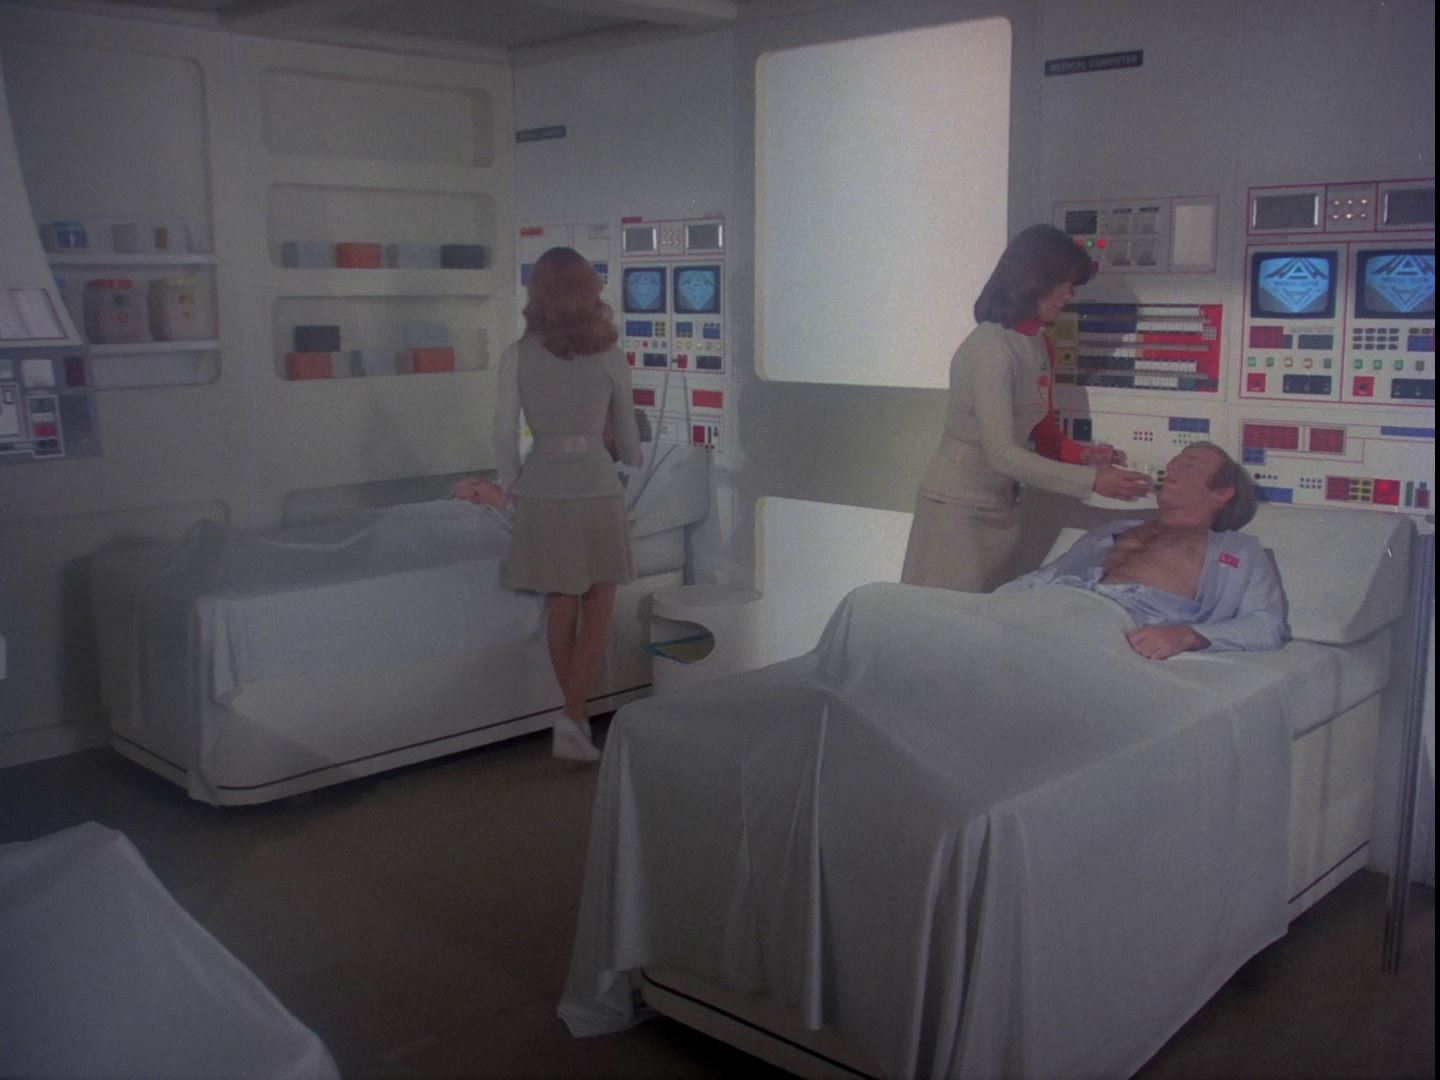
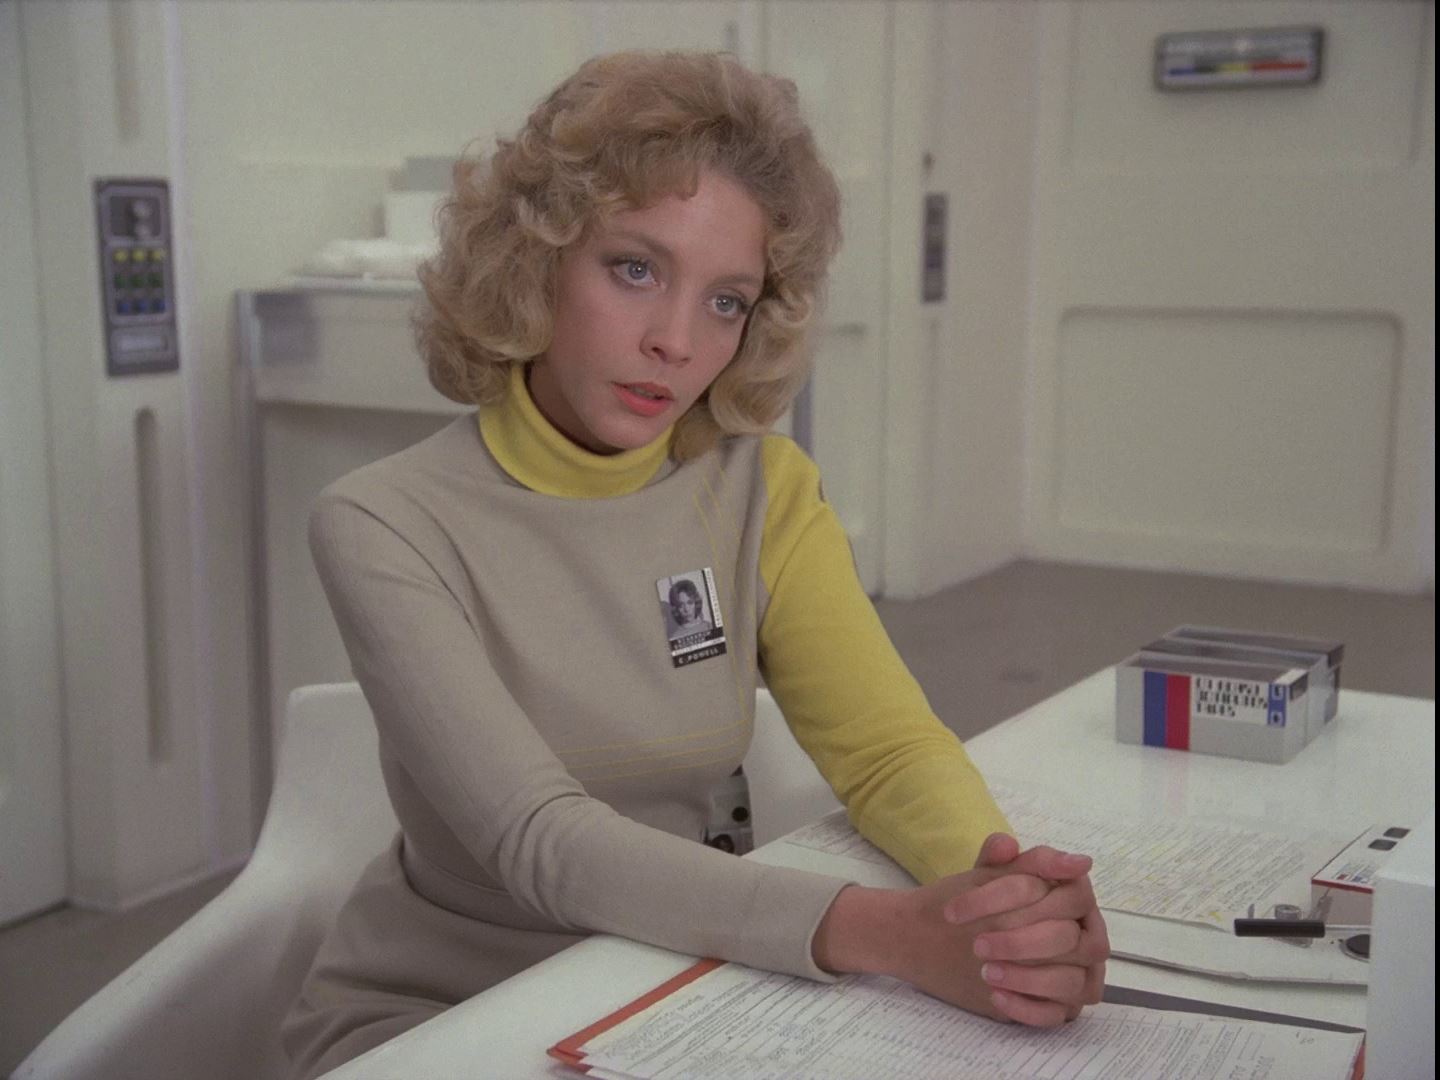
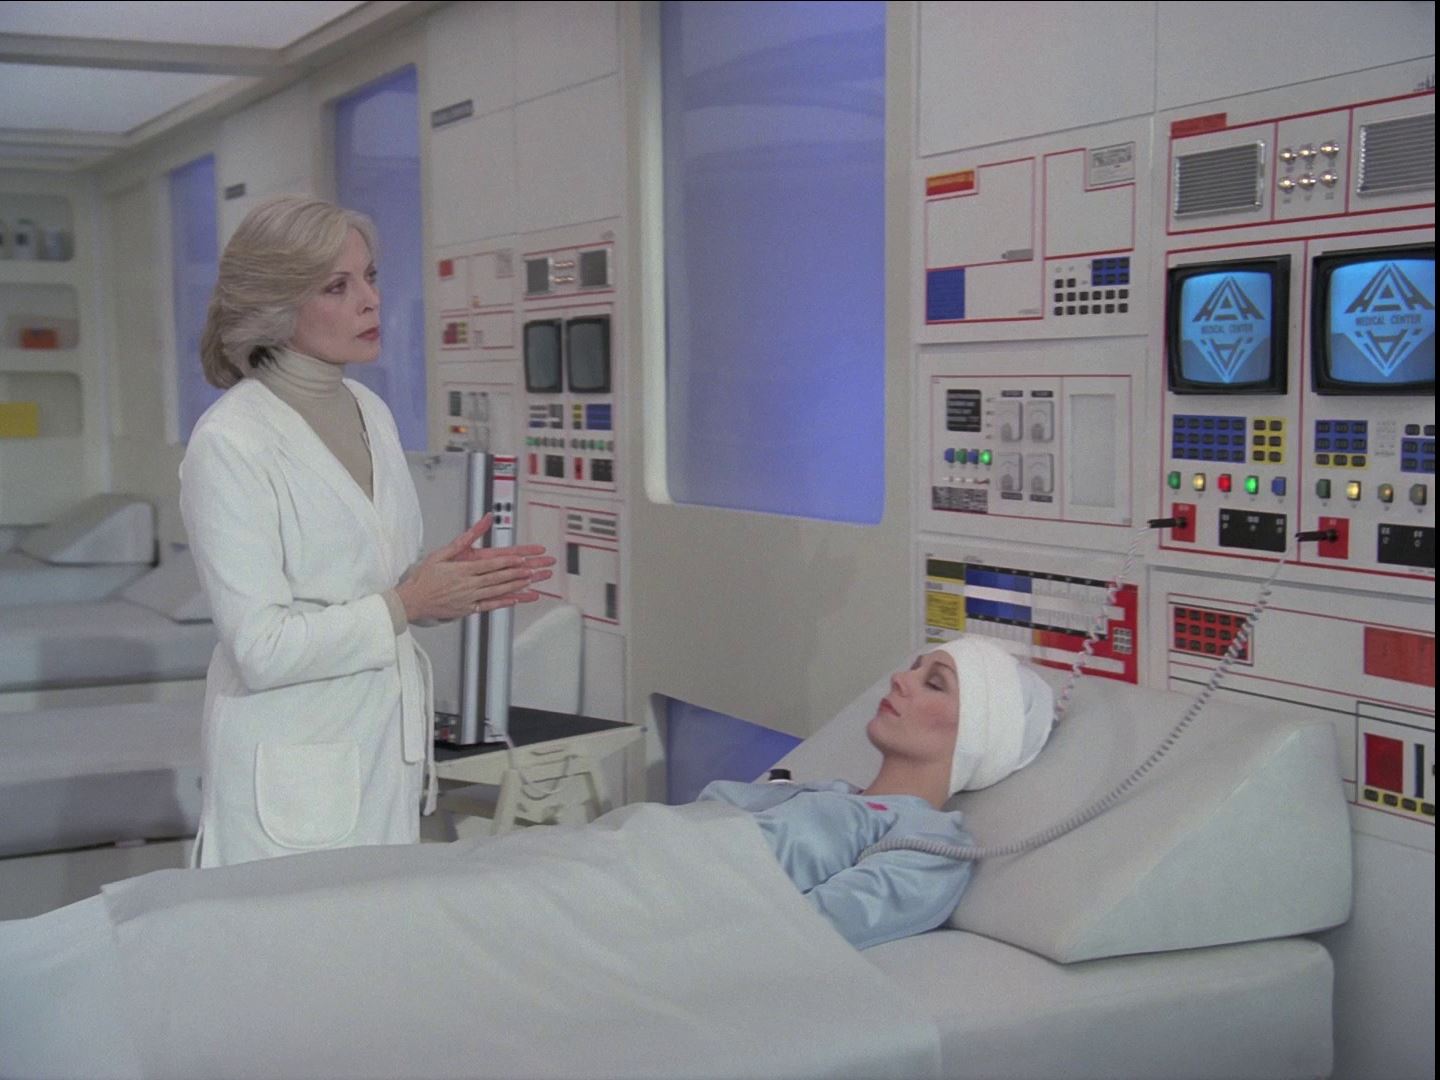
The first and second episodes of Series 2 (The Metamorph and The Exiles) feature our first look at the new, compact Medical Center with new computer walls that were white instead of the usual dark grey.
|
||
|
 |
|
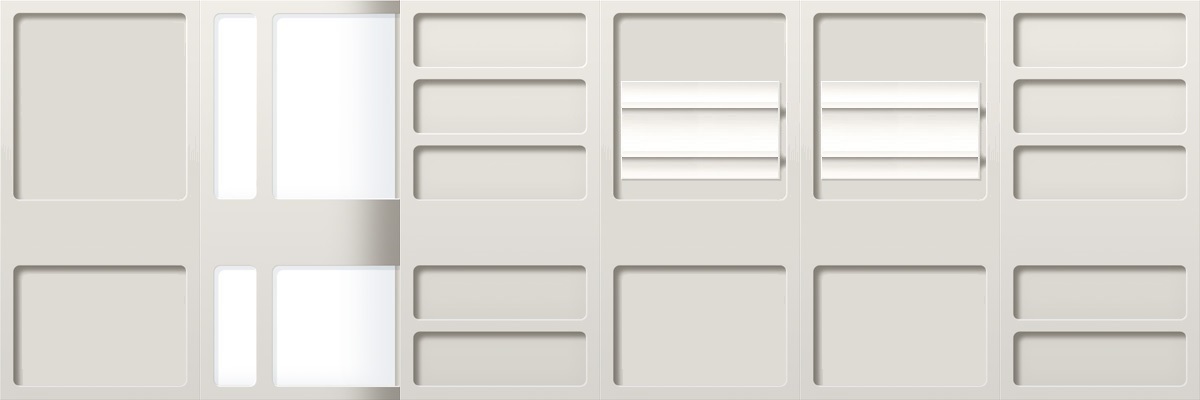
The next episodes featuring a Medical Center (Journey to Where and The Mark of Archanon) have a slightly larger Medical Center, with additional wall panels near the entrance and across the way on the 'bed wall'. Note, too, that the computer panels have changed slightly and remain in their new format for the rest of the series... the computers from The Metamorph and The Exiles would reappear in another position in Dorzak.
 |
||
|
 |
|
|
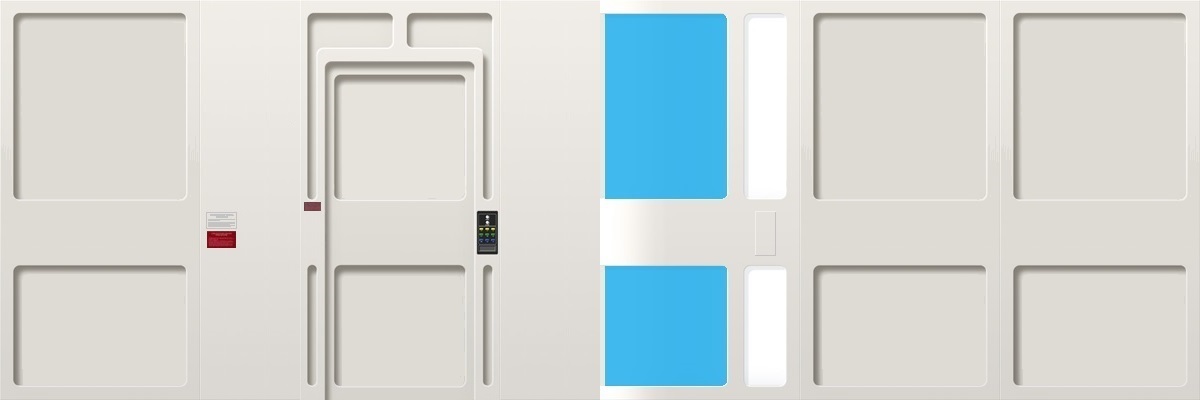
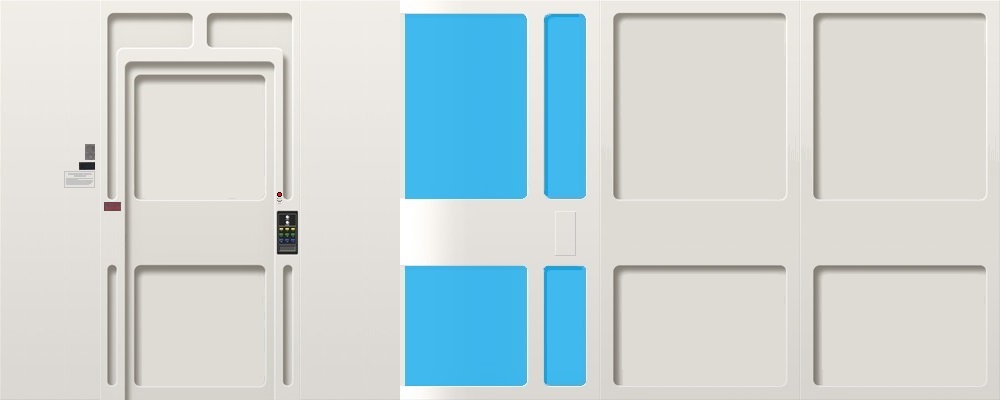
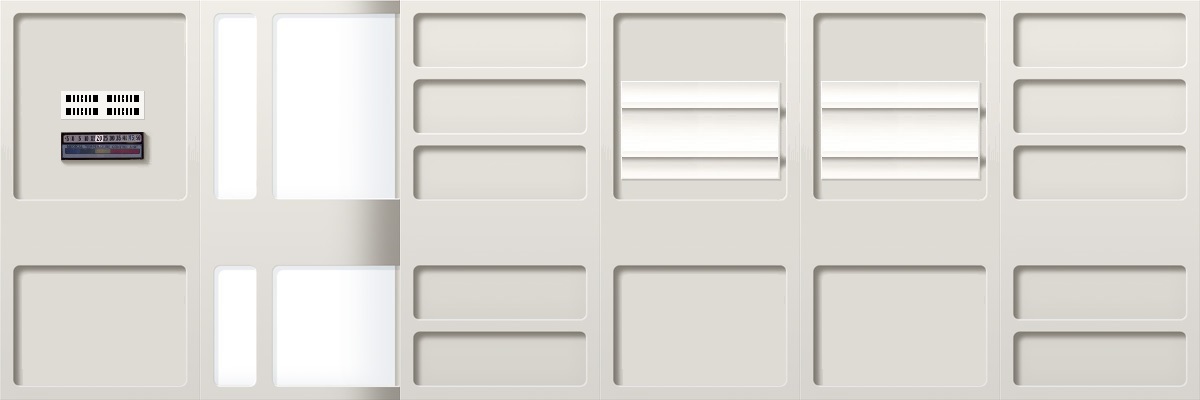
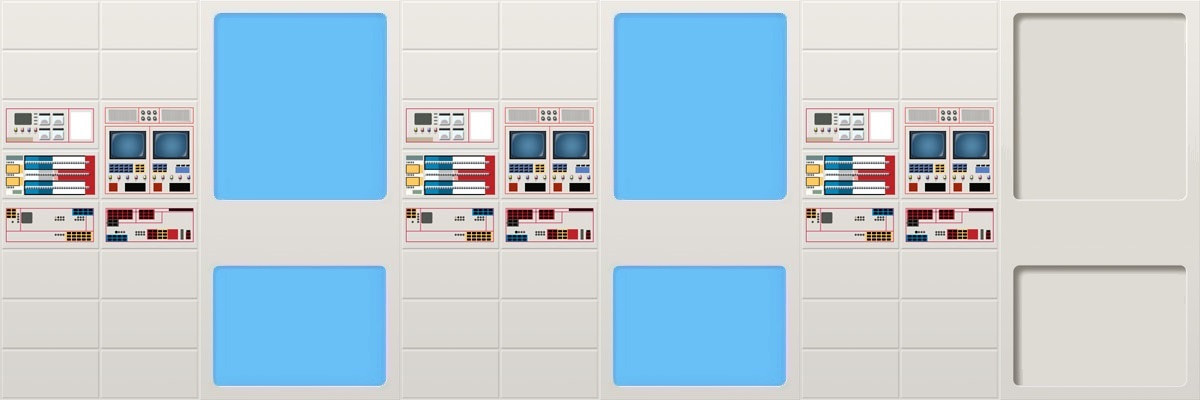
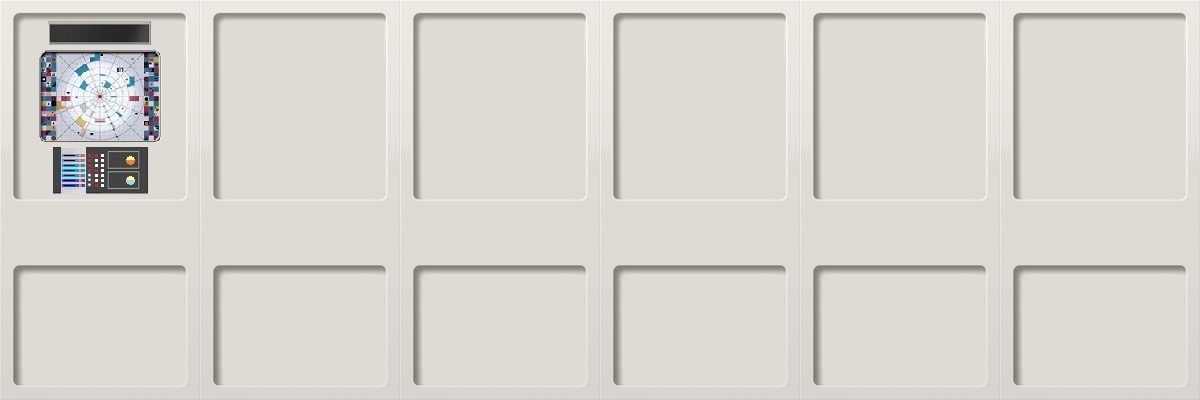
Wall A. In The Mark of Archanon a red button appears above the door control panel; it would remain throughout the series.
Wall D is seen only in The Mark of Archanon, and then only 3 panels of it are visible including the screen.
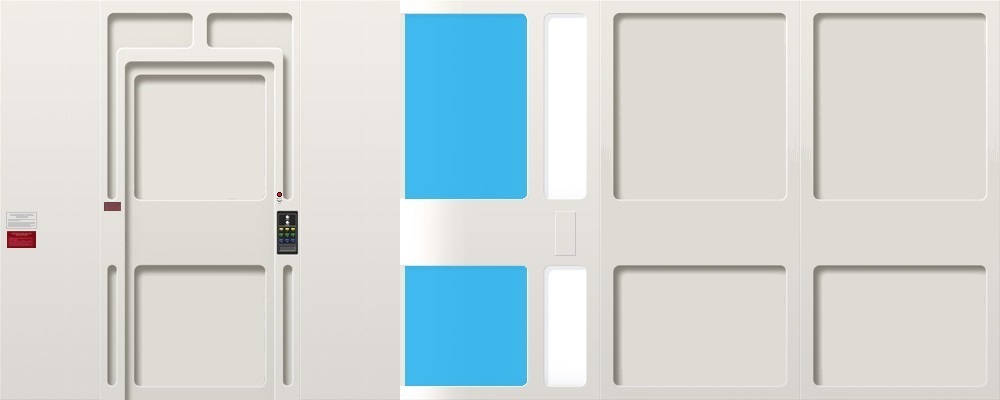
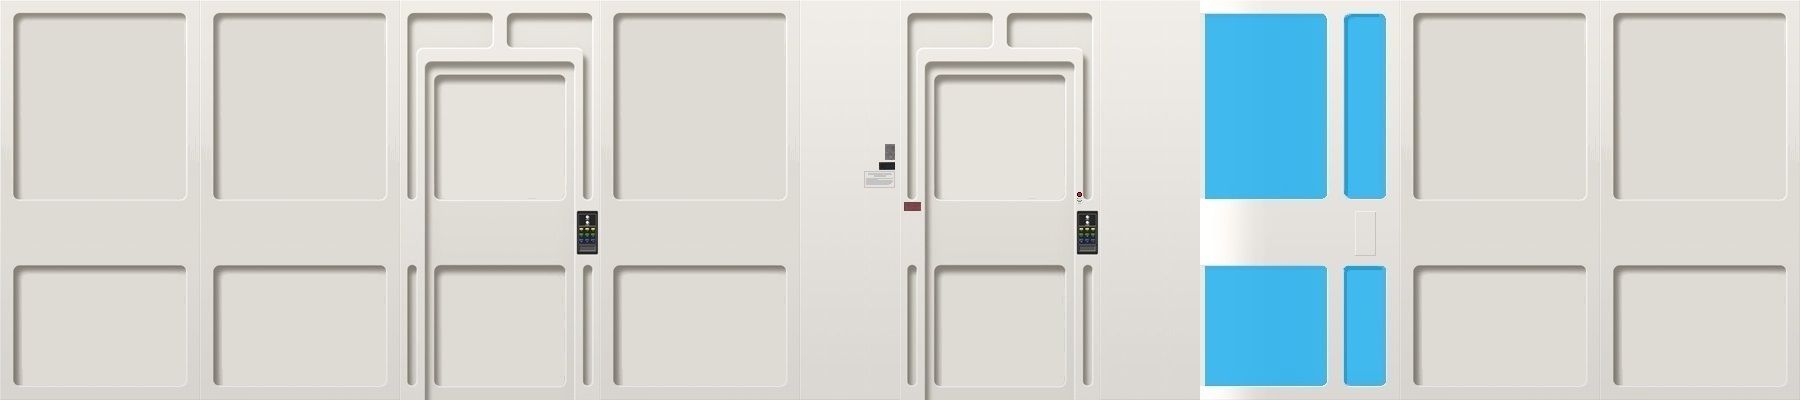
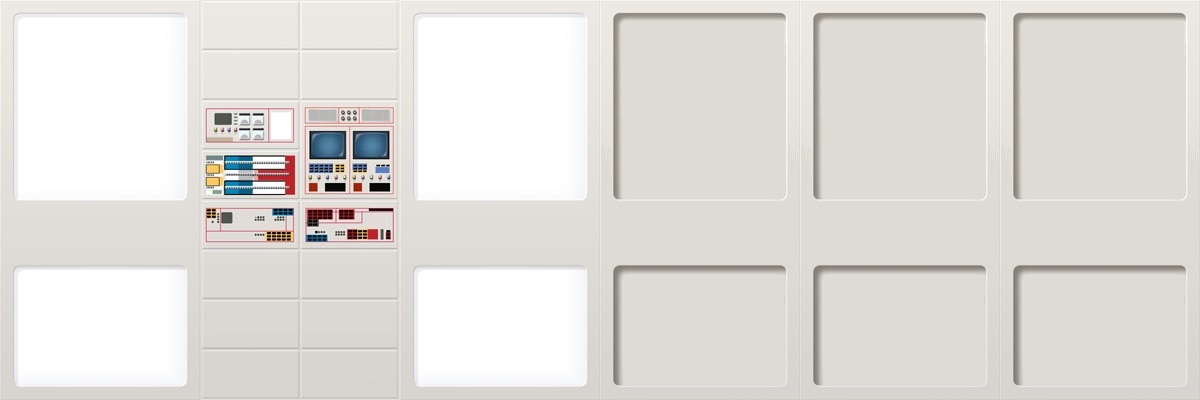
After version 3 in Catacombs of the Moon, the floor plan returns to version 2 dimensions (based on the position of foreground furnishings).
The Medical Center is shorter in Catacombs of the Moon, when we see part of wall D by the door. The temperature gauge sits on a central panel of this wall.
 |
||
|

|
 |
 |
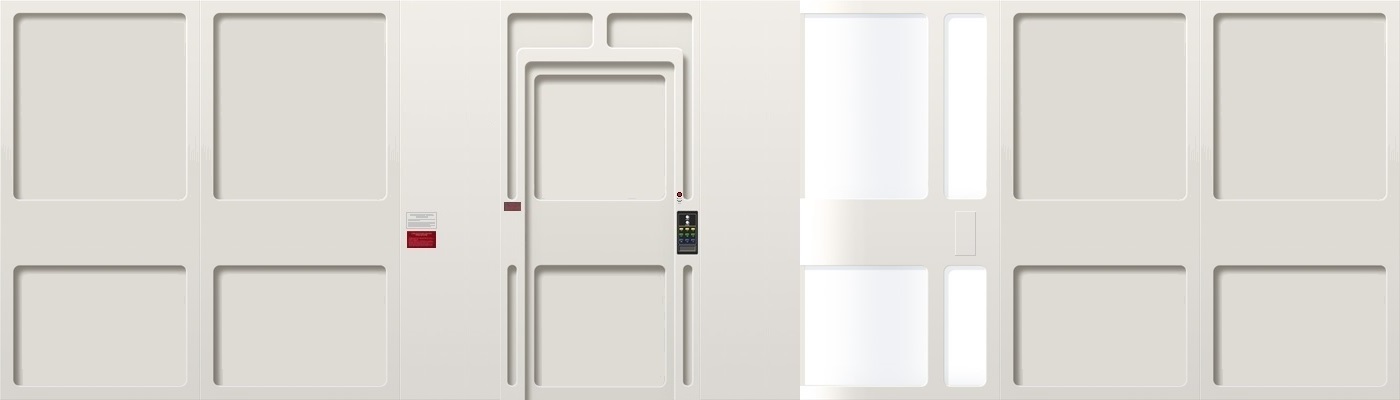
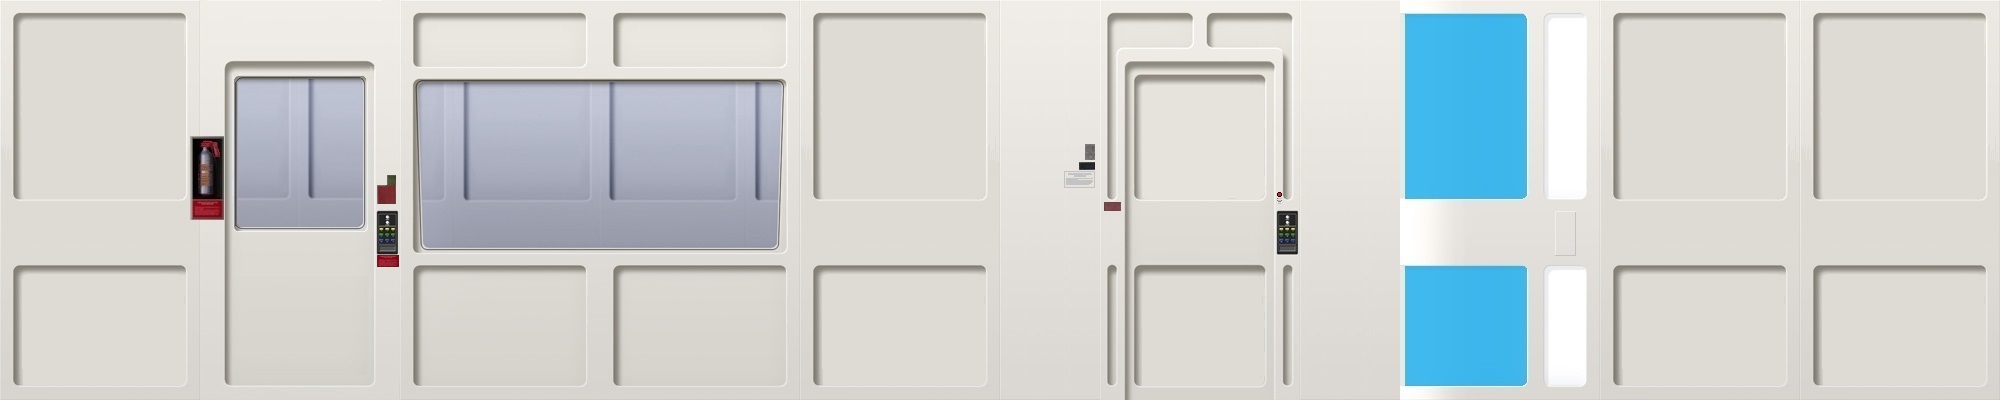
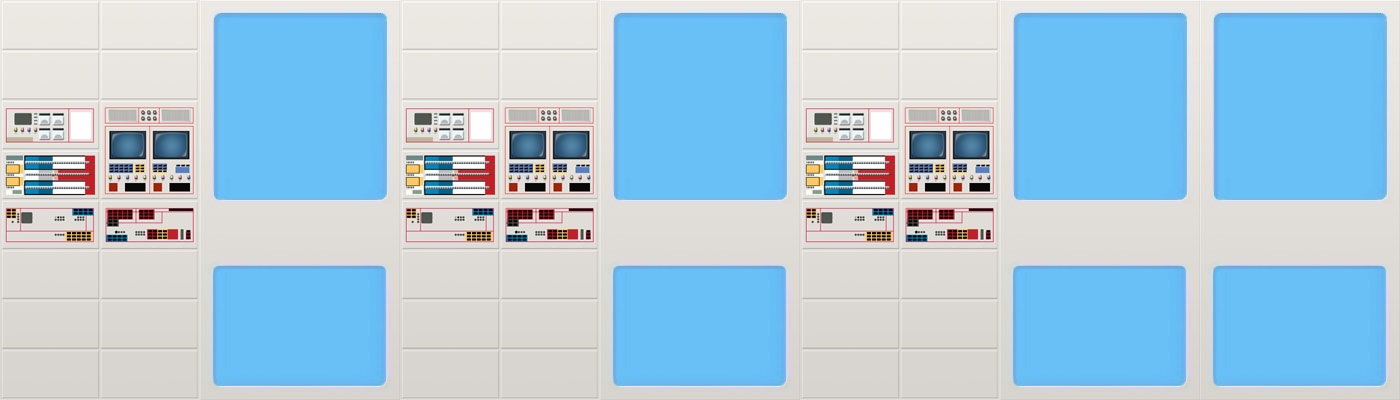
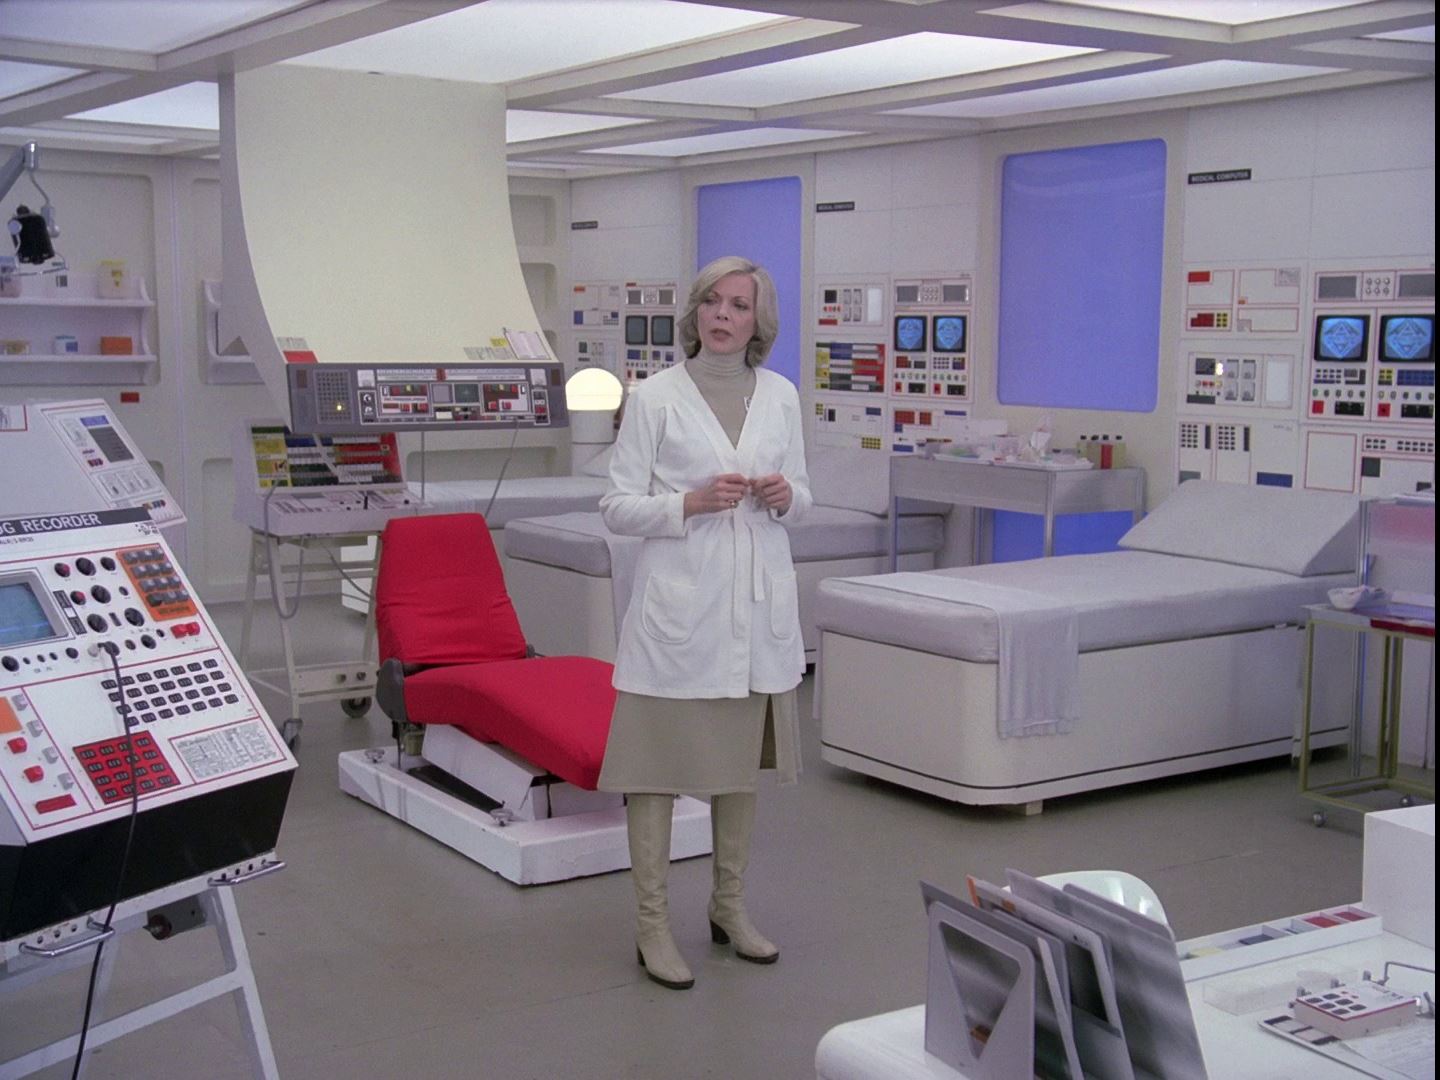
The next version of Medical Center was a little longer. It appears in The Beta Cloud. However, the apparent dimensions, shown here, are a cheat. We see two different views of the Medical Center- the conventional view with 2 beds on one side, and a third on the other, and a reverse view showing two more beds, supposedly, the corner of walls C and D. The second view (for scenes with Landau and Bain) is adapted from the medical computer beds 2 and 3. Alan and Helena are actually in the same bed. The position of the communications post is moved to give the impression of a longer set. The actual size of the studio set is the same as the short version 3.
Following Seed of Destruction, it has white light panels (instead of blue). By the door a ventilation grille and a temperature gauge appear (the temperature meter appeared earlier on wall D in Catacombs of the Moon). The grille and gauge will stay from now on, but the light panels revert to blue.
|
||
|
|
|
|
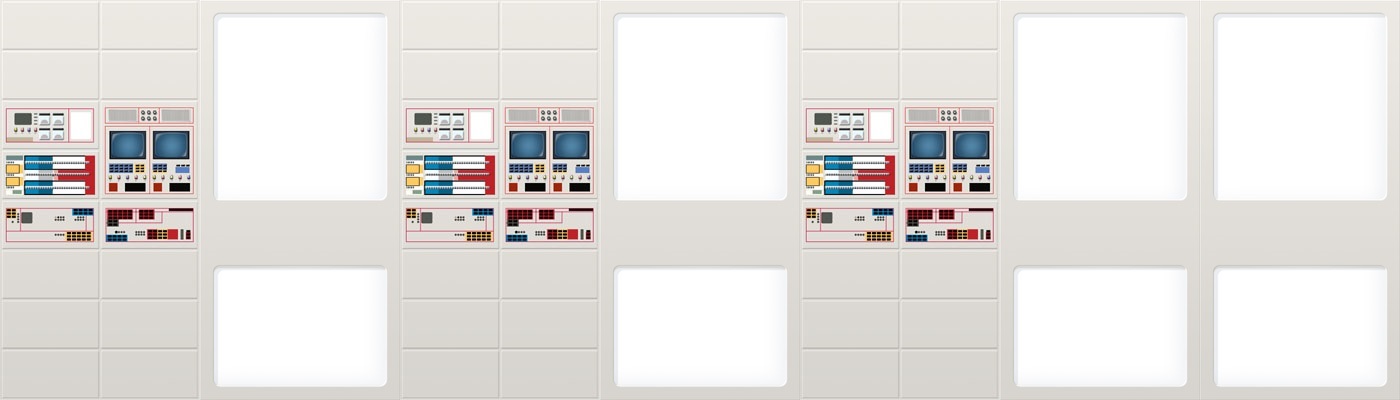
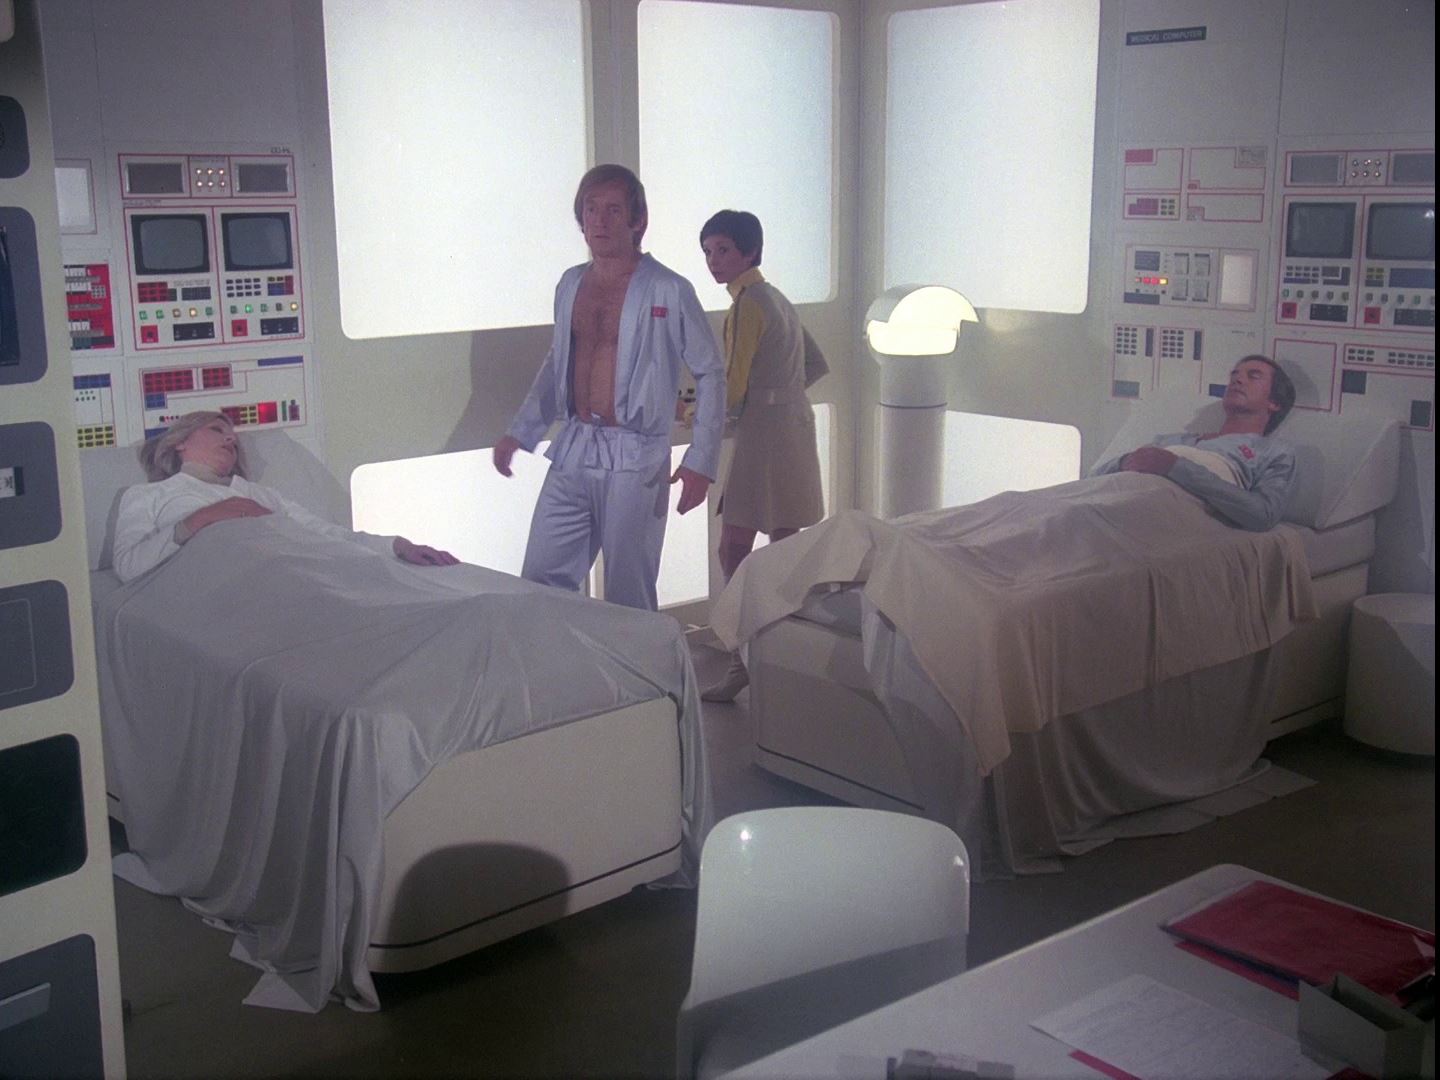
The Lambda Factor features an even more expanded set. Some of the panels and their positions are conjectural based upon character positions in the set, as screen views of the background walls are out of focus and lack context (position) with other walls.
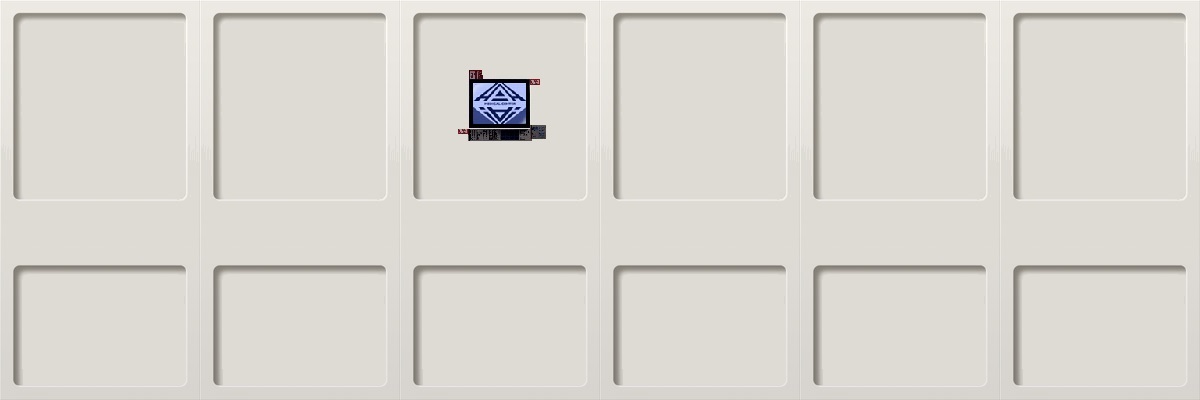
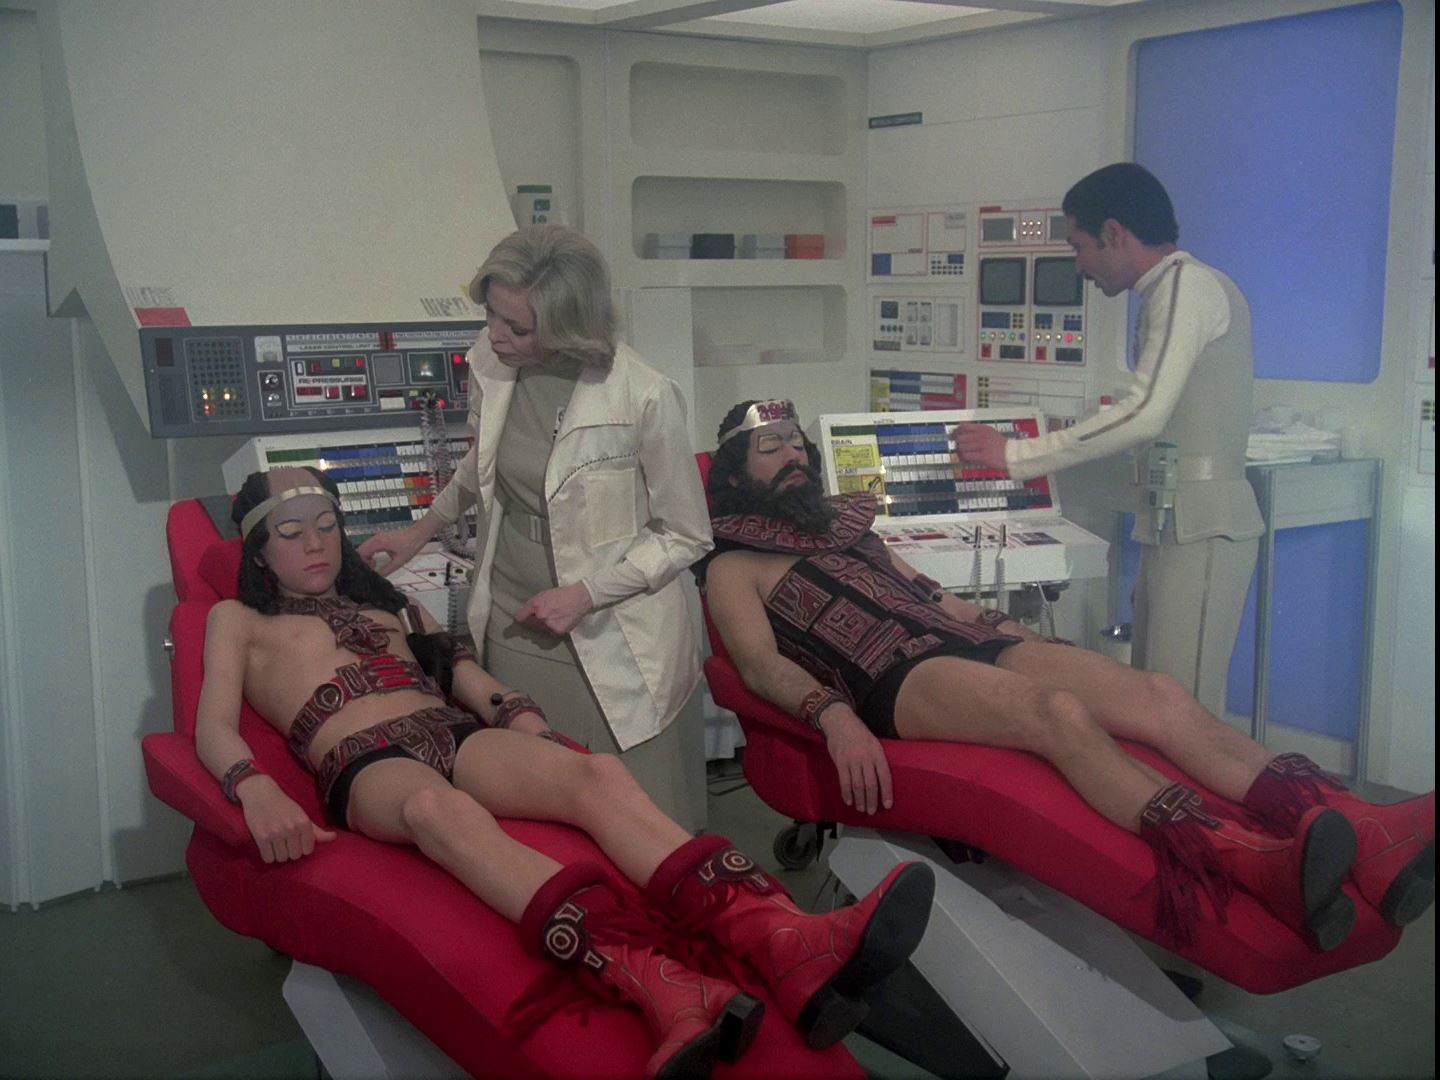
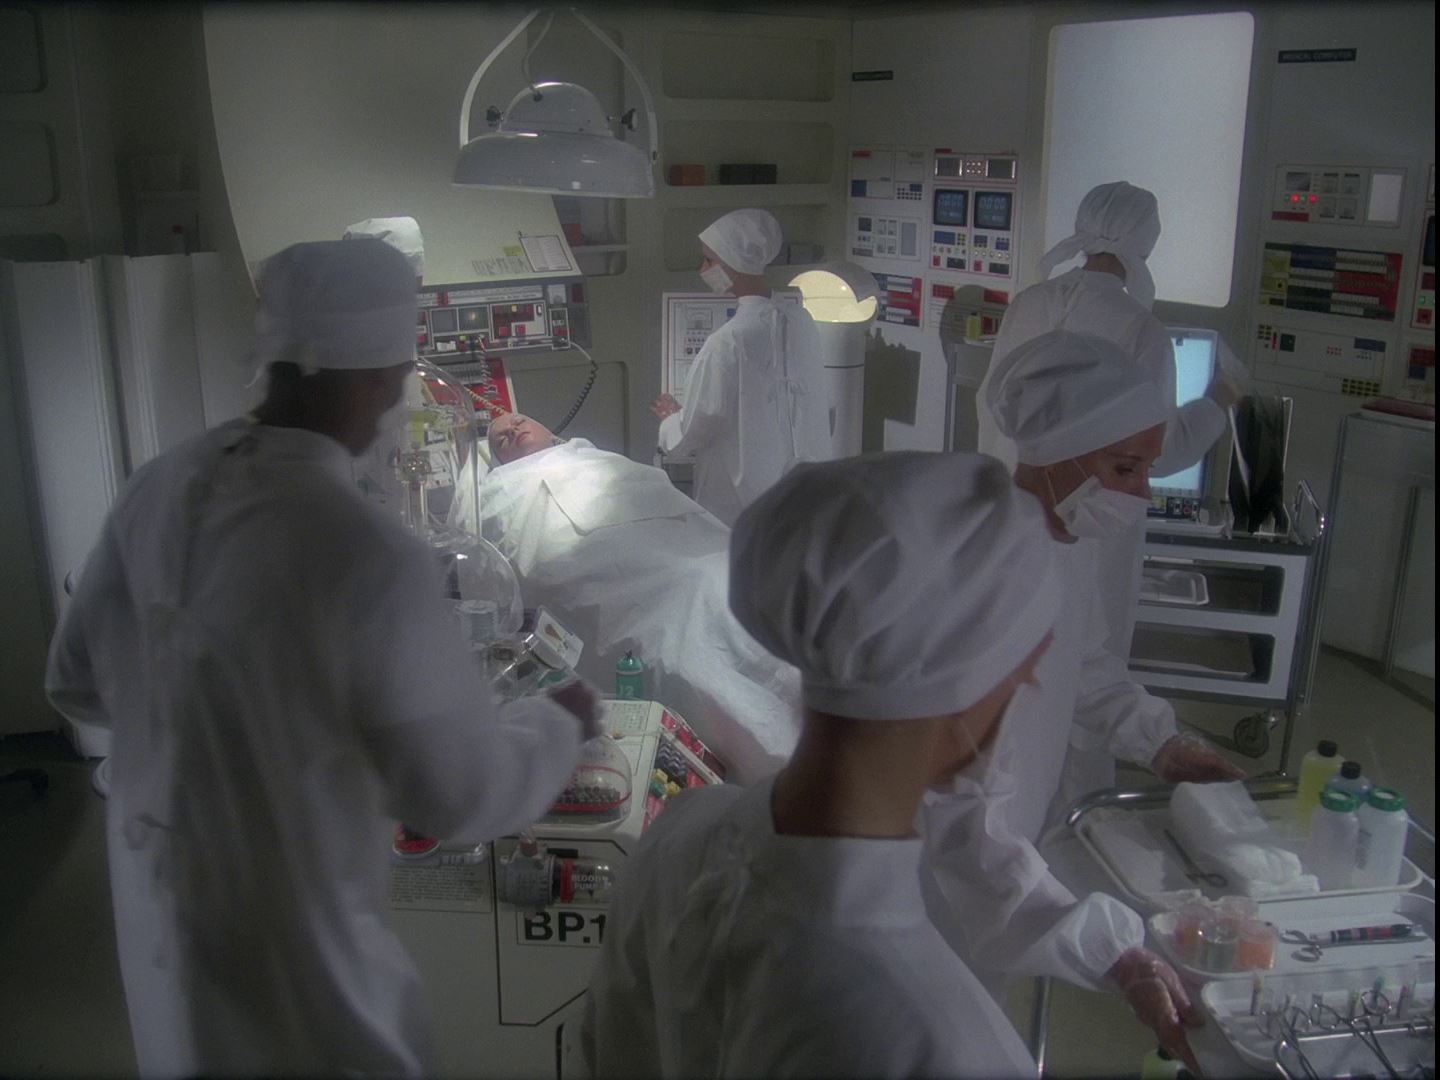
For the first time, there are four beds and medical computer stations. The Medical Computer X5 and diagnostic chair in the centre of the room has shifted forward, now level with the front door. In the next episode, The Seance Spectre, it will shift back to the normal position.
 |
||
|
|
|
|
Wall D is a composite, based on elements described below.


The Medical Center set has only three walls, so the reverse shots of Mark and Carolyn are faked, by turning the desk 90 degrees. The wall behind them is actually the main door, with the thermometer visible (but the screen, with Helena's smock, removed). A reverse shot of Keonig is also faked in the same way- the computer panel behind him is the end panel from the wall of beds (after he has confronted the ghosts, he collapses to this fourth bed).
We do see a bit of corner including the fourth wall later in the episode- showing Sam and Tessa. It doesn't match (the main door and thermometer are replaced by plain panels).
Near the end of the episode we see the corner again in another reverse shot. Again, it's a 90 degree switch, with the main door beyond Helena, now with a communications post.
Finally, the last version of the Series 2 Medical Centers is seen near the end of the series (Dorzak). It retains the large expansion of the set, but adds an observation/isolation annex - something not seen since Series 1 - to Wall A.
 |
||
|
|
|

We don't see wall D in this episode, apart from this reverse shot, from the observation room, showing two lighted panels. The far wall continues past these panels.
Annex (note early-style computer panel):
 |
||
 |
 |
|
 |
Craig Rohloff, April 2019
As always, I have utilized in my plans wall panels originally created by Roberto Baldassari, although I have modified some of them to more accurately reflect the actual studio sets. (Baldassari imagery hosted at The Catacombs) All episode screen grabs made by Martin Willey, hosted at his website The Catacombs).
Copyright Martin Willey