Moonbase Guide
by Martin Willey
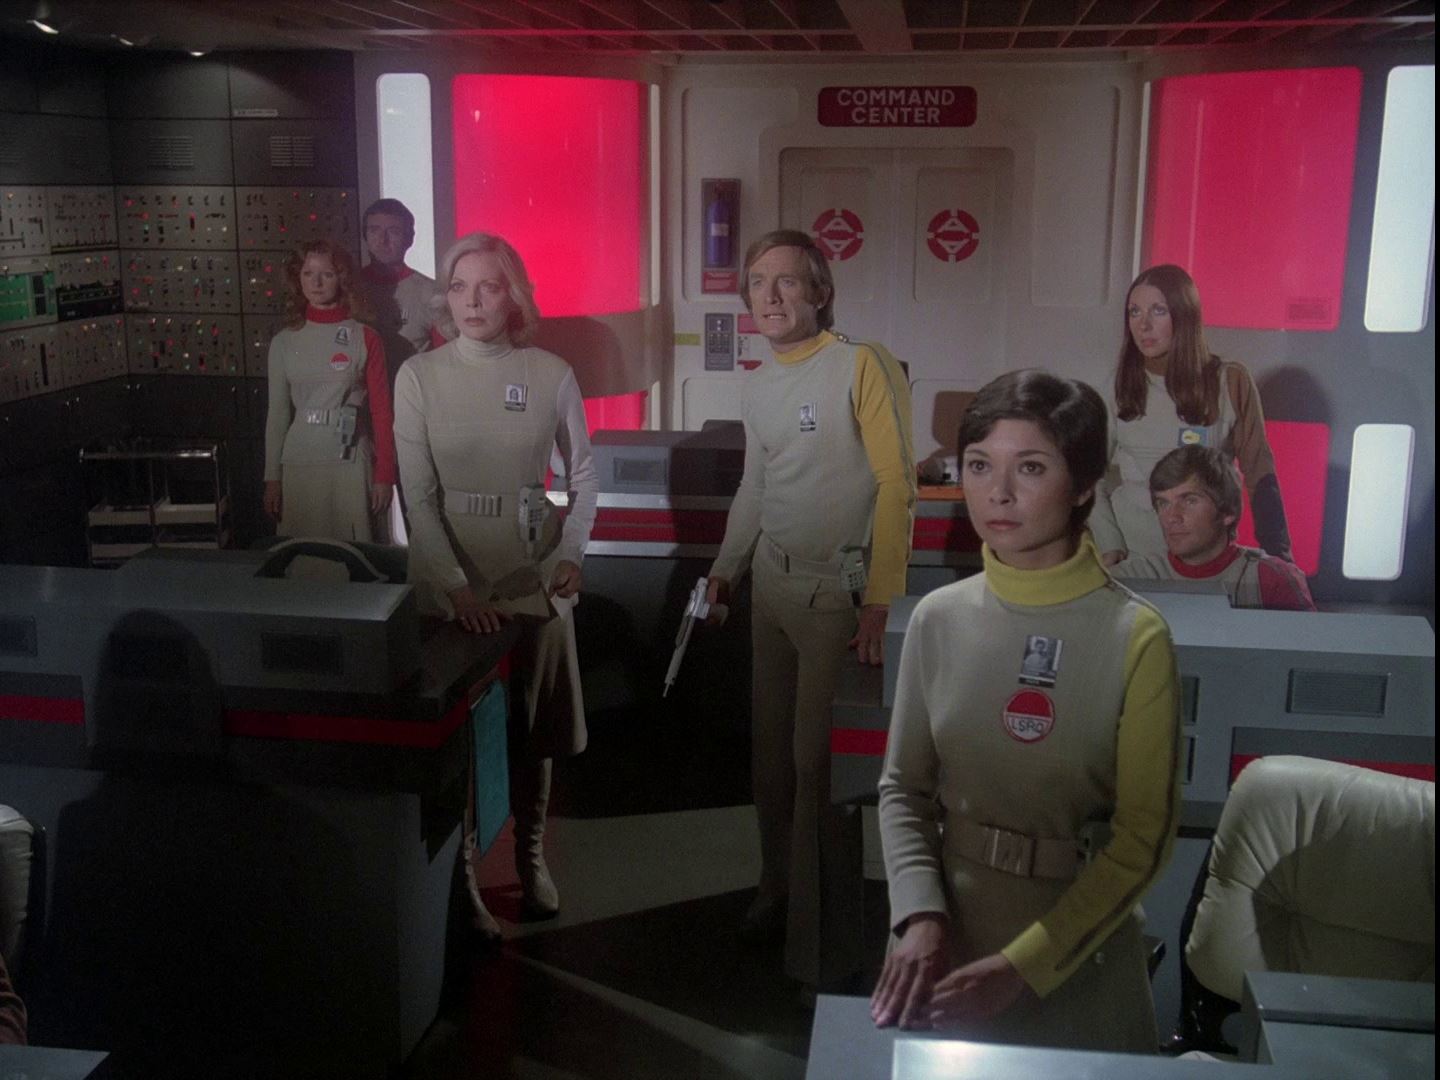
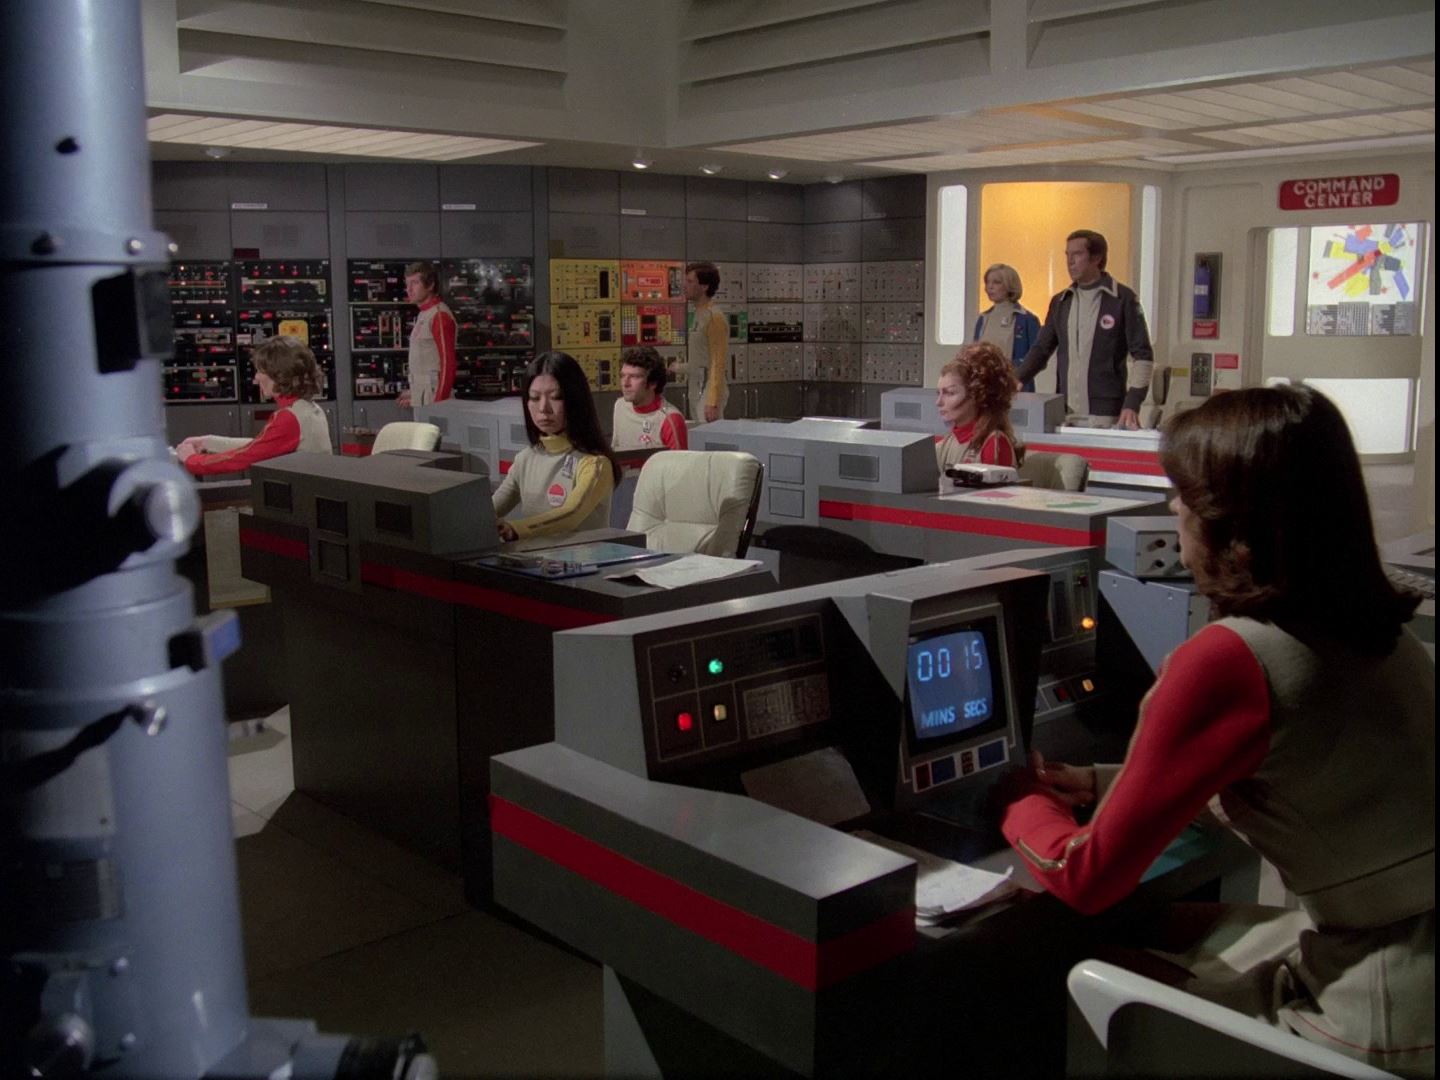
Command Center was the control room for Moonbase Alpha in Year 2, replacing Main Mission. Many of the Year 1 set elements are reused, including the Big Screen and the arches. The computer panels are new, and more colourful (they were created for Into Infinity).
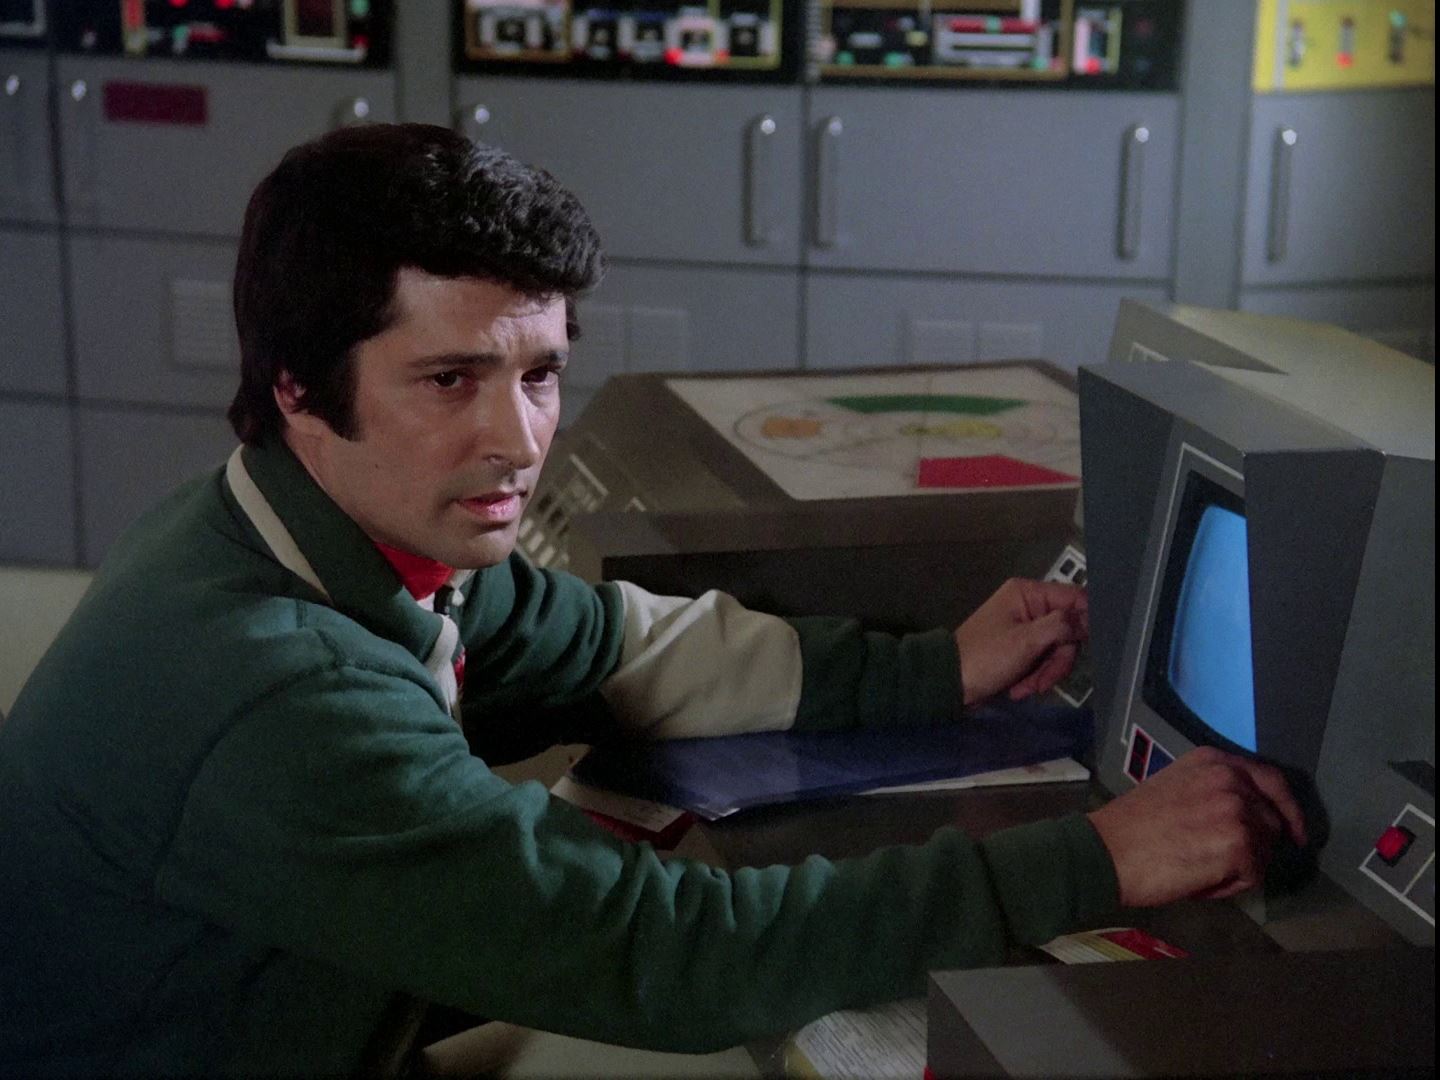
Unlike Year 1, the principal characters rarely interact directly with the computer walls (Maya performs some operations in Journey to Where and The Immunity Syndrome). Tasks such as retrieving information from the main computer memory banks are instead carried out using the computer desk terminals. The supporting cast is however frequently seen checking the positions of the Main Computer switches using checklists.
The four principal desks have Domani swivel chairs, like Koenig's but without a headrest. The side desks have Gaudi chairs (as in Year 1).
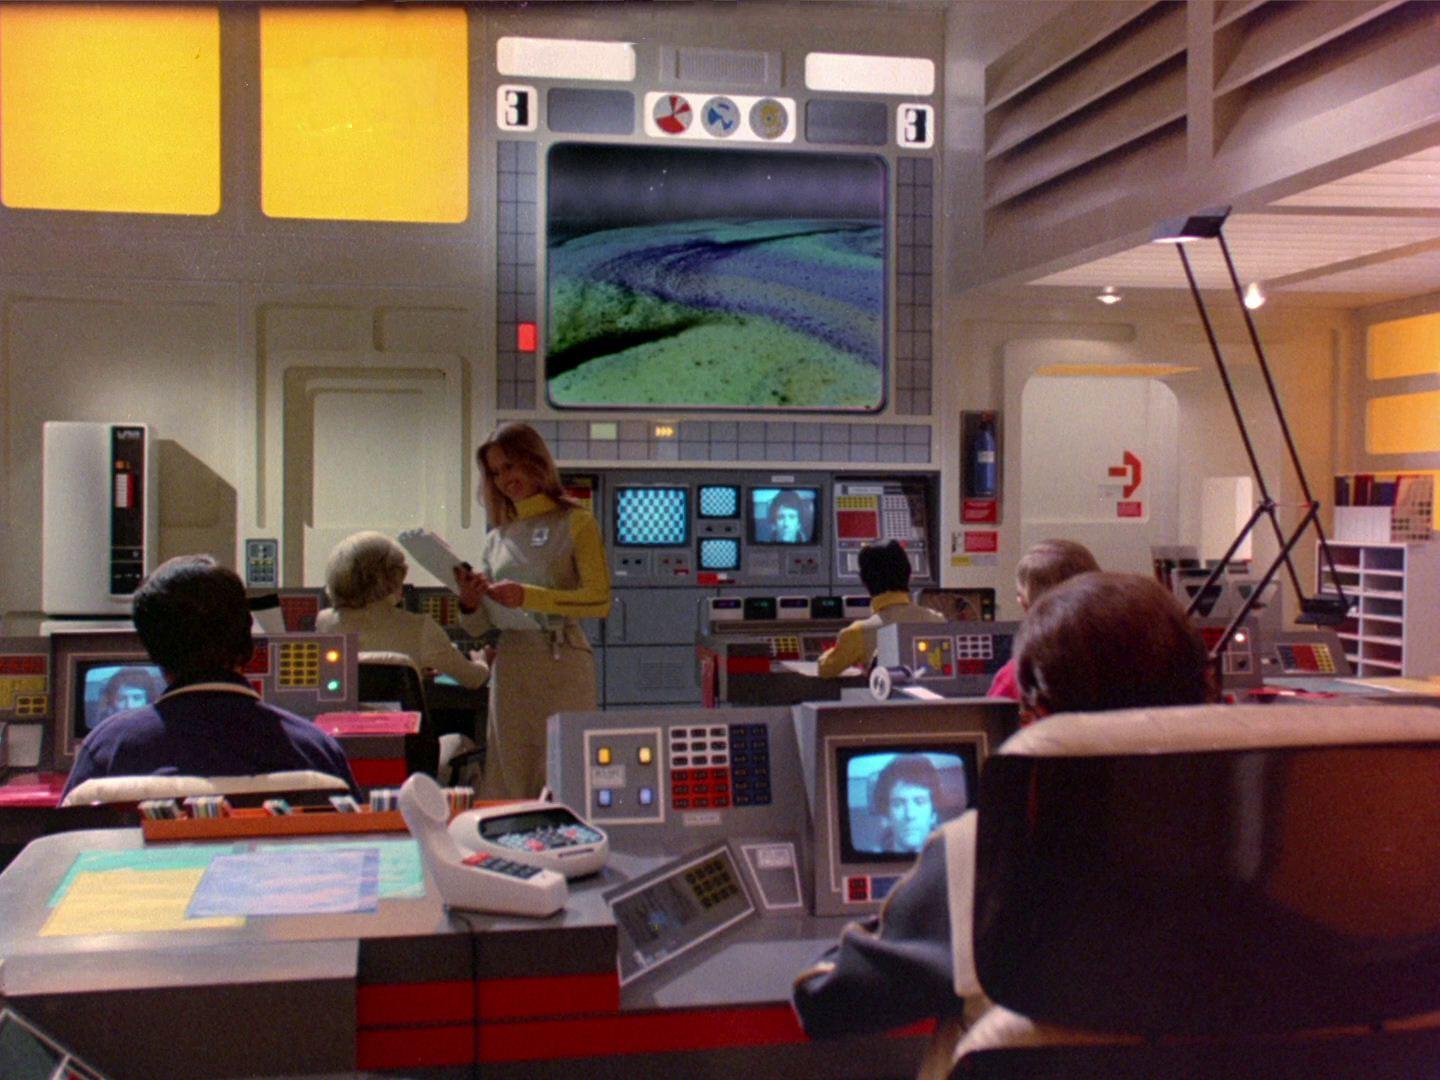
The first view of Command Center in The Metamorph. Looking from Koenig's desk forwards. Note the drinks machine to the left. On Koenig's desk you can see a calculator (a Decimo Timemachine), an orange ash tray (Kartell) and a Tizio lamp.

The Decimo Timemachine calculator migrates across the desks during the series, as do other props such as the binoculars.
At the rear is Koenig's desk, with his back to the main entrance doors and the corridor outside.
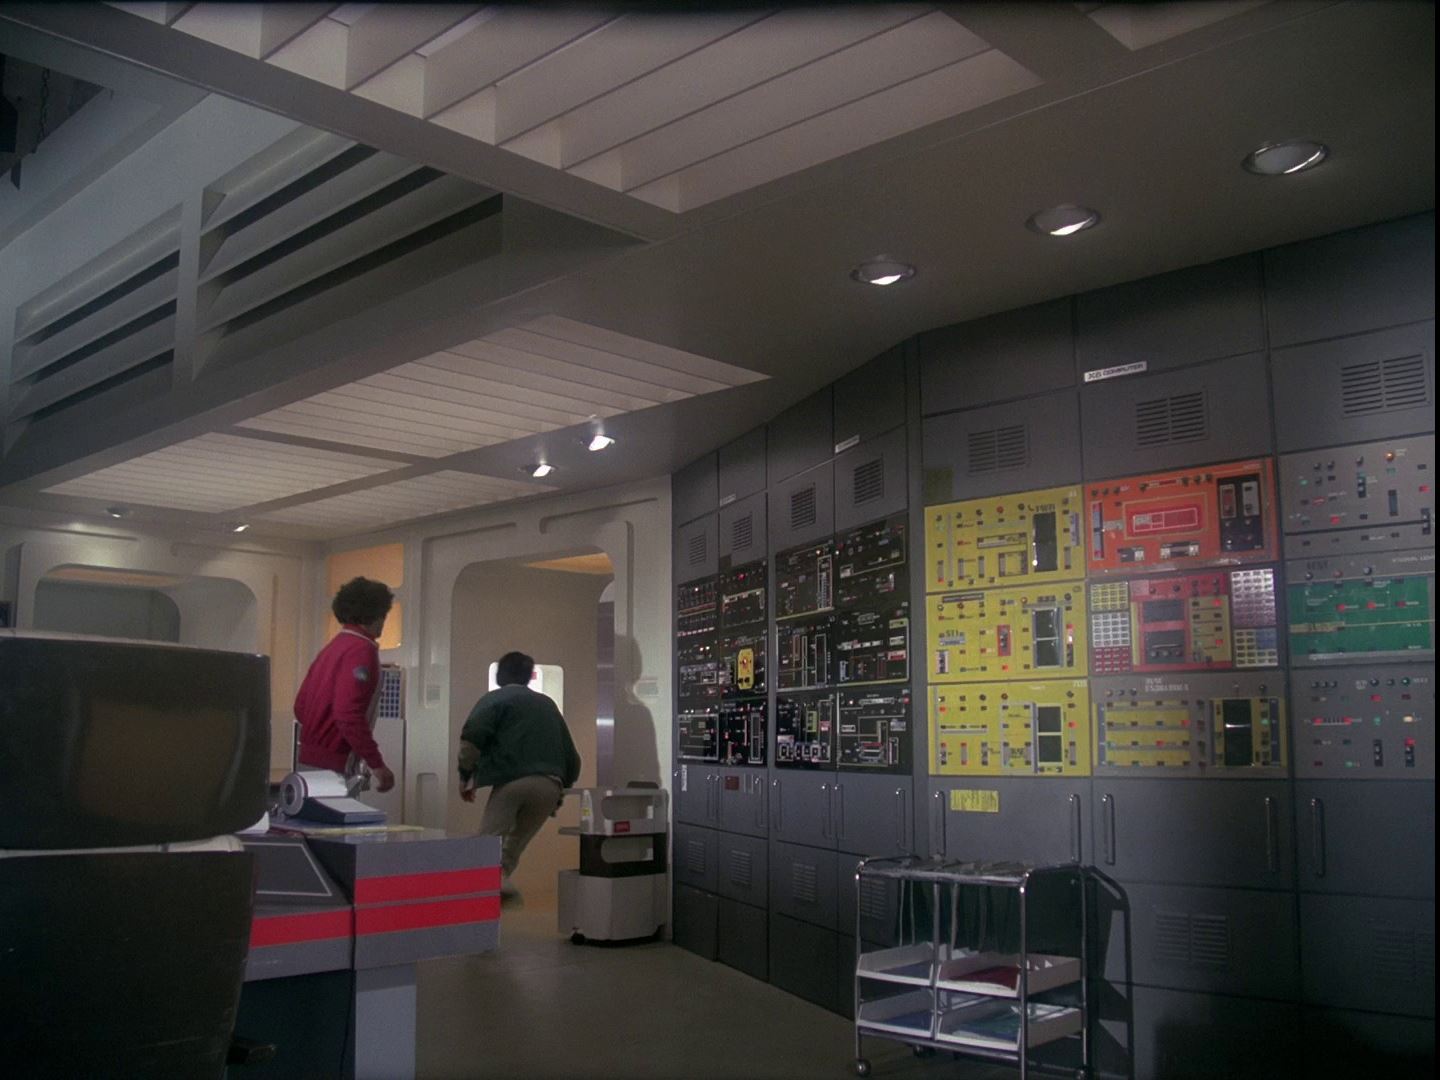
A view of the new computer wall. The colourful panels are from the spaceship in Into Infinity. Note the small trolley and Boby cart, which also accompanied the Main Mission computer.
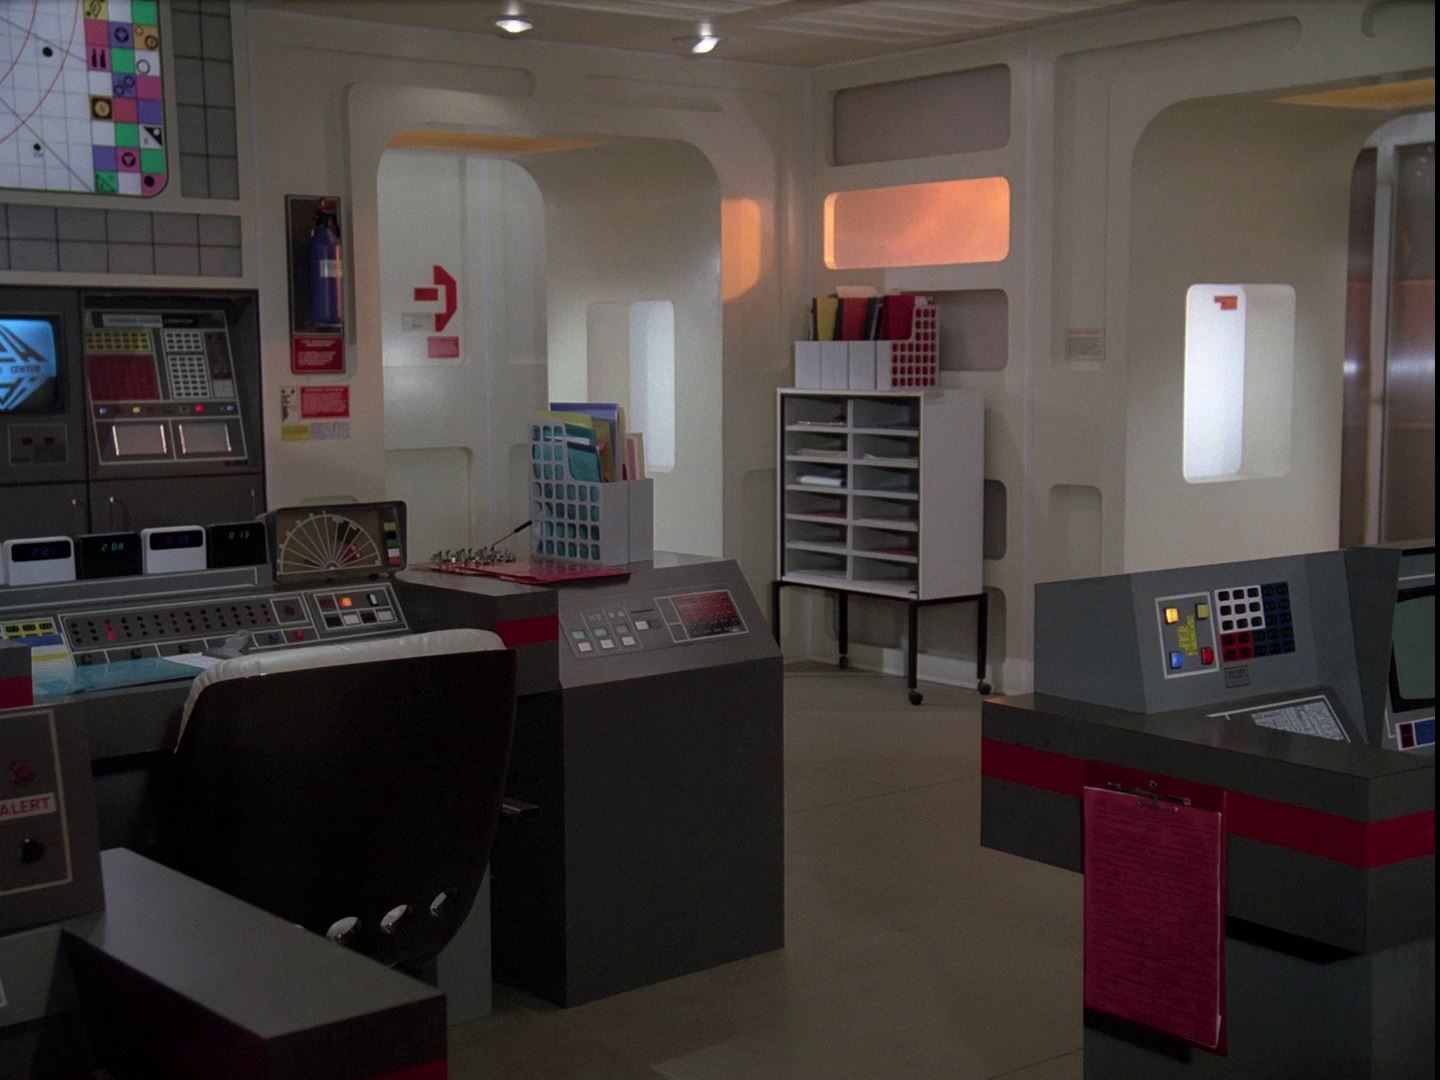
A view showing the filing cabinet by the arches.

In The Bringers Of Wonder part 1 we see that medical monitors are strategically placed throughout Alpha to monitor patients. It doesn't work well in this episode, so understandably this is never seen again in Command Center.

The side arch.
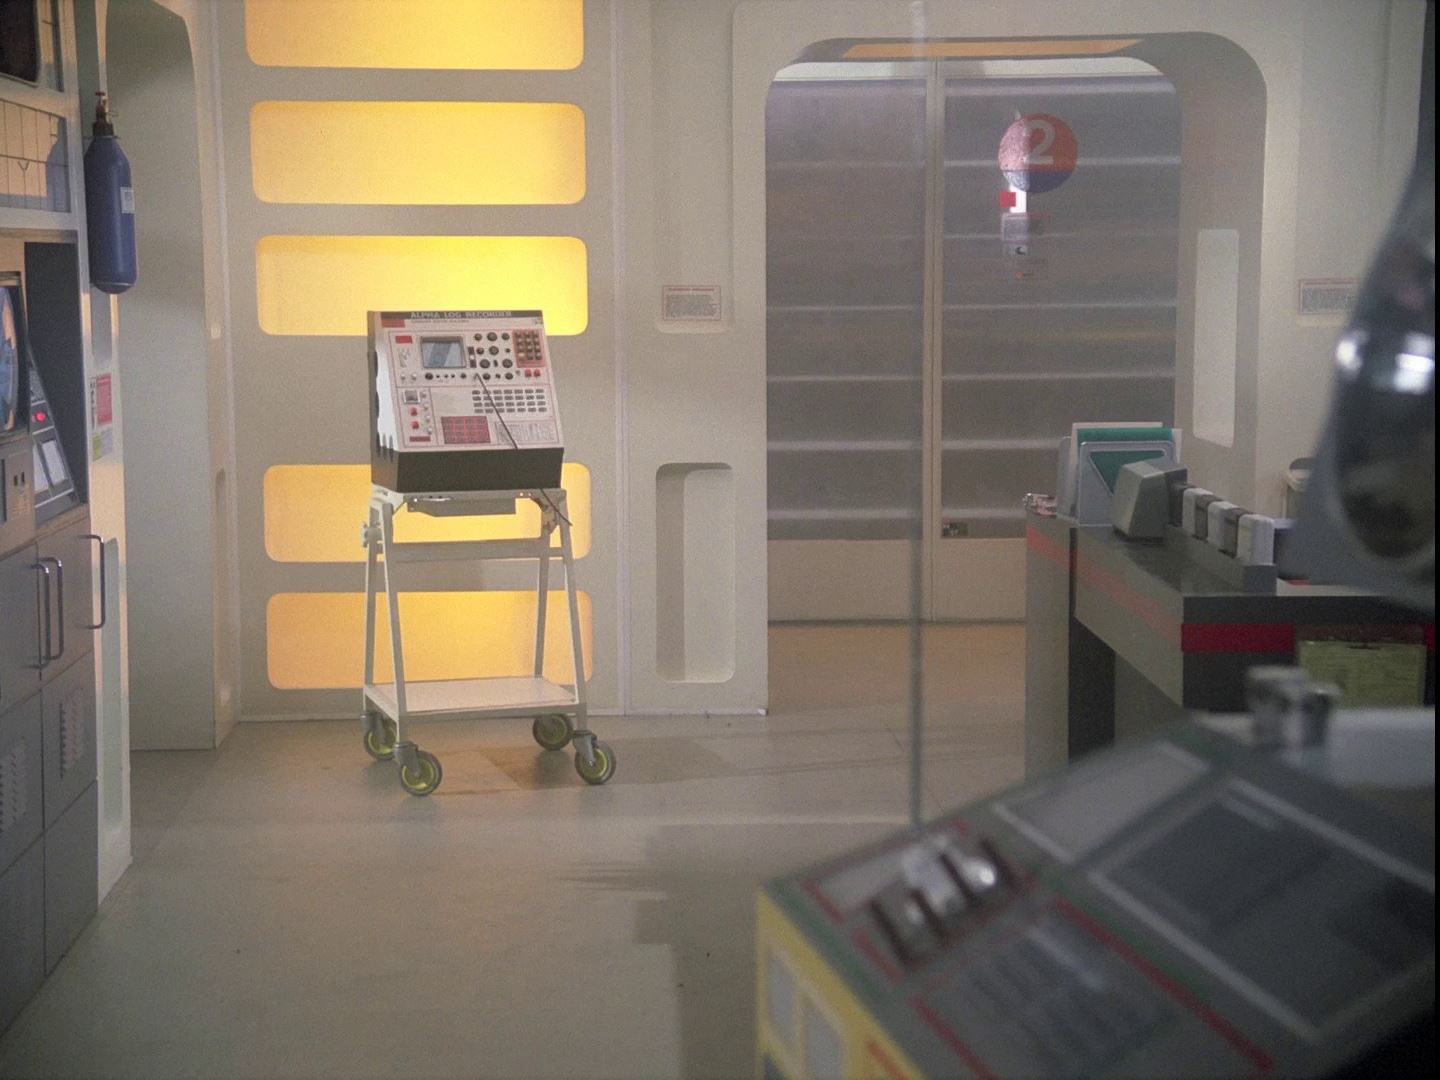
The side arch with the Alpha Log Recorder replacing the filing cabinet.
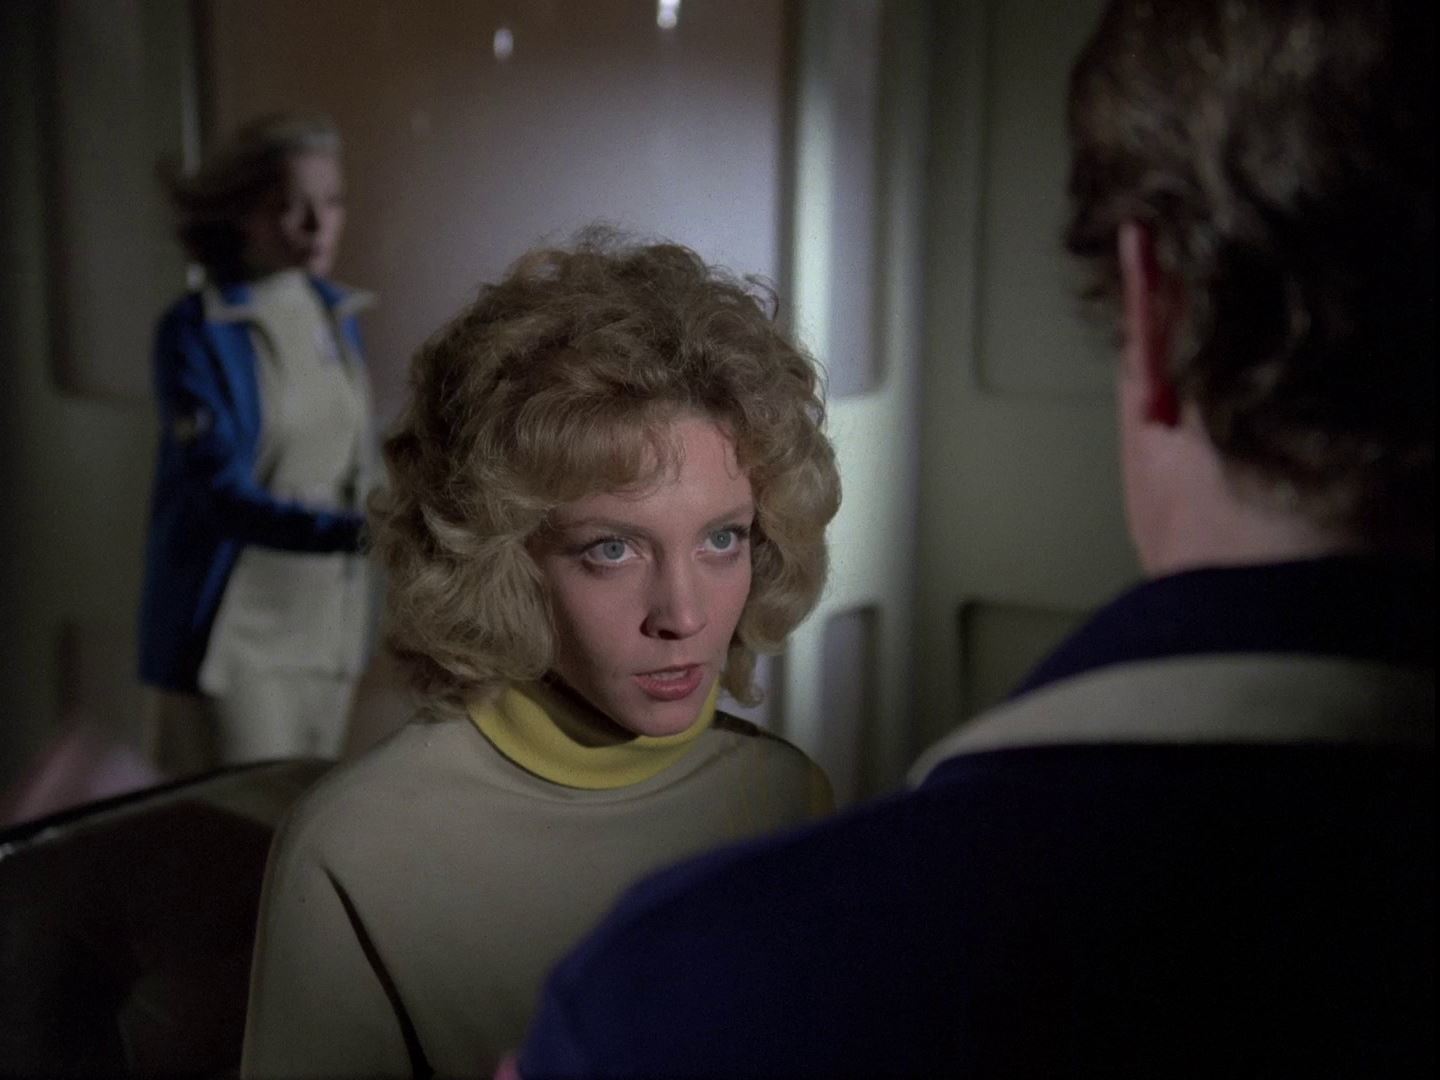
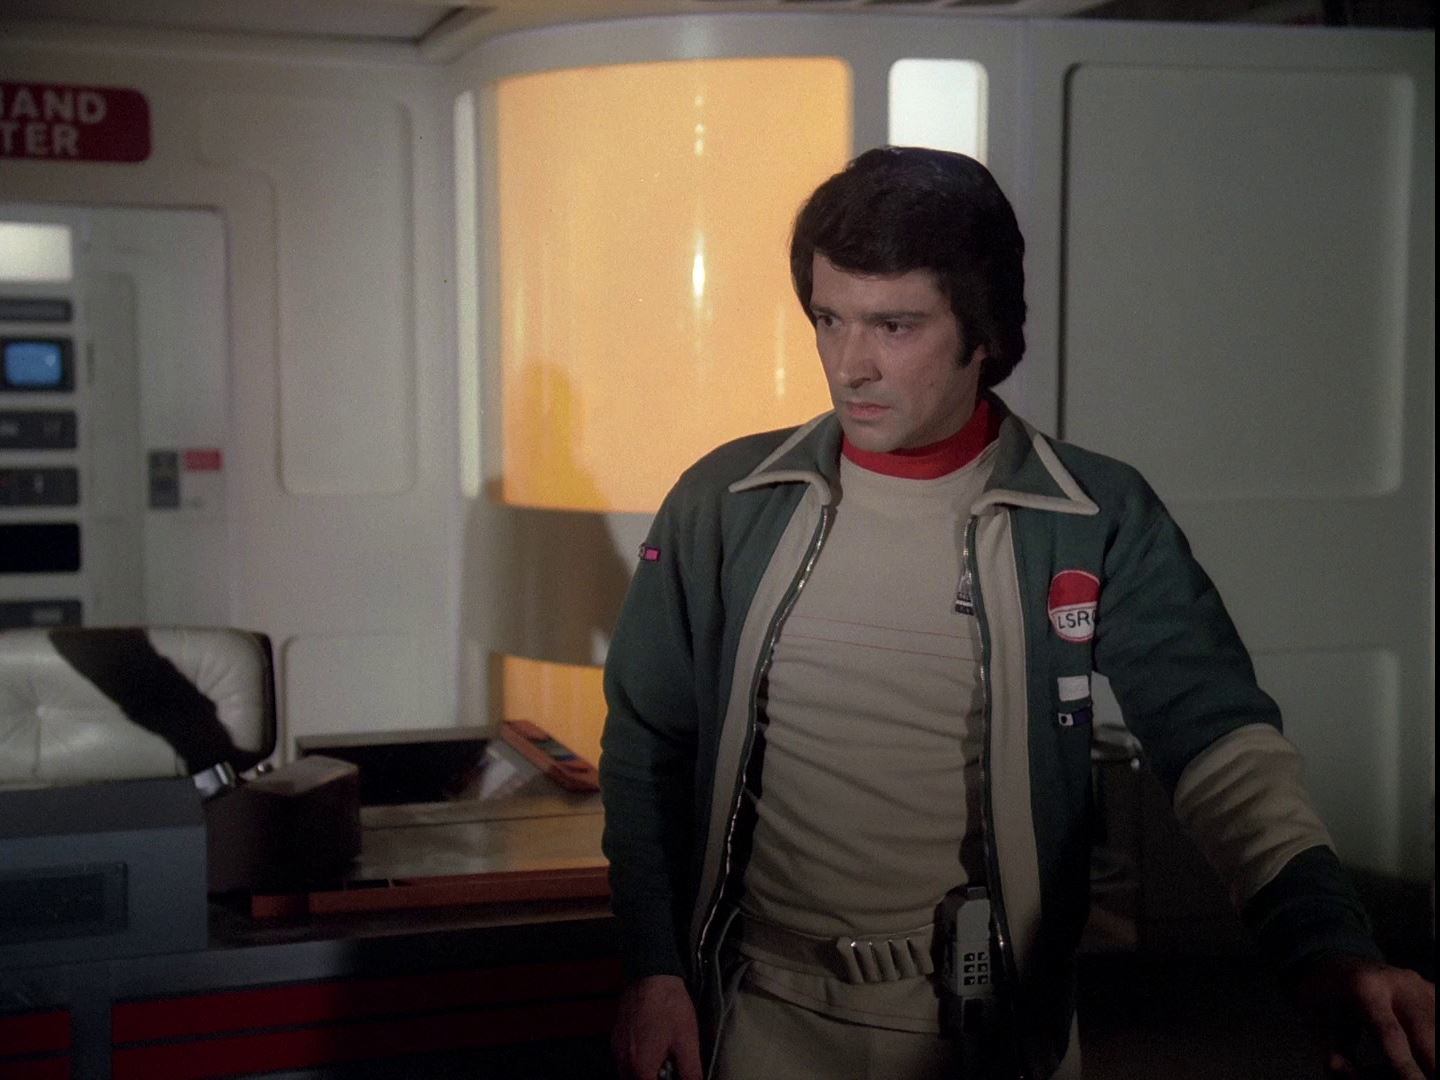
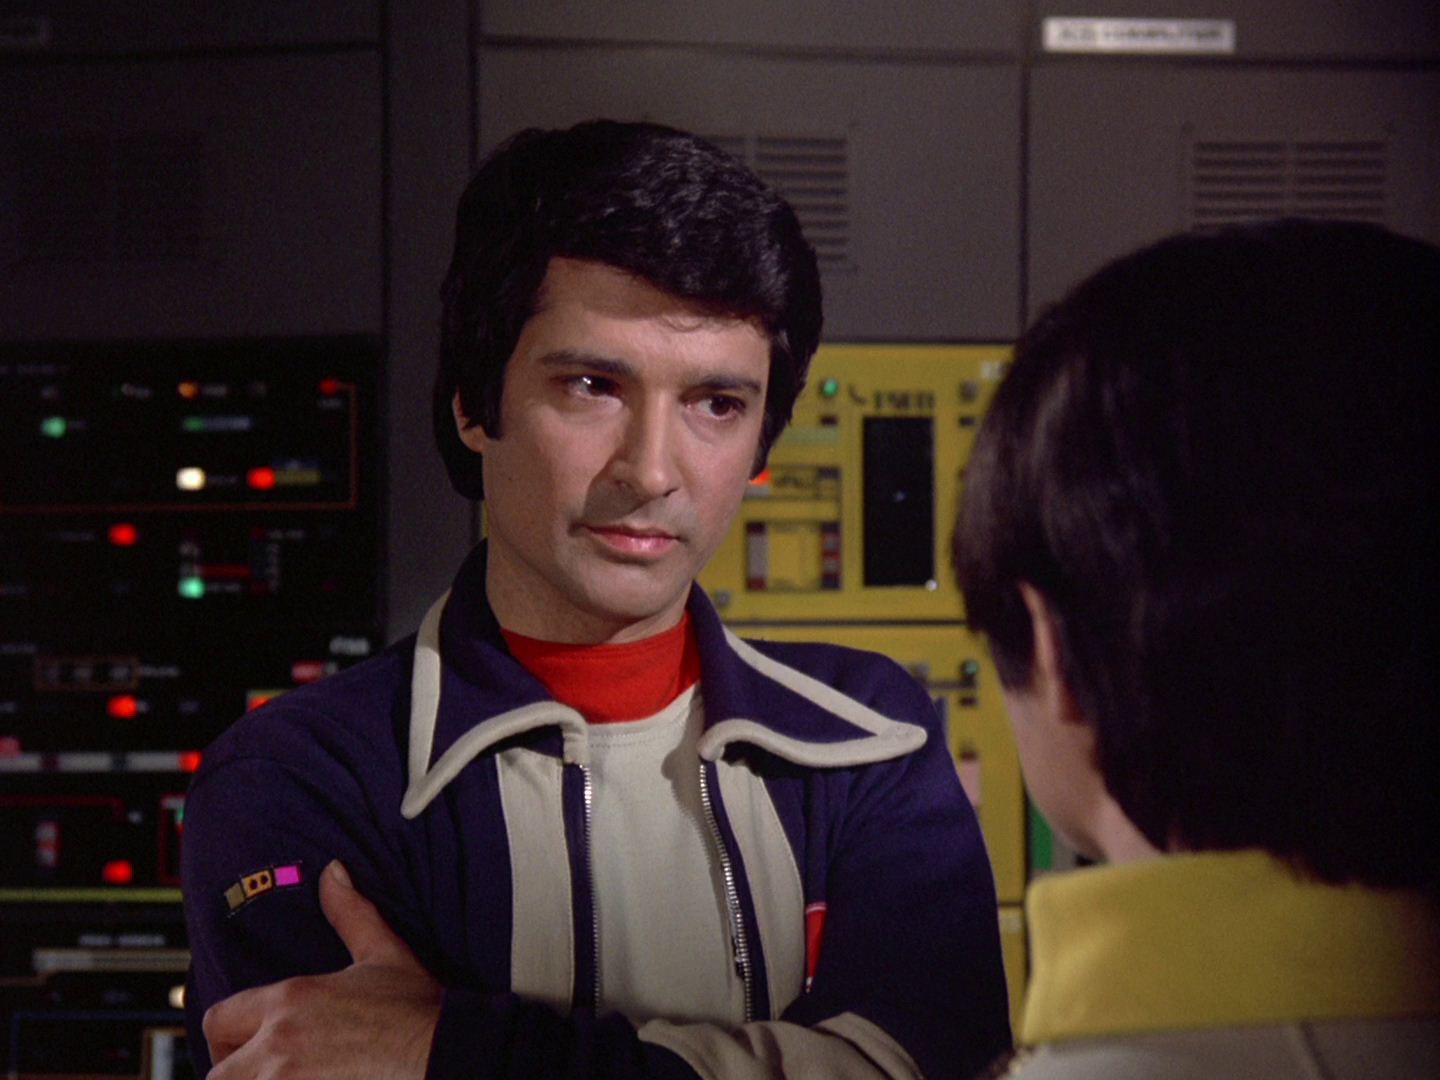
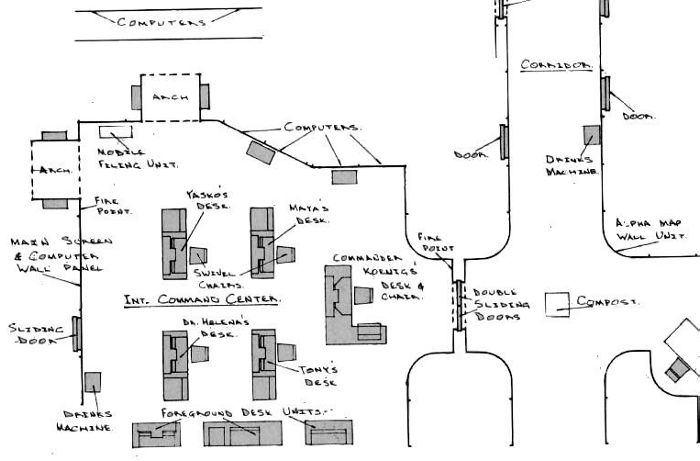
The left side wall of Command Center is rarely seen, as the camera was almost invariably on that side. Unlike Main Mission, the set was designed and built without the left side. Only in a few specific scenes was the wall required- usually for a reverse shot between two characters looking at each other. In these cases, they simply filmed against the right wall, covered in computers, turning a desk around if required. The overall plan of the room must be a zig-zag. Shots are seen in The Metamorph (shots of Tony during a conversation with Sandra), Brian the Brain (reverse shots of Tony at his desk), and several shots in The A B Chrysalis. In The Dorcons, we see a small segment of wall that should be on the left side, with plain panels.
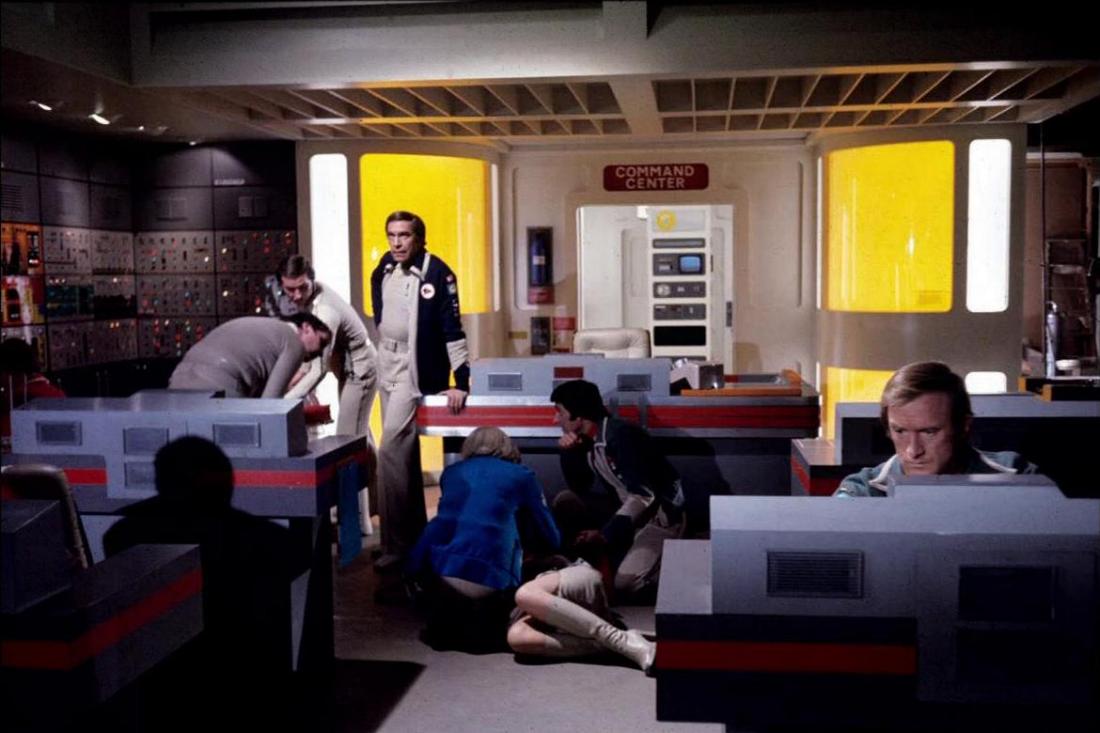
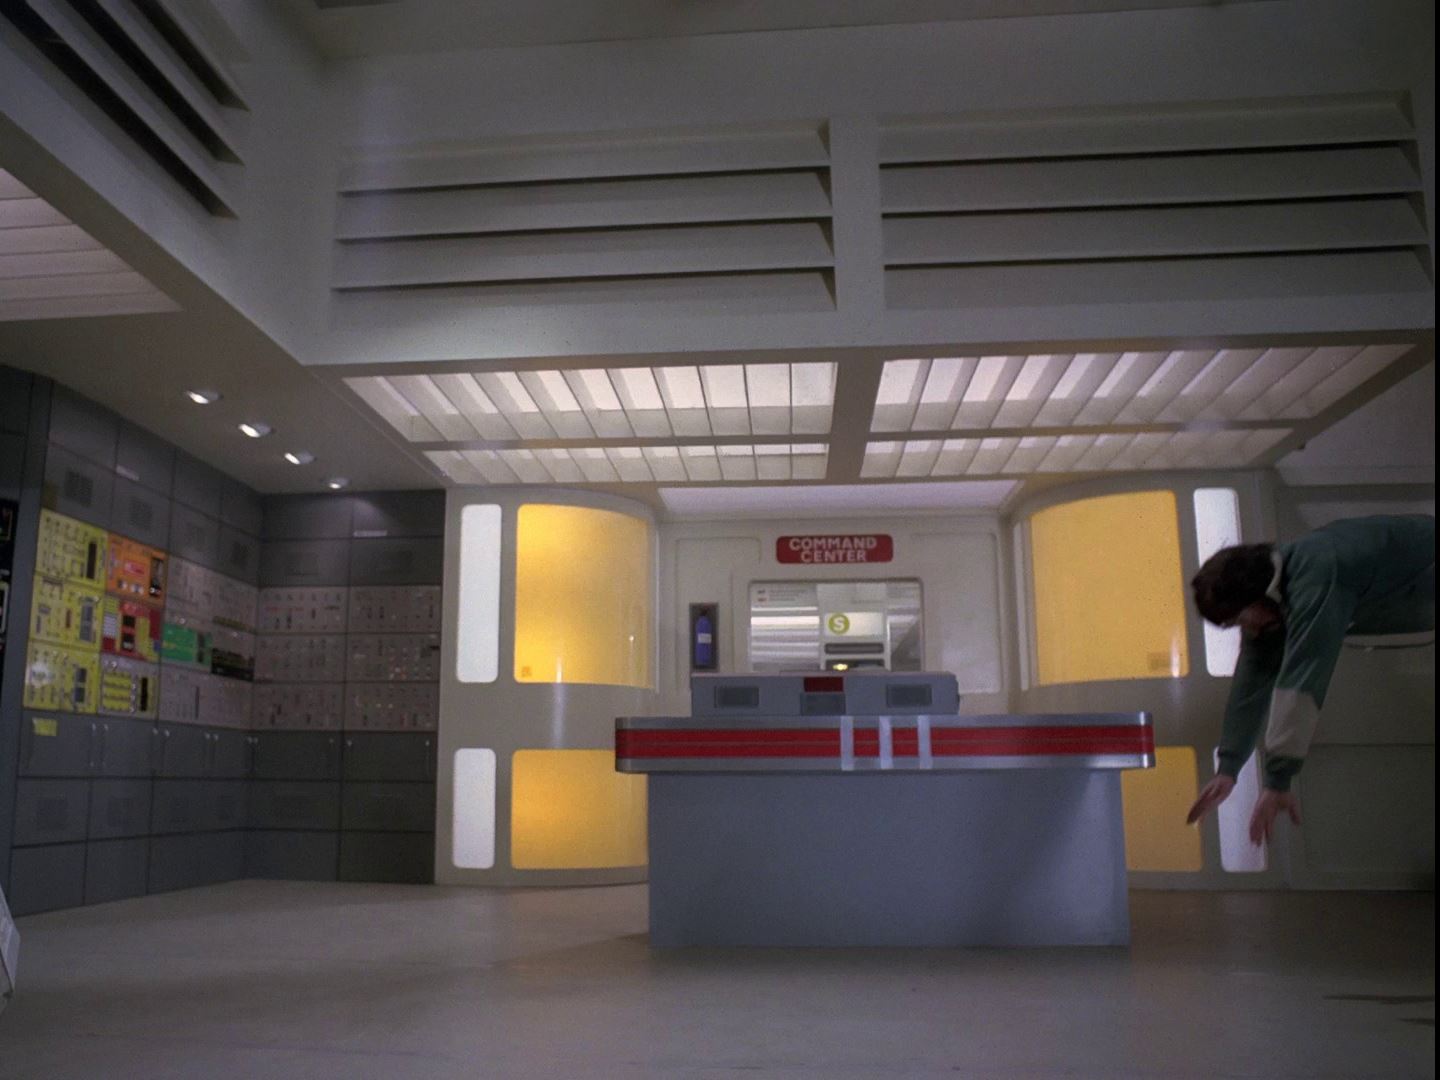
As this publicity shot from The Dorcons shows, the set normally stops abruptly to the right of the main doors.
In The Lambda Factor we see a plain moonbase wall in the corner by the doors. If this wall continued straight to the front, there would not be room for the side desks.
In The Dorcons the room is wider, but we don't see the left wall.
There are several reverse shots in The A B Chrysalis
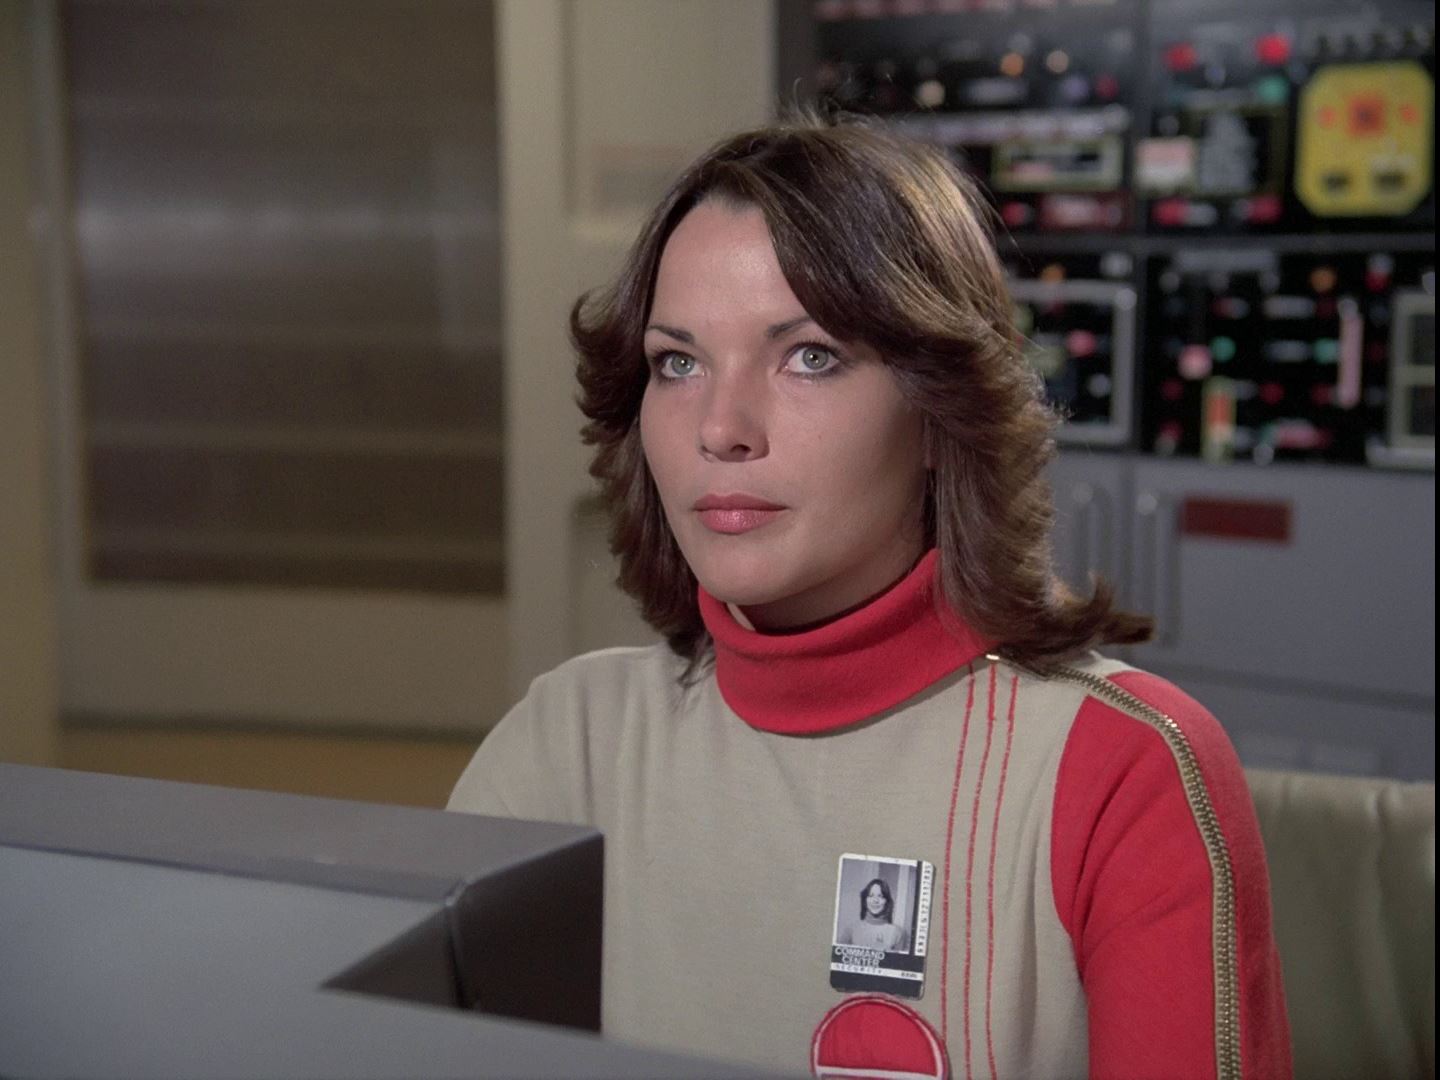
In the first shot, Glenda Allen is on the side desk (right). Her close up shot shows the left wall- identical to the computers and arch of the right wall.
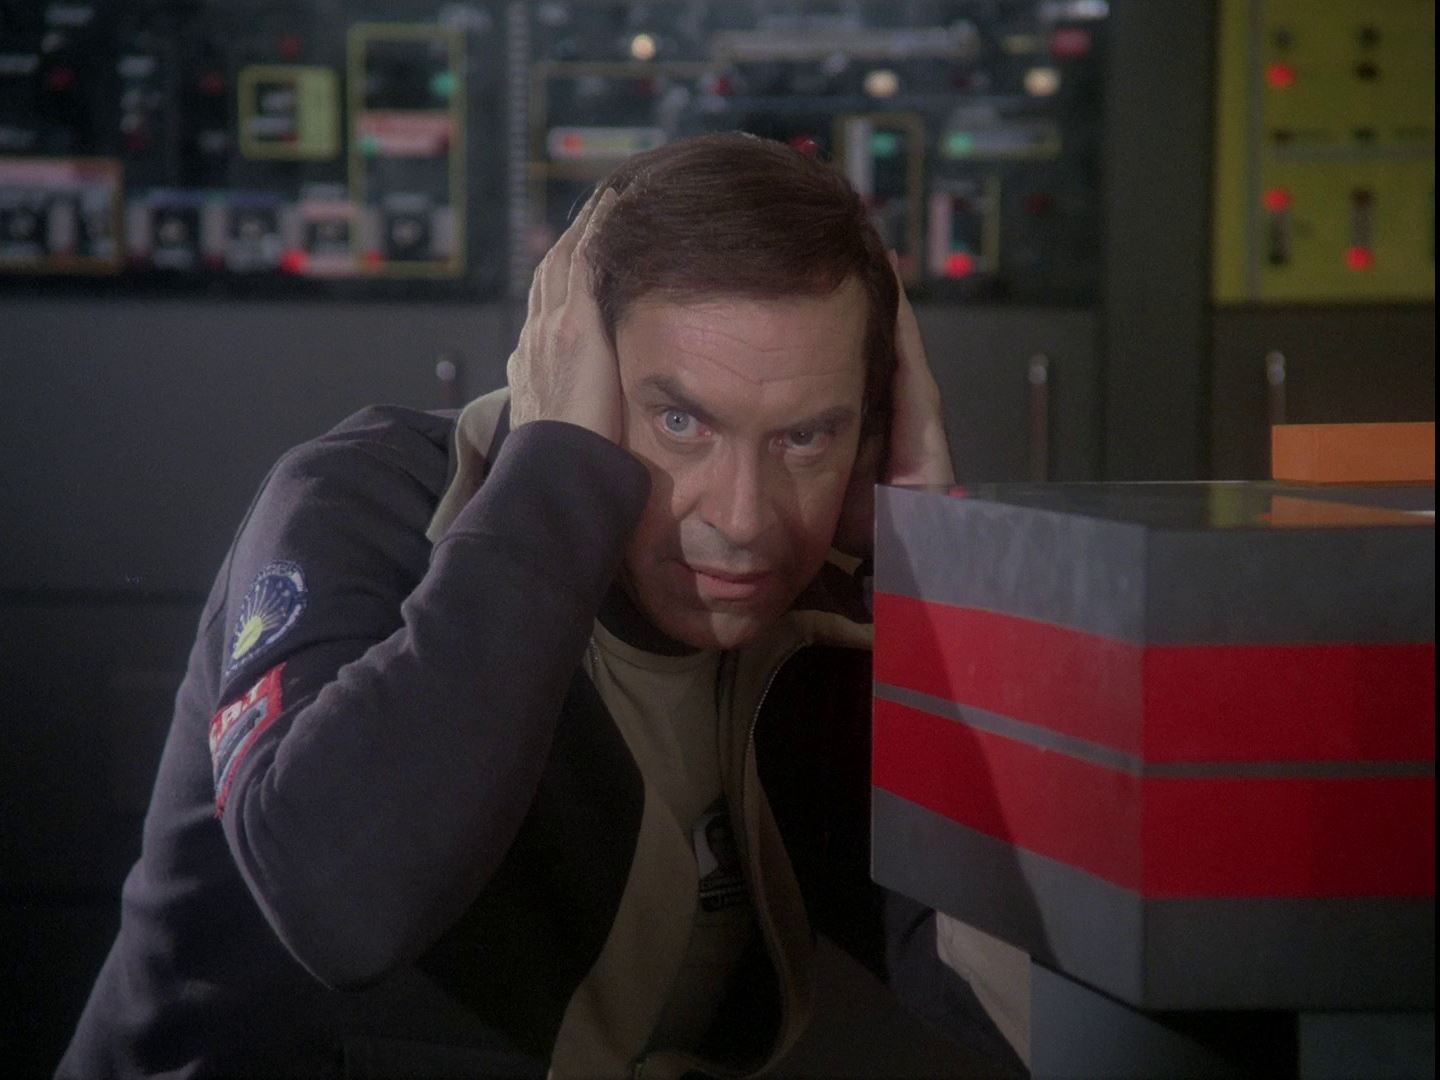
A reverse angle of Koenig, looking across from his desk towards Helena, on the other side of the Command Center doors.
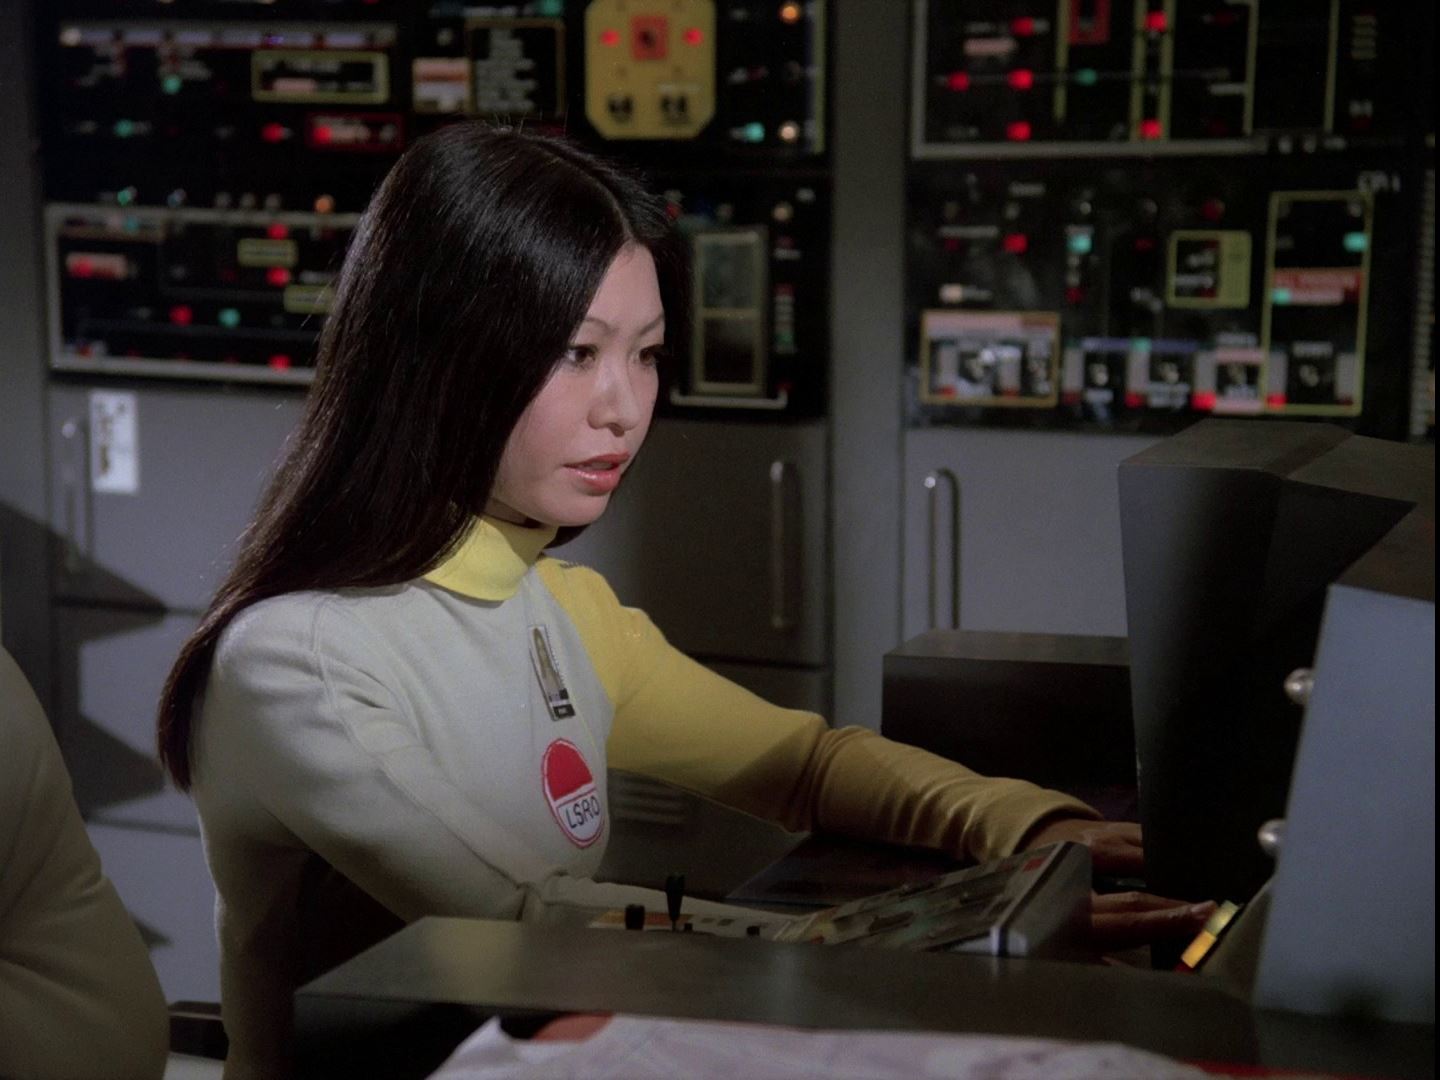
Another reverse angle of Yasko, in the front left desk.
In The Dorcons, Helena has her back to the computers, and the left wall appears as plain panels behind Maya.
Copyright Martin Willey. Thanks to Marcus Lindroos.